
How to Bake Ceramic After Painting?
Looking to add a personal touch to your ceramic pieces? Painting ceramics can be a fun and creative way to customize your items, but the process doesn’t end there.
We’ll explore why you need to bake ceramic after painting, the materials you will need for this process, and a step-by-step guide to help you achieve the best results.
Learn how long you should bake ceramic after painting and get valuable tips for successful baking of ceramic pieces. Let’s get started!
Key Takeaways:
Why Do You Need to Bake Ceramic After Painting?
Baking ceramic after painting is essential to set the paint and ensure its durability on the surface of the ceramic item.
When ceramic paint is applied, it needs proper curing to become truly bonded to the surface. Baking achieves this by subjecting the painted ceramic to controlled heat, which allows the paint to cure fully. This process not only enhances the paint’s adhesion and longevity but also imparts dishwasher safety to the finished item. Heat plays a crucial role in curing different types of ceramic paints, such as acrylic and enamel, affecting their drying time and overall finish. This meticulous step ensures that the painted ceramic retains its vibrant colors, withstands wear, and promises a professional-quality result.
What Materials Do You Need for Baking Ceramic?
Credits: Poormet.Com – Gary Scott
To bake ceramics effectively, you will require specific materials such as a ceramic piece, oven-safe tray, ceramic paint, and a paintbrush.
- Ceramic type: It is recommended to use unglazed ceramics for painting, as the paint adheres better and provides a smooth finish.
- Oven-safe trays: Ensuring that your tray or baking dish is oven-safe is crucial to avoid cracking or damage during the baking process.
- Ceramic paints: Investing in quality ceramic paints not only enhances the vibrancy of colors but also ensures durability and longevity of the painted design.
Engaging in such craft activities not only fosters creativity but also allows for quality bonding time with loved ones. Consider involving your daughters in the process for a fun, educational experience where they can express their artistic talents.
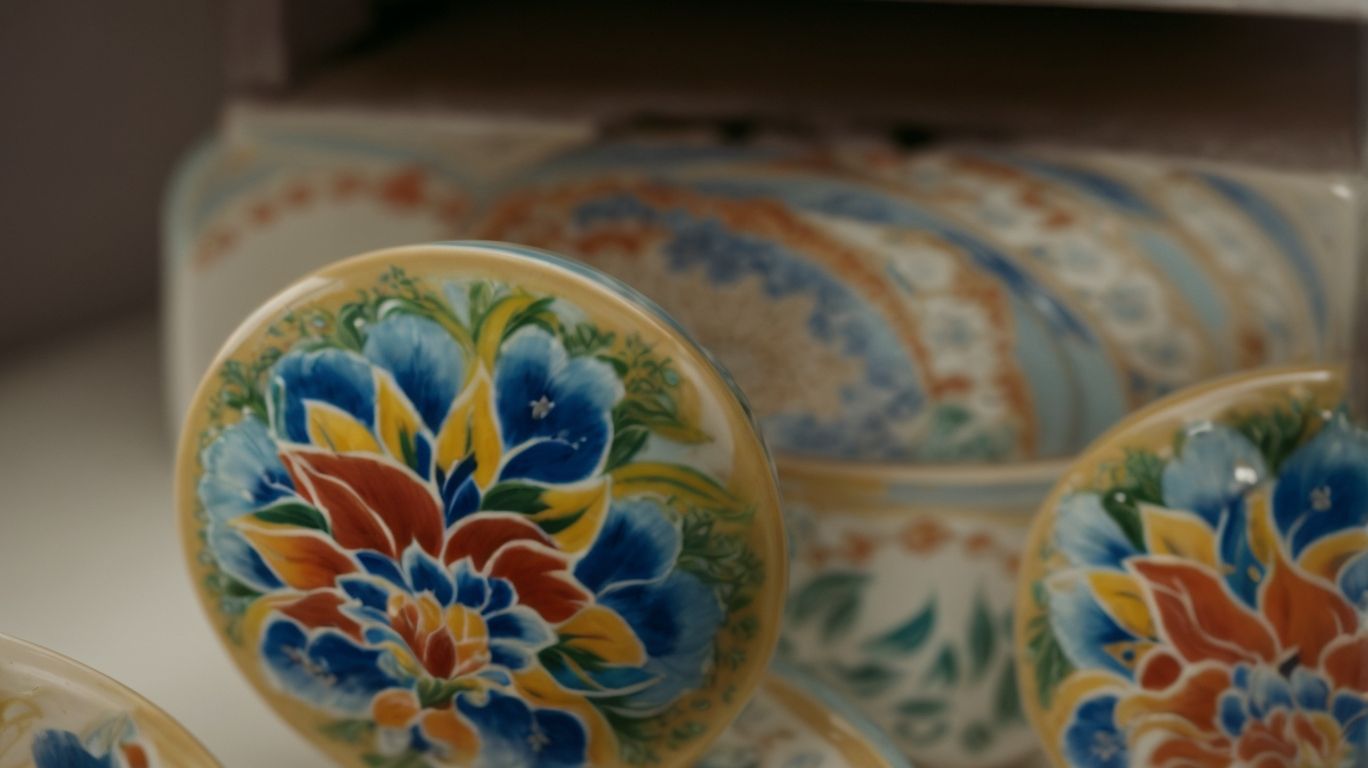
Ceramic Paint
Selecting the right ceramic paint is crucial for achieving vibrant colors and long-lasting results on your ceramics.
In terms of ceramic painting, two popular options are acrylic and enamel paints. Acrylic paints are water-based, making them ideal for porous surfaces like unglazed ceramics, as they easily adhere to the surface. On the other hand, enamel paints are oil-based and work well on glazed ceramics, providing a durable and glossy finish.
- Varnish plays a vital role in ceramic painting by offering an extra layer of protection against scratches and fading. It not only enhances the colors but also adds a glossy sheen, giving your ceramics a professional look.
The creative aspect of selecting paint colors and designs is where your personal touch comes into play. You can mix and match colors, experiment with different patterns, or even incorporate techniques like sgraffito or stenciling to create unique ceramic pieces that reflect your style and personality.
Paintbrushes
Quality paintbrushes are essential tools for smoothly applying acrylic paint and creating intricate designs on ceramics.
High-quality brushes play a crucial role in the world of ceramic painting, enabling artists to achieve impeccable finishes and intricate details.
Choosing the right brushes is essential to unleash creativity and elevate the overall design of ceramic pieces. Different brush types are specially designed for acrylic paints and markers, catering to various artistic needs. These brushes offer precision and control, allowing artists to effortlessly paint fine lines, add textures, and blend colors seamlessly on ceramic surfaces.
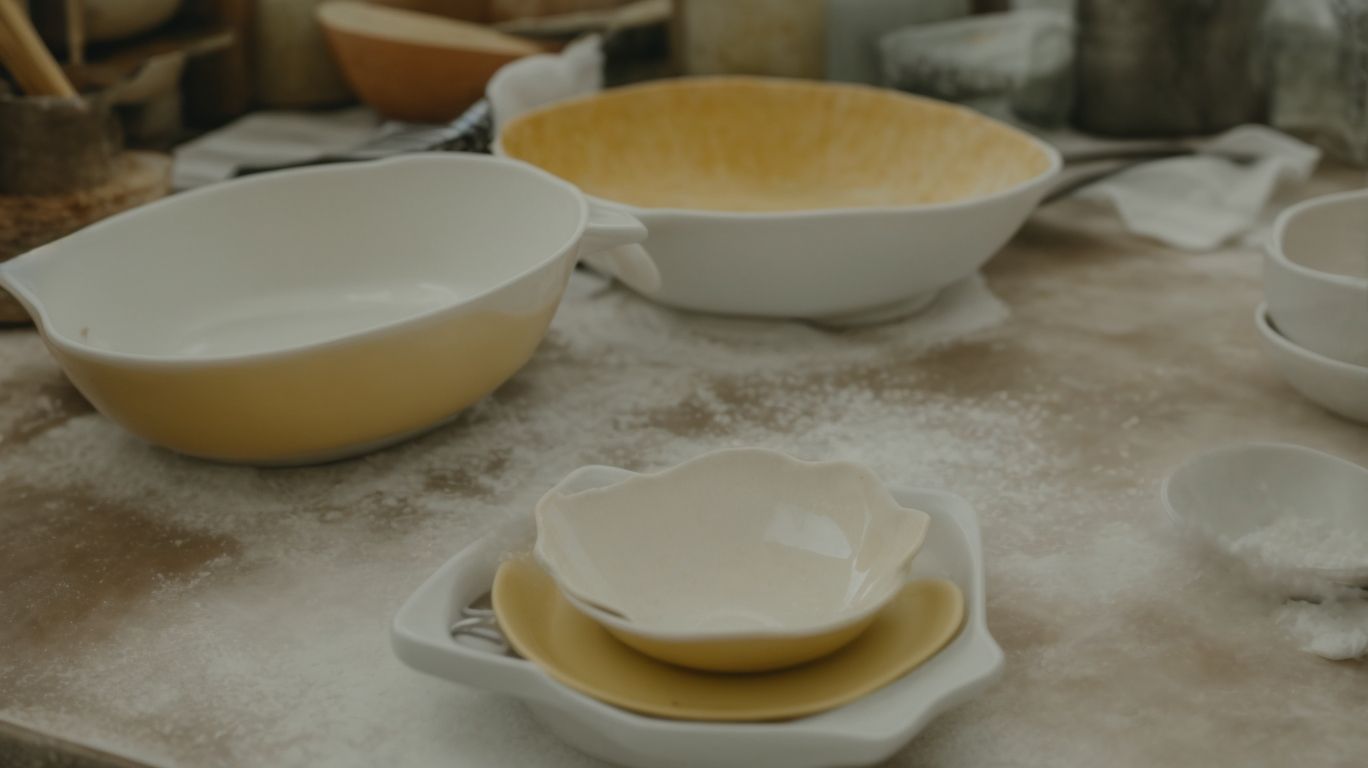
Ceramic Piece
Choosing a suitable ceramic piece, such as a mug, that is dishwasher safe and compatible with oil-based paints is essential for successful painting and baking.
When selecting ceramics items for painting projects, it is crucial to always double-check their label to ensure they are safe for the dishwasher. This not only guarantees the durability of your artwork but also makes the pieces convenient for everyday use.
Using oil-based paints on ceramics requires a particular type of surface to adhere correctly. Opt for ceramics specifically designed for oil-based paints, as they provide a smooth finish and prevent the colors from fading when baked.
You can find a wide array of ceramic pieces at your local craft stores, ranging from mugs and vases to figurines and plates. This variety allows craft enthusiasts to explore numerous creative possibilities, whether it’s hand-painting a personalized gift or embellishing a unique home decor item.
Oven
An oven is a necessary appliance for baking ceramics, ensuring that the paint sets properly and the ceramic piece becomes microwave safe.
In terms of ceramic baking, the oven plays a crucial role in the curing process. By exposing the painted ceramic item to controlled heat, the paint undergoes a chemical reaction that sets it permanently onto the surface, ensuring durability and longevity. Not only does this process enhance the aesthetic appeal of the piece, but it also adds a layer of protection, making it safe for everyday use, including microwave heating.
It’s important to note that there are differences in baking greenware and bisque-fired clay ceramics. Greenware, which is unfired clay, requires lower temperatures and more careful temperature control to prevent cracking or warping. On the other hand, bisque-fired ceramics, having already gone through an initial firing, can withstand higher temperatures during the baking process, allowing for a more robust finish.
Oven-safe Tray or Baking Dish
Using an oven-safe tray or baking dish is essential to support and protect the ceramic piece during the baking process, especially when using oil-based paints.
These trays play a crucial role in providing a stable surface for your ceramic creations, ensuring they maintain their shape and integrity while baking.
The right tray can enhance heat distribution, helping to achieve consistent and even baking results throughout your project.
Choosing the appropriate tray that is compatible with oil-based ceramic paints is key to a successful outcome, as it can withstand the higher temperatures required for curing these paints.
Step-by-Step Guide to Baking Ceramic After Painting
Following a step-by-step guide is crucial for baking ceramics after painting to ensure the best results and longevity of the painted design.
Carefully clean the ceramic surface to remove any dust or debris that may affect the paint adhesion. Once clean, apply a primer specifically designed for ceramics to create a smooth base for the acrylic paints to adhere to.
- Choose high-quality acrylic paints in your desired colors for vibrant results.
- Apply multiple thin coats of paint to prevent drips and achieve consistent coverage.
- Allow each layer to dry completely before applying the next to avoid smudging or mixing colors.
Proper drying is essential between each step to ensure the paint sets and adheres correctly.
Step 1: Prepare the Ceramic Piece
The first step in baking painted ceramics is to prepare the ceramic piece by ensuring it is clean, dry, and suitable for the chosen paint type, such as FolkArt multi-surface satin acrylic paint.
Before painting, thoroughly clean the ceramic piece with soap and water to remove any dust, oils, or debris that could affect the paint adhesion. Ensure the ceramic is completely dry before proceeding to avoid any bubbling or peeling issues during the painting process.
You must also assess the surface quality of the ceramic piece; any imperfections or rough areas should be smoothed out to achieve a flawless finish. Once the surface is adequately prepped, FolkArt multi-surface satin acrylic paint can be smoothly applied with a brush or sponge, offering a wide range of colors and a durable finish ideal for various craft projects.
Step 2: Apply Ceramic Paint
Once the ceramic piece is ready, apply the chosen ceramic paint creatively to bring your design ideas to life on the surface.
Begin by selecting a variety of brushes to experiment with different strokes and textures, from fine lines to bold sweeps. Play with layering colors and blending techniques to add depth and dimension to your artwork. Consider using stencils or tape to create crisp geometric shapes or intricate patterns for a more structured design. To enhance the color intensity and durability of your piece, mix in acrylic paints with the ceramic paint. Remember to let each layer dry completely before adding the next, ensuring a smooth and professional finish. Don’t be afraid to let your imagination run wild and explore endless possibilities with ceramic painting!
Step 3: Let the Paint Dry
Allowing the painted ceramic piece to dry thoroughly is essential before proceeding to bake the item in the oven, especially when using dishwasher-safe and acrylic paints.
Proper drying time plays a crucial role in ensuring that the painted design adheres well to the ceramic surface, preventing any peeling or fading over time. This waiting period allows the paints to settle and bond with the material, creating a strong and lasting finish.
Thorough drying also enhances the durability of dishwasher-safe and acrylic paints, making them more resistant to wear and tear from regular use and washing. Along with the practical benefits, the drying time presents a creative opportunity for artists and crafters to plan their next steps or work on complementary projects.
Characteristics and Advantages of Dishwasher-Safe and Acrylic Paints:
- Dishwasher-safe paints are specially formulated to withstand frequent washing and high temperatures in dishwashers without losing their color or quality.
- Acrylic paints offer a wide range of vibrant colors, quick drying time, and versatility in application techniques.
- Both types of paints provide excellent adhesion to various surfaces, including ceramics, glass, and metals.
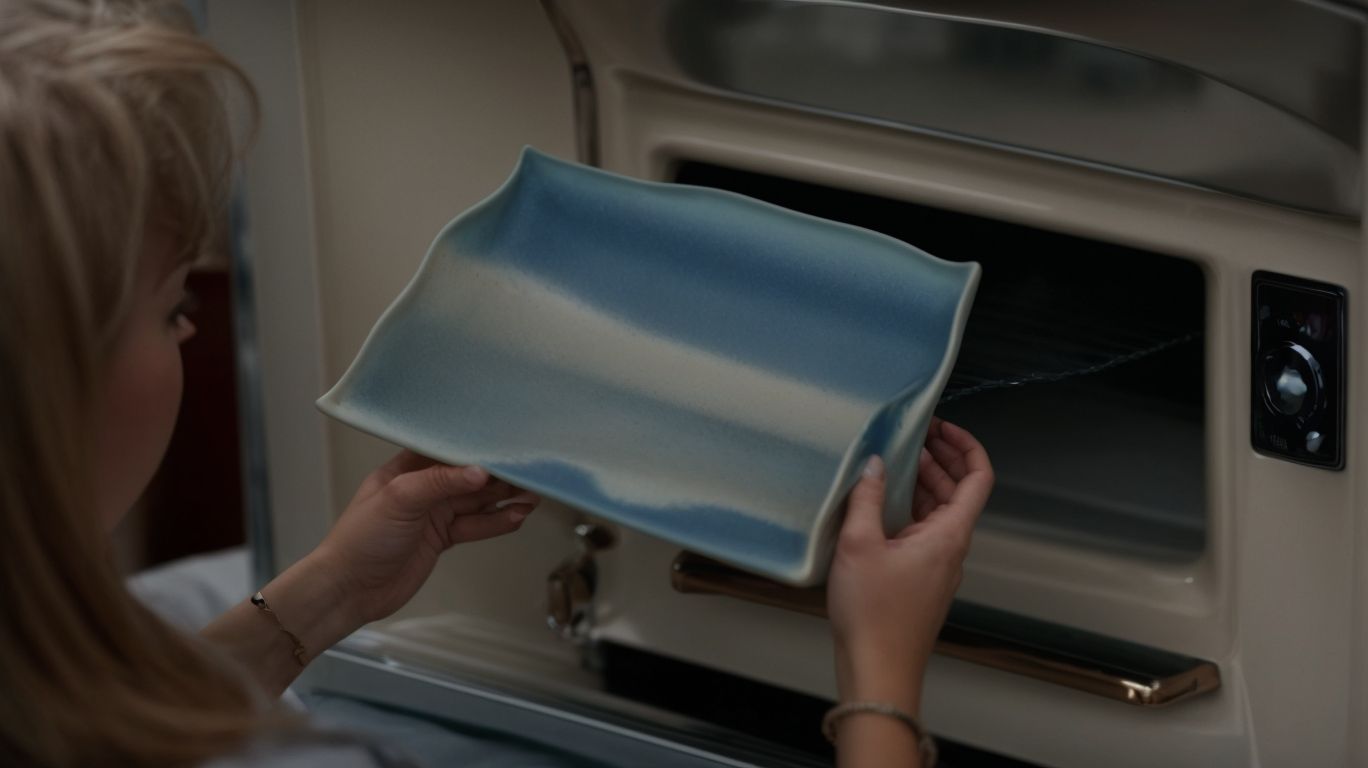
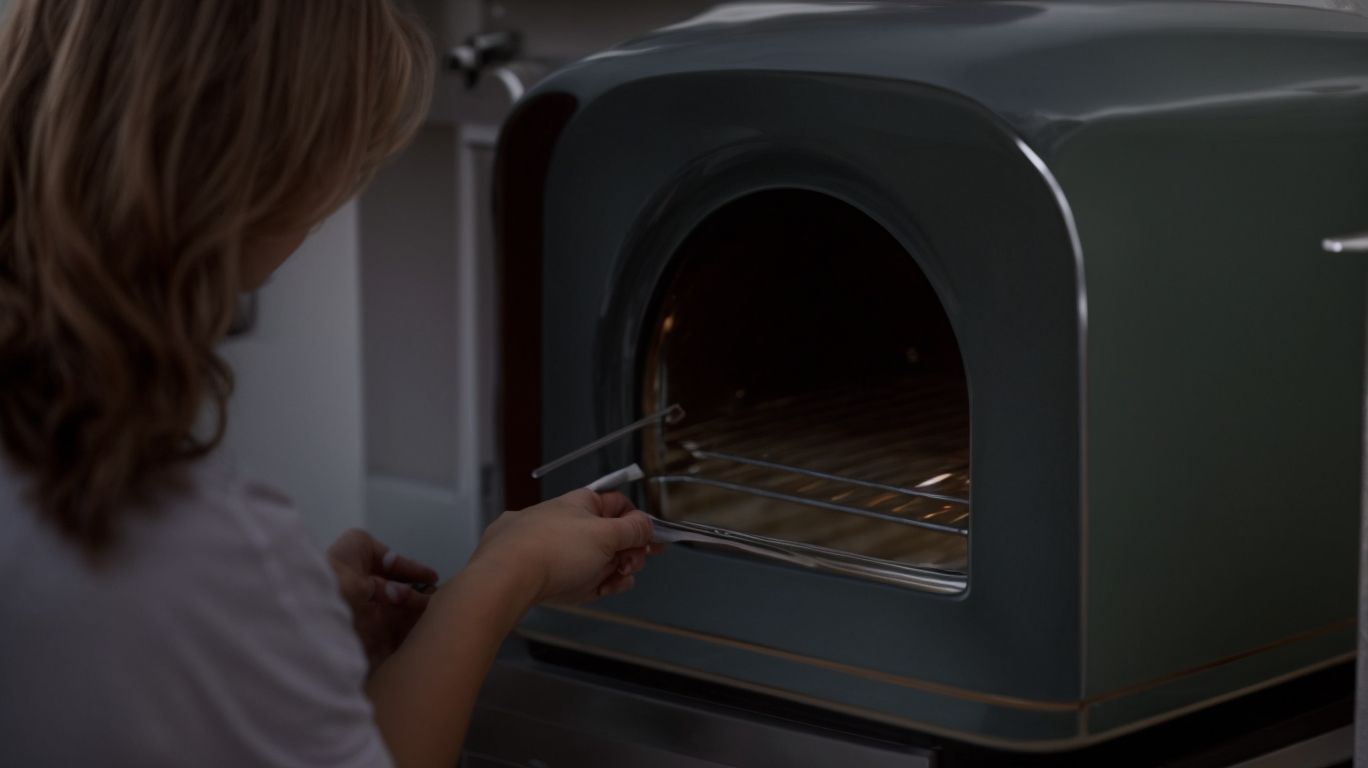
Step 4: Place the Ceramic Piece on an Oven-safe Tray or Baking Dish
Carefully position the painted ceramic piece on an oven-safe tray or baking dish to support the item during the baking process and maintain the integrity of the design.
Placing the ceramic piece on a suitable tray or dish is crucial to prevent any damage or distortion to the design elements. Ensure that the item sits flat and stable to avoid any shifting during the baking process. This not only aids in even heat distribution but also preserves the intricate patterns and colors meticulously painted on the surface.
Step 5: Preheat the Oven
Preheating the oven to the recommended temperature is crucial before placing the ceramic piece inside, especially when working with oil-based paints or aiming for microwave-safe results.
Proper preheating ensures that the paint adheres correctly to the ceramic surface during the baking process, leading to vibrant and durable colors. It also prevents potential cracking or bubbling of the paint due to sudden temperature changes.
For achieving microwave-safe ceramic items, the right temperature control is key; inadequate heat can compromise the final outcome. By carefully preparing the oven and monitoring the baking process, you can ensure that your ceramic creations come out beautifully finished and ready for use.
Step 6: Bake the Ceramic Piece
Bake the painted ceramic piece in the preheated oven according to the specific instructions for greenware or bisque-fired clay to achieve the desired finish and durability.
When baking greenware, it’s essential to slowly increase the temperature to avoid cracking due to any remaining moisture in the clay. On the other hand, bisque-fired clay requires a higher temperature for the glazes to properly adhere and cure.
Following the manufacturer’s instructions is crucial as it ensures that the paint cures correctly, resulting in vibrant colors and a smooth, glossy finish. The baking process plays a significant role in the overall quality of the finished ceramic piece, impacting its durability and appearance.
How Long Should You Bake Ceramic After Painting?
Credits: Poormet.Com – Daniel Green
The duration for baking ceramics after painting varies depending on the type of ceramic, the paint used, and the desired finish, ensuring optimal results for different projects like Easter sale items.
Factors influencing the baking time are crucial in achieving the desired durability and aesthetics in painted ceramics. The ceramic composition plays a significant role, with denser ceramics often requiring longer baking times for the paint to properly set. Similarly, the type of paint utilized can impact the baking duration, as some paints may necessitate lower temperatures and longer baking times for a vibrant, lasting finish.
Project requirements further influence baking times, with intricate designs or multiple layers of paint demanding more time in the oven to ensure a flawless outcome. Seasonal events like Easter sales can introduce time constraints, prompting a need for efficient baking schedules to meet demand without compromising quality.
Tips for Successful Baking of Ceramic Pieces
Credits: Poormet.Com – George Rivera
To ensure successful baking of ceramic pieces, consider using proper painting techniques, choosing quality materials, and following recommended baking guidelines for acrylic paint and ceramics.
Proper painting techniques can significantly impact the final outcome of your painted ceramics. When applying paint, opt for thin, even layers to prevent cracks or chips during baking. Using brushes designed specifically for acrylic paint can help achieve smoother finishes.
When choosing materials, prioritize high-quality acrylic paints that are formulated for use on ceramics. These paints are more likely to adhere well, resist chipping, and produce vibrant colors after baking.
Following the baking guidelines is crucial to ensure that your painted ceramics are durable and long-lasting. Make sure to accurately set the oven temperature according to the instructions provided by the paint manufacturer and allow sufficient baking time for the paint to fully cure.
Conclusion
Credits: Poormet.Com – Roy Allen
In conclusion, baking ceramics after painting is a crucial step to ensure the longevity and quality of your acrylic-painted ceramic items, especially during promotional events or sales.
By subjecting the painted ceramics to controlled heating through the baking process, the acrylic paint bonds more securely to the surface, creating a durable finish resistant to chipping, fading, and cracking over time. This crucial step not only enhances the overall appearance and vibrancy of the painted designs but also strengthens the adhesion of the paint layers, ensuring that the decorative elements remain intact through handling and use.
Frequently Asked Questions
What is the purpose of baking ceramic after painting?
Baking ceramic after painting is a crucial step to set the paint and make it permanent on the surface. It also helps to prevent chipping or peeling of the paint.
Can I use any type of paint for ceramic before baking?
No, it is important to use paint specifically made for ceramic surfaces. Regular acrylic or oil-based paints will not bond properly with the ceramic and will not withstand the baking process.
What temperature and how long should I bake my painted ceramic?
The recommended temperature for baking painted ceramic is typically between 300-350 degrees Fahrenheit. The baking time can range from 30 minutes to an hour, depending on the thickness of the paint and the size of the ceramic object.
Do I need to preheat the oven before baking the ceramic?
Yes, it is important to preheat the oven before baking the ceramic. This ensures that the temperature is consistent and helps the paint to set evenly on the surface.
Can I use a regular home oven to bake my painted ceramic?
Yes, a regular home oven can be used to bake painted ceramic. Just make sure to follow the recommended temperature and baking time to avoid damaging the oven or the ceramic.
Can I wash my painted ceramic after baking?
Yes, you can wash your painted ceramic after baking. However, it is recommended to hand wash it instead of putting it in the dishwasher. This will help to prolong the life of the paint and prevent any potential damage from high heat or harsh chemicals.