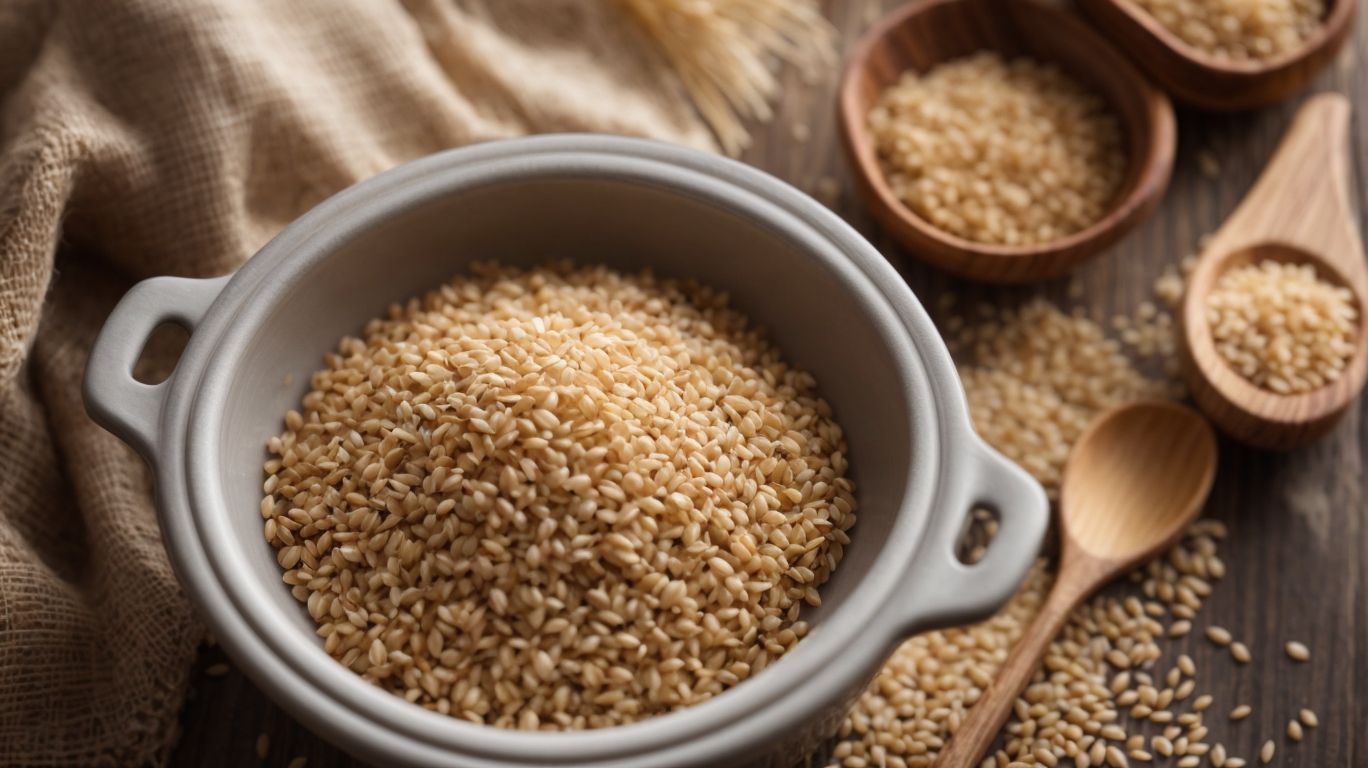
How to Cook Kamut Without Soaking?
Have you ever wondered what exactly Kamut is and why you should cook it without soaking?
In this article, we will explore the purpose of soaking grains, how to cook Kamut without soaking, and the various delicious ways you can enjoy this ancient grain.
Whether you’re looking to add Kamut to salads, make a hearty Kamut bowl, or whip up a comforting Kamut porridge, we’ve got you covered with tips and tricks for cooking Kamut without soaking.
Let’s get cooking!
Key Takeaways:
What is Kamut?
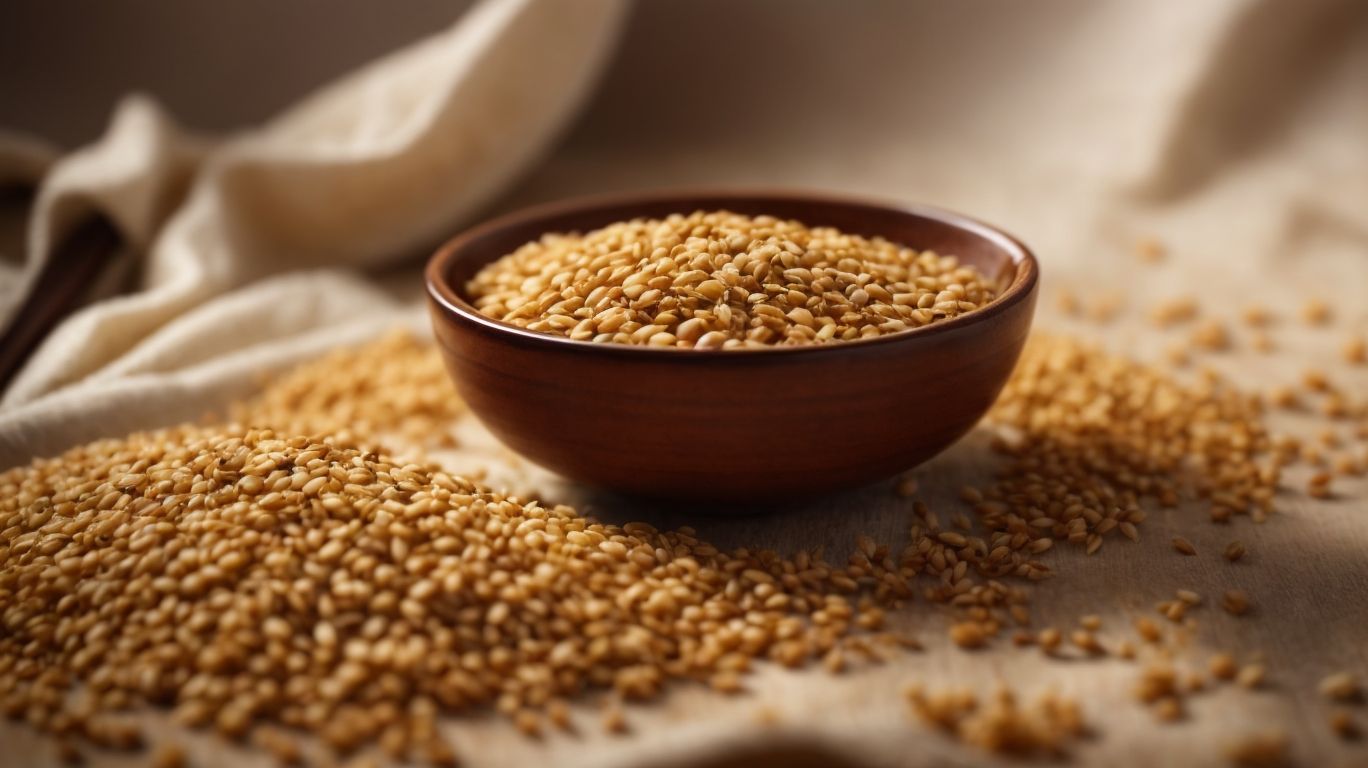
Credits: Poormet.Com – Gary Taylor
Kamut, also known as KAMUT®, is an ancient grain celebrated for its rich nutrient profile, high protein content, and distinctive flavor.
Kamut is revered for being an excellent source of protein, essential for muscle growth and repair. It boasts a unique taste that sets it apart from other grains, with a slightly buttery and nutty flavor. Rich in fiber, vitamins, and minerals, Kamut provides a well-rounded nutritional profile, making it a wholesome choice for those seeking to incorporate more nutritious grains into their diet.
Why Should You Cook Kamut Without Soaking?
Cooking Kamut without soaking offers a convenient way to preserve its texture, flavor, and nutritional value while saving time in the kitchen.
Unsoaked Kamut maintains a pleasant chewiness that adds a delightful contrast in salads or grain bowls. The nutty and buttery flavor of Kamut remains intact when cooked without soaking, making it a flavorful option for various dishes. In addition, skipping the soaking step increases the cooking efficiency, as you can directly simmer or pressure cook Kamut to perfection. This method also provides a quicker turnaround for meals, making it an ideal substitute for those looking to save time without compromising on taste or quality.
What is the Purpose of Soaking Grains?
Soaking grains like wheat can help reduce gluten content, enhance anti-inflammatory properties, and improve digestion by breaking down complex proteins.
When grains are soaked, the process activates enzymes that assist in breaking down gluten proteins, making it easier for individuals with gluten sensitivities to digest.
Soaking grains in water helps release phytic acid, a compound that can inhibit nutrient absorption. By reducing phytic acid levels, the bioavailability of minerals such as iron and zinc increases, leading to better overall nutrient absorption.
Plus aiding digestion, soaking grains can also help mitigate potential inflammation in the body. The process of soaking initiates fermentation, which can enhance the gut microbiome’s health and promote a balanced immune response.
How to Cook Kamut Without Soaking?
Cooking Kamut without soaking is a simple process that can be achieved using a rice cooker, pressure cooker, or traditional stovetop method, popular in regions like Montana and Canada.
When opting for a rice cooker to prepare Kamut without soaking, ensure you add the grain in a 1:2 ratio with water, close the lid, and let it cook. For pressure cooker users, follow the recommended cooking times for Kamut without pre-soaking, which can vary based on the model and size of the cooker. In regions like Montana and Canada, the stovetop method without soaking is a preferred way to retain the nutty flavor and chewy texture of Kamut.
Step 1: Rinse the Kamut
To begin cooking Kamut without soaking, the first step is to thoroughly rinse the grains to remove any debris or excess starch, following the guidance of renowned chef Brad who advocates for this preparation method.
This initial step is crucial in ensuring that the Kamut grains are clean and ready for cooking, as any residue can affect the taste and texture of the final dish. Rinsing also helps to get rid of any impurities that might be present, promoting better digestion and enhancing the overall flavor of the dish.
Step 2: Measure and Add Water
Once the Kamut is rinsed, the next step involves measuring the appropriate amount of water as per cooking instructions, a tip often recommended by Bob’s Red Mill for optimal results.
Bob’s Red Mill typically suggests using a ratio of 2 cups of water for every 1 cup of Kamut when cooking this ancient grain to achieve the perfect texture and consistency. This precise water measurement is crucial to ensure that the Kamut cooks evenly and absorbs just the right amount of moisture during the cooking process.
Step 3: Bring to a Boil
After adding water, bring the Kamut to a gentle boil, a crucial stage in the cooking process highlighted by culinary enthusiasts like JamieMama for achieving the perfect texture.
Boiling Kamut helps to soften the grain evenly, ensuring a consistent texture throughout your dish. By bringing it to a boil, you activate the starches within the Kamut, enhancing its creaminess and nutty flavor. This step also allows the Kamut to absorb flavors from any spices or seasonings you add during cooking.
Experts like JamieMama recommend keeping a close eye on the boiling process to prevent the Kamut from becoming mushy. Maintaining a gentle boil prevents the grains from breaking apart while still cooking thoroughly.
Step 4: Reduce Heat and Simmer
Once boiling, reduce the heat and allow the Kamut to simmer according to the recommended cooking time, following precise instructions provided by culinary expert Susan G. for optimal results.
Simmering Kamut is a crucial step to ensure a perfectly cooked and flavorful dish. During this process, the grains slowly absorb the surrounding flavors while retaining their unique texture.
It is essential to maintain a gentle simmer to prevent the Kamut from becoming too mushy or undercooked. Susan G.’s guidance emphasizes the importance of patience and accuracy in timing to achieve the desired consistency.
By closely monitoring the heat level and adhering to the specified cooking duration, you can unlock the full potential of Kamut’s nutty taste and chewy nature.
Step 5: Check for Doneness
To ensure the Kamut is cooked to perfection, periodically check for doneness by tasting the grains and assessing the desired texture, a technique favored by cooking enthusiasts like hardlikearmour.
When tasting the Kamut, look for a tender, yet chewy consistency, indicating it is cooked just right. Avoid overcooking, which can result in a mushy texture that compromises the dish’s integrity.
- Adjust the cooking time based on personal preference, whether you enjoy a slightly firmer or softer grain.
For a more flavorful outcome, consider cooking Kamut in broth instead of water, enhancing its taste profile with added depth.
Step 6: Drain and Serve
Once the Kamut reaches the desired consistency, drain any excess liquid and serve the cooked grains in a dish, preparing for a delightful meal presentation, as recommended by Walmart for home cooks.
For a visually appealing presentation, consider layering the Kamut in a wide-rimmed bowl or on a decorative platter. You can garnish it with fresh herbs, like parsley or cilantro, to add a pop of color and freshness. Walmart suggests pairing Kamut with grilled vegetables or a protein of your choice for a well-rounded meal. To elevate the dish further, you can drizzle a flavorful sauce or dressing over the grains before serving. Remember, a well-presented dish not only looks scrumptious but also entices the taste buds for a memorable dining experience.
What Can You Do With Cooked Kamut?
Cooked Kamut offers versatile culinary options, including adding it to salads, creating a nourishing Kamut bowl, using it as a flavorful side dish, making creamy Kamut porridge, or enhancing soups and stews with its wholesome texture.
For a refreshing and healthy salad, toss cooked Kamut with colorful veggies, feta cheese, and a zesty citrus vinaigrette.
When crafting a nourishing Kamut bowl, top the cooked grain with roasted vegetables, grilled chicken, avocado slices, and a drizzle of tahini dressing for a satisfying meal.
To elevate a weeknight dinner, serve cooked Kamut as a flavorful side dish alongside grilled salmon or herb-roasted chicken.
For a cozy breakfast option, simmer cooked Kamut with almond milk, cinnamon, and a touch of honey to create a creamy and comforting Kamut porridge.
When looking to add heartiness to soups and stews, stir in cooked Kamut near the end of cooking for an extra boost of nutrition and texture.
Add it to Salads
Incorporate cooked Kamut into vibrant salads for a hearty and nutritious meal, using creative recipes that showcase its versatility, with Einkorn as a complementary ingredient known to elevate flavors.
If you’re looking to add a satisfying crunch and nutty flavor to your salads, cooked Kamut is an excellent choice. This ancient grain is packed with fiber, protein, and essential nutrients, making it a wholesome addition to your diet.
Mixing Kamut with Einkorn, another ancient grain that adds a subtle sweetness, creates a delightful balance of flavors and textures.
Try a refreshing Kamut and Einkorn salad with a zesty lemon-dijon dressing, or a colorful Mediterranean-inspired grain bowl featuring roasted vegetables and feta cheese.
These salads not only taste fantastic but also provide a healthy dose of vitamins and minerals.
Make a Kamut Bowl
Craft a wholesome Kamut bowl by layering cooked grains with fresh ingredients, offering a visually appealing presentation and the option to enhance flavors with delicious garnishes like oat groats.
Begin by selecting a beautiful bowl to serve your Kamut creation in; this sets the stage for a delightful meal experience. Consider using a wide, shallow bowl to showcase the colorful layers.
Next, carefully spoon the cooked Kamut onto the base, creating a sturdy foundation for the toppings. Then, artfully arrange vibrant seasonal vegetables, protein sources like grilled chicken or tofu, and healthy fats such as avocado slices around the bowl.
To elevate the flavors further, sprinkle crunchy oat groats for texture, drizzle with a tangy lemon tahini dressing, and finish off with a sprinkle of fresh herbs or a dash of smoky paprika. These additions not only enhance the taste but also make your Kamut bowl a visual masterpiece.
Share your creativity by experimenting with different combinations and enjoying the versatile nature of this wholesome dish.
Use it as a Side Dish
Pair cooked Kamut with main courses as a delightful side dish, complementing flavors and textures for a well-balanced meal, with farro as a potential alternative to diversify side dish options.
When serving Kamut as a side dish, consider flavor pairings such as herbs like rosemary or thyme to bring out its nutty undertones. Adding roasted vegetables like carrots or sweet potatoes can provide a pop of color and a contrasting texture to the dish. For a more substantial meal, mix in some roasted chickpeas or tofu cubes for added protein and a satisfying crunch.
Exploring different options, you could also substitute Kamut with other ancient grains like quinoa or barley to create diversity in your side dish repertoire. These grains offer their own distinct flavors and textures, providing a whole new dimension to your meals. Experiment with different combinations until you find the perfect match for your main course.
Make Kamut Porridge
Transform cooked Kamut into a creamy and nutritious porridge, ideal for breakfast, customizing it with flavorful toppings and incorporating spelt berries to enhance the porridge experience.
To prepare a delicious Kamut porridge, start by cooking whole Kamut grains until they are tender. Drain any excess water and transfer the cooked Kamut to a saucepan. Add your choice of milk or plant-based alternative, such as almond milk, to the pan and gently simmer the mixture until it thickens into a smooth consistency. As the porridge cooks, consider enhancing the flavor profile with a touch of honey or maple syrup for natural sweetness.
When serving the Kamut porridge, the topping options are endless. For a burst of freshness, top the creamy porridge with sliced fruits like bananas, berries, or a sprinkle of nuts and seeds for added crunch and texture. You can also experiment with warm spices like cinnamon or nutmeg for a cozy flavor twist. Mixing in chia seeds or flaxseed meal can further boost the nutritional value of this wholesome breakfast dish.
For those seeking variety, consider incorporating spelt berries into the Kamut porridge. Spelt berries, with their nutty and slightly sweet flavor, add an extra dimension to the porridge and complement the creamy texture of the Kamut. By blending these two ancient grains together, you create a hearty and satisfying breakfast option that will fuel your day with wholesome goodness.
Add it to Soups or Stews
Enhance the heartiness of soups and stews by incorporating cooked Kamut, adding a chewy texture and nutty flavor to these comforting dishes, with Emmer wheat as a suitable grain alternative for culinary experimentation.
Cooked Kamut, a versatile ancient grain, not only imparts a robust element to soups and stews but also offers a delightful contrast to the tender vegetables and savory broths. Its chewy texture holds up well even when simmered for long periods, making it a fantastic choice for hearty dishes that require prolonged cooking times. The nutty essence of Kamut infuses the broth with a subtle richness, enhancing the overall depth of flavors that develop as the dish simmers.
When considering Emmer wheat, also known as farro, as another grain option, you open the door to a slightly denser texture compared to Kamut, providing a different mouthfeel to your culinary creations. Emmer wheat’s earthy notes can complement the medley of ingredients in your soup recipes and stew concoctions, bringing a unique taste profile to the table. Experimenting with Emmer wheat alongside Kamut allows for a diverse range of flavors and textures, enabling you to tailor your dishes to suit different preferences.
Tips for Cooking Kamut Without Soaking
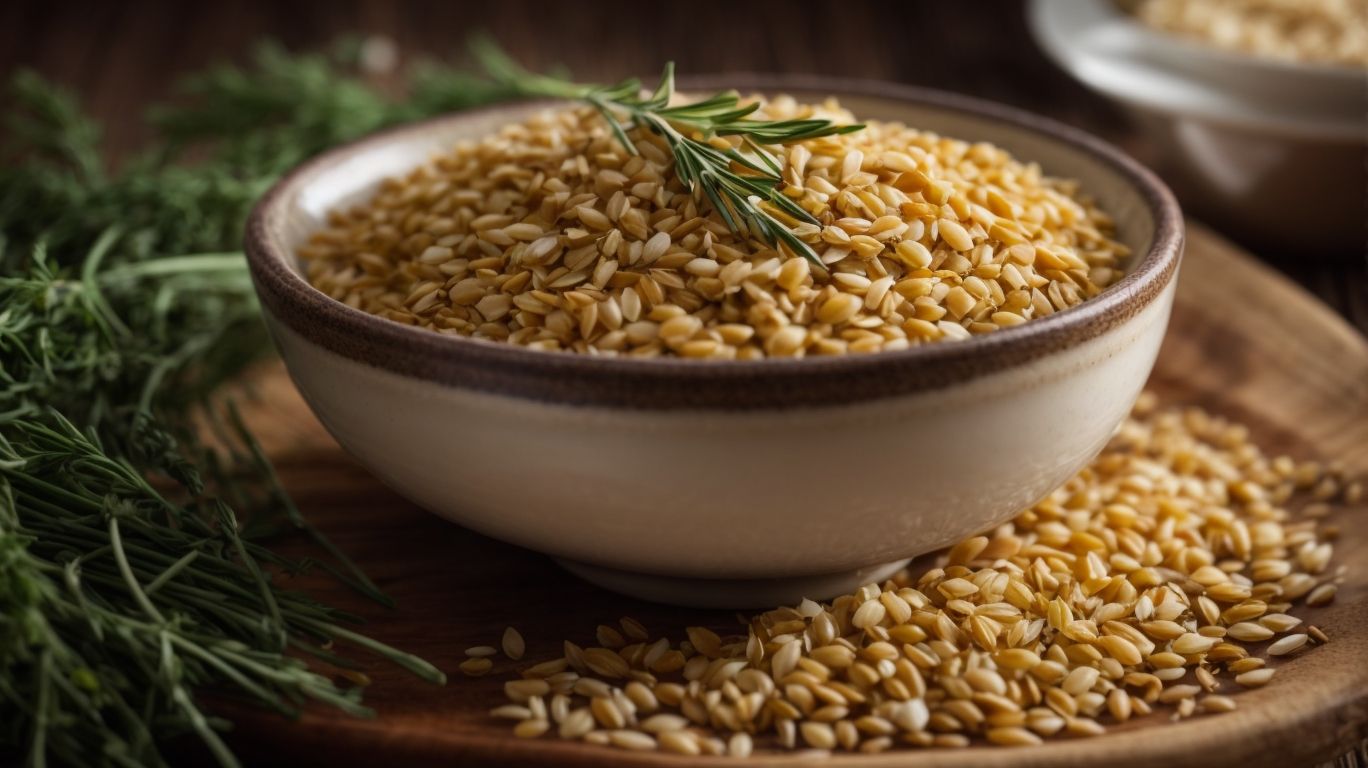
Credits: Poormet.Com – Brian Flores
When cooking Kamut without soaking, consider using a large pot to prevent overcrowding, avoid overcooking the grains to maintain their ideal texture, and experiment with flavorful ingredients to elevate the dish.
Using a large pot allows the grains to cook evenly and ensures a better outcome. It’s also essential to keep an eye on the cooking duration, typically around 30-40 minutes, depending on the desired tenderness. To enhance the flavor profile, try adding aromatic herbs like thyme or rosemary, a pinch of sea salt for seasoning, or a splash of olive oil for richness.
Use a Large Pot
Select a spacious cooking vessel, such as a large pot or pressure cooker, when preparing Kamut without soaking to ensure even cooking and ample room for expansion during the process.
Using a large pot or pressure cooker for cooking Kamut is essential to avoid overcrowding and ensure each grain expands uniformly. This spaciousness allows the grain to cook evenly, absorbing flavors and retaining its nutritional value. A pot with a tight-fitting lid is also advisable to trap steam and maintain the right level of moisture while cooking. Consider the size of the pot in relation to the amount of Kamut you are cooking to prevent overflow and achieve perfect results.
Don’t Overcook the Kamut
Avoid overcooking Kamut to preserve its chewy texture and nutty flavor profile, ensuring to follow recommended cooking times and monitoring the process closely, especially when using a rice cooker.
When cooking Kamut, it’s crucial to strike a balance between tenderness and retaining its natural bite. Overcooking can turn these tiny grains mushy and affect their signature texture. To get it just right, consider using a ratio of 2 cups of water to 1 cup of Kamut and simmering it for about 40-45 minutes. Watch the process, as each cooking appliance may vary in cooking times and methods.
Add Flavorful Ingredients
Enhance the taste of cooked Kamut by incorporating flavorful ingredients and seasonings, experimenting with a variety of herbs, spices, and condiments, inspired by local offerings from places like the DeKalb Farmers Market.
When seeking culinary inspiration for your Kamut dishes, consider exploring exotic spices such as sumac or za’atar, which can add a unique Middle Eastern flair. Visiting local markets like the DeKalb Farmers Market offers a plethora of fresh produce that can complement the nutty flavor of Kamut. Try incorporating seasonal vegetables such as roasted red peppers, cherry tomatoes, or sautéed kale to create a vibrant and wholesome dish.
Frequently Asked Questions
1. How do I cook Kamut without soaking it?
To cook Kamut without soaking, start by rinsing the grains thoroughly in water. Then, add 1 cup of Kamut to 3 cups of water in a pot. Bring it to a boil, reduce the heat, and simmer for about 45 minutes. Once the grains are tender, drain any excess water and let it cool before using in your desired recipe.
2. Can I skip the soaking process when cooking Kamut?
Yes, you can skip the soaking process when cooking Kamut. Soaking is not necessary, but it can help reduce the cooking time and make the grains easier to digest. If you choose to skip soaking, make sure to rinse the grains thoroughly before cooking.
3. How long does it take to cook Kamut without soaking?
It takes about 45 minutes to cook Kamut without soaking. However, the cooking time may vary depending on the desired tenderness of the grains. You can check for tenderness after 40 minutes and continue cooking if needed.
4. Can I use a rice cooker to cook Kamut without soaking?
Yes, you can use a rice cooker to cook Kamut without soaking. Simply follow the same ratio of 1 cup of Kamut to 3 cups of water and cook it on the “white rice” setting. It may take slightly longer than cooking on the stovetop, but the results will be the same.
5. Are there any benefits to soaking Kamut before cooking?
Soaking Kamut before cooking can help reduce the cooking time and make the grains easier to digest. It also helps to remove any dirt or debris from the grains. Additionally, soaking can enhance the nutritional value of Kamut by increasing its bioavailability.
6. What are some recipe ideas for cooked Kamut without soaking?
Cooked Kamut without soaking can be used in a variety of recipes, such as soups, salads, stir-fries, and grain bowls. You can also use it as a substitute for rice or other grains in your favorite dishes. Get creative and experiment with different flavors and ingredients to make a delicious and nutritious meal.

