How to Cook Turkey After Dry Brine?
Looking to elevate your Thanksgiving feast with a perfectly juicy and flavorful turkey? Dry brining might just be the secret ingredient you’ve been missing.
Discover what dry brining is, why it’s beneficial for your turkey, and how to do it effectively. Explore the best cooking methods, temperatures, and tips to ensure your dry-brined turkey is a show-stopping success on your holiday table.
Master the art of cooking a dry-brined turkey and make your Thanksgiving dinner truly special!
Key Takeaways:
What is Dry Brining?
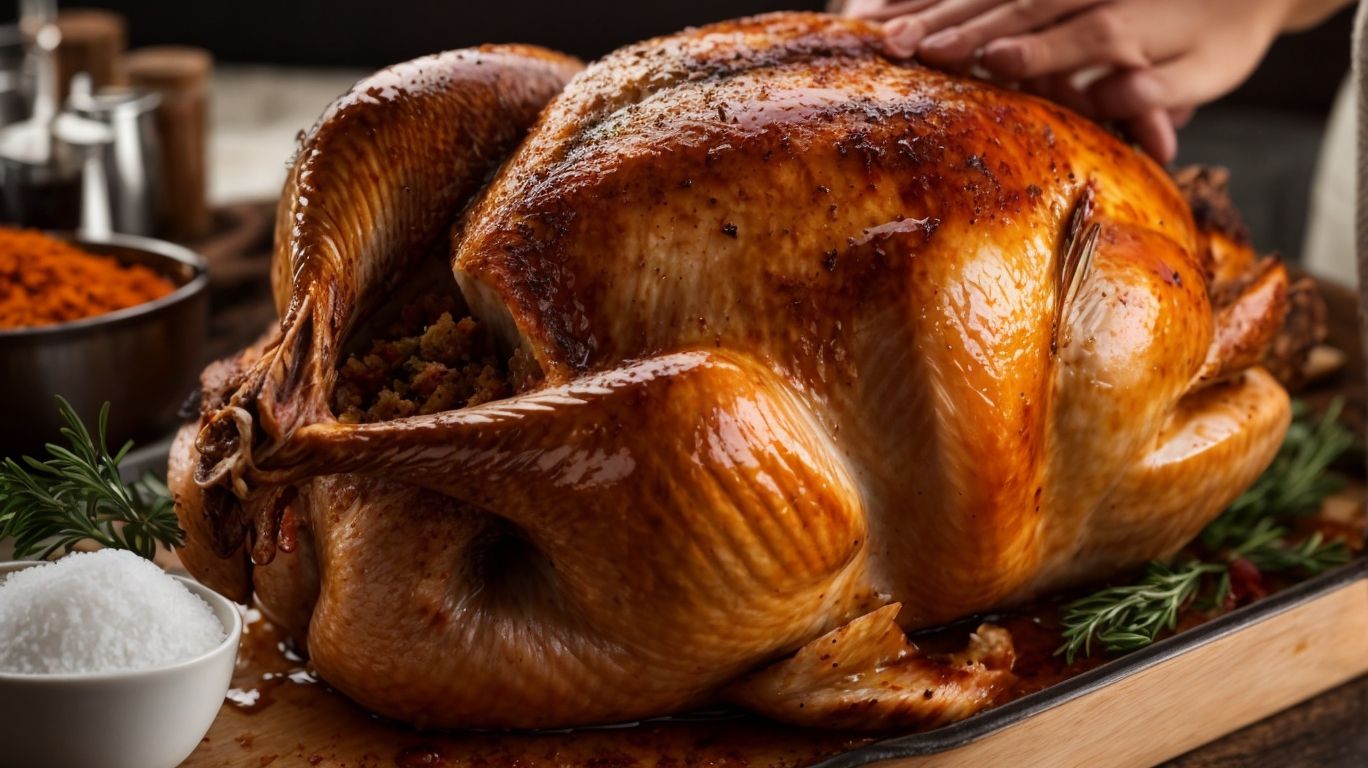
Credits: Poormet.Com – Gerald Garcia
Dry brining is a process of seasoning meat, such as turkey, by rubbing it with salt and letting it rest in the refrigerator. Unlike wet brining, dry brining involves applying salt directly to the meat’s surface without the use of liquids.
During the resting period in the refrigerator, the salt works its magic. It draws out moisture from the meat, which then dissolves the salt. The salt is then reabsorbed into the meat, bringing the seasoning deep into the turkey. This process not only enhances the flavors but also helps to retain the moisture within the meat, resulting in a juicy and tender turkey.
Why Dry Brine a Turkey?
Dry brining a turkey is preferred for achieving crispy skin, juicy meat, and enhanced flavors. The salt used in dry brining draws out moisture from the turkey and then gets reabsorbed, resulting in a well-seasoned and succulent bird.
This process not only imparts deep flavors into the meat but also helps to retain its natural juices, making every bite incredibly tender and succulent. The salt acts as a natural tenderizer, ensuring that the turkey remains moist during the cooking process.
Unlike wet brining, dry brining doesn’t add excess liquid to the turkey, which can dilute the flavors. The concentrated seasoning of a dry brine penetrates the meat more effectively, enhancing the overall taste profile of the bird.
How to Dry Brine a Turkey?

Credits: Poormet.Com – Alan Hernandez
To dry brine a turkey, generously coat the bird with a mixture of salt, herbs, and seasonings, ensuring to cover both the exterior and cavity. For added richness, consider incorporating softened butter into the mix for enhanced flavors.
Start by loosening the skin of the turkey from the meat gently with your hands, being careful not to tear it. This will create space for the brine mixture to penetrate the meat effectively. Next, rub the seasoned mixture generously all over the turkey, making sure to reach every nook and cranny for even distribution of flavors. Then, carefully lift the skin near the cavity and apply some of the brine mixture directly inside.
- After seasoning the turkey, place it in a large sealable bag or wrap it tightly in plastic wrap.
- Refrigerate the bird for at least 24 hours to allow the salt to work its magic and the flavors to meld together.
- Remember to turn the turkey occasionally to ensure uniform brining.
When ready to roast, take the turkey out, rinse off the excess brine, pat it dry, and let it come to room temperature before cooking for a juicy and flavorful centerpiece to your feast.
What Ingredients Do You Need?
For dry brining a turkey, gather essential ingredients such as salt, a variety of herbs like parsley and rosemary, butter, and any additional seasonings you prefer.
Choosing a high-quality salt is crucial for enhancing the flavor of the turkey during the brining process.
Fresh herbs not only add aromatic fragrance but also infuse the meat with a rich taste.
If you want to add a personal touch, consider incorporating spices like smoked paprika, garlic powder, or even citrus zest into the mix.
This customization allows you to tailor the seasoning to your preferences, creating a unique and delicious turkey dish.
What Is the Ratio of Salt to Turkey?
The recommended salt-to-turkey ratio for dry brining is typically around 1 tablespoon of salt per 5 pounds of turkey. Adjust the quantity based on the size of the bird for optimal seasoning.
This ratio is crucial for ensuring that the turkey absorbs just the right amount of salt to enhance its natural flavors without overpowering them. When determining the salt-to-turkey ratio, it’s essential to consider the weight of the bird as larger turkeys will require more salt for even seasoning.
To calculate the appropriate amount of salt, simply divide the total weight of the turkey by 5 to determine the number of tablespoons to use. This meticulous adjustment guarantees that every bite of your roasted turkey delivers the perfect balance of flavor, making your holiday feast a memorable culinary experience.
How Long Should You Dry Brine a Turkey?
The ideal duration for dry brining a turkey is usually 12 to 24 hours. Allowing the salt to penetrate the meat over this period enhances the flavors and ensures a well-seasoned bird.
For those looking to elevate the taste experience further, extending the brining time up to 48 hours can deepen the flavor profile even more. During this extended period, the salt has ample time to work its magic, infusing the turkey with savory goodness throughout. The longer brining time also helps in tenderizing the meat, making it juicier and more succulent when cooked.
Should You Rinse Off the Brine?
After dry brining, it is not necessary to rinse off the brine.
The salt will have worked its magic by flavoring and tenderizing the turkey during the resting period.
Rinsing off the brine could actually wash away some of the flavorful seasoning that has been absorbed by the meat, impacting the final taste.
The salt in the brine helps to draw out moisture from the meat, creating a favorable environment for tenderizing the turkey.
How to Cook a Dry Brined Turkey?
Cooking a dry-brined turkey involves roasting it in the oven to perfection, ensuring a flavorful and moist result that delights both the chef and guests alike.
After the turkey has been properly dry-brined, it’s important to preheat the oven to the ideal temperature, typically around 325°F to 350°F, depending on the size of the bird.
Roasting the turkey slowly at a moderate temperature allows the flavors to develop beautifully while keeping the meat tender and moist. Remember to baste the turkey occasionally during the cooking process to enhance its juiciness and maintain its succulence.
What Cooking Method Should You Use?
For a dry-brined turkey, roasting is the preferred cooking method, as it helps seal in the juices and develop a crispy skin on the bird, creating a delightful texture.
Roasting a dry-brined turkey offers a myriad of advantages beyond just enhancing the juiciness and texture of the meat. The dry-brining process itself helps to tenderize the turkey by allowing the salt to penetrate the meat, resulting in a more flavorful and succulent end product. When paired with the roasting technique, the turkey’s natural flavors are sealed in, creating a rich and moist interior that perfectly complements the crispy, golden-brown exterior.
What Temperature Should the Oven Be Set To?
Preheat the oven to an initial high temperature, typically around 425°F, to give the turkey a good sear, then lower it to around 325°F for the remainder of the cooking time to ensure even roasting.
Starting at a high temperature helps to seal in the juices of the turkey, creating a beautifully crispy and flavorful exterior. This initial searing process is essential for locking in the moisture, enhancing the overall taste and texture of the bird. It also jumpstarts the cooking process, setting the stage for the following slow roast at a lower temperature.
Slow-roasting at 325°F allows the heat to penetrate evenly throughout the turkey, ensuring that it cooks uniformly from the inside out. This gentle cooking method helps in retaining the tenderness of the meat while developing those rich, savory flavors that we all crave during the holiday season.
How Long Should You Cook the Turkey?
The cooking time for a dry-brined turkey depends on its weight, typically ranging from 2.5 to 3 hours for a medium-sized bird. Use a meat thermometer to check for doneness.
When dealing with a weight-dependent dish like a turkey, ensuring it is cooked to perfection involves a bit of precision. For every pound of turkey, estimate about 13-15 minutes of cooking time in an oven set to 325°F (165°C). Always verify the readiness of your turkey by using a reliable meat thermometer. Insert it into the thickest part of the thigh without touching the bone, and wait until it reaches at least 165°F (74°C) for safe consumption.
How Do You Know When the Turkey is Done?
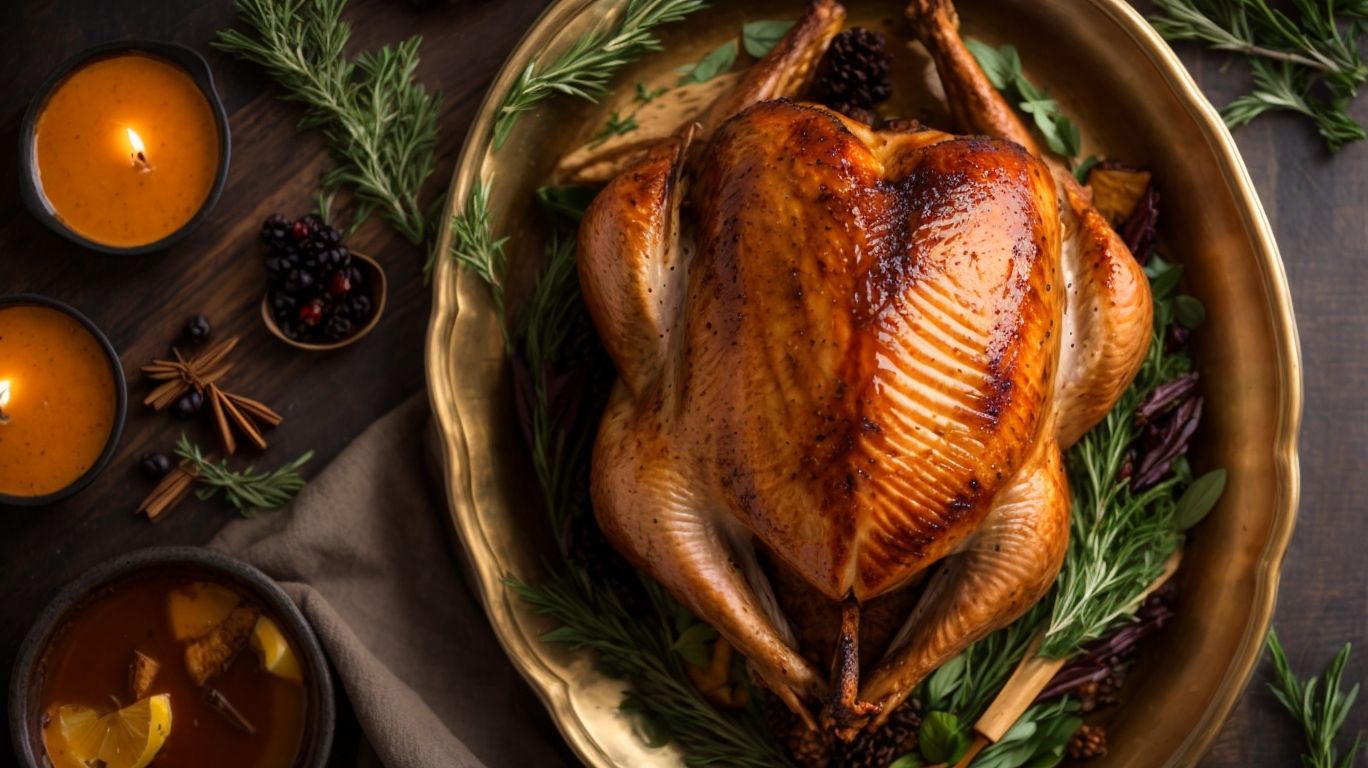
A dry-brined turkey is ready when its internal temperature reaches 165°F, and the juices run clear. The meat should be moist, and the skin golden brown for a perfectly cooked bird.
When checking the internal temperature, ensure that the thermometer is inserted into the thickest part of the thigh without touching the bone to get an accurate reading. Observe the clarity of the juices that flow from the bird when pierced – they should be transparent without any pink tinge.
Another vital aspect to consider is the texture of the meat. It should be tender and juicy, ensuring an enjoyable dining experience. The skin of the turkey should be crisp and golden, indicating a well-browned exterior that adds both flavor and visual appeal to the dish.
What Are Some Tips for Cooking a Dry Brined Turkey?
To elevate your dry-brined turkey, remember to let it rest before carving, baste it with butter for added richness, use a meat thermometer for precision, and save the flavorful drippings for making delicious gravy.
Resting the turkey allows the juices to redistribute, ensuring a moist and succulent final result.
When basting, consider adding herbs or garlic to the butter for extra flavor layers.
Using a meat thermometer guarantees that your turkey is cooked to perfection, preventing any risk of over or undercooking.
And don’t forget to deglaze the roasting pan with stock or wine to create a delectable gravy that complements the bird beautifully.
Let the Turkey Rest Before Carving
Allow the dry-brined turkey to rest for around 20-30 minutes after cooking to let the juices redistribute, ensuring a more flavorful and tender meat when carved.
Resting the turkey post-cooking is a crucial step in the process of achieving a succulent and delicious bird. This timeframe allows the juices to settle back into the meat, keeping it moist and full of flavor. By giving the turkey this moment to relax, you are essentially giving it time to reabsorb some of its flavorful juices, leading to a more tender and enjoyable eating experience. It’s like a final step in perfecting your culinary creation, ensuring that all your efforts in dry-brining are truly maximized for the best possible outcome.
Baste the Turkey with Butter
While roasting, baste the dry-brined turkey with melted butter at regular intervals to infuse richness, flavor, and help maintain the bird’s succulence throughout the cooking process.
Butter plays a crucial role in enhancing the taste and texture of the turkey. As the butter melts and blends with the natural juices of the meat, it creates a luscious basting liquid that seeps into the turkey, keeping it tender and moist. The butter also adds a depth of flavor, contributing a rich and savory essence to the bird. This process not only ensures a beautifully browned exterior but also results in a more flavorful and succulent turkey that will be a centerpiece on any dining table.
Use a Meat Thermometer
Ensure the turkey is cooked to perfection by using a meat thermometer to check the internal temperature, guaranteeing a safe and delicious dining experience.
When dry-brining a turkey, it’s crucial to rely on a meat thermometer for determining doneness accurately. This handy kitchen tool takes the guesswork out of cooking by providing real-time temperature readings. Whether you prefer a classic roasting method or are experimenting with advanced cooking techniques, the meat thermometer acts as a reliable partner in achieving that ideal balance of juicy and flavorful turkey meat.
Save the Drippings for Gravy
Collect the flavorful drippings from the cooked dry-brined turkey to create a delicious gravy that complements the meat and adds an extra layer of richness to the dining experience.
When you extract these drippings, do not discard the golden liquid gold that pools at the bottom of your roasting pan as it holds immense flavor potential. By incorporating the drippings into your gravy recipe, you infuse the sauce with the essence of the turkey, resulting in a velvety and deeply flavorful accompaniment.
The synergy between the turkey drippings and the meat is crucial; the drippings capture the essence of the turkey’s flavors, creating a gravy that not only enhances the taste of the meat but also ties all the elements of your Thanksgiving feast together seamlessly. Serving this savory gravy with the turkey completes the dish and elevates the overall dining experience.
Frequently Asked Questions
How to Cook Turkey After Dry Brine?
1. What is dry brining and why should I use it when cooking turkey?
Dry brining is a method of salting the turkey before cooking, which helps to lock in moisture and enhance the flavor of the meat. It also helps to create a crispy skin on the turkey.
2. How long should I dry brine my turkey before cooking?
It is recommended to dry brine your turkey for at least 24 hours before cooking, but you can also leave it in the fridge for up to 3 days for maximum flavor and tenderness.
3. Can I dry brine a frozen turkey?
No, it is not recommended to dry brine a frozen turkey. The turkey should be thawed completely before brining to ensure that the salt is evenly distributed and properly absorbed.
4. Do I need to rinse off the dry brine before cooking?
No, you do not need to rinse off the dry brine before cooking. The salt will have been absorbed into the meat, so there is no need to wash it off.
5. How do I cook a turkey after dry brining?
Once your turkey is dry brined, you can cook it using your preferred method, such as roasting, smoking, or deep frying. Just make sure to adjust the cooking time and temperature according to the size of your turkey.
6. Can I use a dry brine on other types of meat?
Yes, you can use a dry brine on other types of meat, such as chicken, pork, or beef. Just make sure to adjust the amount of salt used based on the size and type of meat.

