How to Cook Black Eyed Peas From Frozen?
Looking to cook delicious and nutritious black eyed peas from frozen but not sure where to start?
This article covers everything you need to know about these versatile legumes – from their nutritional benefits to choosing and buying the best frozen black eyed peas.
Learn how to cook black eyed peas on the stove, in a slow cooker, and in an Instant Pot with step-by-step instructions. Get ready to jot down valuable tips and serving suggestions for this pantry staple. Let’s get cooking!
Key Takeaways:
What are Black Eyed Peas?
Black-eyed peas, also known as cowpeas, are a type of legume that are popular for their versatility in cooking and their nutritious properties.
These small, creamy white beans with a distinctive black spot are widely utilized in African, Southern, and Latin American cuisines.
They are prized for their ability to absorb flavors, making them perfect for stews, soups, and salads.
Black-eyed peas are not only delicious but also offer a plethora of health benefits, including being rich in fiber, protein, folate, and minerals like potassium and iron.
What are the Nutritional Benefits of Black Eyed Peas?
Black-eyed peas are packed with essential nutrients such as fiber, protein, and vitamins, making them a healthy choice for a balanced diet.
The fiber content in black-eyed peas aids in digestion by promoting a healthy gut flora and preventing constipation, offering digestive regularity and supporting overall gastrointestinal health. The protein richness of black-eyed peas makes them an excellent plant-based protein source for vegetarians and vegans, contributing to muscle repair and growth. Their high levels of vitamins, including folate, vitamin A, and vitamin C, further boost immunity and promote healthy skin and vision. Incorporating black-eyed peas into meals can help to reduce cholesterol levels, regulate blood sugar, and support heart health.
How to Choose and Buy Frozen Black Eyed Peas?
When selecting frozen black-eyed peas, opt for packages that are well-sealed and free of any ice crystals, ensuring their freshness and quality.
It is crucial to check the expiration date on the packaging to guarantee that the black-eyed peas are still within their ideal consumption period. Inspect the package for any signs of damage or tears, as this could indicate improper storage or handling.
Storing frozen black-eyed peas properly is essential to maintain their taste and texture. Make sure to keep them in a freezer that maintains a consistent temperature below 0°F (-18°C) to prevent any thawing or freezer burn.
Proper storage will help preserve the flavor and nutrients of the black-eyed peas, ensuring a delightful meal every time you cook with them.
How to Thaw Frozen Black Eyed Peas?
Credits: Poormet.Com – Anthony Moore
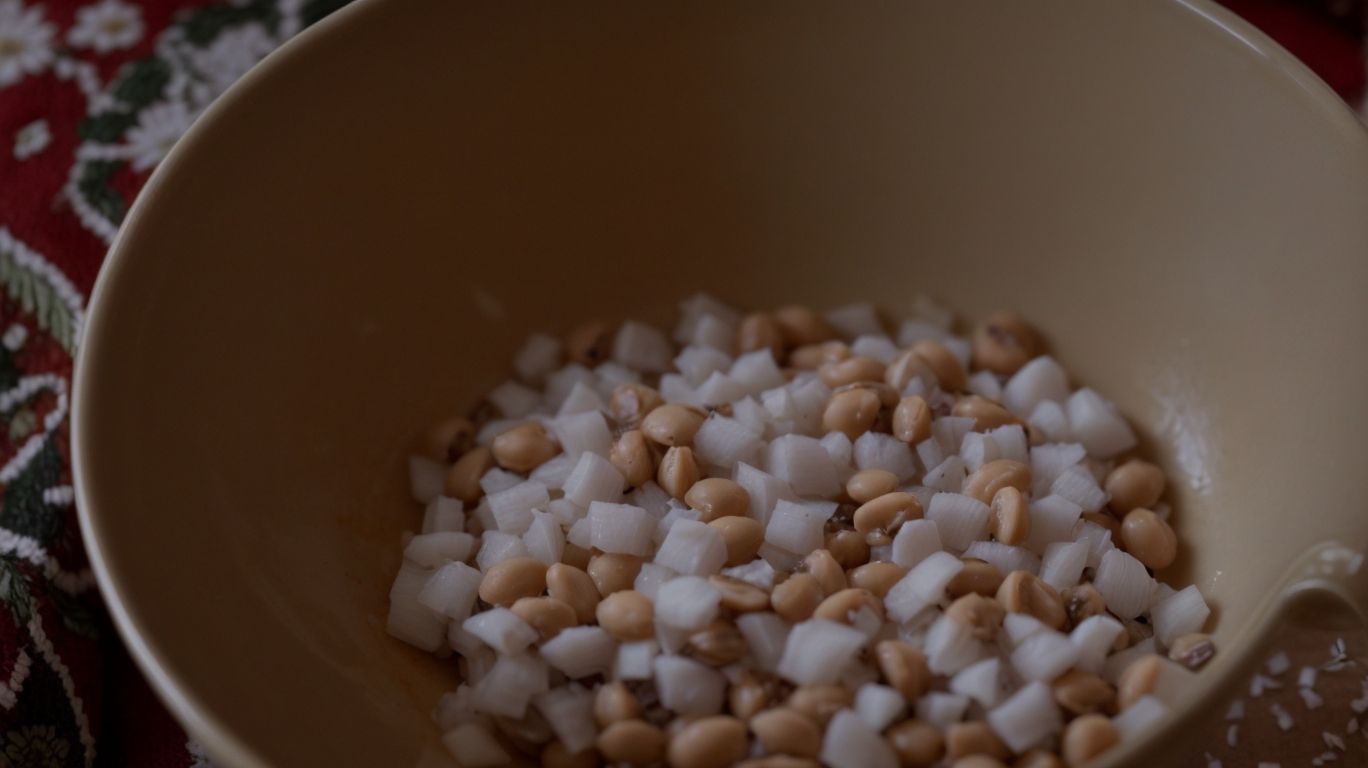
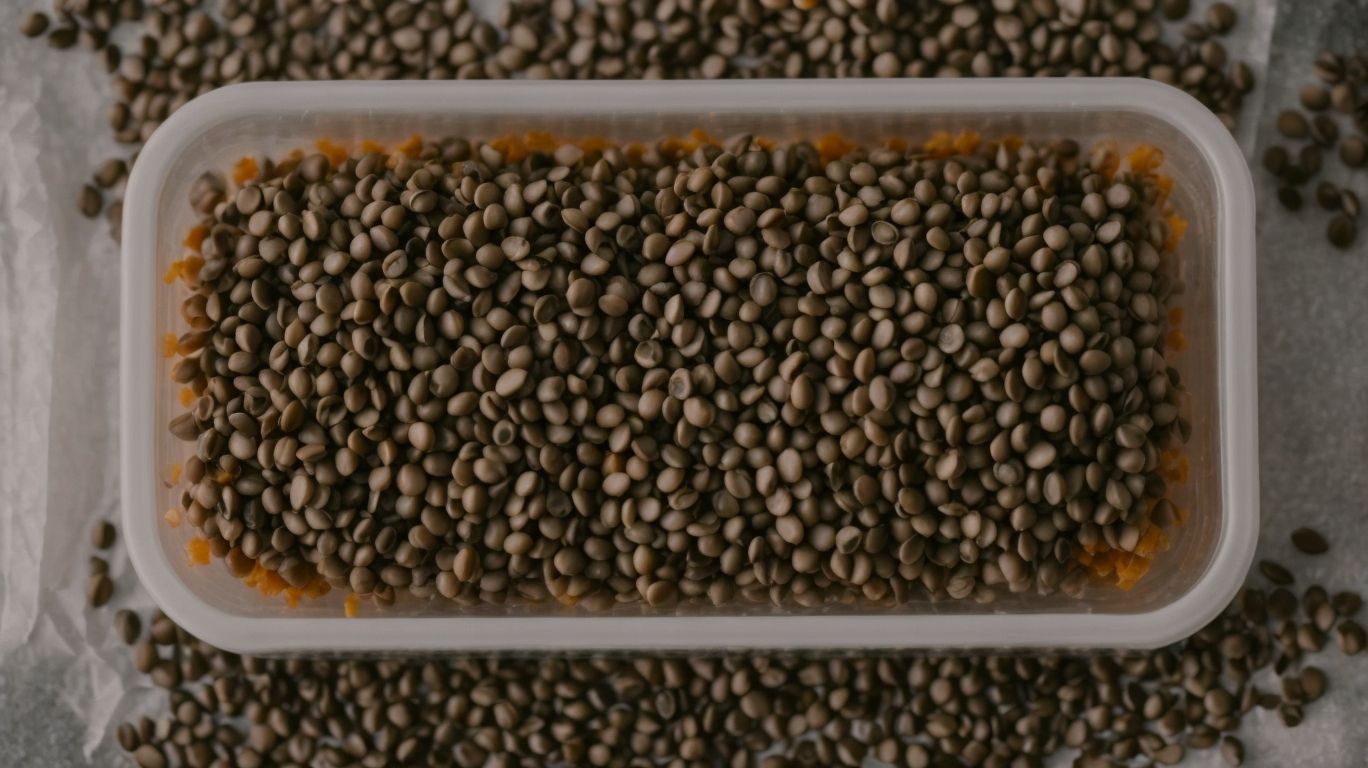
To thaw frozen black-eyed peas, transfer them from the freezer to the refrigerator and allow them to defrost slowly for optimal texture and flavor retention.
This gradual thawing process is essential to ensure that the peas retain their natural moisture levels and don’t become mushy. Rapid thawing methods like microwaving or placing them in warm water can lead to uneven texture and loss of flavor. By allowing the peas to thaw in the refrigerator, you are giving them ample time to thaw uniformly, resulting in a more consistent texture when cooked.
How to Cook Black Eyed Peas on the Stove?
Cooking black-eyed peas on the stove is a simple and rewarding process that yields delicious results when done with the right ingredients and techniques.
To begin, soak the black-eyed peas overnight to ensure they cook evenly and reduce the overall cooking time. Once soaked, rinse the peas thoroughly in a colander under running water.
- In a large pot, combine the soaked black-eyed peas with enough water to cover them adequately.
- Add in aromatic ingredients such as onions, garlic, bay leaves, and a pinch of salt to enhance the flavor profile.
- Bring the mixture to a boil, then reduce the heat to a gentle simmer. Let the peas cook slowly, occasionally stirring and skimming off any foam that rises to the surface.
- Depending on the desired texture, cooking times may vary, typically ranging from 30 minutes to an hour.
- Taste the peas during cooking and adjust seasonings like black pepper, smoked paprika, or even a dash of hot sauce to tailor the flavor to your liking.
What Ingredients Do You Need?
To cook black-eyed peas on the stove, you will need ingredients such as bacon, garlic, onions, and a flavorful seasoning mix to elevate the taste of the dish.
Alongside these key ingredients, you might also want to consider adding bay leaves for extra depth of flavor and a pinch of cayenne pepper for a hint of heat. The combination of these elements creates a rich and aromatic base for your black-eyed peas.
It’s essential to include a good quality broth or stock to simmer the peas in, ensuring they absorb all the delicious flavors. A touch of apple cider vinegar can help balance the dish’s flavors and add a subtle tanginess.
What Are the Steps to Cooking Black Eyed Peas on the Stove?
Cooking black-eyed peas on the stove starts with rinsing the peas, sautéing aromatics like onions and garlic, then simmering them in a flavorful broth until tender.
After ensuring the black-eyed peas are rinsed thoroughly, the next step is to heat a pot or Dutch oven over medium heat. Add a drizzle of olive oil and sauté finely chopped onions and minced garlic until they turn fragrant and translucent, infusing the peas with rich flavors.
Once the aromatics are ready, gently pour in your choice of broth, such as vegetable or chicken broth, to cover the peas. This liquid not only adds depth to the dish but also helps in the simmering process.
Allow the mixture to come to a gentle boil before reducing the heat to a simmer. Cover the pot and let the peas simmer for about 45 minutes to an hour, or until they are soft but still hold their shape.
How to Cook Black Eyed Peas in a Slow Cooker?
Using a slow cooker to prepare black-eyed peas offers a convenient and hands-off approach to achieving a flavorful and tender dish.
The set-it-and-forget-it nature of cooking black-eyed peas in a slow cooker allows the flavors to develop slowly and meld together harmoniously. This gentle cooking method ensures that the peas retain their shape and texture while becoming deliciously soft and creamy.
The prolonged cooking time at low heat helps to break down the tough fibers in the peas, resulting in a velvety consistency without the need for constant monitoring or stirring.
What Ingredients Do You Need?
For slow cooker black-eyed peas, gather ingredients such as chicken broth, herbs, and spices to infuse rich flavors into the dish as it simmers gently.
To begin, ensure you have about 1 pound of dried black-eyed peas, 8 cups of chicken broth as the base for a flavorful cooking liquid, a couple of bay leaves for subtle earthy notes, a sprig of fresh thyme to elevate the dish, and a pinch of red pepper flakes for a hint of heat. Include half a cup of diced onions and two cloves of minced garlic to add depth to the dish.
What Are the Steps to Cooking Black Eyed Peas in a Slow Cooker?
To cook black-eyed peas in a slow cooker, combine soaked peas with broth, herbs, and spices, then let them simmer on low heat for several hours until tender and flavorful.
Before starting the cooking process, it is essential to soak the black-eyed peas overnight in water to soften them and reduce cooking time. This soaking process is crucial for ensuring a creamy and perfectly cooked texture.
After draining and rinsing the soaked peas, place them in the slow cooker and add your preferred broth, such as vegetable or chicken broth, for added depth of flavor. You can also include garlic, onions, bay leaves, and black pepper to enhance the taste profile.
Set the slow cooker to low heat and let the peas cook for about 4-6 hours, stirring occasionally to ensure even cooking. The slow cooking process allows the flavors to meld together, resulting in a rich and delicious dish.
How to Cook Black Eyed Peas in an Instant Pot?
Utilizing an Instant Pot for cooking black-eyed peas results in a quick and efficient preparation method that locks in flavor and nutrients effectively.
One of the key benefits of using an Instant Pot is the time-saving aspect. Compared to traditional stovetop cooking methods, the pressure cooking function of an Instant Pot significantly reduces the cooking time for black-eyed peas. This means you can enjoy a delicious and nutritious meal in a fraction of the time.
The sealed environment of the Instant Pot helps to retain the flavors and nutrients within the black-eyed peas. The pressure cooking process ensures that the beans are cooked evenly and thoroughly, enhancing their natural taste and preserving essential vitamins and minerals.
What Ingredients Do You Need?
When cooking black-eyed peas in an Instant Pot, gather ingredients like bacon, garlic, and a flavorful seasoning blend to enhance the taste profile of the dish.
Other essential ingredients to include when preparing black-eyed peas in an Instant Pot are diced onions for added depth of flavor, a touch of smoked paprika for a hint of smokiness, and a dash of cayenne pepper for some heat.
Don’t forget to incorporate bay leaves for fragrant undertones and a splash of apple cider vinegar to brighten the overall taste. These ingredients work harmoniously to create a delicious and well-rounded black-eyed peas dish that will surely impress your taste buds.
What Are the Steps to Cooking Black Eyed Peas in an Instant Pot?
To cook black-eyed peas in an Instant Pot, start by sautéing aromatics, adding the peas, broth, and seasonings, then pressure cook for a quick and flavorful result.
After sautéing the aromatics to build the base flavors, it’s essential to add the black-eyed peas. This step allows the peas to absorb the aromatic essence. Next, pour in the broth carefully around the peas to ensure even cooking and to enhance the overall taste. Once the peas and broth are in the Instant Pot, season the mixture with a blend of spices, such as salt, pepper, and any preferred herbs or seasonings. This seasoning step helps to infuse the black-eyed peas with a depth of flavor.
What Are Some Serving Suggestions for Black Eyed Peas?
Credits: Poormet.Com – Kevin Thomas
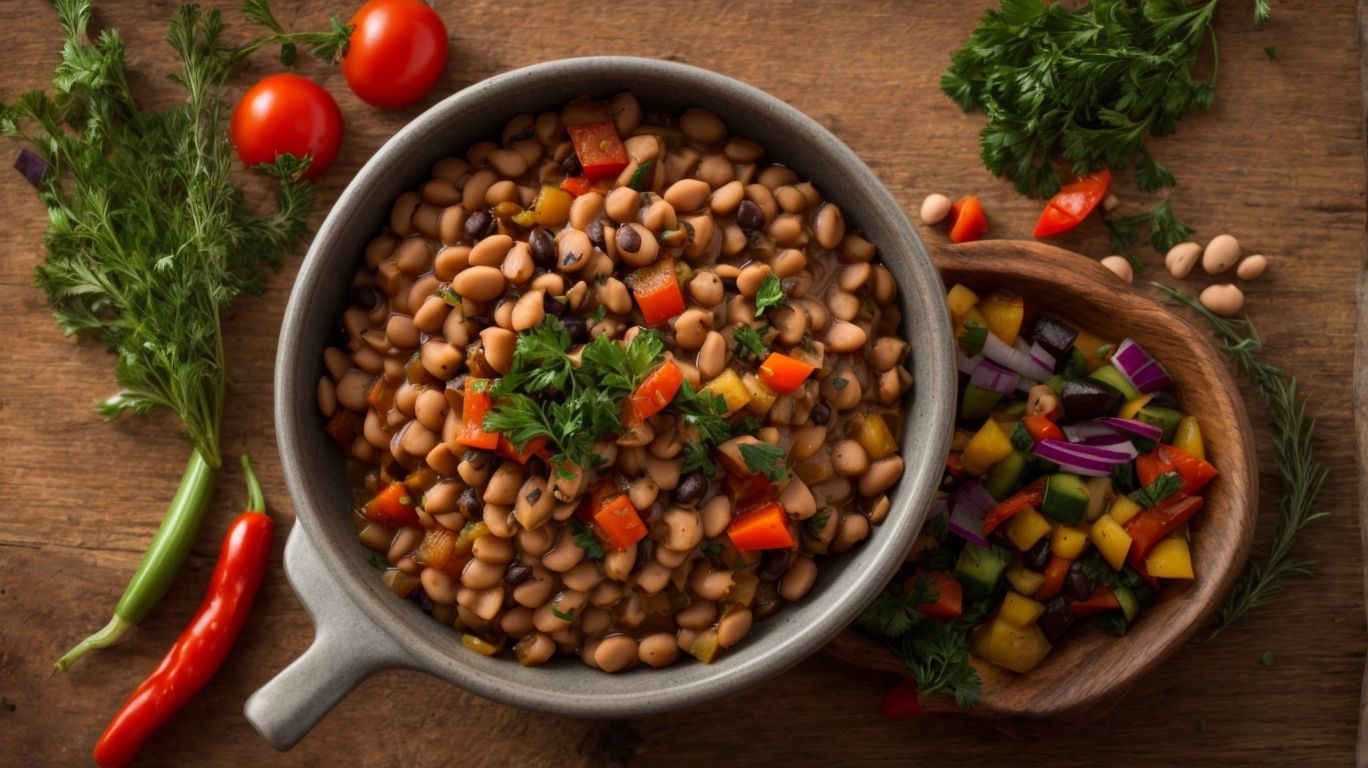
Black-eyed peas can be served as a standalone meal or as a versatile side dish that complements a variety of main courses with their hearty texture and savory flavor.
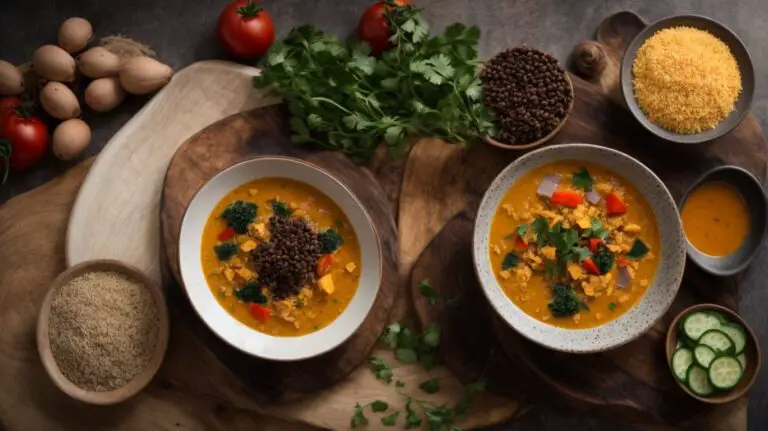
When served as a standalone meal, black-eyed peas can be flavored with spices like cumin, smoked paprika, and garlic to enhance their earthy taste. They can also be paired with grains like rice or quinoa to create a balanced and fulfilling vegetarian dish. For side dish pairings, black-eyed peas work well alongside grilled meats, roasted vegetables, or even used in salads for added protein and fiber. Don’t forget to top them with fresh herbs, such as parsley or cilantro, to brighten up the dish.
How to Store Leftover Black Eyed Peas?
Credits: Poormet.Com – Walter Allen
To store leftover black-eyed peas, transfer them to an airtight container and refrigerate promptly to maintain their texture and flavor for future consumption.
Proper storage is crucial for preserving the freshness of black-eyed peas, preventing them from becoming mushy or developing off-flavors. Placing the peas in a sealed container helps retain their moisture and natural taste, ensuring they remain delicious when reheated. Refrigeration inhibits bacterial growth, extending the shelf life of the peas. Remember to label the container with the date of preparation to track freshness. Be cautious of leaving the peas at room temperature for too long, as this can lead to spoilage. Follow these storage tips to enjoy your black-eyed peas for days to come!
Conclusion and Final Tips for Cooking Black Eyed Peas From Frozen
Cooking black-eyed peas from frozen opens up a world of culinary possibilities, allowing you to create delicious dishes with the right seasonings and flavor combinations.
One of the key advantages of using frozen black-eyed peas is their convenience. With pre-packaged frozen peas, you can skip the soaking and cooking time required for dried peas, making meal preparation much faster and easier. Frozen black-eyed peas retain their nutritional value and texture, ensuring a quality ingredient for your recipes. In terms of seasoning choices, the versatility of frozen black-eyed peas allows you to experiment with various spices, herbs, and aromatics to achieve diverse flavor profiles, from savory and smoky to spicy and tangy.
Frequently Asked Questions
How to Cook Black Eyed Peas From Frozen?
Cooking black eyed peas from frozen is a simple and convenient way to enjoy this delicious legume. Here are some frequently asked questions about the process.
1) What are the benefits of cooking black eyed peas from frozen?
Cooking black eyed peas from frozen saves time and effort, as there is no need to soak them beforehand. It also helps to retain their texture and nutrients.
2) How do I thaw frozen black eyed peas?
Thawing frozen black eyed peas is easy. Simply place them in the refrigerator for a few hours or overnight. You can also thaw them in a bowl of cold water for a quicker option.
3) Can I cook frozen black eyed peas in a pressure cooker?
Yes, you can cook frozen black eyed peas in a pressure cooker. However, you may need to add a few extra minutes to the cooking time compared to using soaked or canned peas.
4) Do I need to add any extra liquid when cooking frozen black eyed peas?
Yes, it is recommended to add some extra liquid, such as water or broth, when cooking frozen black eyed peas. This will help to prevent them from sticking to the pot and ensure they cook evenly.
5) How long does it take to cook frozen black eyed peas?
The cooking time for frozen black eyed peas can vary depending on the method used. In a pot on the stove, they can take 45-60 minutes, while in a pressure cooker, they can take 20-25 minutes.
6) Can I season frozen black eyed peas while cooking?
Yes, you can add seasonings, herbs, and spices to your frozen black eyed peas while cooking to enhance their flavor. Just be sure to adjust the amount of liquid accordingly to avoid any excess liquid from the seasoning.

