
How to Bake a Birthday Cake Step by Step?
Welcome to the ultimate guide on how to bake a birthday cake! In this article, we will explore the step-by-step process of creating a delicious and beautifully decorated cake that will surely impress your friends and family. From gathering the necessary ingredients and supplies to preparing the cake batter, baking and cooling the cake, decorating it with finesse, and finally serving and enjoying every bite, we will cover it all.
Let’s dive in and discover the secrets to baking the perfect birthday cake!
Key Takeaways:
Why Bake a Birthday Cake?
Baking a birthday cake is a heartfelt gesture that adds a personal touch to any celebration. Whether for a loved one, friend, or colleague, a homemade birthday cake conveys thoughtfulness and care in each slice.
It’s the time-honored tradition of mixing flour, sugar, and eggs, infusing these simple ingredients with love and turning them into a scrumptious creation.
Seeing the joy on someone’s face when they blow out the candles on a cake made just for them is priceless.
Remembering a special moment or shared joke with a customized cake design can create lasting memories that deepen bonds between people.
A personalized cake not only satisfies taste buds but also warms the heart, making the celebration that much more meaningful.
Who is Chris Poormet?
Chris Poormet, the creative mind behind ‘Poormet.com’, is a renowned culinary blogger and former chef who has captivated audiences with his award-winning recipes and food photography. With a passion for culinary excellence, Chris has established himself as a prominent figure in the world of cooking and baking.
His innovative approach to combining flavors and textures has earned him accolades from the culinary community, solidifying his reputation as an expert tastemaker. Through his blog, Chris shares not only delicious recipes but also valuable insights on ingredients, techniques, and kitchen tools, making him a valuable resource for aspiring chefs and seasoned cooks alike. His unique style of storytelling through food has garnered a loyal following, as people eagerly await his next mouthwatering creation.
Gathering Ingredients and Supplies
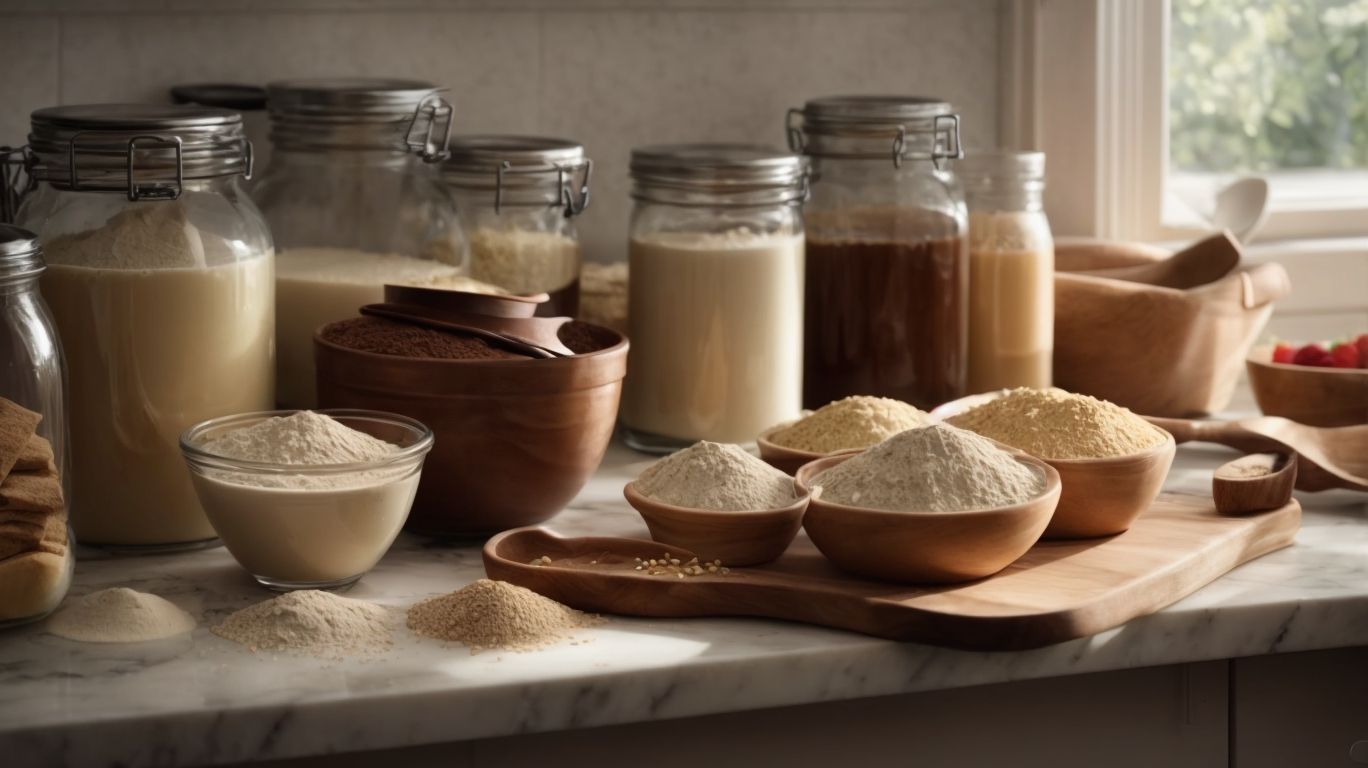
Credits: Poormet.Com – Jerry Clark
Gathering the necessary ingredients and supplies is the first step towards creating a delectable birthday cake that will delight both the eyes and taste buds. From premium flour to fresh eggs, each component plays a vital role in shaping the cake’s texture and flavor.
What Ingredients Do You Need?
When preparing a birthday cake from scratch, essential ingredients such as high-quality flour, farm-fresh eggs, creamy butter, and aromatic vanilla extract form the foundation of a delicious and moist cake.
Each of these ingredients plays a crucial role in creating the perfect birthday treat. The high-quality flour provides structure and texture to the cake, while the farm-fresh eggs act as a binding agent, adding richness and moisture.
Creamy butter adds a luxurious richness, enhancing the flavor profile and ensuring a tender crumb in every bite. The aromatic vanilla extract, with its sweet and floral notes, infuses the cake with a delightful fragrance that tantalizes the taste buds.
For those with dietary restrictions, you can opt for gluten-free flour or dairy-free butter as substitutes. These modifications cater to various dietary preferences without compromising on taste or texture.
What Equipment Do You Need?
To bring your birthday cake recipe to life, essential equipment such as a sturdy mixing bowl, quality cake pans, and various kitchen tools are essential for ensuring a seamless baking experience and impeccable results.
Alongside these core items, a reliable stand mixer can significantly ease the mixing process, providing consistent and thorough blending of ingredients. For precise measurements, a set of measuring cups and spoons is crucial to achieve the perfect balance of flavors.
Parchment paper or silicone baking mats help prevent sticking and ensure easy cake removal from pans, maintaining the cake’s shape and appearance.
Investing in a high-quality offset spatula allows for smooth icing application and intricate decorations, elevating the overall presentation of your birthday masterpiece.
Preparing the Cake Batter
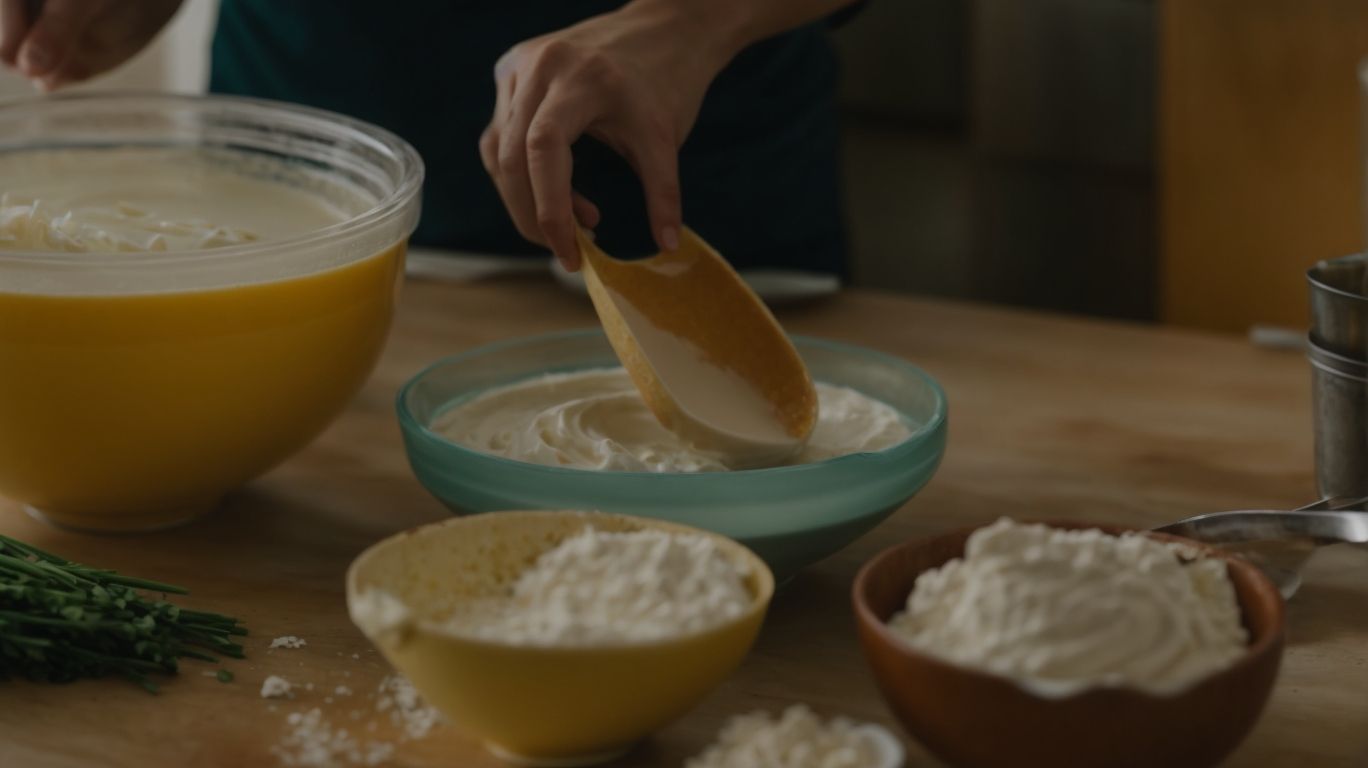
Credits: Poormet.Com – Robert Thompson
Crafting the perfect cake batter is a delicate art that involves precise measurements, gentle mixing, and the incorporation of essential ingredients like baking powder, a pinch of salt, and creamy milk. Each step contributes to creating moist, flavorful cake layers that form the basis of a stunning birthday creation.
What is the Correct Mixing Method?
The correct mixing method for cake batter involves a gentle and systematic approach that ensures proper blending of ingredients without overmixing. Incorporating a combination of folding and stirring techniques helps maintain the batter’s texture and airiness for a light and fluffy cake.
When preparing cake batter, it is crucial to start by sifting the dry ingredients together to eliminate any lumps and ensure even distribution of leavening agents. Next, in a separate bowl, cream the butter and sugar until light and fluffy, creating a smooth base for the batter.
Once the wet and dry ingredients are ready, gently fold them together using a spatula. Avoid vigorous mixing, as this can deflate the air incorporated in the batter, resulting in a dense cake. Proper folding creates a homogenous mixture, ready for baking.
Understanding the intricacies of the mixing process is fundamental to achieving the perfect cake texture. Overmixing can lead to a tough and chewy crumb, while undermixing may result in uneven distribution of ingredients, affecting the final taste and structure.
What are Some Tips for Perfect Cake Batter?
Achieving the perfect cake batter involves attention to detail and adherence to key tips such as adding a touch of flavorful vanilla extract, sifting the flour for a smooth texture, and ensuring eggs are at room temperature for optimal blending.
Another essential aspect of creating flawless cake batter is the precise measurement of ingredients. Using a kitchen scale to weigh flour, sugar, and other components ensures accuracy and consistency, leading to a perfectly balanced batter.
When incorporating dry ingredients, gently fold them into the wet mixture using a spatula in a careful yet swift motion. Overmixing can result in a dense and tough texture, so it’s crucial to mix until just combined for a light and airy cake.
Maintaining the temperature of ingredients plays a vital role in achieving the desired cake consistency. Avoid using ingredients that are too cold or too warm, as this can affect the overall structure of the batter.
Baking and Cooling the Cake
Once the cake batter is prepared to perfection, it’s time to bake the layers to golden brown perfection. Each moment in the oven fills the kitchen with tantalizing aromas as buttery cake layers rise and set, promising a delectable treat.
How Long Should You Bake the Cake?
Determining the ideal baking time for your cake layers is crucial to achieving a perfect balance of moistness and structure. As the buttery aroma fills the air, monitor the oven closely to ensure each layer emerges golden-brown and ready for the next step in the decorating process.
When gauging the readiness of your cake layers, rely on touch and springiness to indicate proper doneness. Lightly press the center of the cake, and if it bounces back slowly, it is likely ready to come out of the oven. Additionally, insert a toothpick into the center of the cake; if it comes out clean with a few crumbs, the layers are perfectly baked. Remember, the top should feel firm yet slightly springy when touched.
Adjusting the baking times for varying oven models is essential for consistent results. Lower temperatures may require longer baking durations, while convection ovens often need shorter times due to increased airflow circulation. Monitor the layers’ edges; they should pull away slightly from the pan and exhibit a uniform golden hue.
What is the Best Way to Cool the Cake?
Properly cooling the freshly baked cake layers is essential for ensuring a smooth frosting application and preserving the delicate texture of the crumb. Allowing the cakes to cool gradually on wire racks promotes even cooling and sets the stage for stunning decorations.
This cooling process not only impacts the aesthetics of the cake but also plays a crucial role in maintaining its structural integrity. When a cake is still warm, applying frosting can lead to a messy outcome as it tends to melt or slide off. By giving the cake sufficient time to cool, the crumb sets properly, providing a stable foundation for layering frosting. It’s recommended to cool the cakes in the pans on wire racks for about 10-15 minutes before removing them to cool completely. This controlled cooling method will help prevent the cakes from becoming too dry or collapsing.
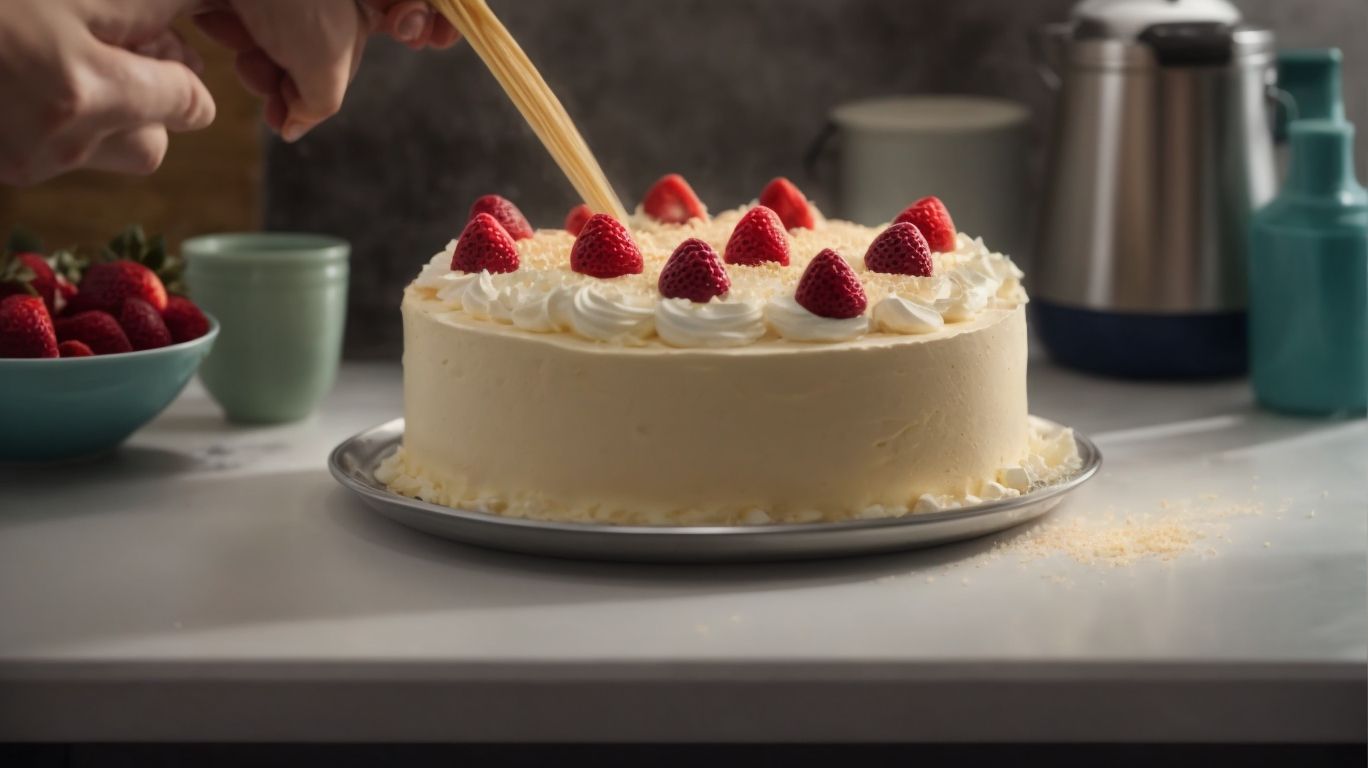
Decorating the Cake
Credits: Poormet.Com – Gregory Torres
Turning a plain cake into a visual masterpiece involves the art of decorating with luscious buttercream frosting, vibrant sprinkles, intricate decorations, and a sprinkle of edible glitter. Each element contributes to transforming a simple cake into a stunning centerpiece for any birthday celebration.
What are Some Ideas for Decorating a Birthday Cake?
Embark on a journey of creativity with an array of decorating ideas for birthday cakes, ranging from vibrant buttercream frosting swirls and rainbow sprinkles to elegant edible glitter accents that add a touch of magic to every slice.
For a whimsical touch, consider incorporating fondant cutouts depicting favorite characters or items, bringing a personalized element to the celebration. Delve into the world of textured finishes by experimenting with techniques like ganache drizzles or intricate piping details that can elevate the visual appeal of your confection.
Explore a color palette that resonates with the birthday theme, harmonizing hues to create a visually stunning presentation. Incorporating fresh flowers or fondant blossoms can introduce a natural and elegant vibe to your cake design, adding a sophisticated touch to the occasion.
How to Make Buttercream Frosting?
Crafting luscious buttercream frosting requires a blend of quality ingredients, such as rich Land O Lakes® butter and silky heavy whipping cream, whipped to perfection for a smooth, creamy texture that spreads effortlessly on cakes.
When making buttercream frosting, it’s crucial to start with softened butter to ensure easy mixing and a smooth consistency. Gradually add powdered sugar, sifting it if lumpy, to prevent any grittiness in the frosting. For a hint of flavor complexity, a splash of pure vanilla extract can elevate the taste profile. When adjusting consistency, a tablespoon of cream can make the frosting lighter, while additional powdered sugar thickens it.
- To create a chocolate variation, incorporate cocoa powder into the frosting mix gradually, balancing sweetness with the cocoa’s bitterness.
- For fruity notes, consider adding a tablespoon of fresh fruit purée for a burst of flavor without compromising the texture.
- If the frosting seems too thin, chilling it briefly can help firm it up before applying to your dessert.
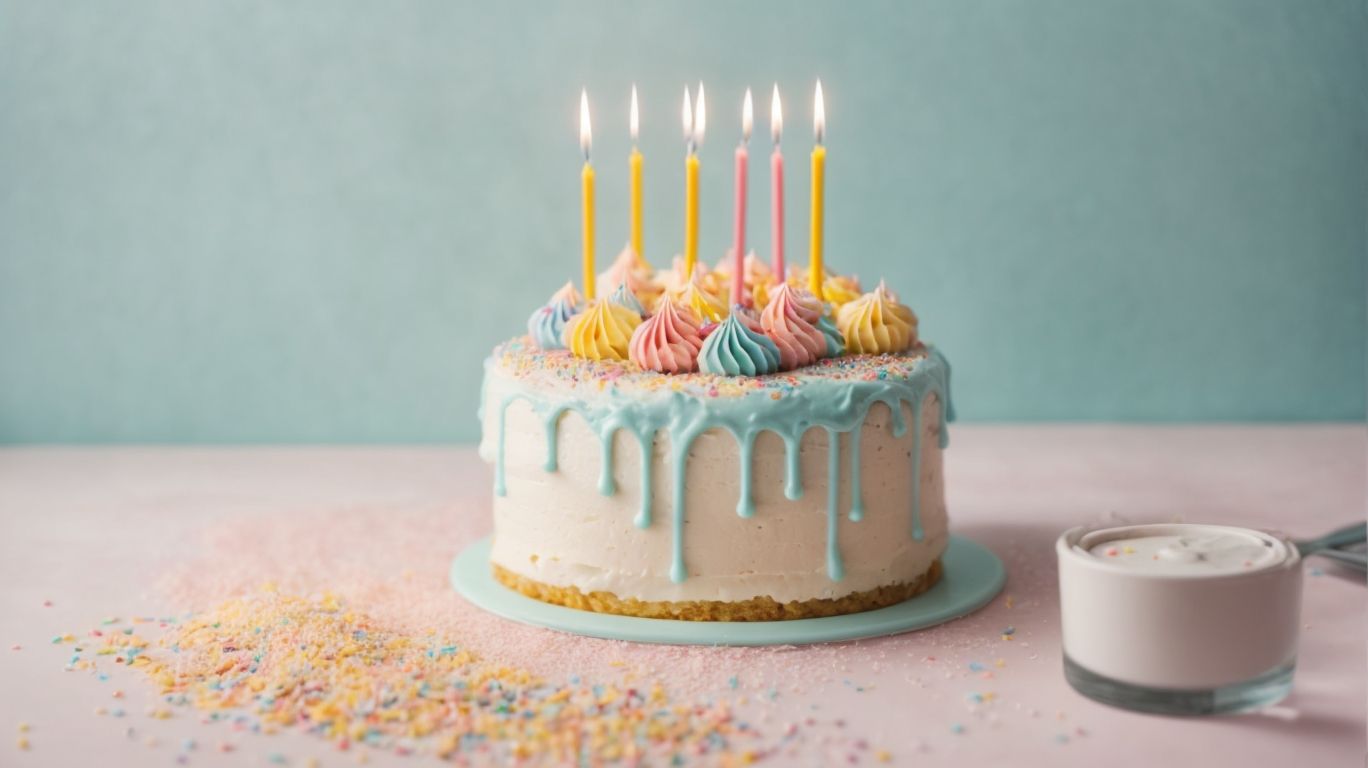
Serving and Enjoying the Cake
Credits: Poormet.Com – Albert Wright
Serving and enjoying a meticulously crafted birthday cake is a joyous occasion that marks the culmination of baking efforts and creative flair. From elegant slicing to indulgent servings, each moment savored with loved ones adds to the sweetness of the celebration.
How to Slice and Serve the Cake?
Mastering the art of slicing and serving a birthday cake elevates the celebratory experience, ensuring each guest receives a perfect portion of the delectable creation. Whether at an intimate gathering or a lively party, the act of sharing cake fosters joy and camaraderie.
Regarding slicing the cake, it’s essential to use a sharp knife to achieve clean, even cuts that showcase the layers and decorations. Begin by cutting the cake into equal-sized portions, making sure to cut through the layers smoothly to maintain its structural integrity.
For serving, opt for elegant cake servers or spatulas to transfer each slice gracefully onto individual plates. Consider garnishing with fresh fruits, edible flowers, or a dusting of powdered sugar to elevate the presentation.
To cater to dietary preferences, offer a variety of accompaniments such as whipped cream, ice cream, or fruit compote on the side. Personalizing each serving ensures that every guest can enjoy the cake according to their tastes.
What are Some Tips for Storing Leftover Cake?
Preserving the remaining slices of a birthday cake for later enjoyment requires strategic storage solutions to maintain freshness and flavor. From wrapping slices in parchment paper to placing them on a designated cake plate, proper storage ensures that every bite remains as delightful as the first.
Consider investing in airtight containers or resealable plastic bags to keep your cake moist and prevent it from drying out.
For longer-term storage, refrigeration is key, but make sure to cover the cake to avoid absorbing other odors in the fridge.
To prevent freezer burn, wrap the cake tightly in plastic wrap and then aluminum foil before placing it in the freezer.
If you find yourself with leftover cake crumbs, don’t toss them out! Instead, use them as toppings for yogurt or ice cream, or turn them into a delicious trifle for a new dessert experience.
Frequently Asked Questions
How to Bake a Birthday Cake Step by Step?
Baking a birthday cake can seem intimidating, but with the right techniques, it can be a fun and rewarding experience. Here are some FAQs to guide you through the process.
What ingredients do I need to bake a birthday cake?
The basic ingredients for a birthday cake include flour, sugar, eggs, butter, baking powder, vanilla extract, and milk. You can also add in other flavorings or ingredients to make the cake more unique.
How do I properly measure ingredients for baking?
It’s important to measure ingredients accurately for baking. Use measuring cups and spoons for dry ingredients and a liquid measuring cup for liquids. When measuring flour, spoon it into the measuring cup and level off with a knife. For ingredients like sugar or cocoa powder, you can dip the measuring cup into the ingredient and level off with a knife.
What type of pan should I use for baking a birthday cake?
The type of pan you use can affect the outcome of your cake. For a standard 9-inch round cake, use a round metal cake pan. You can also use a 9×13 inch rectangular pan or a bundt pan for a different shape. Just make sure to adjust the baking time accordingly.
How do I know when my cake is done baking?
The best way to check if a cake is done baking is by inserting a toothpick into the center. If it comes out clean, without any raw batter, then it’s done. You can also gently press the center of the cake – if it springs back, it’s done.
How do I decorate my birthday cake?
Decorating a birthday cake is where you can get creative and have fun! You can frost the cake with buttercream or whipped cream, add sprinkles or fresh fruit, or even use fondant to create intricate designs. Just make sure your cake is completely cooled before decorating to prevent the frosting from melting.
Do I need to let my cake cool before frosting it?
Yes, it’s important to let your cake cool completely before frosting it. If you try to frost a warm cake, the frosting will melt and create a mess. You can speed up the cooling process by placing the cake in the fridge for a few minutes.