

How to Bake Bread After Proofing in Fridge?
Are you a bread baking enthusiast looking to take your skills to the next level? Proofing your dough in the fridge can be a game-changer when it comes to developing flavor and achieving the perfect texture.
We explore the benefits of proofing bread in the fridge, as well as step-by-step instructions on how to do it successfully. From overnight proofing to baking tips, we’ve got you covered.
Stay tuned to elevate your bread baking game!
Key Takeaways:
What is Proofing?
Proofing is a crucial stage in bread-making where the dough undergoes fermentation to develop flavor and texture.
During proofing, the yeast in the dough feeds on sugars, producing carbon dioxide gas that causes the dough to rise. This fermentation process helps the bread to develop its characteristic taste and aroma. Proper proofing also contributes to the formation of a light and airy crumb structure while enhancing the overall digestibility of the bread.
Temperature control plays a vital role during proofing as it affects the rate of yeast activity. Ideal temperatures can ensure a balanced fermentation process, leading to a well-developed flavor profile. The duration of proofing, known as bulk fermentation, allows the dough to relax and develop gluten, resulting in a better texture and improved oven spring.
Why Proof Bread in the Fridge?
Proofing bread in the fridge offers benefits such as enhancing flavor development, controlling fermentation, and providing convenience.
When dough is proofed in the fridge, the slower fermentation process allows for the flavors to develop more deeply and harmoniously. This extended time also results in a more complex taste profile, making your bread richer and more satisfying.
The flexibility it offers in baking schedules is another major advantage. You can prepare the dough ahead of time, refrigerate it, and then bake it when it’s convenient for you.
This method also allows you to better control the fermentation process, giving you a more consistent outcome each time. The ability to check for readiness using the poke test ensures that your dough is perfectly proofed before baking.
The final rise in the refrigerator not only contributes to the quality of the loaf but also makes it easier to fit baking into a busy day. By utilizing these techniques, you can achieve professional-level results in your bread baking, all while fitting it into your own schedule seamlessly.
Slows Down Fermentation
Proofing bread in the fridge slows down the fermentation process, allowing for a longer bulk fermentation time and better control of dough temperature.
Cold proofing, also known as retardation, has a significant impact on the rate of fermentation in breadmaking. By placing the dough in a cold environment, typically the fridge, the activity of yeast is slowed down, resulting in a slower rise of the dough. This extended fermentation period not only enhances the flavor development but also improves the texture and structure of the bread.
One of the key effects of cold proofing is the necessity to adjust the proofing time. When dough is proofed in a cold environment, it needs more time to rise compared to proofing at room temperature. This adjustment in proofing time ensures that the dough reaches its optimal volume and texture before baking.
Increases Flavor Development
Proofing bread in the fridge enhances flavor development, resulting in a deeper sourness, especially beneficial for sourdough recipes.
Cold proofing is a crucial step in the bread-making process that slows down fermentation, allowing flavors to mature and intensify.
- One of the key advantages of cold proofing is the enhanced sourness it imparts to the bread, creating that sought-after tangy profile characteristic of a well-developed sourdough.
- By placing the dough in the refrigerator for its final rise, cold proofing aids in flavor maturation, giving the yeasts and bacteria extra time to work their magic and produce complex tastes.
- This method not only influences taste but also affects the texture of the sourdough, contributing to a more open crumb structure and a crust with enhanced depth of flavor.
Convenience
Proofing bread in the fridge offers the convenience of flexible baking hours, allowing for a customized schedule and ensuring the dough is ready to bake when needed.
This method is particularly beneficial for those who want to manage their baking schedules efficiently. By utilizing cold proofing, bakers can adjust the fermenting hours based on their availability, providing the freedom to plan ahead without compromising on the quality of the dough. The controlled temperature of the fridge ensures that the dough remains at the ideal stage for baking, offering peace of mind and convenience in preparing freshly baked bread. The flexibility that cold proofing offers in terms of accommodating various time frames and ensuring the readiness of the dough is unmatched by traditional proofing methods.
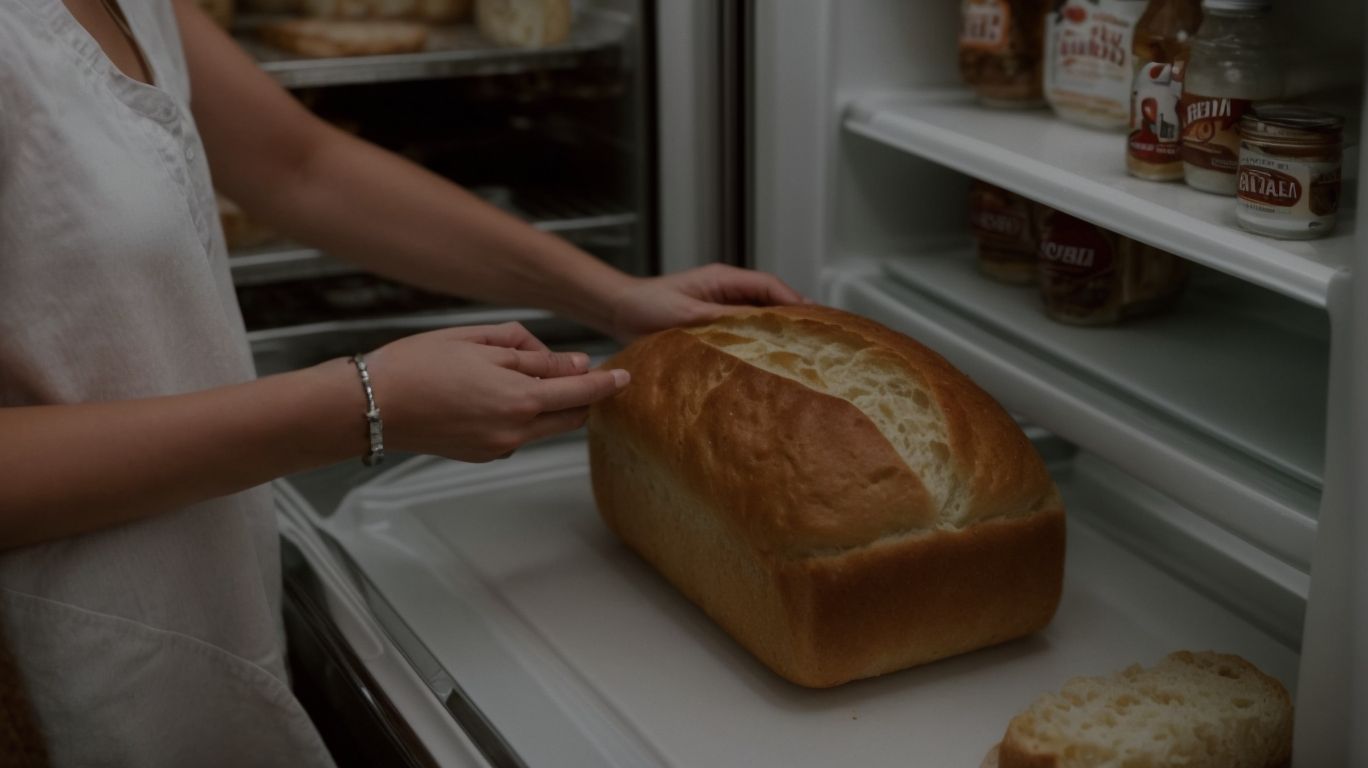
How to Proof Bread in the Fridge?
To proof bread in the fridge, follow specific instructions to achieve the desired texture, ensure proper dough rise, and incorporate preferments for enhanced flavor.
Begin by preparing your bread dough as usual, allowing it to complete its initial rise before shaping it.
Once shaped, place the dough in a lightly oiled bowl, cover it with plastic wrap, and let it rest at room temperature for about 30 minutes.
After this initial rest, transfer the dough to the refrigerator for its cold proofing phase. This step slows down fermentation, helping to develop deep flavors and a more complex crumb structure.
Throughout the cold proofing, keep an eye on the dough’s rise to prevent excessive expansion or over-proofing, balancing flavor development with texture control.
Prepare the Dough
Before cold proofing, prepare the dough according to the formula, ensuring proper hydration levels and allowing it to ferment to the desired readiness.
Start by combining the flour, water, yeast, and salt in a mixing bowl, ensuring that the ingredients are evenly distributed. The hydration level of the dough plays a crucial role in achieving the desired consistency; typically, a hydration level of around 70% works well for most bread recipes.
- Allow the dough to ferment at room temperature until it has doubled in size. This stage is essential for the yeast to work its magic, developing flavor and creating air pockets.
- Check the readiness of the dough by performing the poke test; a properly fermented dough will retain an indentation.
It’s vital to reach the optimal level of fermentation before refrigerating the dough to ensure that it continues to develop in flavor and texture during cold proofing.
Cover and Place in Fridge
After shaping the dough, cover it properly and place it in the fridge to allow for a controlled rise and shaping preservation.
Once the dough is covered and safely nestled in the refrigerator, the cool temperature slows down the fermentation process but still allows the yeast to work its magic gradually. This controlled rise in a chilled environment helps develop complex flavors and enhances the texture of your final baked goods. Remember to cover the dough securely to prevent it from drying out or forming a crust prematurely. The refrigeration step is crucial for maintaining the integrity of the shaped dough, ensuring that it retains its structure and doesn’t spread out excessively while proofing.
Monitor Temperature
While proofing bread in the fridge, monitor the temperature to ensure proper fermentation time and readiness by conducting periodic poke tests.
To maintain consistent fermentation conditions, it is crucial to keep the temperature within the recommended range. Fluctuations in temperature can significantly impact the fermentation process, leading to inconsistent results in the final product. Utilizing a thermometer to track the temperature regularly is a simple yet effective method to ensure optimal fermentation.
The poke test is an essential technique that helps determine the maturity of the dough during proofing. By gently pressing your finger into the dough and observing the rate at which it springs back, you can assess whether the dough is adequately proofed or needs more time.
How Long to Proof Bread in the Fridge?
Credits: Poormet.Com – Walter Harris
The duration of proofing bread in the fridge can vary from several hours to overnight, depending on the desired fermentation intensity and flavor development.
Factors influencing the proofing duration in the fridge include ambient temperature, dough hydration, and yeast activity. Shorter proofing periods are suitable for those who require a quicker turnaround, while extended cold fermentation aids in developing more complex flavors and improving the bread’s texture.
Extended proofing times generally result in a tangier flavor profile, enhanced crust development, and a more open crumb structure, especially when dealing with higher hydration doughs.
Overnight Proofing
Overnight proofing in the fridge allows for a slow bulk fermentation process, ideal for sourdough bread, shaping convenience, and flavorful loaf development.
Extended bulk fermentation during the overnight proofing process in a refrigerated environment not only enhances the complex flavors in the dough but also promotes the development of a chewy crust and an airy crumb structure in the final loaf.
For sourdough enthusiasts, the cold fermentation overnight is particularly advantageous as it allows the natural yeasts in the sourdough starter to work at a steady pace, resulting in a well-developed and tastier bread.
- The cold temperature slows down the fermentation process, making it easier to handle the dough when shaping, leading to beautifully formed loaves with excellent oven spring.
- The controlled environment of the refrigerator also helps to prevent the dough from over-fermenting and maintains its hydration levels, ensuring a moist and flavorful interior.
Extended Proofing
Extended proofing in the fridge allows for a prolonged fermentation time, enhancing the dough’s flavor complexity, refining the fermentation process, and improving the final texture.
By giving the yeast in the dough more time to metabolize, the result is a deeper, more nuanced flavor profile. This slow fermentation process not only impacts the taste but also affects the texture of the bread, creating a lighter crumb and a chewier crust. The controlled cold environment of the refrigerator slows down the proofing, allowing the flavors to develop more fully and uniformly throughout the dough.
How to Bake Bread After Proofing in Fridge?
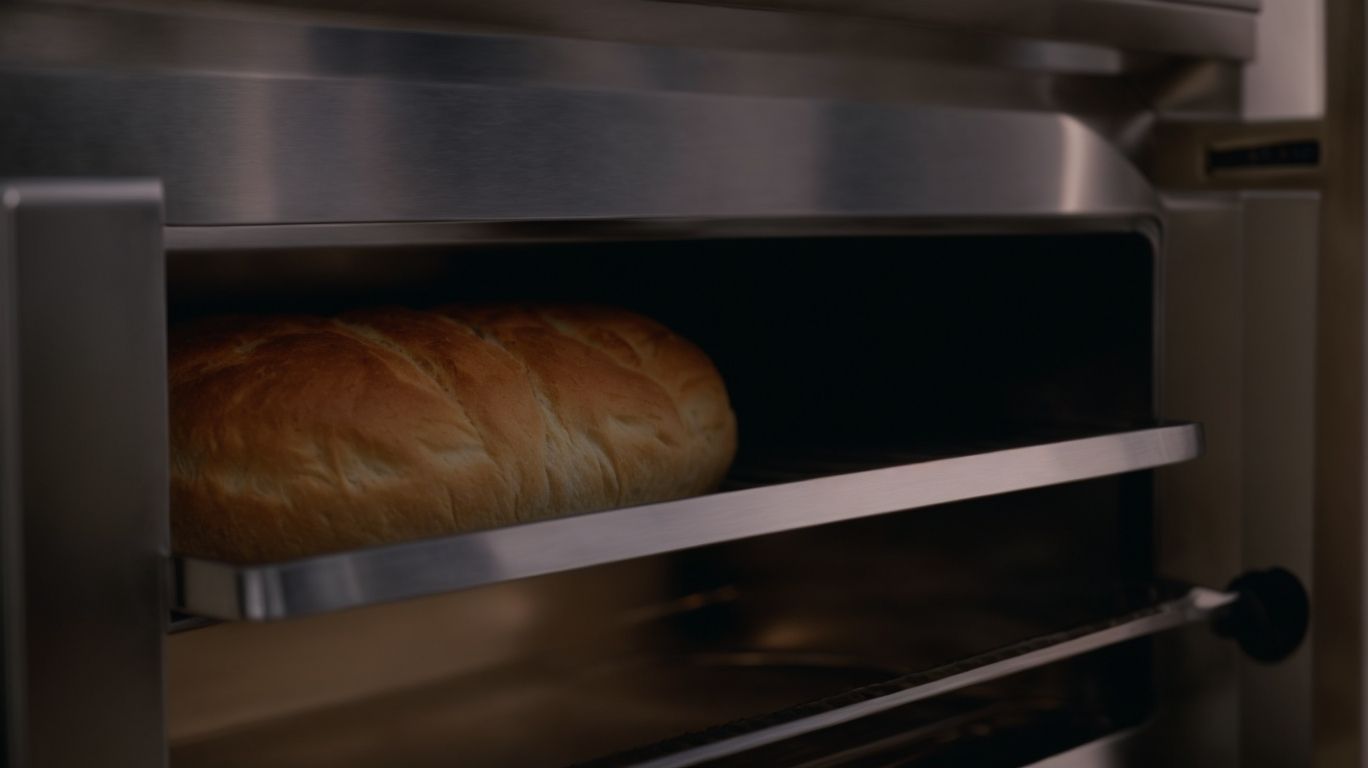
Credits: Poormet.Com – Joseph Adams
After cold proofing, follow specific steps to transition to baking, including taking the dough out of the fridge, preheating the oven, scoring the dough, and baking in a well-preheated environment.
Once you remove the dough from the fridge, allow it to come to room temperature gradually to ensure even baking. This step is crucial for achieving a light and airy texture in your final product.
Preheating the oven to the correct temperature is essential as it sets the foundation for optimal baking conditions, promoting an evenly cooked loaf with a golden crust.
Scoring the dough before baking helps control the expansion of the bread during baking, allowing it to rise beautifully and creating an attractive pattern on the crust. The depth and pattern of the scoring influence the final shape of the loaf, affecting both its appearance and texture.
Take Out of Fridge
When transitioning to baking, take the proofed dough out of the fridge and allow it to adjust to room temperature before further proofing time or baking.
This resting period is crucial as it allows the dough to relax and develop its flavor further. Bringing the dough to room temperature gradually helps maintain the dough’s structure and texture, making it easier to work with and ensuring even baking.
During this time, consider covering the dough with a lightly damp cloth to prevent it from forming a skin. To check if the dough is ready for baking, perform a simple poke test by gently pressing your finger into the dough – if the indentation springs back slightly, it’s sufficiently proofed.
Preheat Oven
Preheating the oven is essential for achieving the desired crust development, ensuring proper proofing results, and maintaining the dough’s shaping integrity.
Properly preheating the oven before baking is crucial as it allows the oven to reach the optimal temperature required for the dough to react appropriately. This initial heat surge is especially vital for crust formation, as the sudden high temperature jump activates yeast and causes rapid expansion, leading to that perfect crispy crust every baker craves. The right oven temperature has a direct effect on the proofing process, ensuring that the dough rises uniformly and consistently without any inconsistencies.
Score the Dough
Scoring the dough before baking contributes to controlled expansion, size management, and adherence to the baking schedule established during dough fermentation.
When you score the dough before placing it in the oven, you create weak points that allow the dough to expand in a controlled manner. This controlled expansion ensures that the dough rises evenly, preventing large air pockets or uneven shapes. By managing the size of the scored areas, you influence the final size and shape of the baked product, ensuring consistency across batches. Scoring helps align with the baking schedule by facilitating quicker heat transfer, leading to more predictable baking times and optimal results. Hence, mastering the art of scoring is crucial for achieving professional-looking and delicious baked goods.
Bake in Preheated Oven
Bake the prepared dough in a preheated oven according to the established schedule to ensure optimal results, including dough readiness for baking and adherence to fermentation hours.
When baking the dough, it is crucial to consider the baking time management aspect. Proper management of baking time will directly impact the final texture and flavor of the baked goods. Ensure the dough maturity is at the right stage before placing it in the oven. This maturity stage can be determined by factors such as visual cues like size increase, as well as the dough’s responsiveness to touch.
Verifying the dough readiness for baking is a vital step to avoid undercooked or overcooked products. Stick to the recommended fermentation hours as they play a key role in developing the flavors and textures of the baked goods. By following these guidelines meticulously, you will enhance the overall quality of your baked creations.
Tips for Baking Bread After Proofing in Fridge
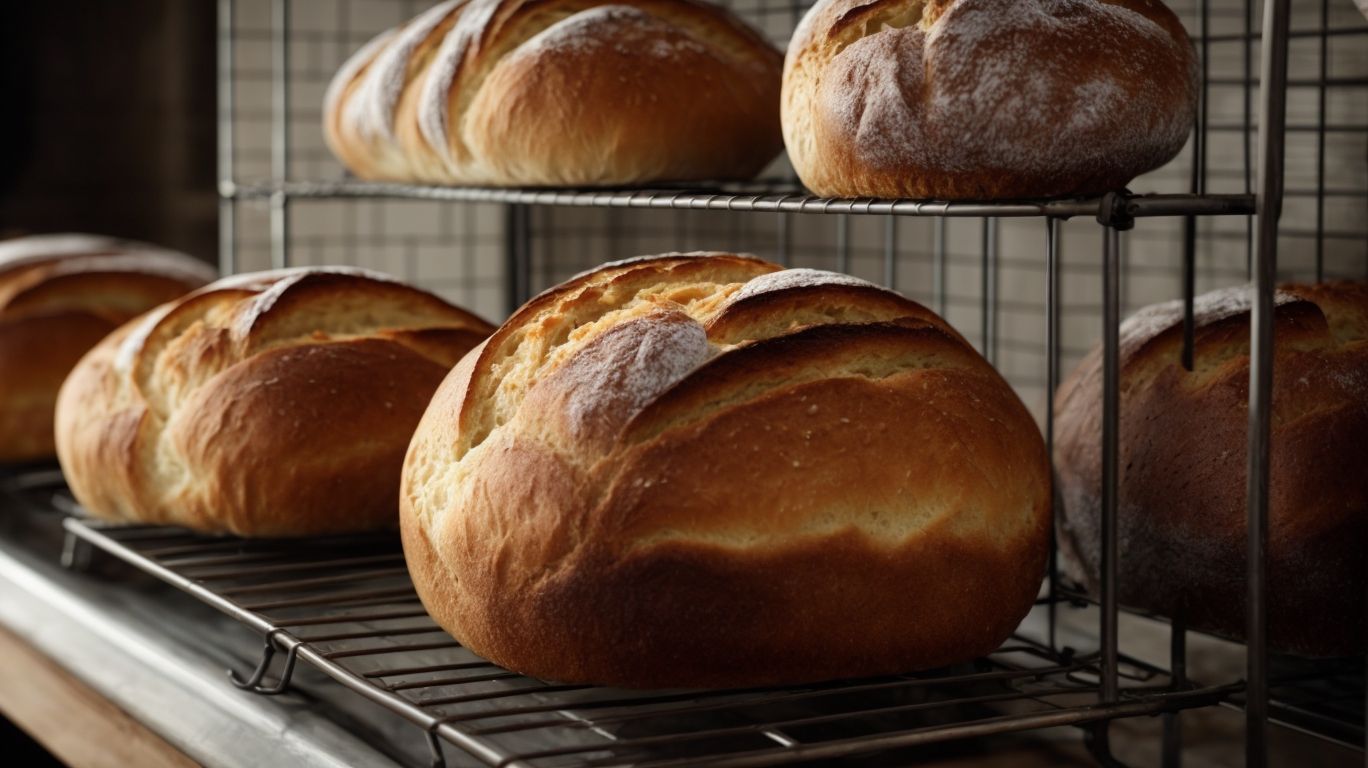
Credits: Poormet.Com – Christian Hernandez
For successful baking post cold proofing, utilize tools like a baking stone or Dutch oven, implement steam in the oven for crust development, and ensure thorough checking for doneness.
When using a baking stone, preheat it in the oven to create a hot surface that promotes a crisp bottom crust and even baking. A Dutch oven can mimic a professional steam-injected oven environment, trapping moisture to enhance oven spring and crust caramelization.
By introducing steam at the start of baking, you can achieve a beautifully blistered crust with a rich color. This moisture prevents the outer crust from forming too quickly, allowing for maximum oven spring.
Regularly check for doneness by tapping the bottom of the loaf to listen for a hollow sound, and use an instant-read thermometer to verify an internal temperature of 200-210°F for most bread types.
Use a Baking Stone or Dutch Oven
Employing a baking stone or Dutch oven during the baking process contributes to enhanced texture development, controlled oven rise, and improved overall baking outcomes.
Using a baking stone or Dutch oven helps in creating a more consistent temperature environment for the dough to rise evenly, resulting in a better oven spring, where the bread expands and rises beautifully in the oven.
The baking stone or Dutch oven also assists in moisture retention, promoting a crispy crust and a soft, airy crumb inside the baked goods.
These baking tools act as a heat reservoir, ensuring that the bread cooks evenly, enhancing its flavor and structure, ultimately leading to professional-grade results.
Add Steam to Oven
Introducing steam into the oven environment aids in achieving a desirable crust texture, maintaining room temperature balance, and ensuring effective baking performance post proofing.
Steam plays a crucial role in enhancing the crust formation on baked goods by promoting caramelization and creating that coveted crispy exterior. The introduction of steam helps prevent the crust from forming too early in the baking process, allowing the dough to expand properly before setting. It also assists in maintaining a higher level of humidity in the oven, which is essential for the crust to develop its full potential.
Adjusting the room temperature when steaming your baked goods is key to controlling how quickly the dough rises and ensuring an even bake. This temperature management is particularly important when working with delicate pastries or bread with intricate designs. A balance between the steam and the surrounding temperature is crucial for achieving consistent results.
Steam infusion not only impacts the texture and appearance of the crust but also contributes to the overall baking efficiency. By using steam, bakers can accelerate heat transfer to the dough’s surface, resulting in faster and more uniform baking. This process leads to improved rise and better structure in the final product.
Check for Doneness
Ensure thorough doneness checks by monitoring the baking progress, considering bulk fermentation hours, oven performance, and crust development to achieve perfectly baked bread post proofing.
One crucial aspect of verifying the baking completeness post-cold proofing is to pay close attention to the timing checks during the baking process. The duration of bulk fermentation plays a key role in the final result, affecting the texture and flavor of the bread.
It is essential to assess the functionality of your oven before baking to ensure even heat distribution for consistent outcomes. Observing the crust quality is another vital step in determining the success of the baking process, as it indicates the level of browning and crispiness achieved.
Conclusion
Proofing bread dough in the fridge offers a versatile method to enhance fermentation, flavor complexity, and texture development, especially beneficial for sourdough recipes.
Cold proofing bread dough provides a controlled environment that helps slow down fermentation, allowing for a longer, more gradual development of flavors. This extended proofing period in the refrigerator promotes the formation of complex flavors characteristic of sourdough bread.
- Temperature control is crucial during the proofing stage as it affects yeast activity and enzyme action, determining the final texture and taste of the bread.
- By refrigerating the dough, you can achieve a more elastic and well-developed gluten structure, resulting in a better crumb structure.
Incorporating cold proofing into your bread-making process can elevate the quality of your loaves by enhancing both taste and texture.
Frequently Asked Questions
What is proofing in the fridge and why is it necessary for bread baking?
Proofing in the fridge is a step in the bread baking process where the dough is left to rise in a cold environment, typically overnight. This helps to slow down the fermentation process and develop more flavor in the bread.
How long should I proof my bread dough in the fridge?
The recommended time for proofing bread dough in the fridge is 8-12 hours. However, this can vary depending on the recipe and the type of bread you are making. It is important to follow the instructions in your recipe for the best results.
Can I proof my bread dough in the fridge for longer than 12 hours?
Yes, you can proof your bread dough in the fridge for longer than 12 hours. In fact, some bakers prefer to proof their dough for up to 24 hours for a more complex and flavorful bread. Just make sure to keep an eye on the dough and adjust the time accordingly.
Do I need to let my bread dough come to room temperature before baking after proofing in the fridge?
Yes, it is important to let your bread dough come to room temperature before baking after proofing in the fridge. This allows the dough to relax and rise properly while baking, resulting in a better texture and shape.
How do I know if my bread dough has proofed enough in the fridge?
When proofing bread dough in the fridge, it is important to look for visual cues rather than relying on a specific time. The dough should increase in size by 50-75% and have a slightly domed shape. Additionally, you can do the finger poke test – if the indentation remains, the dough is ready to bake.
Can I freeze my bread dough after proofing in the fridge?
Yes, you can freeze your bread dough after proofing in the fridge. Simply wrap the dough tightly in plastic wrap and place it in an airtight container before freezing. When ready to bake, let the dough thaw in the fridge overnight before baking as usual.