
How to Bake Bread With Dutch Oven?
Looking to up your bread baking game? Consider using a versatile Dutch oven.
We cover everything you need to know about using a Dutch oven for baking bread. Learn about the different types of Dutch ovens, essential ingredients for your bread dough, and the steps of preparing, baking, and cooling your homemade bread.
Grab your apron and let’s get baking!
Key Takeaways:
What is a Dutch Oven?

Credits: Poormet.Com – Benjamin Rodriguez
A Dutch Oven is a versatile cooking vessel that has been used for centuries and is known for its ability to retain heat and distribute it evenly during the cooking process.
This cooking tool has a rich historical significance, being a staple in Dutch kitchens since the 17th century. Traditionally made of heavy cast iron, Dutch ovens were crucial for early American settlers, used for cooking stews, soups, and bread over open fires. The thick walls and tight-fitting lid of a Dutch oven help to create an environment where heat circulates evenly, making it ideal for slow cooking and braising meats. The versatility of a Dutch oven extends to baking, as it can be used both on the stovetop and in the oven, making it a must-have for any kitchen.
What are the Different Types of Dutch Ovens?
Dutch ovens come in various types, including cast iron, enameled cast iron, and aluminum, each offering unique benefits and features for different cooking needs.
Cast iron Dutch ovens are known for their excellent heat retention and distribution, making them ideal for slow cooking, braising, and deep-frying. The seasoning process over time enhances their non-stick properties and imparts a distinct flavor to dishes.
On the other hand, enameled cast iron Dutch ovens provide the benefits of cast iron with a colorful, easy-to-clean enamel coating that eliminates the need for seasoning. They are perfect for acidic dishes and offer a variety of color choices to match any kitchen decor.
Aluminum Dutch ovens are lightweight and heat up quickly, suitable for dishes that require rapid temperature changes and easy handling.
What are the Benefits of Using a Dutch Oven for Baking Bread?
Using a Dutch oven for baking bread provides advantages such as creating steam, trapping moisture, and promoting oven spring, resulting in artisan-style loaves with a perfect crusty finish.
When bread dough is placed in a preheated Dutch oven, the trapped steam allows for optimal crust development. The moist environment generated within the Dutch oven mimics professional steam-injected ovens, resulting in a crust that is beautifully caramelized and shatteringly crisp. This steam also helps the dough expand rapidly in the oven, known as ‘oven spring’, resulting in a loaf with a lovely open crumb structure and impressive volume.
What Ingredients Do You Need to Bake Bread With Dutch Oven?
To bake bread in a Dutch oven, you will need basic ingredients such as flour, yeast, water, and salt, along with the Dutch oven itself to achieve that perfect crusty loaf.
Flour is the backbone of any bread recipe, providing the structure and foundation for the dough. Yeast is the magical ingredient responsible for leavening the bread, creating those airy pockets and soft texture. Water acts as the hydration agent, binding all the elements together to form a cohesive dough. Salt not only enhances the flavor but also regulates yeast activity and strengthens the dough. Each component plays a crucial role in the baking process, contributing to the final result of a delicious and perfect crusty loaf.
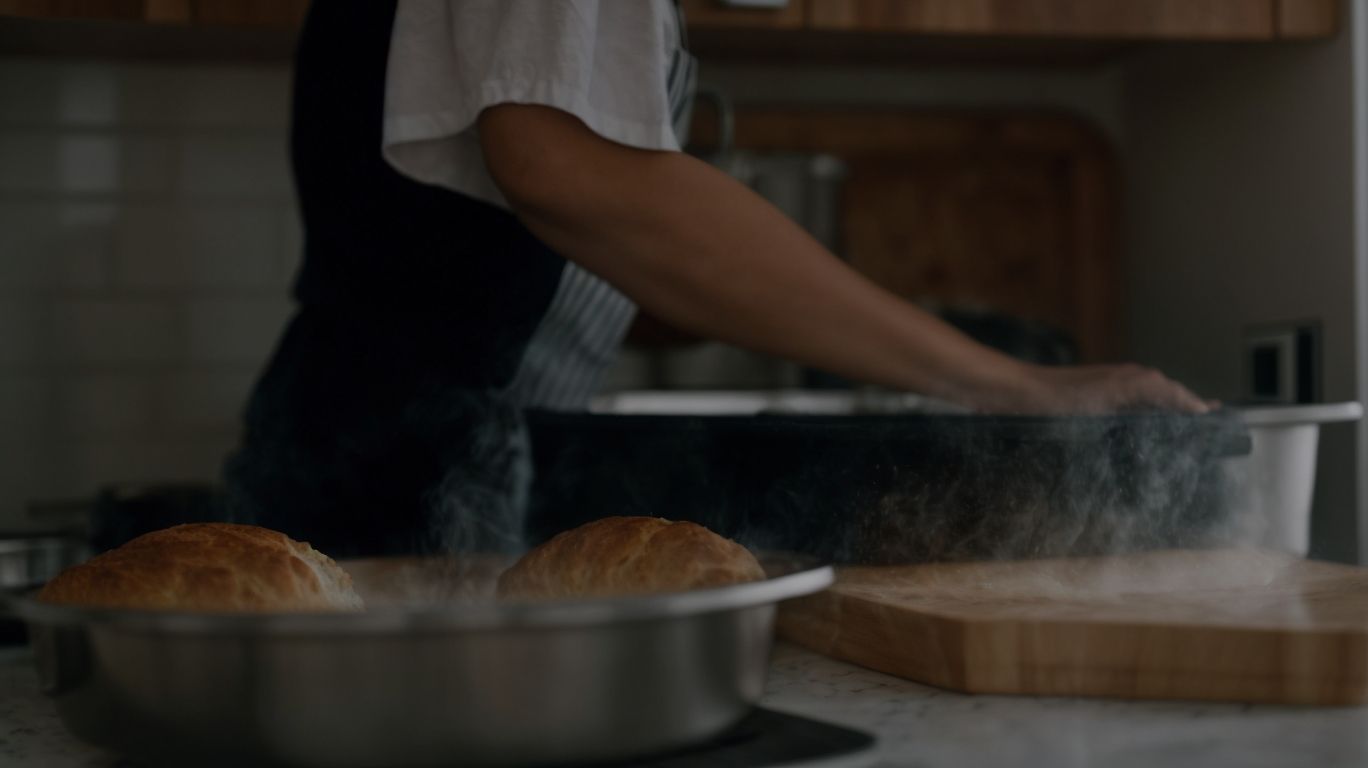
Preparing the Dutch Oven for Baking Bread
Credits: Poormet.Com – Roy Baker
Properly preparing the Dutch oven for baking bread involves preheating it at the desired temperature and ensuring the baking surface is ready to create that ideal crust.
Preheating the Dutch oven allows the bread to be met with a burst of heat right from the start, essential for achieving a crispy and golden crust. Seasoning the Dutch oven with oil creates a non-stick surface, preventing the bread from sticking and ensuring an effortless release. Preparing the baking surface by sprinkling cornmeal or flour helps in preventing the dough from sticking during the baking process, resulting in a perfectly baked loaf with a crisp bottom.
How to Season a New Dutch Oven for Baking Bread?
Seasoning a new Dutch oven for baking bread involves applying oil to the interior and baking it at a high temperature to create a non-stick surface ideal for bread baking.
Before starting the seasoning process, it is crucial to clean the Dutch oven thoroughly with hot soapy water to remove any manufacturing residues. Once clean, make sure to dry it completely to prevent rusting. Next, take a cloth or paper towel and apply a thin, even layer of oil to the interior of the Dutch oven, ensuring to cover all surfaces including the bottom and sides.
Preheat your oven to the recommended temperature, usually around 400-450°F (200-230°C), and place the oiled Dutch oven in it upside down. Let it bake for about an hour, allowing the oil to polymerize and create that coveted non-stick surface. You may notice some smoke during this process, which is normal.
After the baking time is up, turn off the oven and let the Dutch oven cool inside before removing it. Your Dutch oven is now seasoned and ready for your delicious bread baking adventures!
How to Preheat the Dutch Oven for Baking Bread?
Preheating the Dutch oven for baking bread involves heating it in the oven at a specific temperature to ensure the dough gets the right initial burst of heat for a perfect rise.
Typically, it is recommended to preheat the Dutch oven at around 450°F (232°C) for about 30 minutes before placing the bread dough inside. This process allows the Dutch oven to reach an optimal temperature, creating a steamy environment that mimics professional bread-baking conditions. The intense and immediate heat transfer aids in achieving that coveted crispy crust and excellent oven spring in your homemade bread. By preheating the oven properly, you set the stage for a baking environment that promotes ideal bread texture and flavor.
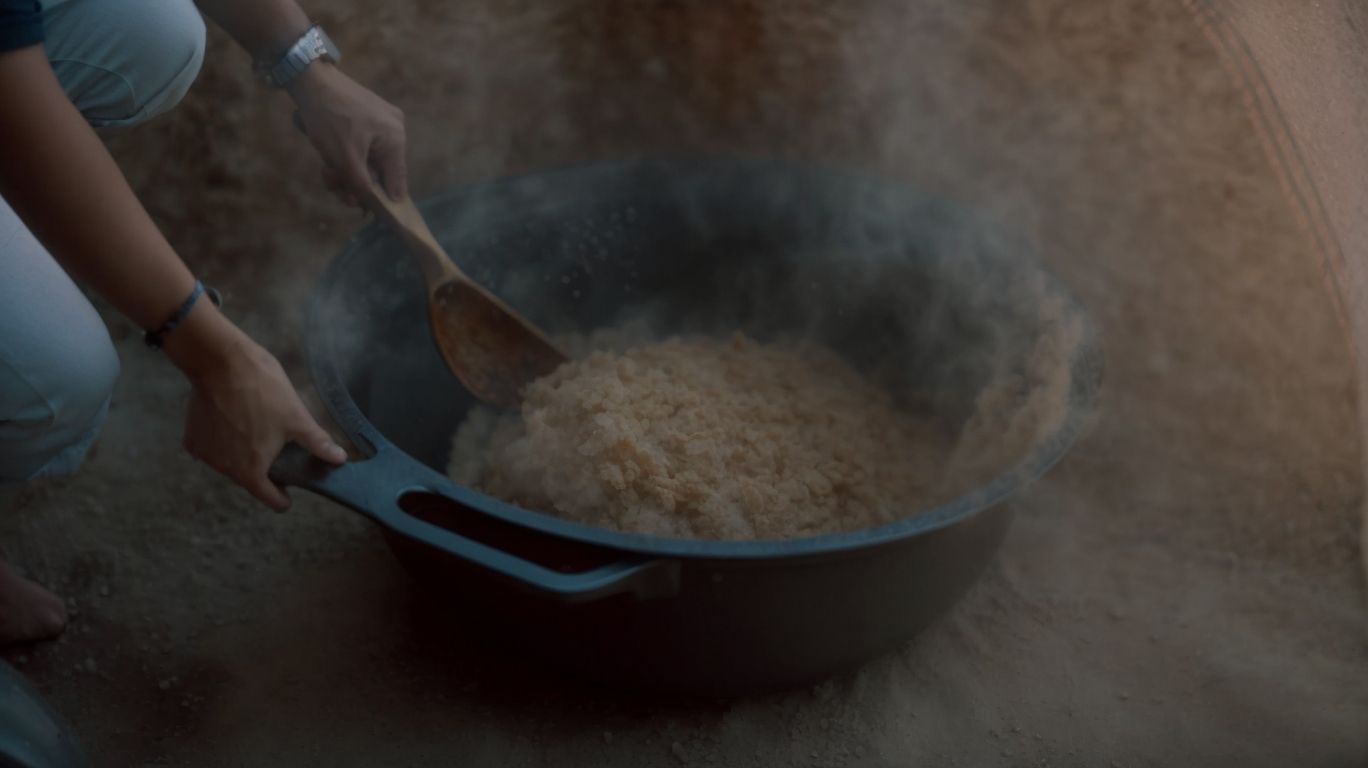
Making the Bread Dough

Credits: Poormet.Com – Dylan Gonzalez
Creating bread dough for baking in a Dutch oven involves combining flour, water, yeast, and salt using an artisan recipe to achieve the desired texture and flavor of the final loaf.
Once you gather your ingredients, it’s crucial to activate the yeast by combining it with warm water and some sugar. The yeast acts as the leavening agent, helping the dough rise and develop a light, airy structure.
Follow the recipe closely, as the proportions of each component play a significant role in the final outcome. The way you mix the dough also impacts its elasticity and chewiness. Kneading the dough thoroughly helps develop gluten strands, essential for the bread’s structure.
What Type of Bread Dough is Best for Baking in a Dutch Oven?
The best bread dough for baking in a Dutch oven is a well-hydrated, artisan-style dough that undergoes a slow fermentation process to develop complex flavors and textures.
Hydration plays a crucial role in the texture and crumb structure of the bread. A higher hydration level, typically around 75-80%, results in an open and airy crumb, creating that sought-after chewiness.
The fermentation process in artisan bread-making involves allowing the dough to rise slowly at a cool temperature for an extended period, usually overnight. This slow fermentation not only develops the flavors but also improves the digestibility of the bread.
An artisanal approach to baking emphasizes handcrafting each loaf, paying attention to details like shaping, scoring, and the overall quality of ingredients. This hands-on technique often results in loaves that boast a crispy crust and a tender interior, making every bite a delightful experience.
How to Knead the Bread Dough?
Kneading bread dough for a Dutch oven can be done traditionally by hand or using ‘no knead’ methods that require minimal effort but still yield excellent results.
When kneading bread dough by hand, the tactile process helps to develop the gluten structure essential for achieving the desired texture and rise in the final loaf. The repetitive folding, pressing, and stretching of the dough help distribute the yeast and embed air pockets for a light and airy result. On the other hand, the ‘no knead’ technique revolutionized bread making by utilizing long fermentation times to develop gluten naturally, resulting in a rustic crust and open crumb structure. This method, popularized by artisan bakers, is perfect for busy individuals seeking quality homemade bread with minimal hands-on time.
How to Shape the Bread Dough for Baking in a Dutch Oven?
Shaping the bread dough for Dutch oven baking involves creating a taut surface and specific form that enhances the loaf’s rise and crust formation, resulting in an artisan-style appearance.
One of the critical steps in achieving a well-formed loaf is gently patting the dough into a rectangular shape before folding it. This process helps create the necessary tension on the surface, ensuring a proper rise during baking. When shaping the dough, it’s essential to avoid overworking it to maintain its airy texture. Using a bench scraper can aid in shaping the dough neatly and efficiently.
To achieve an artisan-style crust, consider using a banneton basket or a cloth-lined bowl to support the dough during the final proofing stage. This helps the dough maintain its shape and develop a crust with characteristic patterns. A technique known as pre-shaping can further enhance the dough’s structure, making it easier to shape into the final form before transfer to the Dutch oven for baking.
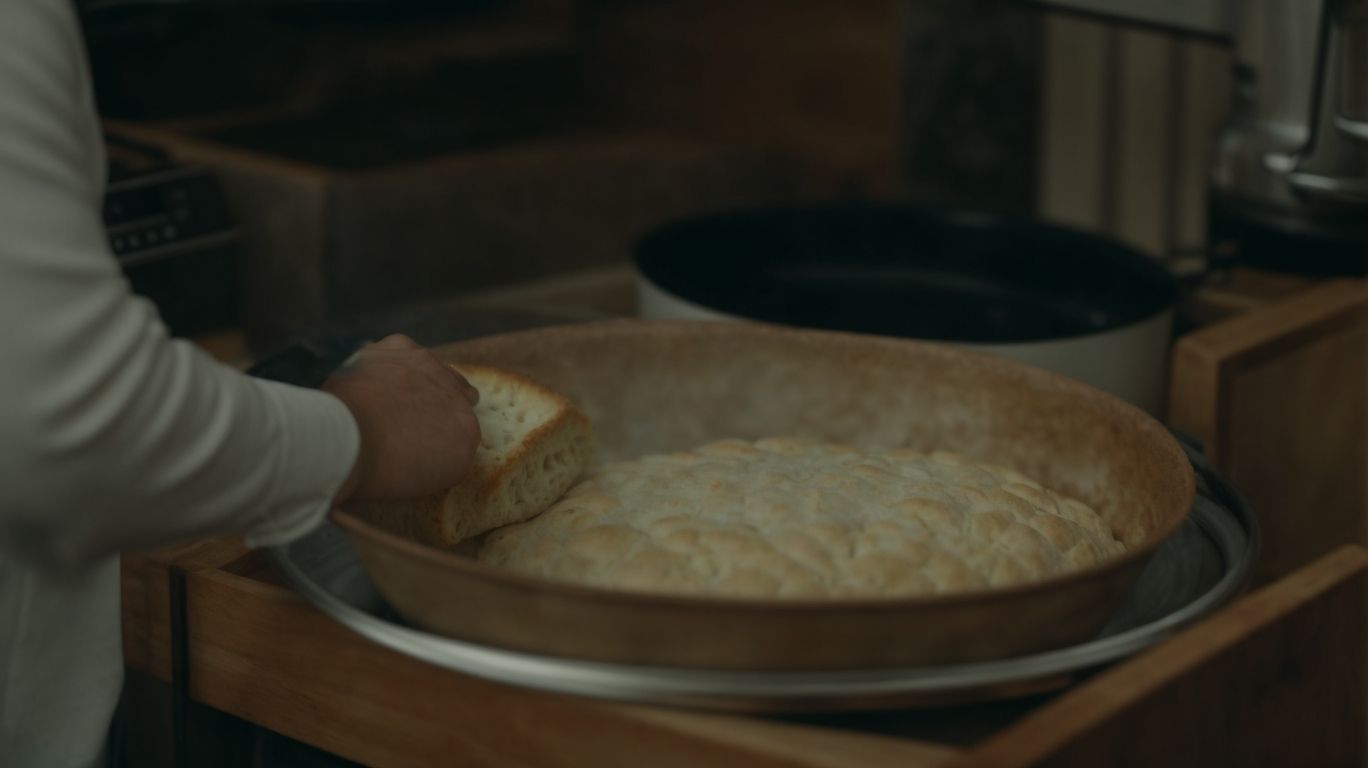
Baking the Bread in a Dutch Oven
Credits: Poormet.Com – Larry Thompson
Baking bread in a Dutch oven involves creating a steamy environment that mimics professional baking conditions, allowing the dough to develop a crusty, shiny exterior and fluffy interior.
This steamy environment is essential for achieving that perfect crust while keeping the inside of the bread soft and fluffy. During the baking process, the steam generated from the dough’s moisture in the enclosed Dutch oven aids in the development of a beautiful shiny crust.
The duration of baking is crucial; typically, starting with a higher temperature for the first few minutes helps in creating that initial burst of steam for crust formation, and then reducing the temperature for the rest of the baking time ensures the interior bakes thoroughly without burning the exterior.
How to Place the Bread Dough in the Dutch Oven?
Placing the bread dough in the Dutch oven requires gently transferring it onto a prepared baking surface inside the preheated vessel to ensure optimal heat distribution and crust formation.
Once the dough is ready to be placed in the Dutch oven, use a well-floured surface to prevent sticking and maintain the dough’s shape. Carefully lift the dough and place it into the preheated vessel using a large spatula or your hands, ensuring it settles evenly. Proper placement will help distribute heat evenly throughout the dough, resulting in a beautifully crusty exterior. This step is crucial for achieving that perfect crispy crust that Dutch oven bread is known for.
How to Create Steam for Baking Bread in a Dutch Oven?
Creating steam in the Dutch oven while baking bread involves adding moisture quickly at the start of the baking process to aid in crust development and ensure a shiny, crunchy finish.
When the bread dough is placed inside the preheated Dutch oven, the moisture from the dough and the added steam create a humid environment that slows down the crust formation process. This delayed crust formation allows the bread to expand fully before the crust hardens, resulting in a lighter and airier crumb texture.
The moisture also contributes to the caramelization process on the crust, giving it a rich brown color and a desirable flavor profile. The steam helps to keep the surface of the bread moist during the initial stages of baking, promoting oven spring and a well-risen loaf with a beautifully blistered crust.
How Long to Bake Bread in a Dutch Oven?
The ideal baking time for bread in a Dutch oven varies but generally ranges between 30 to 45 minutes at a moderate to high temperature to ensure a perfectly baked loaf.
When determining if your bread is ready, pay close attention to the crust color as well. A golden-brown crust indicates that the bread has baked sufficiently. You can use a food thermometer to check the internal temperature, which should be around 200-210°F for most bread types. Remember that each oven behaves differently, so it’s essential to monitor your bread closely during the last few minutes of baking.
Removing and Cooling the Bread
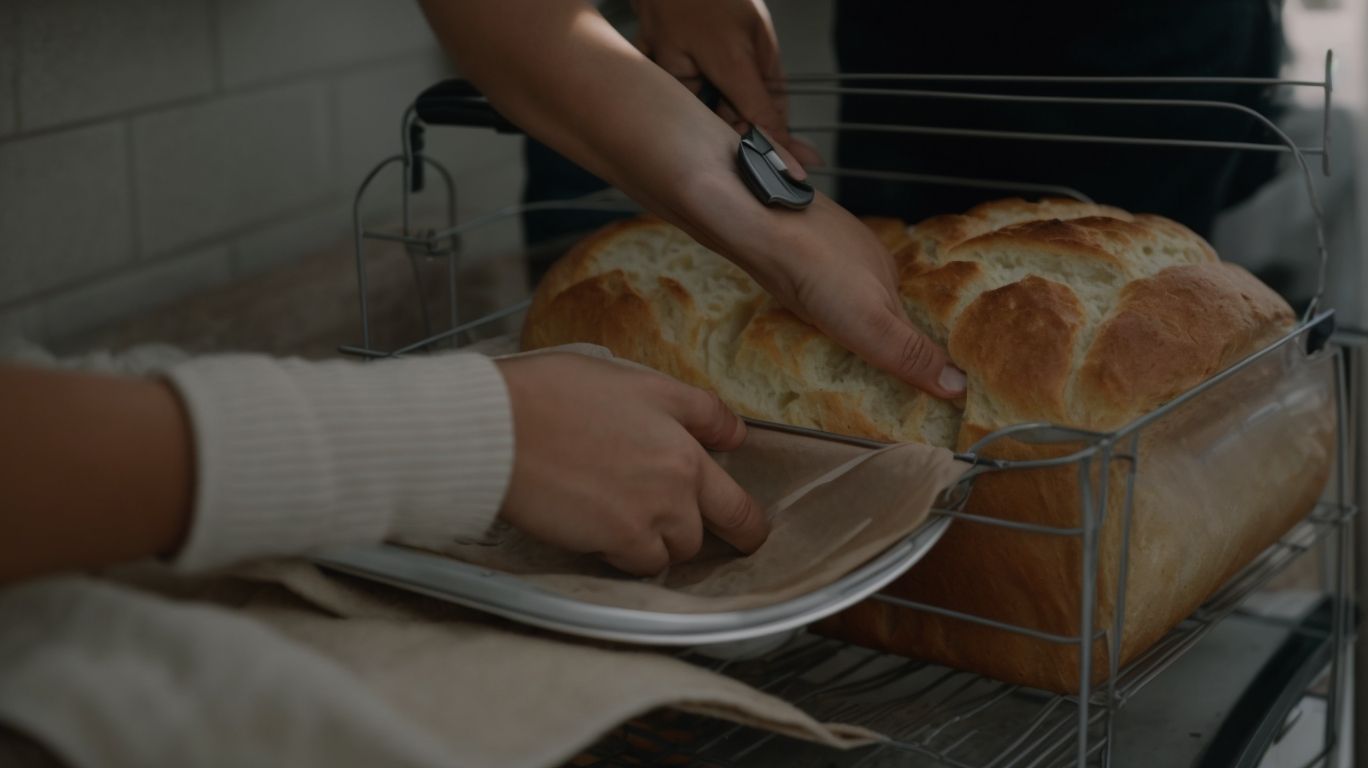
Credits: Poormet.Com – Bradley Clark
After baking, removing the bread from the Dutch oven and allowing it to cool on a wire rack ensures a balanced texture and flavor before storing the freshly baked loaf.
When taking the bread out of the Dutch oven, it’s essential to use oven mitts or a kitchen towel to protect your hands from the heat. Gently lift the loaf using a spatula or oven-safe tool to avoid crushing or damaging the crust. Placing the bread on a wire rack allows air to circulate around it, preventing moisture buildup that can lead to sogginess. As the bread cools, its internal structure sets, developing a desirable crumb texture. This resting period also enhances the flavors, allowing them to fully develop for a more balanced flavor.
How to Remove the Bread from the Dutch Oven?
Removing the freshly baked bread from the Dutch oven involves using oven mitts to carefully lift the loaf out, ensuring no heat-related accidents and preserving the crust integrity.
Once you have allowed the bread to cool slightly in the Dutch oven, it’s time to safely transfer it to a cooling rack to prevent excess moisture buildup. Before handling the hot pot, remember to protect your hands by wearing oven mitts with a good grip.
Gently and steadily, lift the loaf out of the Dutch oven using both hands to support the bottom and sides. Be cautious not to squeeze or press too hard to maintain the crust integrity that you worked so hard to achieve.
How to Cool and Store the Baked Bread?
Cooling and storing freshly baked bread involves allowing it to rest on a wire rack until room temperature, then storing it in a breathable container to maintain its crusty texture.
After the bread reaches room temperature, it’s essential to transfer it to the breathable container as soon as possible. This container should have some airflow to prevent condensation, which can make the bread soggy. Placing the bread in a sealed container can trap moisture, affecting its texture.
Proper ventilation helps the bread retain its crusty exterior while keeping its interior moist and soft. When storing bread, remember that it’s best to avoid plastic bags or containers that don’t allow air circulation.
Frequently Asked Questions
What is a Dutch oven and why is it used for baking bread?
A Dutch oven is a heavy cooking pot with a tight-fitting lid, typically made of cast iron. It is used for baking bread because it creates the perfect environment for the bread to rise and bake evenly.
Is it necessary to preheat the Dutch oven before baking bread?
Yes, preheating the Dutch oven is an essential step in baking bread. The high heat in the preheated Dutch oven helps to create a crispy crust on the bread.
How do I prepare the Dutch oven for baking bread?
To prepare the Dutch oven, preheat it in the oven at the desired temperature for at least 30 minutes. Then, lightly grease the inside of the Dutch oven with oil or butter to prevent the bread from sticking.
Can I use a regular oven-safe pot instead of a Dutch oven for baking bread?
Yes, in most cases, a regular oven-safe pot can be used as a substitute for a Dutch oven. However, make sure to check the pot’s maximum temperature to ensure it can withstand the high heat needed for baking bread.
Can I use a Dutch oven to bake different types of bread?
Yes, a Dutch oven is a versatile tool that can be used to bake a variety of bread, including sourdough, crusty bread, and even no-knead bread.
How do I clean and maintain my Dutch oven after baking bread?
After using the Dutch oven, allow it to cool completely before cleaning. Use warm water and a gentle scrub brush to remove any remaining residue. Avoid using soap or harsh scrubbers, as they can damage the seasoning on the Dutch oven. To maintain the Dutch oven’s seasoning, dry it thoroughly and lightly coat it with oil before storing.