
How to Bake Bread With Self Raising Flour?
Looking to elevate your baking skills and create delicious homemade bread? Self-raising flour is the key!
We will explore what self-raising flour is and how it differs from all-purpose flour. Can you make self-raising flour at home? What ingredients do you need to make bread with self-raising flour?
From kneading the dough to the baking process, we will provide you with all the tips and tricks for perfect bread every time. Get ready to enjoy your delicious homemade bread with self-raising flour!
Key Takeaways:
What is Self Raising Flour?
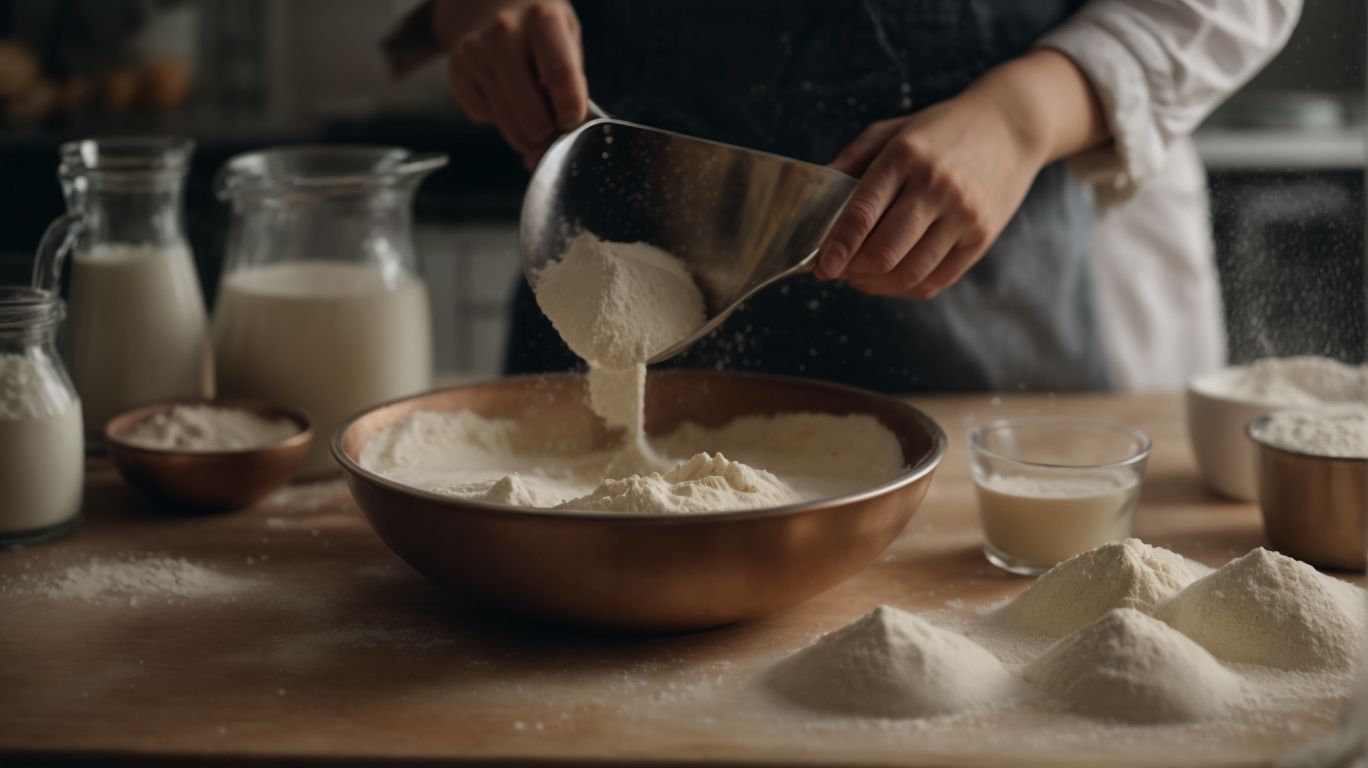
Credits: Poormet.Com – Logan Thomas
Self Raising Flour is a type of flour that already contains a raising agent, usually baking powder, which helps the bread dough to rise without the need for additional yeast.
This makes it a convenient choice for recipes that require a quick leavening process, such as pancakes, muffins, or scones. The composition of self-raising flour also typically includes a small amount of salt to enhance the flavor of the baked goods. When compared to traditional flours, which do not have a leavening agent included, self-raising flour simplifies the baking process and is ideal for those who may not have yeast on hand. It’s essential to note that self-raising flour is not suitable for recipes that call for yeast as the primary leavening agent, like traditional bread recipes.
How is Self Raising Flour Different from All-Purpose Flour?
Self Raising Flour differs from all-purpose flour in that it already contains a leavening agent, eliminating the need for additional yeast in bread recipes.
When using self-raising flour, the baking powder or bicarbonate of soda mixed into it reacts with the liquid and heat in the oven, causing the dough to rise. This convenience makes it a popular choice for quick bread recipes like scones, pancakes, and muffins, where a lighter texture is desired without the lengthy proofing process required by yeast-based breads.
On the other hand, all-purpose flour is a versatile option that works well for a variety of baked goods including bread, cakes, and pastries, offering more control over the leavening process and final texture.
Can You Make Self Raising Flour at Home?
While self-raising flour can be purchased at stores, it is possible to create a DIY version at home by combining regular flour with baking powder and a pinch of salt.
Making your own self-raising flour at home not only saves you a trip to the store but also gives you control over the ingredients. This process is particularly useful if you often bake bread or other recipes that call for self-raising flour. All you need is regular all-purpose flour, baking powder, and a small amount of salt to mimic the consistency and leavening properties of store-bought self-raising flour.
What Ingredients Do You Need for Bread with Self Raising Flour?

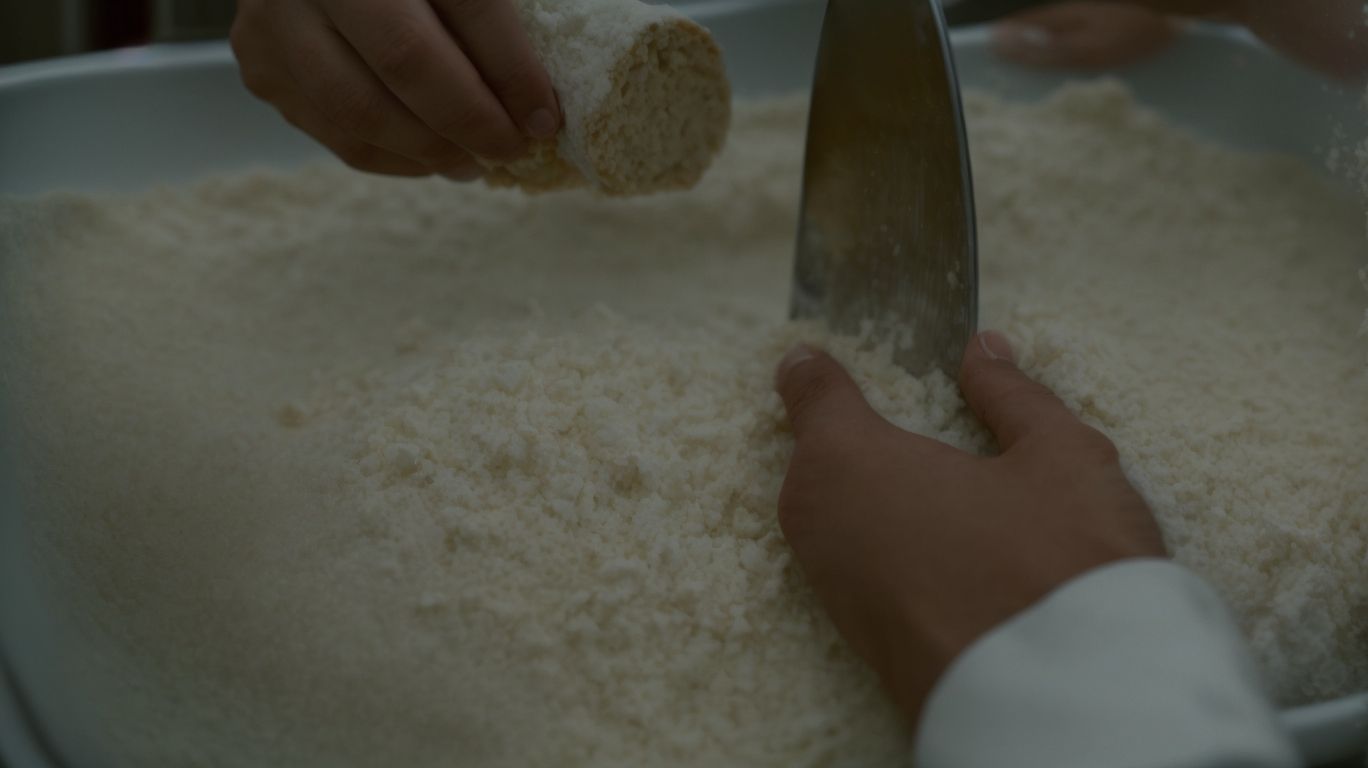
Credits: Poormet.Com – Richard Wright
To make bread with self-raising flour, you’ll need a few basic ingredients such as self-raising flour, milk, oil, and a pinch of salt to enhance the flavor.
Along with the core ingredients, yeast plays a crucial role in bread making. While self-raising flour already contains a leavening agent, yeast can be added to improve the bread’s texture and rise. It’s important to activate the yeast by combining it with warm liquid before mixing it with the flour.
For those looking to customize their bread, various ingredients such as honey, herbs, seeds, or even cheese can be incorporated into the dough to add different flavors and textures.
What Type of Yeast Should You Use?
Choosing the right type of yeast is crucial for bread-making with self-raising flour to ensure proper fermentation and a well-risen loaf.
There are various types of yeast that can be used for self-raising flour recipes, each with its unique characteristics. Active dry yeast, for example, needs to be dissolved in warm water before use. Instant yeast, on the other hand, can be mixed directly with dry ingredients. Fresh yeast, known for its potency, should be crumbled and activated with sugar and warm water. The choice of yeast impacts the texture of the bread; active dry yeast can result in a more flavorful loaf, while instant yeast might offer a quicker rise.
What Other Ingredients Can You Add for Different Flavors?
For a unique twist, consider adding ingredients like herbs, cheese, or seeds to your self-raising flour bread dough to experiment with different flavors and textures.
Herbs such as rosemary or thyme can add a fragrant note, while cheese like cheddar or parmesan brings a rich, savory element to the bread.
Seeds such as sesame, poppy, or sunflower not only contribute to the texture but also introduce a subtle nuttiness.
When incorporating these ingredients, maintaining the right proportions is crucial to ensure a balanced flavor profile.
How to Prepare the Dough for Baking?
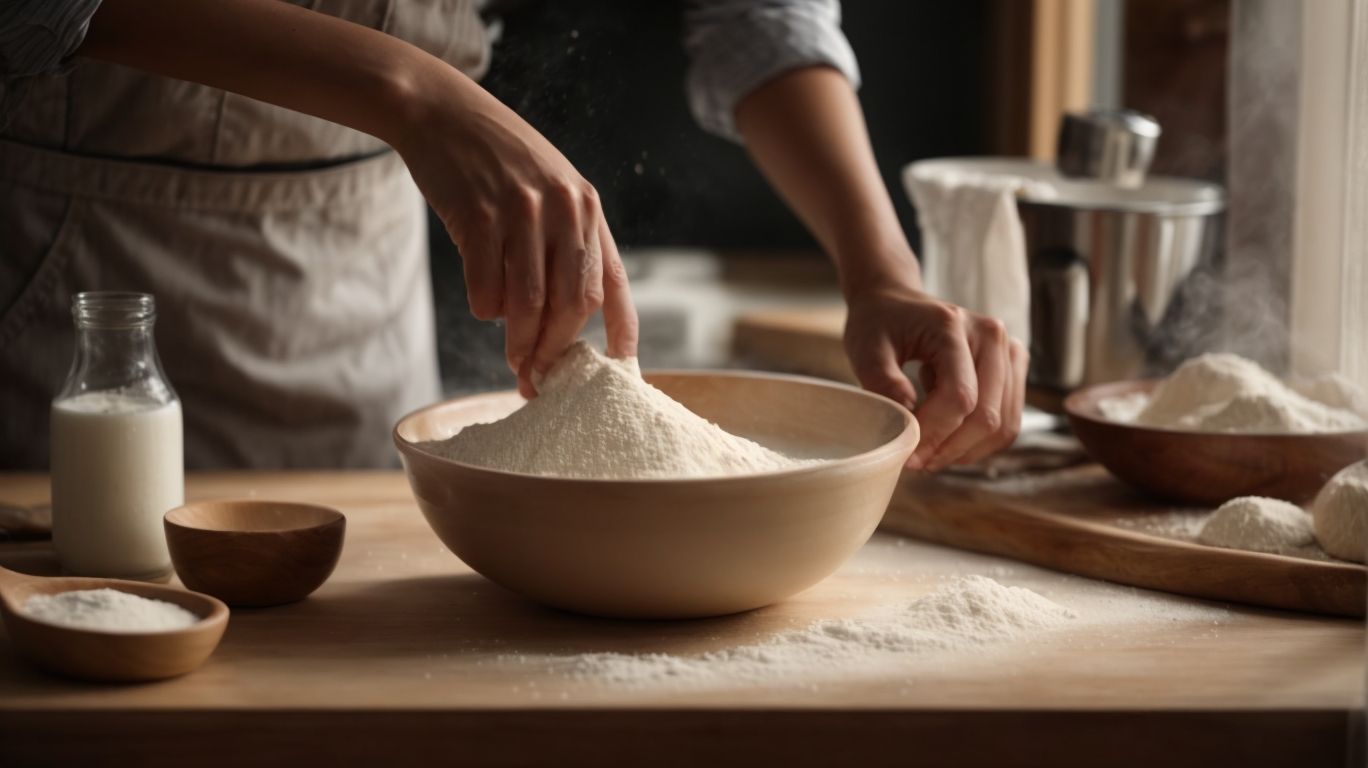
Preparing the dough for baking with self-raising flour involves combining the ingredients, kneading the dough until smooth, and allowing it to rest for proper fermentation.
When working with self-raising flour rather than traditional bread flour, the leavening agent is typically already incorporated into the mixture, eliminating the need to add yeast separately. At this stage, you should focus on achieving the right consistency – a smooth, elastic texture that holds together well but isn’t sticky. Proper kneading is crucial; use the heel of your hand to push the dough away from you, fold it back over itself, and repeat until the dough becomes supple.
How to Knead the Dough Properly?
Properly kneading the dough for self-raising flour bread is essential to develop gluten strands and ensure a light, airy texture in the finished loaf.
When working with self-raising flour, mastering kneading techniques becomes even more crucial as the dough requires proper handling to activate the leavening agents within.
Kneading involves not just mixing ingredients but the physical manipulation of the dough to develop its structure and texture. It helps distribute yeast evenly, aiding in fermentation for a well-risen, flavorful bread.
Understanding the right kneading methods and timings is key. Common techniques involve folding, stretching, and pressing the dough to strengthen gluten strands. Proper kneading ensures elasticity and aeration, vital for creating that desired light crumb.
What is the Ideal Consistency of the Dough?
The ideal consistency of the dough for self-raising flour bread should be smooth, elastic, and slightly tacky to the touch, indicating proper gluten development for a well-textured loaf.
Ensuring the dough has a sufficient hydration level is key to achieving this texture. The self-raising flour provides a leavening agent, typically baking powder, which aids in the dough’s rise without the need for additional yeast.
Achieving the right balance of hydration ensures that the dough is pliable yet firm enough to hold its shape during proofing and baking. Yeast, although not always necessary in recipes using self-raising flour, can enhance flavor and contribute to a deeper fermentation process.
What is the Baking Process for Bread with Self Raising Flour?
Credits: Poormet.Com – Albert Hill
The baking process for bread made with self-raising flour involves preheating the oven, shaping the dough, allowing it to rise, and baking until golden brown and crusty.
Once the dough has risen adequately, it is time to carefully transfer it into the preheated oven to start the baking process. The ideal oven temperature for baking self-raising flour bread is around 375°F to 400°F (190°C to 200°C). Set a timer for approximately 25-30 minutes, but remember that baking times may vary depending on your oven’s individual characteristics.
What Temperature and Time Should You Bake the Bread?
Baking bread with self-raising flour typically requires an oven temperature of around 375°F to 425°F and a baking time of 20 to 30 minutes, depending on the size and type of bread.
For smaller bread like rolls or buns, opt for the higher temperature range to ensure a quick rise and a beautifully golden crust. On the other hand, larger loaves might benefit from the lower end of the spectrum, allowing the bread to bake more evenly throughout.
Yeast-based bread with self-raising flour demands a slightly lower temperature, usually in the range of 350°F to 400°F, due to the presence of yeast which needs more time to develop. This will result in a bread with a more robust flavor and a deeper crust.
How to Tell if the Bread is Fully Baked?
To determine if the bread made with self-raising flour is fully baked, tap the bottom of the loaf to listen for a hollow sound and check the crust for a golden brown color and crisp texture.
Another method to ensure the bread’s doneness is by assessing its appearance – a fully baked loaf will have a crust that is firm to the touch and evenly browned. You can insert a thermometer into the center of the bread; if it reads 190-200°F, your bread is done. Consider also the type of yeast used; instant yeast bread may bake slightly faster than bread made with active dry yeast. By incorporating these various assessments, you can guarantee a perfectly baked bread each time.
Tips and Tricks for Perfect Bread with Self Raising Flour
Achieving perfect bread with self-raising flour requires attention to detail, proper ingredient measurements, and allowing the dough to proof adequately for optimal flavor and texture.
When working with self-raising flour, incorporating a small amount of yeast can help enhance the rise and texture of your bread. To save time and effort when baking, consider using pre-made easy bread mixes that already contain the necessary leavening agents.
Troubleshooting tip: If your bread turns out too dense, try kneading the dough for a longer period to develop gluten strands, creating a lighter texture.
How to Store and Reheat the Bread?
Store the bread made with self-raising flour in airtight containers or bags at room temperature to maintain freshness, and reheat slices in a toaster or oven for a warm, crispy texture.
When storing self-raising flour bread, ensure that the containers are properly sealed to prevent moisture from affecting the texture. To extend shelf life, you can also freeze the bread in freezer-safe bags for up to three months. Avoid refrigerating the bread as it can make it go stale faster due to the low temperatures. When reheating, a quick toast in a toaster or a few minutes in a preheated oven can bring back that delightful warmth and crispy exterior, making it easy to enjoy this bread at any time.
What Are Some Common Mistakes to Avoid?
Common mistakes to avoid when baking bread with self-raising flour include over-kneading the dough, using expired ingredients, and skipping the proofing stage, which can result in dense or unevenly baked loaves.
One critical aspect often overlooked is the temperature of the ingredients. Cold ingredients can delay the yeast activation, leading to a longer rise time or even a failed proof. Always ensure your yeast is active by proofing it in warm water.
Another common pitfall is using too much flour during kneading, resulting in a tough texture. To combat this, consider adding moisture-rich ingredients like milk or yogurt to keep the dough soft and pliable. Be wary of overproofing, which can cause the dough to collapse during baking.
Conclusion: Enjoy Your Delicious Homemade Bread with Self Raising Flour
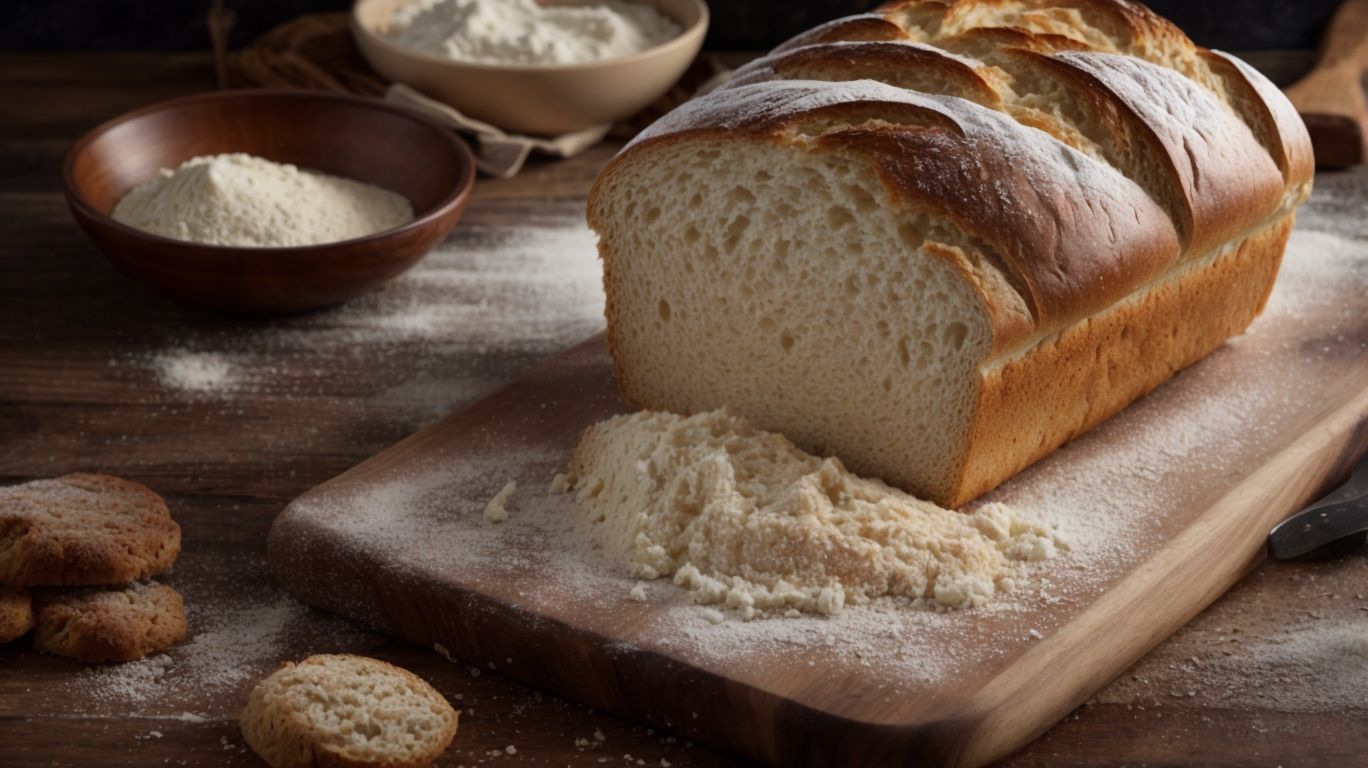
Credits: Poormet.Com – Roger Lopez
Baking bread with self-raising flour opens up a world of possibilities to create delicious, homemade loaves with unique flavors and textures.
One of the main advantages of using self-raising flour in your bread recipe is the convenience it offers. Since it already contains a leavening agent, usually baking powder, there is no need to add yeast separately, saving you time and effort. This makes it a perfect choice for quick bread recipes or for those who are new to baking. The versatility of self-raising flour allows you to experiment with different ingredients like herbs, seeds, or spices to enhance the flavor profile of your bread.
Frequently Asked Questions
1. How do I use self raising flour to make bread?
To use self raising flour for bread, simply substitute it for regular flour in your bread recipe and skip adding additional baking powder or yeast.
2. Can I use self raising flour in a bread machine?
Yes, you can use self raising flour in a bread machine, but make sure to follow the specific instructions for your machine and adjust the liquid and flour ratios accordingly.
3. Do I need to add salt if I’m using self raising flour for bread?
Yes, you still need to add salt to your bread recipe even if you are using self raising flour. Self raising flour only has baking powder added, not salt.
4. Can I make sourdough bread with self raising flour?
No, self raising flour is not suitable for making sourdough bread as it already has baking powder added, which could affect the fermentation process of the sourdough starter.
5. How does self raising flour affect the texture of bread?
Self raising flour has baking powder added, which creates a lighter and softer texture in baked goods. This can be beneficial for breads that should have a lighter texture, such as biscuits or quick breads.
6. Do I need to sift self raising flour before using it for bread?
It is not necessary to sift self raising flour before using it for bread. However, if you prefer a finer texture in your bread, you can sift the flour before adding it to the dough.