

How to Bake Bread Without a Bread Pan?
Are you looking to step up your bread baking game? Have you ever considered baking bread without a bread pan?
We will explore the benefits of baking bread without a traditional pan, including creating unique shapes and textures, and being more versatile for different types of bread.
We’ll also provide a step-by-step guide on how to bake bread without a bread pan, along with some helpful tips and tricks to elevate your homemade bread game.
So, grab your ingredients and let’s get baking!
Key Takeaways:
Why Bake Bread Without a Bread Pan?
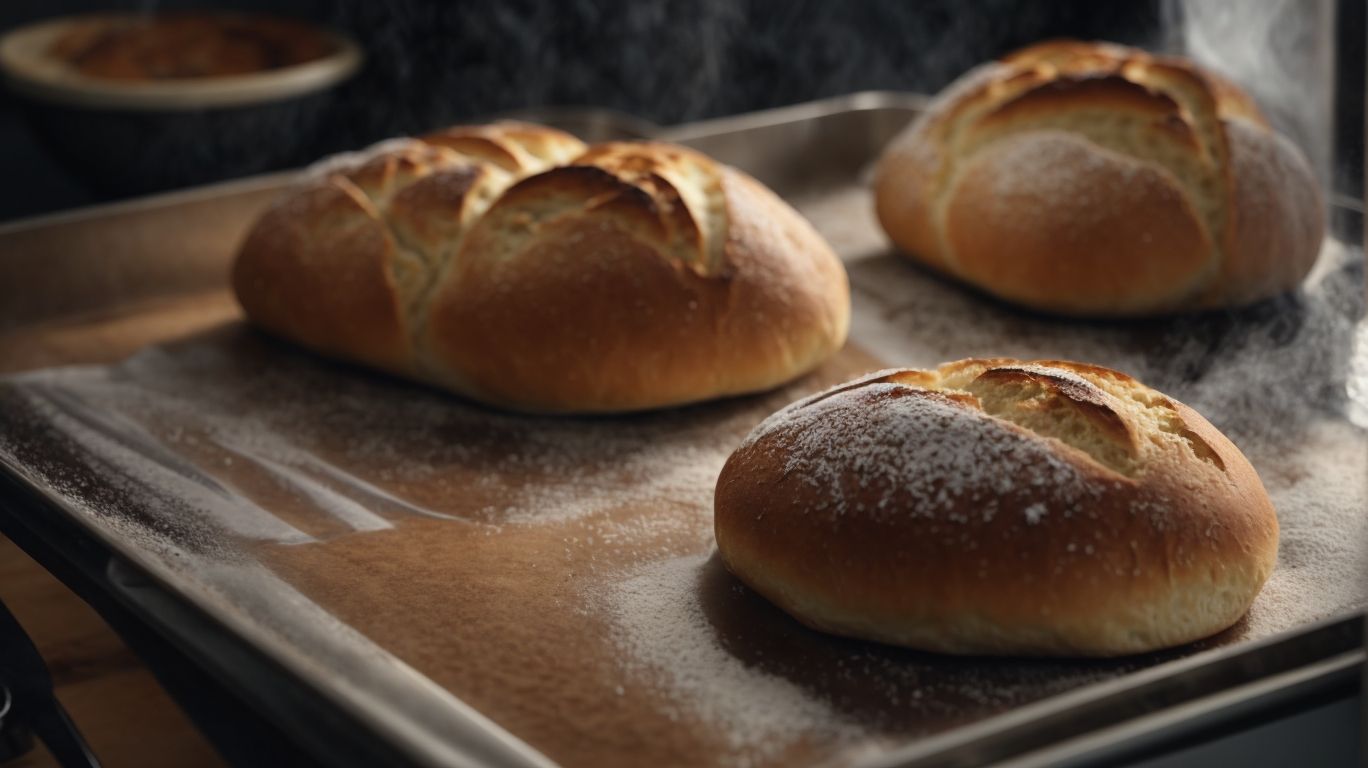
Credits: Poormet.Com – Bobby Smith
Baking bread without a bread pan offers a unique way to create artisanal loaves at home, allowing for crusty exteriors and chewy textures that are hard to achieve with traditional pans.
When you bake bread without a bread pan, the dough has room to spread and develop a more organic shape, resembling those found in cozy European bakeries. This method allows for the yeast to interact fully with the dough, enhancing the complex flavors that develop during fermentation. Hand-shaping the dough gives you the control to create personalized designs, ensuring each loaf is a work of art. The resulting crust is often thicker and crunchier, offering a satisfying contrast to the soft interior. Embrace the artisanal process and uncover a whole new world of bread-making possibilities.
No Need to Purchase a Bread Pan
One advantage of baking bread without a bread pan is that beginners can easily get started without the need to invest in specialized pans, focusing instead on essential steps like kneading, shaping, and allowing the dough to rise.
Mastering the art of kneading is crucial as it helps develop gluten structure for better texture.
When shaping the dough, beginners can experiment with different techniques to create unique loaf designs.
During the rising process, the dough transforms, becoming airy and light, ready for the oven.
With simple ingredients like flour and water, homemade bread-making offers a rewarding experience for beginners.
Creates a Unique Shape and Texture
Baking bread without a pan allows for the creation of rustic, bakery-style loaves with unique shapes and textures, providing a canvas for experimenting with different flavors and base recipes in the kitchen.
Shaping bread by hand or using a proofing basket can result in visually stunning loaves that are not only a treat for the taste buds but also for the eyes. The irregular shapes and cracks on the crust add an artisanal touch to your bread, making each loaf a work of art.
Artistic bakers often enjoy this method as it allows them to express their creativity in the kitchen by playing with dough shapes and scoring patterns. By foregoing the confines of a pan, you open up a world of possibilities to infuse your bread with different textures, from a crisp crust to a soft crumb.
Can Be More Versatile for Different Types of Breads
Opting to bake bread without a pan offers versatility for creating a wide range of real homemade bread styles, following yeast guides, and exploring artisanal techniques typically mastered by skilled bakery workers.
By removing the constraints of a pan, bakers can delve into the intricate details of yeast fermentation, understanding how this living organism works to leaven the dough and develop complex flavors. Embracing an artisanal mindset means paying attention to every step, from mixing the ingredients to shaping the dough with finesse, resulting in bread with a distinct character and texture. This dedication to the art of baking elevates the simple act of making bread into a gratifying experience that rewards patience and practice.
What You’ll Need for Baking Bread Without a Bread Pan
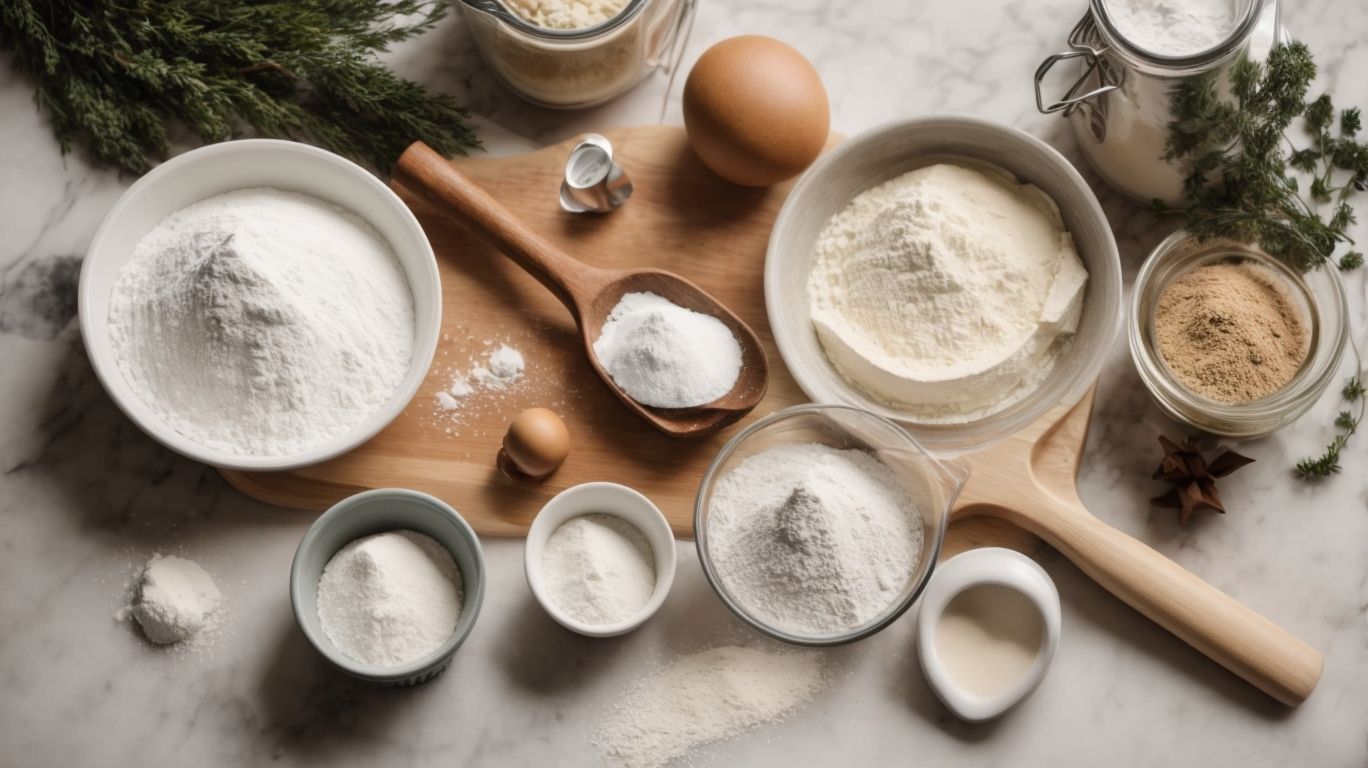
Credits: Poormet.Com – Kevin Sanchez
To bake bread without a bread pan successfully, you’ll require some essential ingredients and tools such as high-quality yeast, like instant or active dry, to achieve robust flavors and chewier textures, following the lead of bread masters in crafting specialties like olive bread.
When selecting yeast for your bread creations, consider the importance of choosing variants that offer both reliability and flavor enhancement. Premium yeast options can elevate your bread-making experience, bringing out nuanced tastes and textures that are simply unmatched.
For instance, olive bread, with its rich and savory undertones, is a prime example of how the choice of yeast can influence the final product. The interaction between the yeast and other ingredients in olive bread results in a complex flavor profile that delights the palate.
Investing in quality yeast is not just about functionality; it’s about unlocking a world of culinary possibilities in your home kitchen.
Baking Sheet or Pizza Stone
For baking bread without a pan, a reliable baking sheet or a pizza stone is essential to achieve crusty artisan loaves, especially beneficial for beginners learning to control dough temperatures between room and refrigerated conditions.
Using a baking sheet or a pizza stone helps in distributing heat evenly across the dough, creating that coveted crispy crust on your bread. This method is particularly advantageous for novice bakers who may struggle with managing temperature fluctuations in their environment. These tools act as insulators, ensuring that the dough maintains a consistent temperature, which is crucial for proper rising and texture development. The crusty bread textures that result from this technique are a staple of artisanal bakery products. By utilizing these beginner-friendly tools, individuals can navigate the nuances of dough handling with greater ease, leading to more consistent and flavorful loaves.
Parchment Paper or Cornmeal
Using parchment paper or a dusting of cornmeal prevents sticking and adds a rustic touch to your bread, providing an optional canvas for incorporating herbs, seasonings like garlic, rosemary, or dill, enhancing the flavors.
When using parchment paper in pan-free baking, it acts as a non-stick surface that simplifies the extraction of your freshly baked bread without leaving behind any residue.
Meanwhile, cornmeal not only prevents your dough from adhering but also gives a delightful crunch to the crust, enhancing the overall texture of the loaf.
By infusing your bread with aromatic herbs like garlic, rosemary, and dill, you can craft unique flavor profiles that tantalize the taste buds.
Kitchen Towel or Cloth
Covering your bread dough with a kitchen towel or cloth during proofing stages helps prevent drying and enhances the final bread with added moisture, making it an ideal environment for infusing flavors like onion, jalapeño, shredded cheese, nuts, or cranberries.
Moisture retention is crucial during the proofing process as it ensures that your bread remains soft and moist after baking, leading to a more enjoyable texture. By keeping the dough covered, you also create a warm and humid microclimate that aids in fermentation, resulting in better flavor development.
Adding ingredients such as caramelized onions, spicy jalapeños, savory cheese, crunchy nuts, or tart cranberries not only introduces diverse tastes but also elevates the overall complexity of the bread. These flavorful additions bring a unique twist to your loaves, making them stand out and offering a delightful surprise with every bite.
Step-by-Step Guide for Baking Bread Without a Bread Pan
Following a step-by-step approach, baking bread without a pan involves making quick bread versions that require no yeast, resulting in airy pockets, delightful crumb textures, and the perfect accompaniment of homemade honey butter.
Quick bread recipes are known for their simplicity and speed, making them a popular choice for those seeking a freshly baked treat without the wait for yeast to rise.
- To start, gather your ingredients such as all-purpose flour, baking powder, salt, milk, eggs, and any additional flavorings like herbs or cheeses for a savory twist.
- In a mixing bowl, combine the dry ingredients and create a well in the center to pour in the wet ingredients. Stir gently until just combined, being careful not to overmix and develop gluten strands.
Prepare Your Dough
Begin the bread-making process by preparing a well-mixed dough that serves as a versatile base for various bread recipes, ideal for pairing with accompaniments like crab dip, beer cheese dip, roasted garlic bacon spinach dip, or slow cooker chicken chili.
After mixing the dough thoroughly, allow it to rise in a covered bowl until it doubles in size, which typically takes about an hour.
This fluffy dough will be the perfect canvas for a range of bread types, from soft dinner rolls to crusty baguettes.
When serving with crab dip, the bread’s subtle sweetness complements the rich seafood flavors, creating a harmonious balance of tastes.
Similarly, the hearty texture of the bread pairs wonderfully with the creaminess of a beer cheese dip, offering a comforting snack or appetizer.
Shape Your Dough
Craft the bread dough into desired shapes, incorporating artistic twists or braids for visual appeal and texture variety, creating loaves that pair excellently with pumpkin chili, minestrone soup, creamy chicken noodle soup, or mac & cheese.
Transforming your bread dough into intricate wreaths or unique patterns not only adds flair to your baking but also offers a delightful textural experience when biting into the finished product. Experimentation with different shapes can elevate the visual presentation of your loaves, making them a standout addition to any meal table.
- For a cozy dinner, consider serving your freshly baked bread with a steaming bowl of butternut squash soup or a hearty beef stew. The combination of warm, crusty bread with these rich and comforting soups creates a wonderfully satisfying meal.
- Another fantastic duo is a soft, buttery brioche loaf paired with a smooth tomato bisque or a chunky vegetable chowder. The contrast of the bread’s sweetness and the savory flavors of the soups results in a harmonious blend of tastes.
Preheat Your Oven
Ensure your oven is adequately preheated to the recommended temperature for optimal baking results, essential for achieving golden-brown crusts and airy interiors perfect for serving with goat cheese & honey crostini, breakfast casserole, or as part of a baking challenge with documented recipe photos.
Preheating the oven is a critical step in baking that is often overlooked. By properly preheating, you create a stable environment for your bread to rise properly and develop its flavors as it bakes. The right temperature ensures that the yeast is activated, leading to the desired texture and structure in your bread.
Pairing your freshly baked bread with tangy goat cheese & sweet honey crostini creates a delightful combination of flavors and textures. Consider serving your bread alongside savory breakfast casseroles for a complete meal that satisfies both sweet and savory cravings. For those looking for more excitement, participating in baking challenges can be a fun way to enhance your culinary skills while documenting your creations through captivating food photography.
Create Steam in the Oven
Generate steam in the oven while baking to promote crust development and enhance bread texture, a crucial step often highlighted in video tutorials for crafting homemade artisan bread or preparing specialty loaves like sandwich bread and whole wheat variations.
Steam generation during baking plays a pivotal role in transforming a simple loaf of bread into a tantalizing treat. By introducing steam into the oven environment, the moisture from the water vapor creates the ideal conditions for a beautifully caramelized crust to form. This process also helps to achieve that sought-after glossy finish while ensuring the interior of the bread remains soft and moist.
Watching online video tutorials can provide valuable insights into different techniques for incorporating steam during baking, ultimately leading to a more professional-looking and delectable outcome.
Bake Your Bread
Place your shaped dough in the preheated oven and bake until golden brown, ensuring thorough cooking for a delectable finish suitable for serving as focaccia, English muffins, seeded oat bread, or bagels, depending on the desired bread type.
Regarding selecting the perfect bread style based on your preferences, consider the versatility of focaccia, perfect for pairing with soups or salads. For a classic breakfast option, go for English muffins that can be toasted and buttered with a hint of jam. Seeded oat bread offers a hearty and nutritious choice, packed with fiber and a delightful crunch. Alternatively, opt for bagels, ideal for creating savory or sweet toppings to suit any mealtime. The variety of options allows you to experiment with different flavors and textures to enhance your culinary creations.
Tips and Tricks for Baking Bread Without a Bread Pan
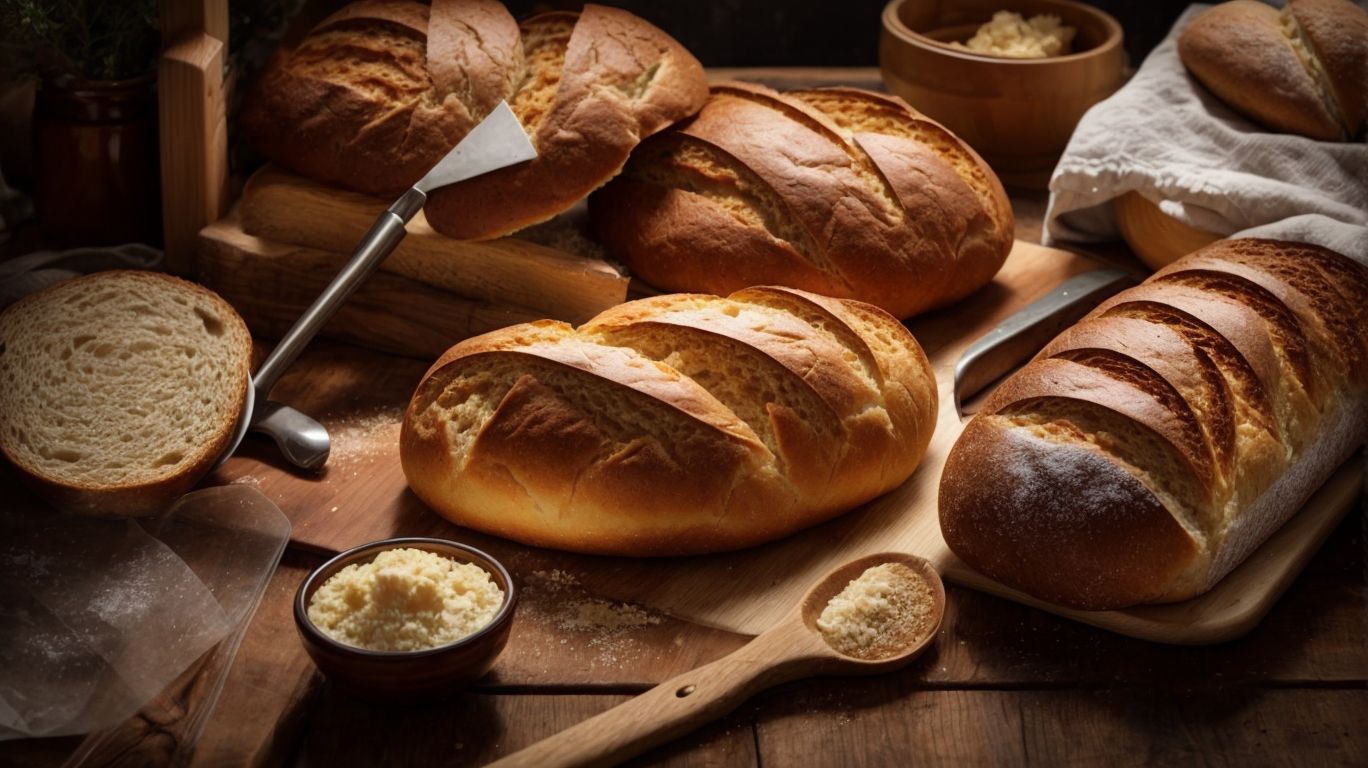
Credits: Poormet.Com – Eugene Smith
Enhance your bread-making skills with helpful tips and tricks for pan-free baking, addressing common yeast queries, simplifying recipes to utilize only four key ingredients, and exploring alternative uses for special pans in the baking process.
When diving into the world of yeast handling, ensuring the right temperature for fermentation is crucial. Yeast thrives in a warm environment, but too much heat can kill it, so finding that sweet spot is key. Incorporating vital wheat gluten into your recipes can help improve the structure and rise of your bread, especially when using minimal ingredients.
As you experiment with different types of bread, consider how versatile your baking equipment can be – a tart pan can create beautifully shaped loaves or buns, infusing a touch of creativity into your baking routine.
Use a Dutch Oven for a Crispier Crust
Employing a Dutch oven in your baking setup can result in a crustier bread exterior by utilizing techniques like poolish or dough starters, adjusting fermentation times for the perfect starch development and flavor enhancement.
Dutch ovens are highly effective in trapping steam during the baking process, creating the ideal environment for achieving that coveted crispy crust on your loaves.
By incorporating pre-fermentation methods such as poolish or starters, you are not only enhancing the depth of flavors in your bread but also improving its overall texture and structure.
The controlled fermentation duration plays a crucial role in breaking down complex starches into simpler sugars, which not only aids in achieving optimal crust color but also contributes to a more pronounced flavor profile.
Experiment with Different Shaping Techniques
Explore diverse shaping methods for your bread creations to craft unique designs and structures, allowing your loaves to complement dishes like breakfast casserole, becoming the best friend of your culinary endeavors.
Dabble in the art of bread sculpting to elevate the visual appeal of your baked goods, whether you opt for intricate braids, classic rolls, or whimsical shapes. By experimenting with different shaping techniques, you can not only enhance the aesthetics of your loaves but also create a delightful experience for your taste buds. These creatively shaped breads serve as a splendid accompaniment to a hearty breakfast spread, adding a touch of elegance to your table setting and turning an ordinary meal into a culinary adventure.
Add Toppings or Fillings Before Baking
Elevate the flavors of your bread by incorporating toppings or fillings before baking, introducing elements inspired by American cuisine to enhance taste profiles and adjusting preparation times for optimal yield and meal planning
One classic American influence is the delightful combination of cinnamon and sugar swirled throughout a soft dough, creating delectable cinnamon rolls.
Incorporating ingredients like cranberries, pecans, or maple syrup can add a burst of flavor and texture diversity to your bread.
When considering time management, allocate extra time for proofing processes and variations in baking times based on the added ingredients.
Estimating portions accurately during prep is crucial for ensuring a successful and delicious end product.
Conclusion: Enjoy Your Homemade Bread Without a Bread Pan
The process of crafting homemade bread without a bread pan showcases a versatile baking method that transcends traditional techniques, offering a creative exploration of various categories, methods, and cuisines through unique flavor combinations and distinct descriptions.
“
When baking bread without a pan, the possibilities are truly endless. From artisanal loaves to flatbreads, each creation reflects the ingenuity and artistry of the baker.
- Experimenting with different flours and grains can yield bread with varying textures and tastes, enriching the dining experience.
- Adding ingredients like herbs, spices, nuts, or dried fruits not only enhances the flavor profile but also introduces a delightful complexity to the bread.
- Shaping the dough into intricate designs or rustic patterns adds a visual appeal to the final product.
Through this method, you can truly customize the bread to suit your palate and elevate your culinary repertoire.
Frequently Asked Questions
How to Bake Bread Without a Bread Pan?
1. Can I bake bread without a bread pan at all?
Absolutely! In fact, bread was baked without pans for centuries before the bread pan was invented. You can use alternative methods such as shaping the dough into a round or oval shape and baking it on a baking sheet or in a Dutch oven.
2. What can I use instead of a bread pan?
There are several alternatives to a traditional bread pan that you can use, such as a cast iron skillet, a loaf pan, a casserole dish, or even a cake pan. Just make sure to grease the pan well before adding the dough.
3. How do I shape the dough without a bread pan?
To shape the dough without a bread pan, you can either roll it into a log and place it in a greased loaf pan, or you can shape it into a round or oval shape and place it on a baking sheet. You can also use a banneton or a cloth-lined bowl for a more rustic look.
4. Will the baking time be different without a bread pan?
Yes, the baking time may be slightly different depending on the alternative pan you use. For example, a loaf pan may require a longer baking time than a baking sheet. It’s important to keep an eye on the bread and use the toothpick test to check for doneness.
5. How can I prevent the bread from spreading without a bread pan?
If you’re using a baking sheet or a cake pan to bake your bread, you can prevent it from spreading by creating a makeshift barrier using foil. Simply fold a piece of foil into a long strip and place it around the edges of the dough to keep it contained.
6. Can I use a slow cooker to bake bread without a bread pan?
Yes, you can use a slow cooker to bake bread without a bread pan. This method is especially useful for those who don’t have an oven or are looking for a hands-off baking experience. Just make sure to line the slow cooker with parchment paper and grease it well before adding the dough.