
How to Bake Bread Without an Oven?
Are you interested in baking bread but don’t have an oven?
In this article, I’ll guide you through the step-by-step process of baking delicious bread without an oven.
From preparing the dough to baking it on a stovetop or campfire, I’ll give you all the tips and tricks you need to create a perfect loaf.
Get your ingredients ready and prepare to impress your friends and family with your homemade bread-making skills!
Key Takeaways:
What You Need to Bake Bread Without an Oven
Discover the essentials required to bake bread without an oven, including the dough preparation and baking tools.
If you find yourself without an oven, fear not as there are alternative methods for baking delicious bread. To begin, ensure you have a sturdy cast-iron skillet or a Dutch oven to act as your makeshift oven. You will also need a heat source such as a stovetop, outdoor grill, or even a campfire.
Once your dough is prepared with ingredients like flour, yeast, salt, and water, shape it according to your desired bread type. Whether it’s a rustic boule or a traditional baguette, be sure to score the dough before placing it onto your chosen surface for baking.
A Stovetop or Campfire
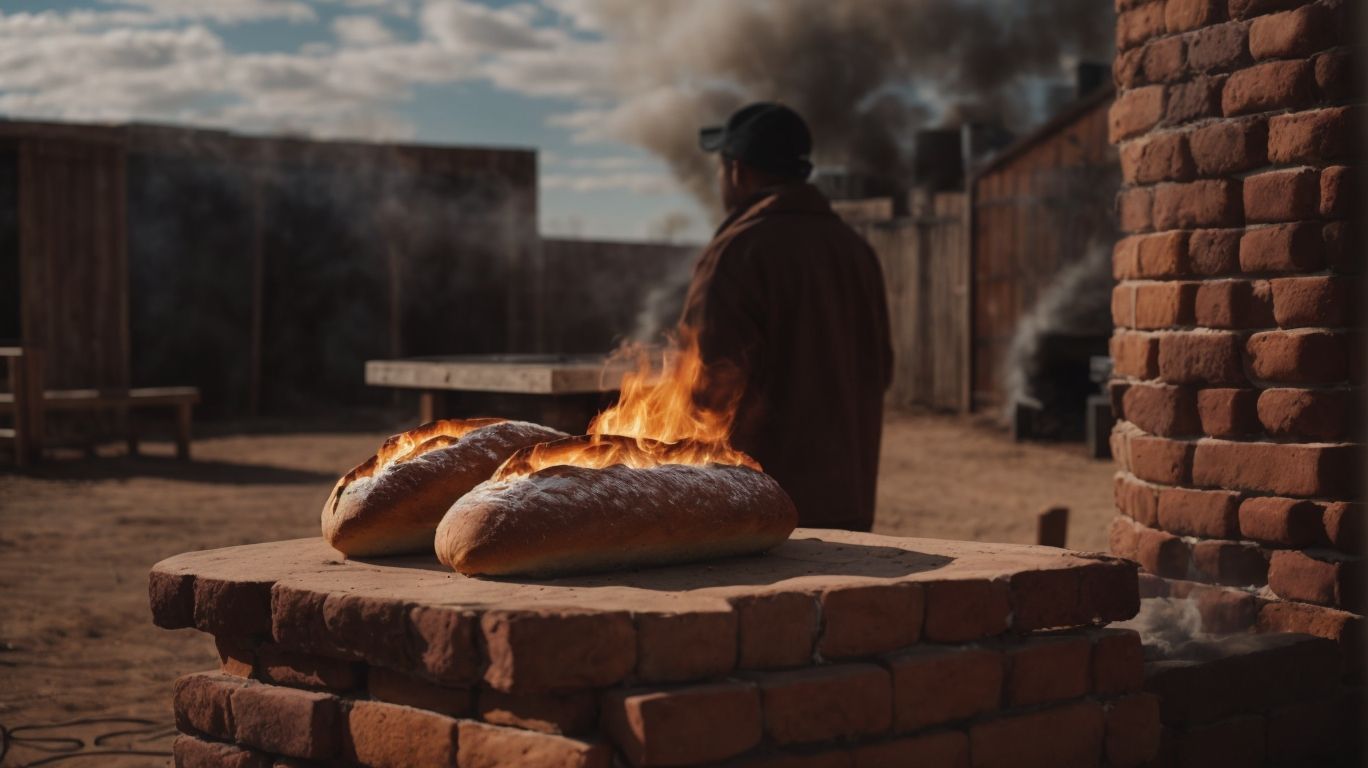
To bake bread without an oven, a stovetop or campfire serves as the primary heat source for cooking the dough.
Using stovetops or campfires for baking bread offers a versatile way to achieve that freshly baked goodness even in unconventional settings. The heat distribution of a stovetop or campfire can be controlled, allowing for precise baking temperatures, crucial for the perfect rise and crust on the bread. Dough prepared in advance can be easily cooked on a stovetop or campfire with the right tools and techniques, making it a valuable skill for outdoor cooking or in situations where conventional baking equipment is not available.
A Dutch Oven or Covered Pot
Utilize a Dutch oven or covered pot to create a conducive baking environment for the bread dough, ensuring optimal cooking conditions.
When using a Dutch oven or covered pot for bread baking, it’s essential to understand their thermal properties. The thick walls and tight-fitting lid of these pots trap steam released from the dough, mimicking the effect of a professional bread oven. This steam contributes to a crisp crust while keeping the bread moist inside. The even heat distribution in a Dutch oven helps prevent hot spots, ensuring a uniform rise and golden crust on your loaf. By selecting the right-sized pot and following your bread recipe diligently, you can achieve bakery-quality results right in your kitchen.
A Baking Stone or Cast Iron Skillet
Enlist the aid of a baking stone or cast iron skillet to achieve the desired texture and crust for the bread when baking without an oven.
In terms of using a baking stone, this handy tool helps in evenly distributing heat to the bread, resulting in a crispier crust and a more uniform bake. The porous nature of the stone absorbs moisture during baking, creating a professional-level bakery finish.
On the other hand, a cast iron skillet offers the advantage of heat retention and even heat distribution. Preheating the skillet ensures that the bread gets a robust crust and a soft, chewy interior that many artisanal bakers strive for.
A Thermometer
Monitor the baking temperature accurately with a thermometer to ensure the bread is cooked to perfection without an oven.
When baking bread on alternative heat sources like a stovetop or grill, using a thermometer becomes crucial for achieving the ideal internal temperature that guarantees a perfectly baked loaf. Temperature control is essential in bread-making as it affects the fermentation process, crumb texture, and overall doneness. With a thermometer, you can accurately pinpoint the exact temperature of the bread, preventing undercooking or overbaking.
Precision is key in baking as even a slight variation in temperature can significantly impact the final outcome. By regularly monitoring the heat levels with a reliable thermometer, you can ensure consistent results and avoid potential pitfalls such as soggy centers or burned crusts.
Preparing the Dough for Baking

Credits: Poormet.Com – Alan Rodriguez
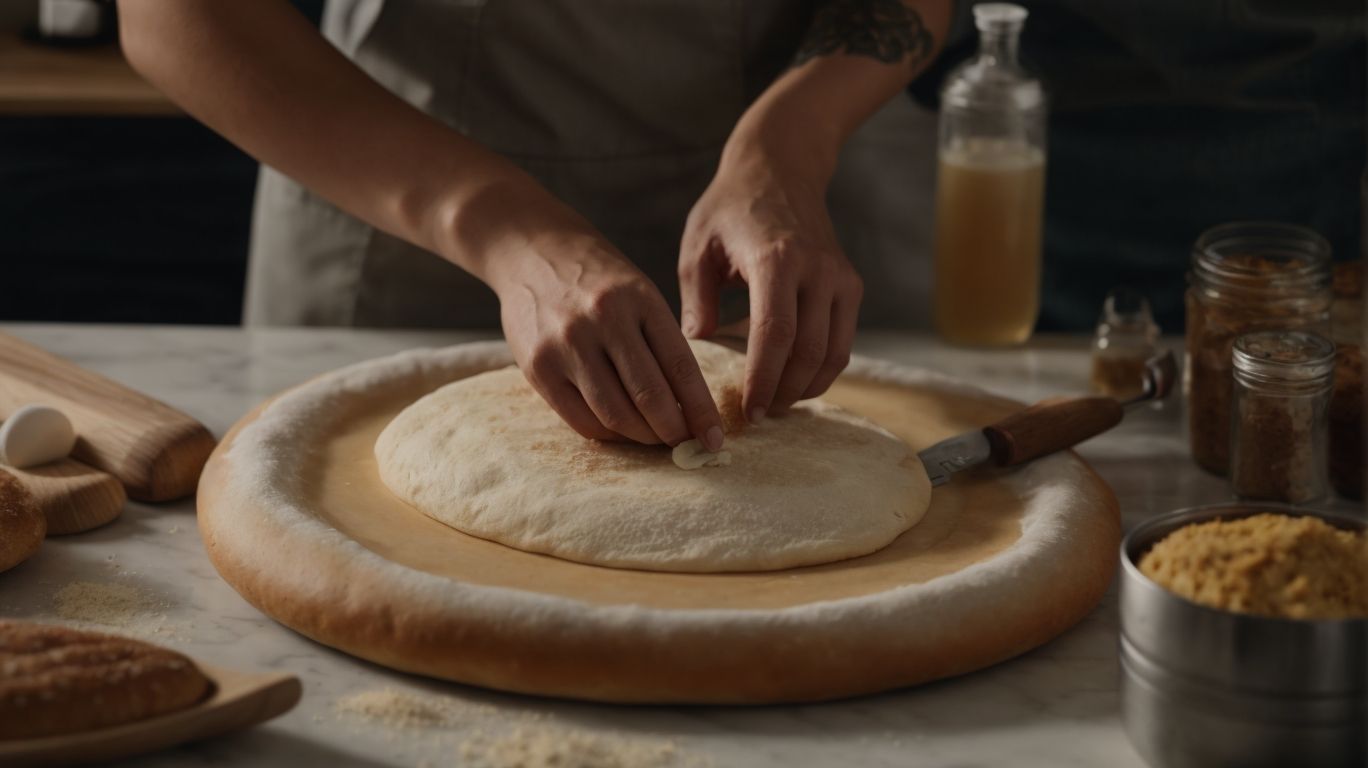
Master the art of dough preparation for baking bread without an oven, ensuring the perfect texture and flavor.
Begin by carefully selecting high-quality ingredients like flour, water, yeast, and salt to create the foundation of your dough. The right proportions are crucial for achieving the desired consistency, so follow your chosen recipe diligently. When combining the ingredients, pay attention to the dough’s elasticity and stickiness to ensure a successful outcome. As you knead the dough, use proper techniques such as stretch and fold or slap and fold to develop the gluten structure, which will give your bread its characteristic texture. Activate the yeast by dissolving it in lukewarm water with a pinch of sugar before adding it to the dough mixture. Let the dough rise in a warm, draft-free environment until it doubles in size, indicating that the yeast is active. With patience and attention to detail, you can create delicious bread without an oven that rivals bakery-quality loaves.
Choosing the Right Recipe
Selecting the ideal bread recipe is crucial for successful baking without an oven, ensuring the right balance of flavors and textures.
When choosing a bread recipe, one must consider the ingredient proportions, as the right balance of flour, water, yeast, and salt is essential for the bread to rise properly. Different recipes offer variations not only in the basic ingredients but also in additional flavors such as herbs, seeds, or spices, allowing for a range of flavor profiles to suit individual preferences.
The choice of bread type can greatly impact the baking process – from soft and fluffy loaves to hearty whole grain sourdoughs, each requires specific techniques and temperatures for optimal results. Experimenting with recipe variations and exploring different baking methods can lead to discovering new and exciting flavors, making the bread-making process both enjoyable and rewarding.
Mixing and Kneading the Dough
Achieve the perfect dough consistency by mastering the mixing and kneading process, ensuring the ideal texture for baking.
Begin by mixing your ingredients together, be it flour, water, salt, sugar, and yeast, in a bowl until they come together. Allow the mixture to rest for about 10-15 minutes, which helps in hydrating the flour and developing gluten.
Once rested, start kneading the dough by pressing down and away with the heel of your hands, then folding it back over itself. This process stretches the gluten strands, developing elasticity and structure.
Continue to knead for at least 10-15 minutes, depending on the recipe, until the dough is smooth, elastic, and slightly tacky but not sticky.
Letting the Dough Rise
Allow the dough to rise as per the recipe instructions, enabling the flavors to develop and the bread to achieve a light and airy texture.
During the rising process, the yeast in the dough ferments the sugars, producing carbon dioxide gas bubbles that get trapped within the gluten network. This trapped gas causes the dough to expand, resulting in a light and fluffy loaf.
The duration of the rising time impacts the final product’s flavor complexity and structural integrity. Properly allowing the dough to rise also aids in the breakdown of complex proteins, contributing to a tender crumb structure.
Baking the Bread on a Stovetop or Campfire
Explore the process of baking bread on a stovetop or campfire, utilizing alternative cooking vessels for exceptional results.
When embarking on the journey of baking bread over open flames, it’s essential to preheat your cooking vessel thoroughly to ensure even cooking. Place your dough inside a
- cast-iron skillet
- dutch oven
- or even wrap it in foil for a makeshift oven
. Managing the temperature is crucial; you can achieve this by adjusting the distance between the flames and the vessel or using hot coals.
Throughout the baking process, remember to flip the vessel periodically for uniform heat distribution. Keep a watchful eye and make sure the bread doesn’t burn. With these techniques, you can enjoy the delightful experience of baking fresh bread outdoors with ease.
Preheating the Dutch Oven or Covered Pot
Ahead of baking, ensure the Dutch oven or covered pot is adequately preheated to create an optimal baking environment for the bread.
Preheating the Dutch oven or covered pot is a crucial step in achieving that perfect crust and crumb texture in your homemade bread. This process helps in establishing a consistent and high-temperature environment within the baking vessel, ensuring an even bake throughout.
By preheating the Dutch oven, you promote efficient heat transfer from all sides, encouraging the dough to rise and expand uniformly. The optimal baking temperature can vary depending on the recipe, but generally, a temperature around 450°F to 500°F (232°C to 260°C) is recommended for artisan-style bread.
Placing the Dough in the Pot
Gently transfer the prepared dough into the preheated pot, ensuring it is positioned for optimal baking results.
When placing the dough in the pot, remember to handle it with care to maintain its structure. Using a gentle touch prevents deflating the dough, which can affect the final texture of the bread. Position the dough in the center of the pot to ensure even distribution of heat during baking. Cover the pot with its lid to trap steam and create a moist environment for the dough to rise properly. Allow the dough to rest in the pot for the specified time according to the recipe before uncovering and continuing with the baking process.
Monitoring the Temperature
Regularly monitor the baking temperature to ensure the dough cooks evenly and achieves the desired texture and color.
Proper temperature monitoring is crucial for a successful baking process. Maintaining consistent heat throughout the oven promotes uniform cooking, preventing over-browned edges or undercooked centers. This attention to detail enhances the overall texture and appearance of the final product.
Observing the dough’s behavior at different temperature levels allows bakers to adjust factors such as fermentation time or proofing stages, resulting in improved dough quality. By controlling the heat distribution and ensuring constant temperature, bakers can fine-tune their recipes and achieve perfect results every time.
Flipping the Bread for Even Cooking
Flip the bread during baking to ensure uniform cooking and consistent heat exposure for a perfectly baked loaf.
When flipping the bread, use a spatula or tongs to gently turn it over without deflating the dough. This process helps in distributing the heat evenly, ensuring that both sides are cooked to perfection. By flipping the bread, you prevent uneven browning and ensure that the entire loaf gets the same level of heat exposure.
Timing is crucial when it comes to flipping bread. Make sure to wait until the bottom side is golden brown before flipping it over. This ensures that both sides are cooked through without burning or undercooking. Flipping the bread helps in developing an even crust around the loaf, improving its texture and flavor.
Baking the Bread on a Baking Stone or Cast Iron Skillet
Credits: Poormet.Com – Lawrence Hill
Experience the art of baking bread using a baking stone or cast iron skillet, elevating the flavors and textures of your homemade loaf.
In terms of baking bread, the right tools can make all the difference in achieving that perfect crust and crumb.
- Baking stones evenly distribute heat, creating a crisp exterior while locking in moisture for a soft interior.
- Cast iron skillets, on the other hand, offer excellent heat retention, providing a crunchy crust and a chewy center that bread enthusiasts love.
Before placing the dough on the baking stone or cast iron skillet, ensure it has been properly preheated to optimize the baking process. This step helps kickstart the oven spring – the rapid rise of the dough in the oven – creating those desirable airy pockets in your loaf.
Experiment with different dough recipes and hydration levels to customize the flavor and texture of your bread. Whether you prefer a tangy sourdough or a hearty whole wheat loaf, the versatility of using a baking stone or cast iron skillet allows for endless creativity in your baking endeavors.
Preheating the Stone or Skillet
Before baking the bread, ensure the baking stone or cast iron skillet is preheated to optimize cooking conditions and achieve a crispy crust.
Preheating your baking stone or cast iron skillet is a crucial step in the bread-making process. To ensure the best results, preheat your stone or skillet for at least 30 minutes at the desired temperature, generally around 450-500°F (230-260°C). This gradual heating process allows the baking surface to reach the ideal temperature for proper heat distribution and a perfect bake.
Before placing your dough on the preheated surface, it is beneficial to lightly dust it with cornmeal or semolina to prevent sticking and enhance the crispiness of the crust. This helps to create a barrier between the dough and the hot surface, ultimately resulting in a more evenly baked and flavorful loaf.
Placing the Dough on the Stone or Skillet
Carefully position the prepared dough on the preheated stone or skillet, ensuring even cooking and optimal texture development.
When placing the dough, aim for a uniform thickness across the entire surface to promote consistent baking results. Make sure to leave some space between each dough portion to prevent overcrowding, allowing heat to circulate freely.
By positioning the dough correctly, you enable efficient heat distribution, which is crucial for achieving that desirable crispy exterior and perfectly cooked interior. Remember, the stone or skillet should be adequately preheated to create that immediate burst of heat necessary for proper rising and browning.
Monitoring the Temperature
Consistently monitor the baking temperature to regulate the cooking process and achieve desired bread quality.
When baking on stones or skillets, the temperature plays a crucial role in ensuring the optimal heat distribution, which directly impacts the evenness of the bake.
By monitoring the temperature throughout the baking process, you can observe how the heat interacts with the dough, allowing for proper development and rise.
This close observation of temperature fluctuations enables you to make necessary adjustments to maintain a consistent heat level, leading to a more uniform texture and crust formation.
The accuracy in controlling the temperature not only enhances the bread’s structure and flavor but also contributes to a visually appealing final product.
Flipping the Bread for Even Cooking
Ensure uniform baking by flipping the bread during the cooking process on baking stones or cast iron skillets.
When flipping the bread on baking stones or cast iron skillets, it’s crucial to maintain the temperature consistency within the oven for even cooking. This technique allows the dough to experience balanced heat exposure on all sides, resulting in a perfectly golden crust and well-cooked interior.
By flipping the bread, you redistribute the heat and encourage a more symmetrical rise, contributing to a uniform texture throughout. This method is especially beneficial for artisanal bread varieties that require a crisp crust and a soft crumb.
Final Steps and Tips for Baking Bread Without an Oven
Conclude the bread-baking journey by mastering the final steps and essential tips for achieving oven-quality loaves in unconventional baking methods.
Once your bread is baked and cooled, it’s important to store it properly to maintain its freshness. Wrap the loaf in a linen cloth or place it in a paper bag to prevent it from drying out too quickly. Avoid storing bread in plastic as it can cause moisture buildup. In terms of reheating your bread, the best way is to use a toaster or oven to maintain its crispiness.
If your bread turns out dense or undercooked, you may need to adjust the cooking temperature or time. Experimenting with different proofing times and kneading techniques can also help troubleshoot these issues. Remember, practice makes perfect when it comes to baking bread without an oven!
Removing the Bread from the Heat
Safely remove the freshly baked bread from the heat source, ensuring it has reached the optimal temperature for consumption.
Remember to use proper heat-resistant oven mitts or tools when handling hot surfaces to avoid burns or injuries.
Check the bottom of the bread for a hollow sound when tapped, indicating that it is baked through. Use a thermometer to verify that the internal temperature of the bread is around 190-210°F (88-99°C) for yeast bread, ensuring it is fully cooked and safe to eat.
Allow the bread to cool on a wire rack to prevent trapped steam from making the crust soggy.
Letting the Bread Cool
Allow the freshly baked bread to cool gradually, enhancing its texture and flavor profile for a delightful culinary experience.
During the cooling process, it is crucial to place the bread in a well-ventilated area to facilitate proper heat dissipation. This will prevent condensation, ensuring that the crust remains crisp and the interior retains its fluffy, yet resilient texture. By allowing the bread to cool at room temperature, you are also contributing to the development of complex flavors, as the residual heat continues to work its magic within the loaf.
Storing and Reheating the Bread
Optimize the longevity and freshness of bread by storing it correctly and reheating it to maintain its delicious qualities.
In terms of storing bread, keeping it in a cool, dry place is key. Avoid refrigerating bread as it can make it go stale faster due to the cold temperature. Instead, opt for a bread box or a paper bag to maintain the ideal moisture level in the bread. If you plan to freeze bread for future use, ensure it is wrapped tightly in plastic to prevent freezer burn and flavor loss. When reheating bread, using an oven or toaster oven at a low temperature helps retain the crispiness without drying it out. Avoid using a microwave, which can make the bread rubbery or soggy.
Troubleshooting Common Issues
Resolve common bread-baking issues with troubleshooting techniques that address dough consistency, texture problems, and temperature control.
In terms of dough consistency, a common challenge is dough that is too sticky or too dry. To fix this, consider adjusting the hydration level by adding flour or water gradually until the desired texture is achieved. Overmixing or undermixing the dough can also lead to texture inconsistencies such as a dense crumb or uneven rise.
Maintaining the right temperature during proofing and baking is crucial for optimal results. An oven thermometer can help ensure accurate temperature readings, preventing issues like under-baked or over-baked bread.
Frequently Asked Questions
How to Bake Bread Without an Oven?
1. Can I bake bread without an oven?
Yes, you can bake bread without an oven! There are several alternative methods that you can use, such as using a stovetop, grill, or even a slow cooker.
2. What are the benefits of baking bread without an oven?
Baking bread without an oven allows you to use different cooking methods and can be a great solution if you don’t have access to an oven or want to try something new. It can also add unique flavors and textures to your bread.
3. How do I bake bread on a stovetop?
To bake bread on a stovetop, you can use a Dutch oven or a heavy-bottomed pan with a lid. Place the bread dough in the pan and cover it with the lid. Cook on low heat for about 45 minutes, flipping the bread halfway through.
4. Can I use a grill to bake bread?
Yes, you can! Using a grill allows you to add a smoky flavor to your bread. To bake bread on a grill, place the dough on a greased baking sheet and place it on the grill. Close the lid and cook for about 20-25 minutes, or until the bread is golden brown.
5. How can I bake bread without an oven in a slow cooker?
Baking bread in a slow cooker is a simple and convenient method. Grease the slow cooker and place the bread dough inside. Cook on high for about 2-3 hours or on low for 4-6 hours, or until the bread is fully cooked.
6. Are there any special considerations when baking bread without an oven?
Yes, depending on the method you use, there may be some adjustments needed for baking time and temperature. It’s also important to ensure that the bread is fully cooked before removing it from the heat source. Use a thermometer to check the internal temperature, which should be around 190°F for most bread types.