
How to Bake Cake With Electric Oven?
Ready to elevate your baking skills and impress your friends and family with a delicious homemade cake?
This article provides a step-by-step guide on how to bake a cake using an electric oven. From preheating the oven to troubleshooting common issues, we’ve got you covered.
Additionally, we’ll share tips on decorating and serving your cake to make it truly special. So, grab your ingredients and let’s get baking!
Key Takeaways:
What You Will Need
To embark on your baking journey, you will need essential tools and ingredients.
One of the most crucial tools for baking is an oven, which allows you to bake various recipes at specific temperatures. Mixing bowls, measuring cups, and spoons are also essential for accurate ingredient measurements. Having a stand mixer or a hand mixer can make the mixing process more efficient and consistent.
Regarding ingredients, flour, sugar, eggs, and butter are staples in most baking recipes. Each ingredient plays a vital role in providing structure, sweetness, moisture, and flavor to your baked goods.
Electric Oven
One of the key components for baking is an electric oven, which provides consistent heat for even baking.
Electric ovens offer several advantages that make them ideal for baking. Their precise temperature control ensures that your pastries, cakes, and bread come out perfectly cooked every time. The even distribution of heat within an electric oven eliminates hot spots, resulting in uniform baking. This feature is particularly crucial when baking delicate desserts that require a stable environment. Electric ovens often come equipped with customizable settings to suit various baking needs such as convection, bake, broil, and roast modes.
Baking Pans
Baking pans are essential tools for shaping and baking your cakes to perfection.
Regarding choosing the right baking pan for your cake, it’s important to consider the size and shape you desire. For round cakes, a springform pan is ideal, allowing for easy release and maintaining the shape of delicate layers. Rectangular sheet pans are great for baking large batches of brownies or bar cakes, offering even heat distribution and a durable construction.
If you’re looking to bake a specialty cake, such as a bundt or angel food cake, a tube pan with a non-stick surface is a wise choice to ensure your cake releases effortlessly. For smaller individual cakes or muffins, silicone molds are flexible and dishwasher-safe, making cleanup a breeze.
Ingredients for the Cake
The foundation of a delicious cake lies in the quality and selection of ingredients used.
Using fresh and high-quality ingredients is crucial to achieve the perfect texture, flavor, and appearance in your baked goods. Starting with the right type of flour sets the base for your cake; whether it’s all-purpose, cake flour, or whole wheat, each imparts a distinct characteristic. Regarding sugar, the type and amount impact sweetness and moisture. Eggs provide structure and richness, acting as a binding agent. Don’t underestimate the power of flavorings like vanilla extract, citrus zest, or spices to elevate the taste profile of your cake.
Mixing Bowls and Utensils
Mixing bowls and utensils are essential for blending and preparing your cake batter.
Regarding baking, having the right tools can make a world of difference in the outcome of your baked goods. There are several types of mixing bowls available, ranging from stainless steel to glass and ceramic. Each material has its advantages; for instance, stainless steel bowls are durable and lightweight, while glass bowls are great for mixing ingredients that need to be visible. Consider the sizes of your mixing bowls – having a variety of sizes on hand allows you to mix small or large batches with ease.
Step-by-Step Guide to Baking a Cake with an Electric Oven
Follow this detailed guide to master the art of baking a delectable cake using an electric oven.
First, ensure that you have preheated the oven to the specified temperature according to your recipe’s instructions. This step is crucial as it helps the cake rise properly and ensures even baking. Next, prepare your cake pans by greasing them with butter and dusting them with flour to prevent the cake from sticking to the pan. Then, gather all the necessary ingredients such as flour, sugar, eggs, baking powder, and vanilla extract.
Preheat the Oven
The first step in baking a cake is to preheat your electric oven to the specified temperature for optimal results.
Preheating the oven is a crucial aspect of baking as it ensures that the temperature inside the oven is consistent throughout the baking process. This consistency is key to baking a cake evenly and achieving the desired texture and rise. Setting the oven to the correct temperature specified in the recipe is essential to avoid undercooking or overcooking your cake. Allowing the oven to preheat for the recommended time, usually around 15-20 minutes, allows for the baking environment to stabilize and for the batter to properly react to the heat.
Prepare the Baking Pans
Properly greasing and lining your baking pans ensures easy cake release and uniform baking.
When greasing a pan, you can use butter, oil, or non-stick spray to prevent your cake from sticking to the sides. This method not only helps with the easy release but also promotes a golden crust formation on the outer layer of the cake.
On the other hand, flouring your pan involves dusting the greased surface with flour, creating a barrier between the batter and the pan. This helps in a more even distribution of heat during baking, resulting in a consistently baked cake.
Gather and Measure Ingredients
Accurate measurement and preparation of ingredients are crucial for a successful cake baking experience.
Regarding baking, precision is key. Measuring ingredients accurately ensures that your cake turns out just right, with the perfect balance of flavors and textures. Simple things like using a digital scale for dry ingredients and measuring spoons for liquids can make a world of difference in the final product.
Ingredient ratios are like a secret formula in baking – they affect not only the taste but also the structure and moisture content of the cake. Whether it’s the right amount of flour for a light and fluffy texture or sugar for sweetness, each ingredient plays a vital role in the overall outcome.
Mix the Batter
Combine the measured ingredients in a mixing bowl and blend them to create a smooth cake batter.
When mixing cake batter, it’s crucial to start by creaming the butter and sugar together until light and fluffy. This step aerates the mixture, leading to a lighter texture in the final product. Gradually add in the dry ingredients, such as flour and baking powder, folding them in gently to avoid overmixing. Overmixing can result in a tough, dense cake. To achieve the right consistency, the batter should be thick yet pourable. Testing the batter’s readiness involves observing how it falls off a spoon or spatula.
Pour Batter into Pans
Carefully pour the prepared cake batter into the greased baking pans, distributing it evenly for uniform baking.
-
When pouring the batter, start from the center and work your way outwards to ensure an even distribution of batter in the pan. This technique helps in achieving a consistent texture throughout the cake.
-
After pouring, gently tap the pans on the countertop to release any air bubbles trapped in the batter. This step helps prevent uneven rising and air pockets in the finished cake.
-
When filling the pans, aim for a consistent height of batter to ensure even baking. Overfilling can lead to uneven cooking, while underfilling may result in a sunken center.
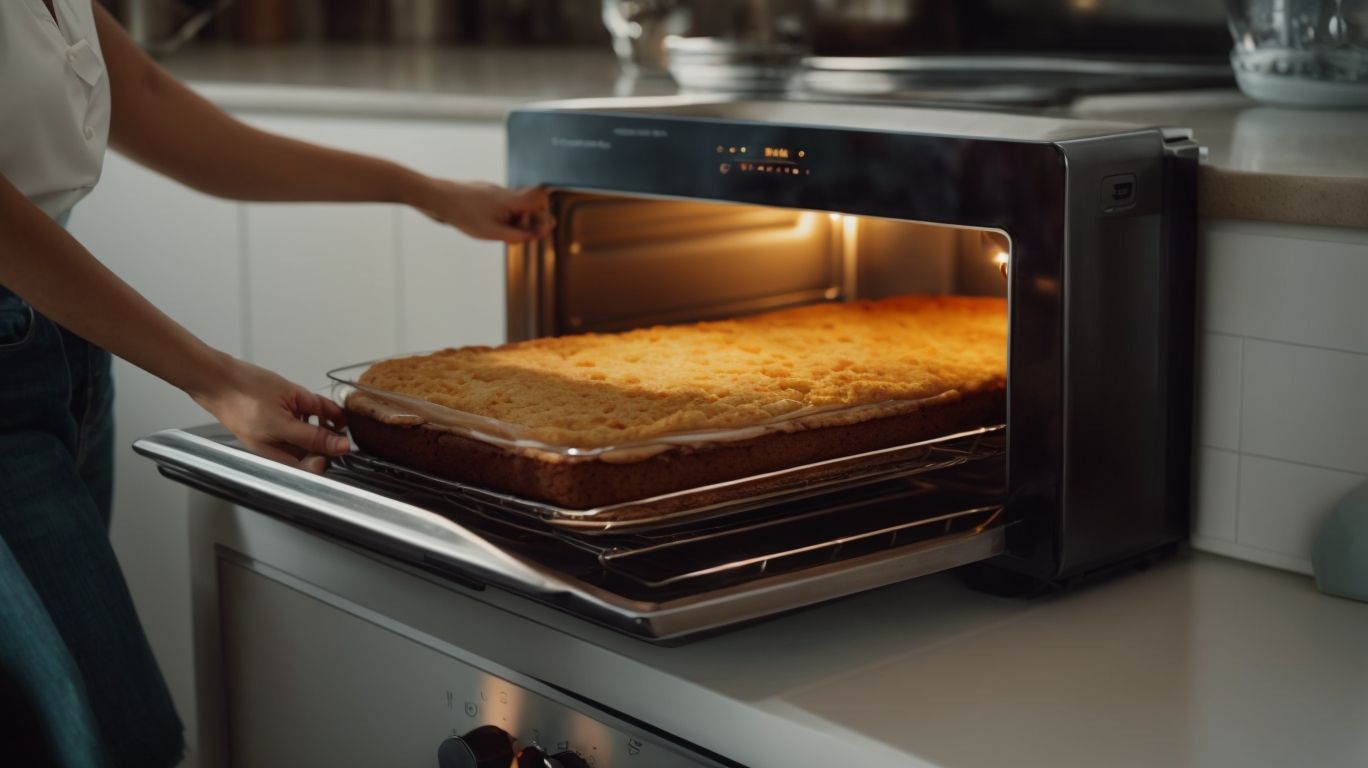
Bake the Cake
Place the filled baking pans in the preheated oven and bake your cake to golden perfection.
When placing the pans in the oven, make sure they are positioned in the center rack for even heat distribution. Set the temperature according to your recipe, typically around 350°F (175°C) for most cakes. Monitor the baking time as it varies depending on the size and type of the cake. A general rule is to bake for 25-35 minutes, but always rely on visual cues for doneness. Look for a golden-brown color on the edges and a firm but springy touch in the center to indicate the cake is ready.
Check for Doneness
Test the cake’s doneness by inserting a toothpick into the center; if it comes out clean, your cake is ready.
Another reliable way to determine if your cake is properly baked is by checking visual cues; a golden-brown color around the edges and slight shrinking from the pan are good signs. Additionally, assessing the touch of the cake’s surface can also indicate readiness – it should spring back lightly when touched. If using layers, ensure they pull away slightly from the sides of the pan. These methods combined provide multiple checkpoints to ensure your cake is cooked to perfection.
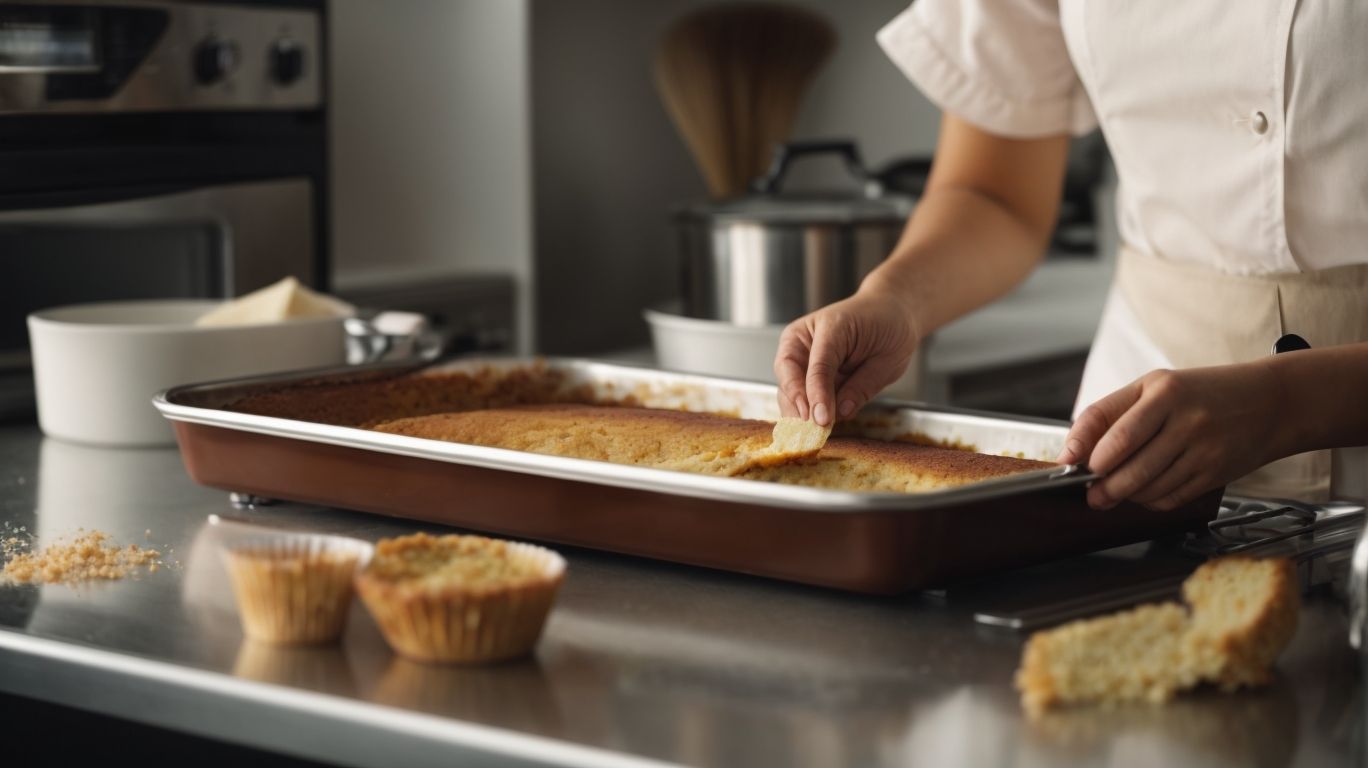
Let the Cake Cool
Allow the freshly baked cake to cool in the pans before transferring it to a cooling rack for further cooling.
Letting the cake cool properly after baking is a crucial step in the baking process. This cooling period allows the internal structure of the cake to set and stabilize. Depending on the recipe, cooling times can vary, but a common guideline is to let the cake cool in the pan for 10-15 minutes after removing it from the oven. This initial cooling phase helps the cake firm up and makes it easier to remove from the pan without falling apart.
Once the cake has cooled in the pans for the designated time, carefully transfer it to a cooling rack to allow air to circulate around the entire cake, aiding in the evaporation of excess moisture. Proper cooling not only prevents the cake from becoming soggy but also helps enhance its texture and flavor. It ensures that the cake maintains its structure and doesn’t collapse due to trapped steam within the layers.
Troubleshooting Tips for Baking with an Electric Oven
Credits: Poormet.Com – Jeffrey King
Encounter common baking challenges head-on with these troubleshooting tips tailored for electric oven baking.
When dealing with uneven baking in your electric oven, it typically indicates poor air circulation. To address this issue, try rotating your baking trays halfway through the cooking process to ensure even heat distribution.
Another common problem is cakes sinking in the middle, which can be due to overmixing or opening the oven door too early. To prevent this, gently fold ingredients together just until combined and resist the temptation to peek before the baking time is up.
Uneven Baking
Combat the challenge of uneven baking in your cakes by adjusting the positioning of pans within the oven.
When facing the frustration of cakes coming out with uneven textures, it’s important to understand the root causes behind this issue. Uneven baking often occurs due to oven hot spots, which can lead to certain areas of the cake baking faster than others, resulting in an inconsistent final product.
Identifying these hot spots in your oven can be crucial in achieving consistent baking results. Placing an oven thermometer in different parts of the oven can help pinpoint areas that may be too hot or too cold, allowing you to adjust the temperature settings accordingly.
Cake Sticking to Pan
Prevent cake sticking issues by properly greasing and lining your baking pans before pouring the batter.
When preparing your pans, using parchment paper or greaseproof paper in the bottom can tremendously aid in releasing the cake effortlessly.
Another effective method is dusting the greased pan with a light coating of flour, ensuring the batter doesn’t adhere to the surface.
- Consider using a pastry brush or silicone brush to evenly distribute the grease or butter on the pan’s surface for consistent coverage.
- For intricate cake shapes, applying a combination of greasing and flour with a light touch can help in preserving the design while ensuring smooth release.
Cake Collapsing
Avoid cake collapse by ensuring proper mixing techniques and ingredient ratios for stable cake structure.
Overmixing the cake batter can introduce too much air, leading to an unstable structure that may collapse during baking. Using incorrect ingredient proportions, such as too much leavening agent or too little flour, can compromise the cake’s stability. To prevent these issues, it is crucial to follow the precise measurements and instructions in the recipe.
Proper mixing involves gently folding in the dry ingredients until just combined, avoiding excessive beating or stirring. This helps maintain the integrity of the batter and ensures a sturdy cake structure.
Some useful tips to achieve a stable cake include using room temperature ingredients, preheating the oven properly, and baking the cake for the correct amount of time at the recommended temperature. By paying attention to these details, you can increase the chances of baking a perfectly risen and structurally sound cake.
Tips for Decorating and Serving Your Cake
Elevate your cake presentation with these creative tips for decorating and serving your delicious creations.
One way to add a touch of elegance to your cake display is by incorporating fresh flowers or edible blooms as a decorative accent. Consider using varying cake stands or pedestals to create height and visual interest on your dessert table. Personalized cake toppers can also infuse a unique and memorable element to your baked masterpiece. Play with different textures and finishes like ganache drips, metallic accents, or intricate piping designs to make your cakes visually appealing.
Conclusion
Mastering the art of baking a cake with an electric oven opens up a world of delicious possibilities for both novice and experienced bakers.
With the right tools and ingredients at hand, anyone can turn ordinary ingredients into a mouthwatering masterpiece. The satisfaction that comes from seeing a perfect cake rise in the oven is unmatched, igniting a passion for culinary creations. By understanding the science behind baking, individuals can unlock the secret to achieving the perfect texture and flavor in their cakes. From selecting the finest quality ingredients to mastering the intricacies of mixing and baking, every step plays a crucial role in the creation of a delectable dessert.
Frequently Asked Questions
1. How do I preheat my electric oven before baking a cake?
To preheat your electric oven, turn the temperature knob to the desired temperature and wait for the oven to reach that temperature before placing your cake inside. This usually takes about 10-15 minutes depending on your oven’s model.
2. Can I use a metal baking pan in an electric oven?
Yes, you can use a metal baking pan in an electric oven. Just make sure to avoid using aluminum foil or metal utensils to prevent damaging the oven’s heating elements.
3. How do I know when my cake is done baking in an electric oven?
You can use a toothpick or cake tester to insert into the center of the cake. If it comes out clean, then your cake is done. You can also gently press on the top of the cake – if it springs back, then it’s ready to be taken out of the oven.
4. What is the best temperature for baking a cake in an electric oven?
The best temperature for baking a cake in an electric oven is usually between 325-375°F. However, it may vary depending on the recipe. It’s always best to follow the temperature instructions in the recipe.
5. Do I need to preheat my electric oven for baking a cake?
Yes, it’s important to preheat your electric oven before baking a cake. This ensures that the oven is at the right temperature for your cake to bake evenly and properly.
6. How do I properly clean my electric oven after baking a cake?
After your electric oven has completely cooled down, you can remove the racks and wash them with warm soapy water. For the interior of the oven, you can use a mixture of baking soda and water to scrub away any residue. Make sure to wipe it down with a damp cloth afterwards to remove any excess baking soda.