
How to Bake Cake With Sand and Stove?
Have you ever heard of baking a cake with sand and a stove? It may sound unconventional, but this method has been gaining popularity among home bakers for its unique benefits.
In this article, we will explore what sand baking is, how it works, why you should consider trying it, the equipment needed, and step-by-step instructions on how to bake a cake using sand and a stove.
Get ready to discover a new way to perfect your baking skills!
Key Takeaways:
What is Sand Baking?

Credits: Poormet.Com – Bryan Nguyen
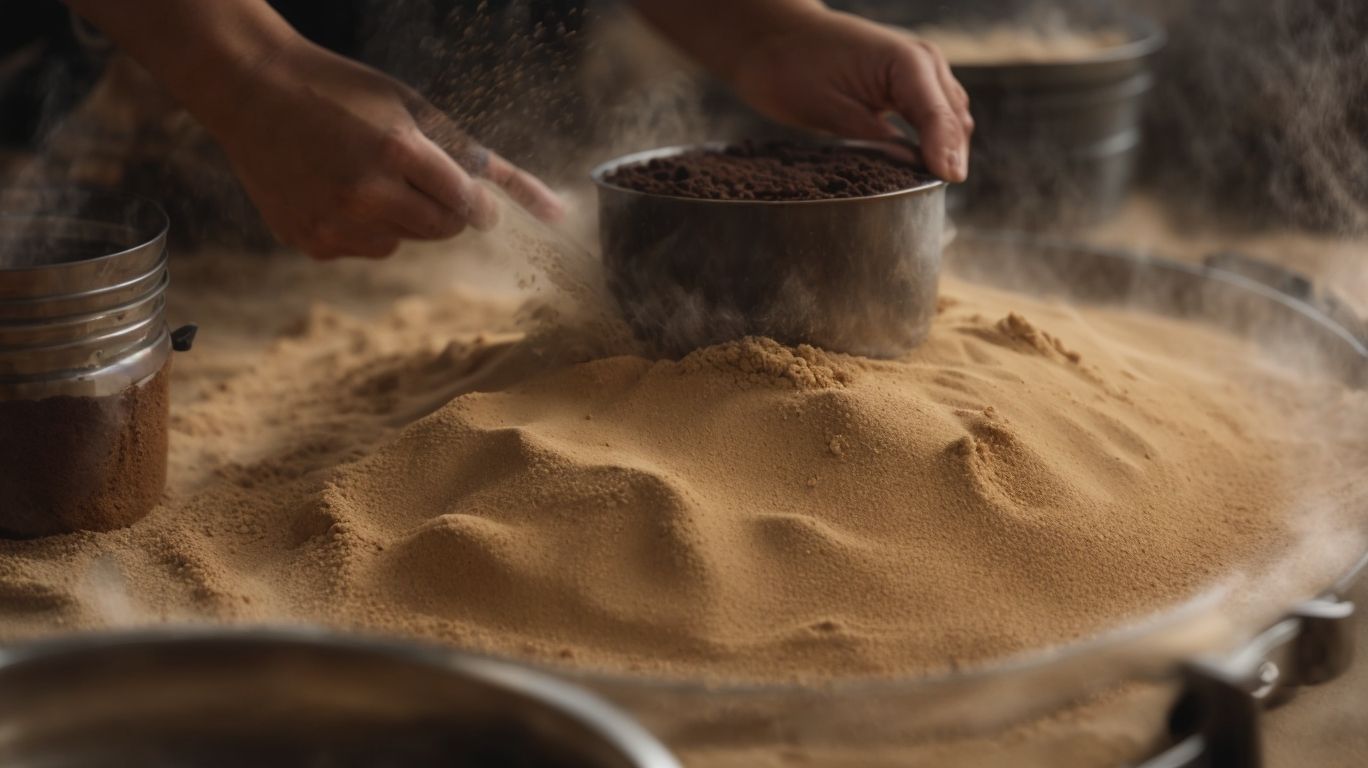
Sand baking is a unique method of baking that utilizes sand as a heat source instead of a traditional oven.
This ancient technique dates back to civilizations that lacked conventional baking tools. By creating a makeshift ‘sand oven,’ where the heat from the sand mimics that of a regular oven, people were able to bake delicious cakes and breads. The method involves placing the food item within a container and burying it in hot sand, allowing the radiant heat to cook the food evenly.
How Does Sand Baking Work?
Sand baking works by harnessing the heat-retaining properties of sand to create an oven-like environment for baking cakes.
When using this method, a pot is filled with sand and preheated on a stove. The sand effectively traps and distributes heat evenly, enveloping the cake batter with consistent warmth, ensuring it bakes thoroughly. This technique is particularly useful for outdoor cooking or in situations where a conventional oven is not available. The sand acts as a natural insulator, preventing temperature fluctuations and promoting gentle, uniform baking. The slow, steady heat transfer through the sand results in beautifully baked cakes with a moist and tender crumb.
Why Bake a Cake with Sand and Stove?
Baking a cake with sand and a stove offers a rustic and alternative approach to traditional oven baking, providing unique flavors and textures.
One benefit of using this method is the versatility it offers, as a simple pot filled with sand can serve as a makeshift oven, allowing you to bake delicious cakes even outdoors or in a power outage situation. The sand acts as a natural insulator, distributing heat evenly to ensure that your cake bakes evenly. The cake absorbs the earthy aroma of the sand, enhancing its flavor in a way that traditional ovens cannot. Another advantage is the energy efficiency; the stove consumes less energy compared to an electric oven, making it an environmentally friendly option for baking enthusiasts.”
What Are the Benefits of Sand Baking?
The benefits of sand baking include even heat distribution, enhanced flavors, and the ability to bake in rustic environments.
Sand baking creates a consistent temperature throughout the baking process, which helps in achieving perfectly baked cakes, ensuring a moist and soft texture inside. The sand acts as a natural insulator, preventing any sudden temperature fluctuations that can affect the quality of the cake.
Due to the gentle heat provided by the sand, the flavors of the eggs, flour, and milk in the cake are subtly enhanced, resulting in a more rich and flavorful end product.
The option to bake in unconventional settings such as outdoors or camping trips adds a sense of adventure and creativity to the baking process, making it a fun and versatile method for both amateur and experienced bakers.
What Equipment Do You Need for Sand Baking?
For sand baking, you will need essential equipment such as a baking tray, sand, and a stove to create the perfect baking environment.
- Baking Pans: Choose a high-quality baking pan that can withstand the heat and weight of the sand. Make sure it fits comfortably inside your oven.
- Parchment Paper: Line your baking pan with parchment paper to prevent the sand from directly touching your baked goods.
- Sand Types: Opt for clean, fine-grained sand that can distribute heat evenly during the baking process.
How to Choose the Right Type of Sand?
Selecting the right type of sand for baking is crucial to ensure optimal heat retention and uniform baking outcomes.
In terms of baking, the sand selection can greatly impact the baking process. Understanding the characteristics of different sands, such as heat conductivity, particle size, and purity, is key to achieving the desired results.
For instance, sands with high heat conductivity are ideal for rapid and even baking, while those with medium heat conductivity can provide a more controlled and consistent baking environment. On the other hand, sands with low heat conductivity may result in uneven baking and longer baking times.
What Type of Baking Pans Can Be Used?
Various types of baking pans can be used for sand baking, including aluminium pots, foil papers, and even stones for a rustic touch.
Each type of pan offers unique benefits and considerations. Aluminium pots are a popular choice due to their excellent heat conductivity, ensuring even baking. They may require more care to prevent sticking.
Foil papers, on the other hand, offer easy cleanup and are perfect for individual portions. When using stones, it’s essential to preheat them properly to achieve a crispy crust. Consider using a rack to elevate your pan for better airflow, resulting in a more consistent bake.
How to Prepare for Sand Baking?
Preparing for sand baking involves preheating the sand and lining the baking pan to create a conducive baking environment.
To preheat the sand for baking, ensure you have a sufficient amount of clean, fine sand that can retain heat evenly. Spread the sand in an even layer on a large baking sheet or tray, then cover it with aluminum foil to prevent any debris or insects from contaminating the sand during the heating process. Next, place the baking pan on top of the sand, making sure it sits securely with no wobbling.
How to Preheat the Sand?
Preheating the sand is essential for ensuring that it reaches the desired baking temperature and maintains heat throughout the baking process.
To preheat the sand effectively, start by layering the clean sandbox with a thick layer of sand. Next, use a skewer or toothpick to create a hole deep enough to reach the bottom. This will help distribute the heat evenly. Then, light the burner and allow the sand to preheat for approximately 20-30 minutes, ensuring the temperature reaches 350-400 degrees Fahrenheit. You can check the readiness of the sand by inserting a toothpick – it should come out hot to the touch. Once you see visual cues like a slight smoke coming off the sand, you’ll know it’s done.
How to Line the Baking Pan with Sand?
Lining the baking pan with sand involves creating a stable base for the cake pan to sit on and ensuring even heat distribution during baking.
This technique is great for achieving a beautifully baked cake with no burnt edges.
- To start, choose a baking pan that can accommodate the sand around it, allowing space for the heat to circulate evenly.
- Pour sand into the pan, ensuring it is spread out in an even layer to provide insulation.
- You can then place your cake pan securely on the sand bed, ensuring it sits level for uniform baking.
How to Bake a Cake with Sand and Stove?
Credits: Poormet.Com – Gregory Robinson
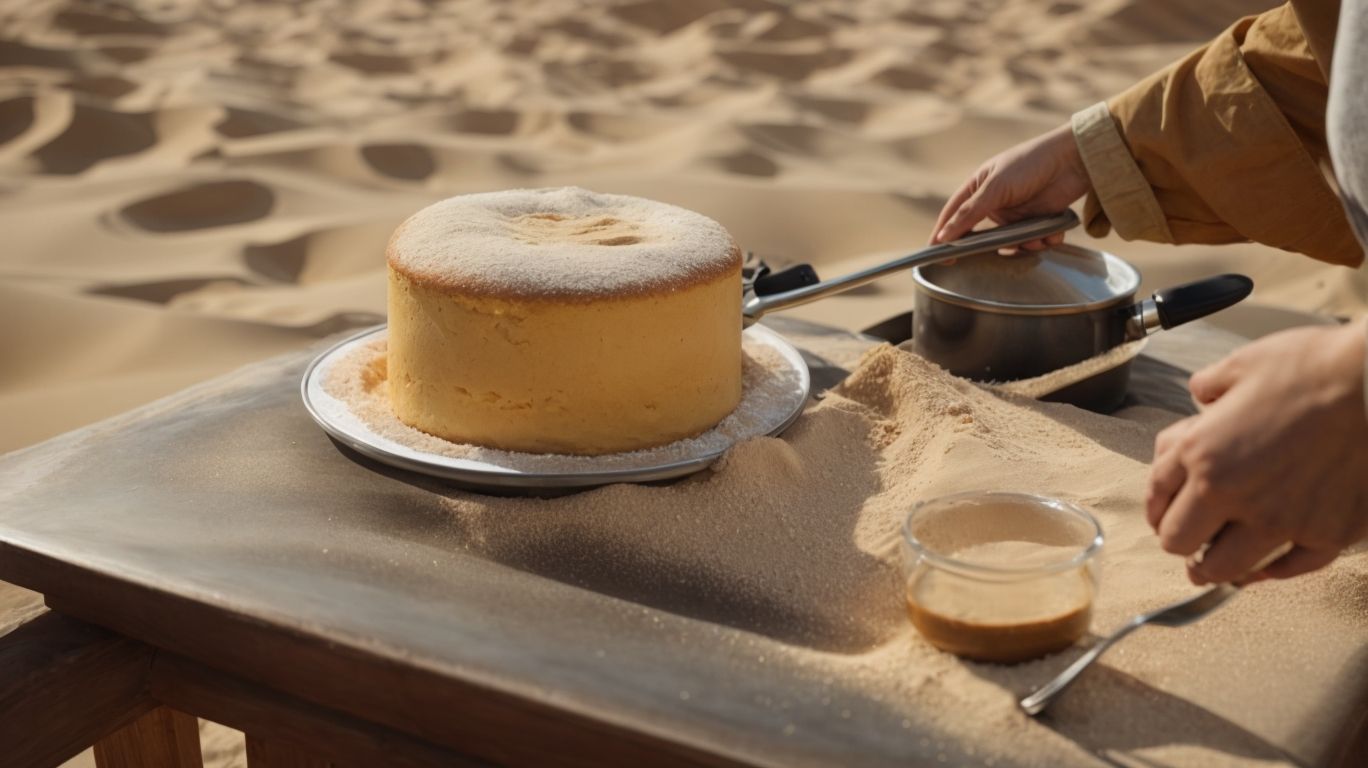
Baking a cake with sand and a stove involves several steps, from preparing the batter to baking on the stove for a delightful treat.
To start, you need to prepare the cake batter by mixing flour, sugar, eggs, and flavorings until smooth. Once the batter is ready, grease a baking pan generously to prevent sticking. Place the batter-filled pan into a larger pan, then carefully surround the smaller pan with sand for even heat distribution.
When setting up the stove for baking, ensure the sand layer covers the bottom of the stove evenly. Place the pan with the batter on top of the sand, making sure it is secure and level. Keeping a watchful eye is crucial during this stage to prevent the cake from burning. The sand acts as a heat conductor, helping the cake to brown evenly without direct contact with the flame.
Step 1: Prepare the Cake Batter
Preparing the cake batter is the first step in sand baking, combining ingredients like eggs, flour, milk, butter, and sugar for a delicious mix.
One crucial aspect to keep in mind when following a recipe for cake batter is getting the ingredient ratios just right. For a light and airy cake, a common ratio is 1 part flour to 1 part sugar, ensuring proper structure and sweetness. To achieve a moist texture, eggs and butter are added in appropriate quantities. The batter’s consistency should be smooth and lump-free, achieved through gentle folding or whisking to incorporate all components thoroughly. This results in a balanced mixture ready for the gentle heat of firewood or charcoal in the sand baking process.
Step 2: Place the Baking Pan on the Sand
Placing the baking pan on the sand ensures that the cake receives indirect heat for even and thorough baking.
When positioning the baking pan on the sand, it is crucial to ensure stability by creating a flat and even surface. This stability is essential for preventing any mishaps during the baking process. Placing a rack on the sand before setting the pan provides better ventilation underneath the pan, allowing air to circulate and promote an even baking temperature. This setup helps in preventing the cake from getting burnt at the bottom due to direct contact with the hot sand. Incorporating aluminium pans aids in efficient heat distribution, ensuring that the cake bakes uniformly. Adding gravel stones around the pan can further enhance heat retention and distribution, creating a perfect baking environment.
Step 3: Cover the Baking Pan with Sand
Covering the baking pan with sand acts as an insulator, trapping heat and ensuring uniform baking of the cake on the stovetop.
Using this method not only allows for the cake to bake evenly but also helps in retaining the heat efficiently throughout the baking process. By creating a buffer between the direct heat source and the pan, the sand plays a crucial role in preventing any hot spots that could potentially burn the cake. The parchment paper placed on top of the sand not only protects the cake from direct contact but also makes it easier to remove the cake from the pan once it’s done.
Step 4: Bake the Cake on the Stove
Baking the cake on the stove requires monitoring the heat levels to ensure the cake bakes evenly and doesn’t burn.
When preheating the stovetop for baking, start with a medium heat setting to gradually warm up the pan. Avoid using high heat initially, as this can lead to uneven heating and potential burning of the cake bottom.
Once the pan is adequately preheated, carefully place the cake batter into the pan and cover it with a lid to trap the heat. Set the stove to low heat to allow the cake to cook slowly and evenly.
Regularly check the cake’s progress by inserting a toothpick into the center; if it comes out clean, the cake is ready. Proper heat management throughout the stovetop baking process is key to achieving a moist and well-cooked cake.
Tips and Tricks for Perfect Sand Baking
Credits: Poormet.Com – Paul Anderson
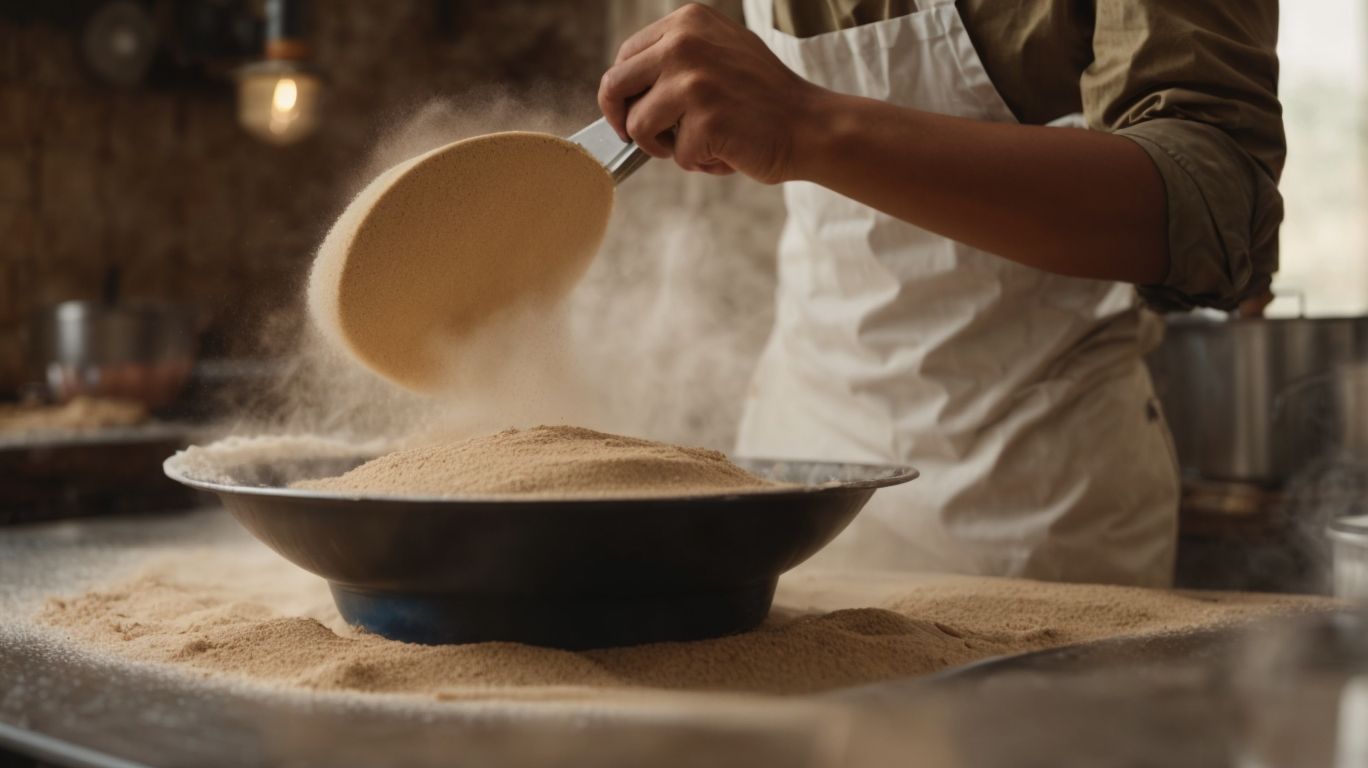
Achieving perfect sand baking results requires attention to detail and some handy tips and tricks to enhance your baking experience.
One crucial aspect to pay attention to is temperature control. Make sure to preheat the sand to the right temperature before placing your baking pan. This will ensure even cooking throughout the baking process. Additionally, maintaining the pan is essential for successful sand baking. Regularly clean and dry the pan to prevent any buildup that can affect the outcome of your baked goods.
When facing issues during sand baking, keep in mind some troubleshooting tips. If your baked goods are browning too quickly, try adjusting the sand temperature slightly lower. On the other hand, if your items are not cooking evenly, rotate the pan halfway through the baking time. Remember, practice makes perfect, so don’t hesitate to experiment and learn from both successes and failures based on feedback from fellow students or mentors in the sand baking community.
Conclusion
Credits: Poormet.Com – Robert Robinson
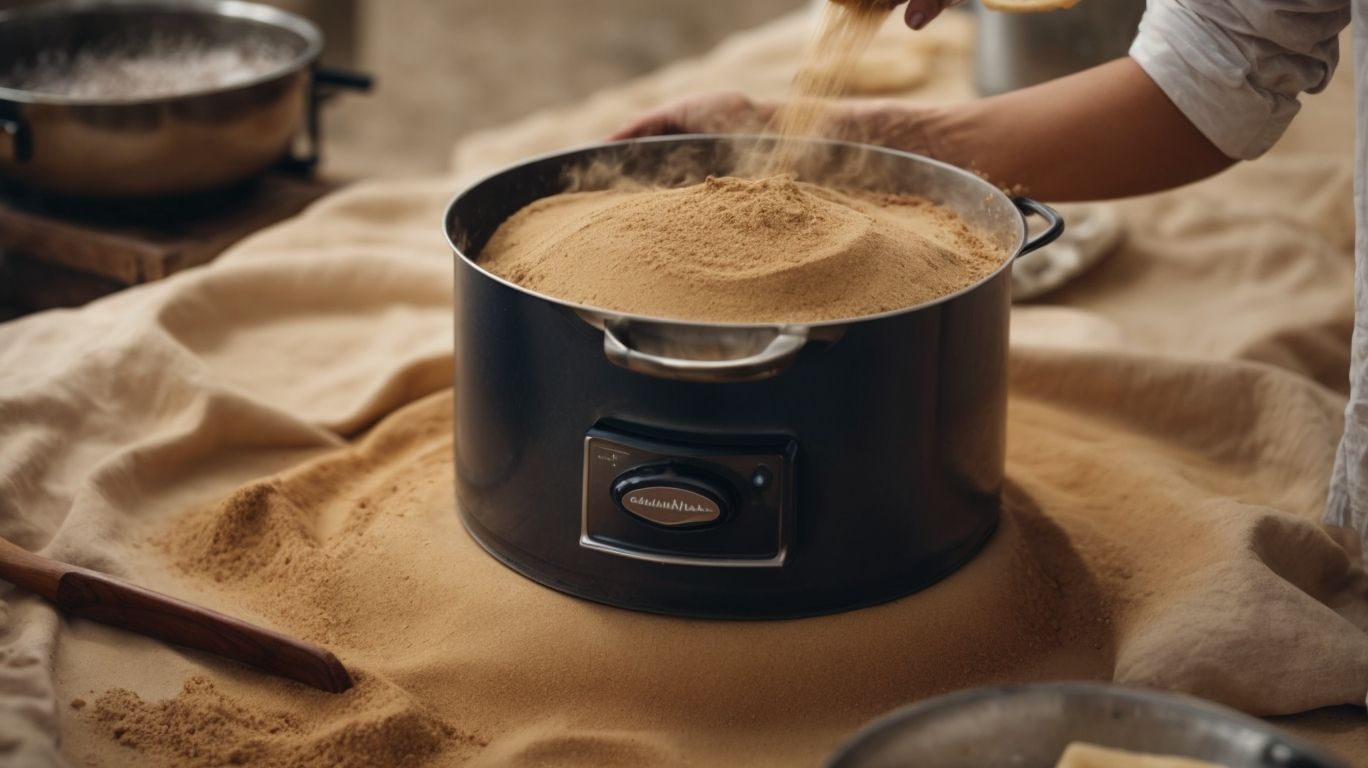
In conclusion, sand baking offers a creative and flavorful way to bake cakes, combining traditional methods with innovative techniques for delicious results.
It is a versatile method that allows for even baking without the use of an oven, perfect for those who may not have access to conventional baking equipment. Sand baking can be used to make a variety of cakes, from classic sponge cakes to rich fruit cakes ideal for the Christmas season.
One of the key advantages of using this method is its simplicity – all you need is sand, a heavy-bottomed pot, and your cake batter. The process is not only efficient but also brings a sense of joy and satisfaction, seeing your creation bake to perfection.
Frequently Asked Questions
1. How to Bake Cake With Sand and Stove?
Answer: Baking a cake with sand and a stove may seem unconventional, but it’s a great option for those without a traditional oven. Here’s how to do it:
2. Can I use any type of sand to bake a cake on the stove?
Answer: No, it’s important to use clean, fine-grained sand that is free of debris or contamination. Beach sand or playground sand should be avoided.
3. How do I prepare the sand for baking?
Answer: Place the sand in a clean metal or oven-safe container and heat it on the stove for at least 30 minutes. This will help ensure that the sand is the right temperature and is free of any moisture.
4. What type of stovetop is best for baking with sand?
Answer: A gas stovetop with a large burner is ideal for baking with sand. The open flame allows for even heating and better control of the temperature.
5. Is there a specific recipe for baking a cake with sand and a stove?
Answer: Yes, there are specific recipes that are designed for baking with sand and stoves. These recipes often use ingredients that can withstand higher temperatures, such as chocolate or fruit cakes.
6. Can I use the same sand multiple times for baking?
Answer: Yes, as long as the sand is properly prepared and stored, it can be reused for multiple bakes. Just make sure to check for any debris or moisture before using it again.