
How to Bake Cheese Into Crisps?
Are you looking for a delicious and easy snack to satisfy your cheesy cravings? Look no further than Baked Cheese Crisps!
In this article, we will explore what Baked Cheese Crisps are, the ingredients needed to make them, and why baking cheese into crisps is a game-changer.
We will also walk you through the step-by-step process of baking cheese into crisps, share tips and tricks for perfecting them, discuss variations to try, and highlight common mistakes to avoid.
Let’s get baking!
Key Takeaways:
What is Baked Cheese Crisps?
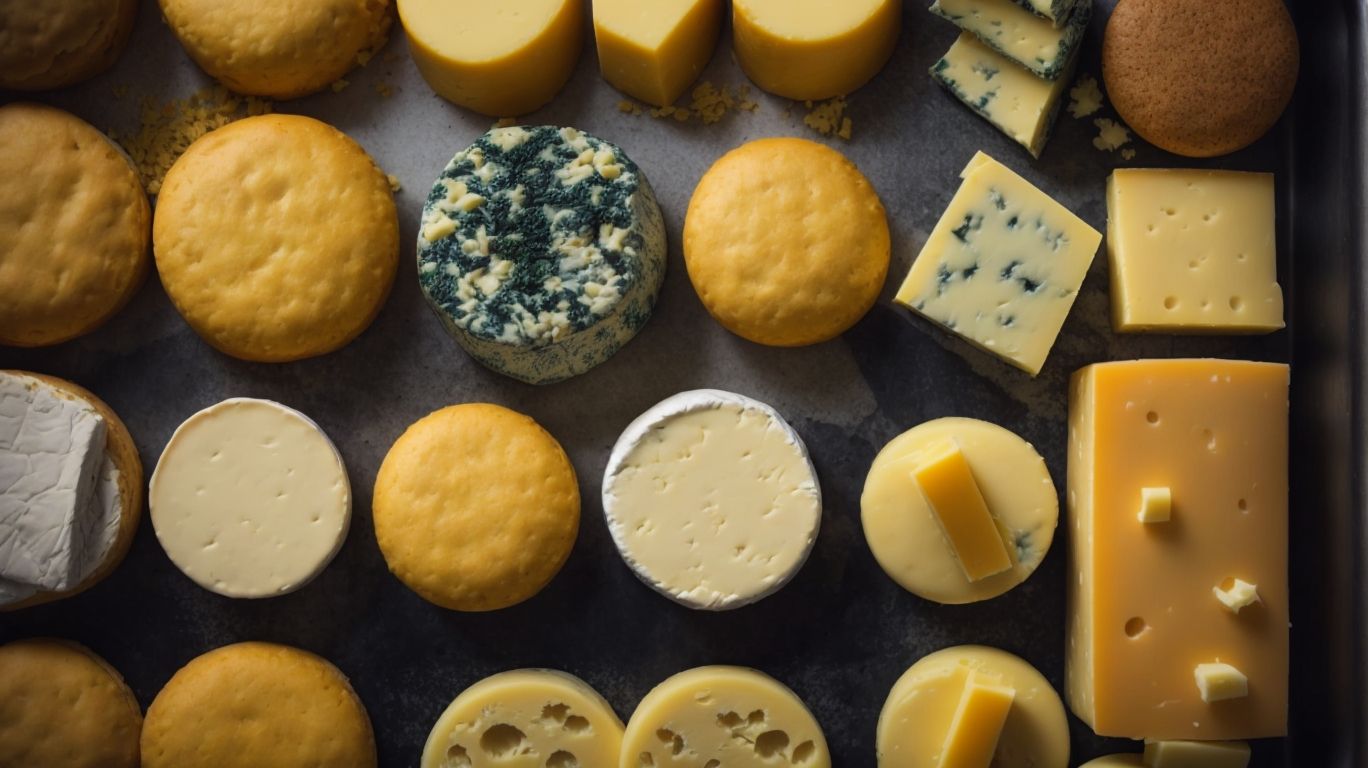
Credits: Poormet.Com – Nicholas Young
Baked Cheese Crisps are crispy, flavorful snacks made from melted and baked cheese, offering a delicious and satisfying crunch.
The process of making Baked Cheese Crisps involves melting cheese, which is then baked until it forms a thin, crispy layer. The intense cheese flavor is concentrated in each bite, creating a savory sensation that appeals to all cheese enthusiasts. These crisps are versatile and can be seasoned with various herbs or spices to enhance their taste further. They are often served as appetizers at gatherings or enjoyed as a guilt-free snack on their own. Whether paired with a dip or enjoyed as a standalone treat, Baked Cheese Crisps are a delightful fusion of simplicity and scrumptiousness.
What Ingredients are Needed?
To make Baked Cheese Crisps, you only need a few simple ingredients, primarily cheese, and optional spices or herbs for added flavor.
In terms of selecting the cheese for your Baked Cheese Crisps, opt for high-quality varieties such as sharp cheddar, Parmesan, or Gruyere for optimal taste and texture. The type of cheese you choose will greatly influence the final outcome of your crisps, so it’s essential to pick a cheese that melts well and has a robust flavor.
For variations, consider adding herbs like rosemary or thyme, or spices like paprika or garlic powder to infuse your crisps with extra depth of flavor. Experimenting with different combinations of cheese and seasonings can yield unique and delicious results that will surely impress your guests.
Why Bake Cheese into Crisps?
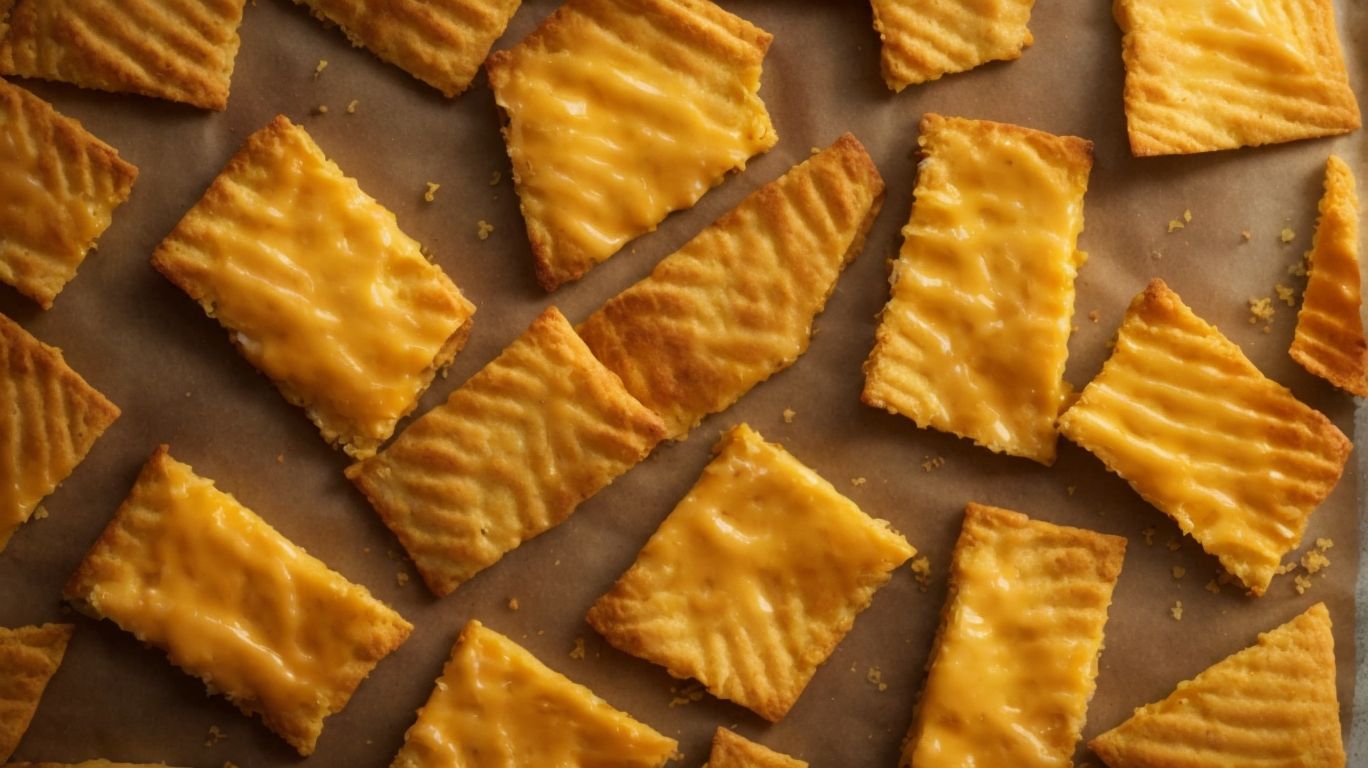
Credits: Poormet.Com – Andrew Baker
Baking cheese into crisps elevates its taste and texture, creating a delightful snack that combines the richness of cheese with a satisfying crunch.
The process of baking cheese into crisps involves the transformation of its flavors and textures. As the cheese melts and solidifies, it develops a crispy exterior while retaining a gooey, savory center. This unique combination offers a contrast of textures that is both indulgent and satisfying. The flavors also intensify during baking, with the cheese taking on a nutty and caramelized profile.
These cheese crisps are not only delicious but also incredibly versatile. They make for a perfect comfort food, providing a warm and cheesy treat that is sure to lift your spirits. They serve as excellent party appetizers, impressing guests with their gourmet appearance and addictive taste.
What are the Benefits of Baking Cheese into Crisps?
The benefits of baking cheese into crisps include enhancing the cheese’s flavor, creating a crispy texture, and offering a satisfying snack option that is easy to make.
When you bake cheese into crisps, you are able to intensify its flavor, bringing out its rich and savory notes with a delightful hint of caramelization. The oven transforms the cheese into a crispy golden treat, offering a unique textural experience that combines a delicate crunch with a creamy center.
Baking cheese crisps provides a convenient snack solution for busy individuals looking for a quick and satisfying bite. The process is simple and requires minimal effort, making it an ideal option for spontaneous cravings or as a crowd-pleasing appetizer at gatherings.
How to Bake Cheese into Crisps?
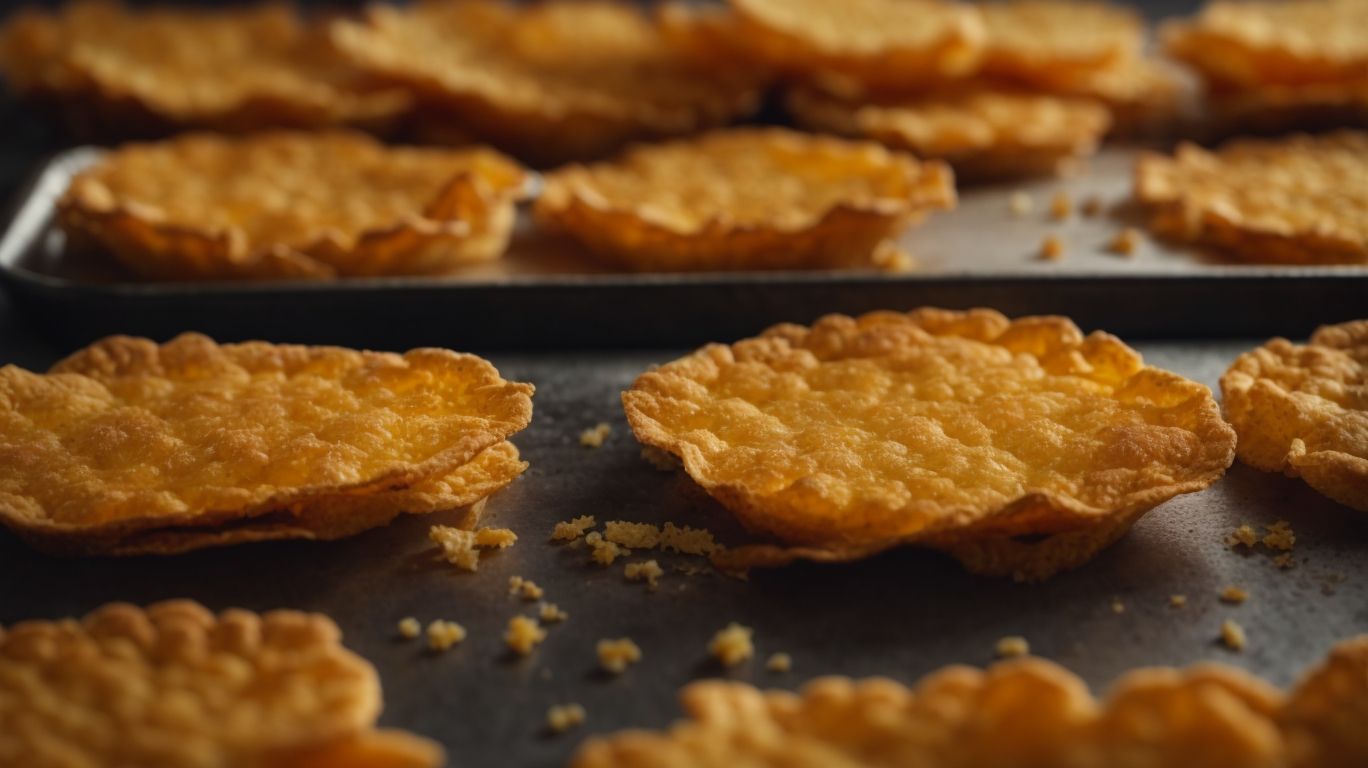
Credits: Poormet.Com – Daniel Johnson
Baking cheese into crisps is a simple process that involves melting cheese, shaping it into rounds, baking until crispy, and cooling to achieve the desired crunchiness.
To begin, preheat your oven to 350°F (180°C) and line a baking sheet with parchment paper. Next, shred your desired cheese such as Cheddar, Parmesan, or Gouda. Make sure to use a cheese that melts well and has a strong flavor for the best results. Then, place the shredded cheese in a microwave-safe bowl and melt it in 30-second intervals until fully melted.
Once melted, use a spoon to portion out the cheese into round shapes on the prepared baking sheet. You can also experiment with different shapes like squares or triangles for variety. Sprinkle with your favorite seasonings like paprika, garlic powder, or dried herbs before baking for added flavor.
Place the baking sheet in the preheated oven and bake for 5-7 minutes or until the edges are golden brown and crispy. Keep a close eye on them as they can burn quickly. Once done, remove from the oven and let the cheese crisps cool on the baking sheet for a few minutes to set.
Step 1: Preheat the Oven
To begin baking cheese into crisps, preheat the oven to the specified temperature as indicated in the recipe, ensuring it reaches the optimal heat for crisping the cheese.
Preheating the oven correctly is crucial as it sets the foundation for achieving that perfect crispiness in your cheese crisps. When the oven is preheated to the exact temperature recommended, it allows the cheese to melt uniformly, resulting in a consistent texture and delicious flavor. Ensuring the oven is adequately heated also helps in preventing the cheese from burning or turning soggy. This initial step lays the groundwork for a successful cheese crisps baking session, so take your time to get the temperature just right before moving on to the next steps.
Step 2: Prepare the Cheese
Preparing the cheese involves melting it to a smooth consistency, shaping it into rounds or desired shapes, and ensuring it is ready for the baking process to create crispy cheese crisps.
The next step after melting the cheese is crucial in ensuring that the cheese crisps turn out just right. Once the cheese is melted, it needs to be shaped appropriately before baking. This can be done by spooning portions of the melted cheese onto a baking sheet lined with parchment paper, then gently spreading them out into thin and even rounds. Alternatively, you can use cookie cutters to shape the melted cheese into fun and creative shapes before baking.
Step 3: Bake the Cheese
Bake the prepared cheese rounds in the preheated oven until they turn golden brown and develop a crispy texture, ensuring the cheese crisps are cooked to perfection.
During the baking process, keep a watchful eye on the cheese rounds as they transform in the oven. The visual indicators of readiness include a deep golden hue spreading across the surface. The edges may begin to darken slightly, adding an extra dimension of flavor to the cheese crisps. You should also observe bubbling and sizzling in the center as the cheese melts and then solidifies, contributing to the desired crispiness.
Step 4: Cool and Serve
After baking, allow the cheese crisps to cool slightly before serving them, ensuring they are at an enjoyable eating temperature and ready to be shared with family and friends.
Once the cheese crisps are out of the oven, transfer them to a wire rack to cool down gradually. This final step is crucial in achieving the desired texture—crispy yet slightly chewy. Patience is key here; letting them rest allows the flavors to fully develop, enhancing the overall taste experience.
For a charming presentation, consider arranging the cooled cheese crisps on a wooden board alongside a variety of accompaniments such as fresh fruits, nuts, olives, or even a drizzle of honey. This not only elevates the visual appeal but also provides a range of flavors to complement the salty crunch of the crisps.
Tips and Tricks for Perfect Baked Cheese Crisps
Achieving perfect Baked Cheese Crisps requires attention to detail and some handy tips, such as using parchment paper and mastering the art of achieving a crispy texture.
To ensure your cheese crisps turn out flawlessly, consider the importance of cheese moisture content; using low moisture cheeses like Parmesan or aged cheddar can result in a crispier bite.
Experiment with different seasonings and toppings to elevate the flavor profile of your crisps. If you’re feeling adventurous, try adding a sprinkle of smoked paprika or a touch of garlic powder for a unique twist.
Be mindful of the oven temperature and baking time to avoid burning the cheese and ensure an evenly crisp finish.
How to Prevent Cheese from Sticking to the Pan?
To prevent cheese from sticking to the pan when baking, line it with parchment paper or use a silicone baking mat to create a non-stick surface for easy removal of the crisped cheese.
Another effective method to ensure your cheese crisps don’t stick is to preheat the pan before adding the cheese. This initial heat will help form a barrier between the cheese and the pan, reducing the chances of sticking.
Using a light coating of oil or cooking spray on the parchment paper can further prevent any adhesion of the cheese. This thin layer acts as an extra shield, allowing the cheese to crisp up beautifully without leaving any remnants behind.
How to Achieve a Crispy Texture?
To achieve a crispy texture in Baked Cheese Crisps, ensure the cheese rounds are spread evenly, bake them to a golden brown color, and allow sufficient cooling time to let them crisp up properly.
Even spreading of the cheese rounds is crucial to ensure uniform crispness throughout the crisps. This uniformity helps in preventing any undercooked or overly crispy spots.
When baking, keep an eye on the color transformation; a golden brown hue indicates the perfect level of crispiness. It’s essential to resist the urge to take them out too early to avoid a chewy texture.
After baking, the cooling process is just as important as the baking itself. Allowing the cheese crisps to cool completely helps in solidifying their structure, resulting in that satisfying crunch when you take a bite.
Variations of Baked Cheese Crisps
Exploring different variations of Baked Cheese Crisps allows for creative experimentation, such as adding herbs and spices or using a diverse range of cheese types to customize the flavor profile.
For a herb-infused twist, consider incorporating fresh rosemary or thyme into the cheese mixture before baking, adding a fragrant note to each crispy bite. Alternatively, experiment with spicy options by sprinkling paprika, cayenne pepper, or even a pinch of chili flakes over the cheesy rounds before they hit the oven.
To diversify the cheese selection, try combining sharp cheddar with creamy Gruyère for a rich and complex flavor, or opt for the tanginess of goat cheese paired with the nuttiness of Parmesan. Mixing and matching cheese varieties can result in unexpected and delightful taste combinations.
Adding Herbs and Spices
Enhancing Baked Cheese Crisps with herbs and spices introduces exciting flavor dimensions, allowing for a gourmet twist on this classic snack.
In terms of incorporating herbs and spices into cheese crisps, the possibilities are endless. A sprinkling of rosemary can add a subtle earthy note, while garlic powder provides a savory punch. For those looking for a hint of heat, a pinch of cayenne pepper delivers a spicy kick. Pairing these with parmesan cheese or cheddar creates a harmonious blend of flavors. Experimenting with smoked paprika, thyme, or even a touch of truffle salt can take your cheese crisps to new culinary heights.
Using Different Types of Cheese
Experimenting with different types of cheese in Baked Cheese Crisps offers a diverse range of flavors and textures, allowing for unique culinary experiences with each variation.
Cheddar, known for its sharp and tangy taste, brings a bold flavor to the crisps, while Gouda adds a rich and nutty profile. Blue cheese introduces a pungent and creamy element, ideal for those who appreciate a more intense taste. Parmesan, with its granular texture and savory notes, provides a delightful umami kick. Mixing various cheeses in one batch creates a medley of flavors, elevating the snacking experience.
Common Mistakes when Baking Cheese into Crisps

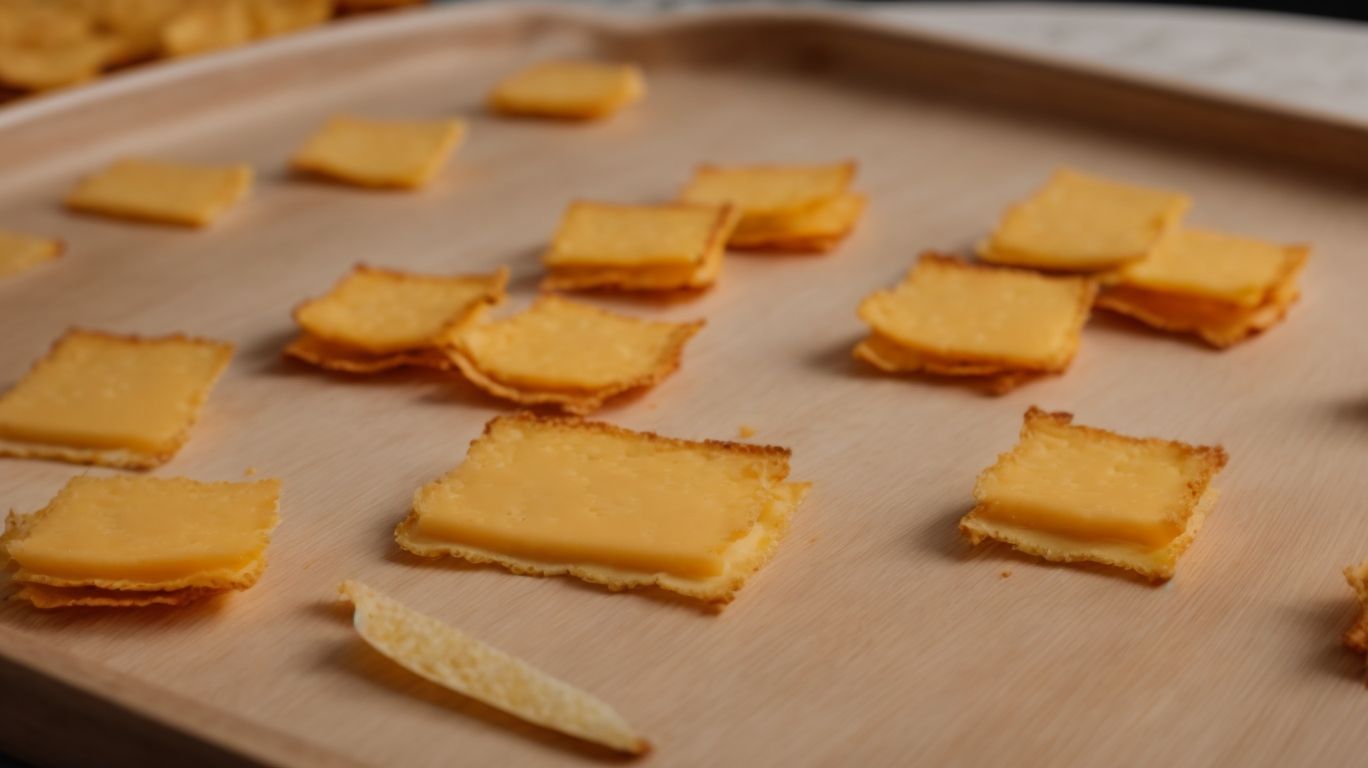
Credits: Poormet.Com – Bryan Thomas
Avoiding common mistakes when baking cheese into crisps is crucial to achieving the perfect balance of flavor, texture, and appearance in this savory snack.
One prevalent error that can occur when making baked cheese crisps is not using parchment paper on the baking sheet. Without this non-stick surface, the melted cheese can stick and become difficult to remove, leading to uneven crisps and potential frustration.
Improper cooling after baking can result in soft or chewy cheese crisps rather than the desired crispy texture. Allowing the crisps to cool completely on the baking sheet after removing them from the oven helps them firm up and maintain their crispiness.
Not Using Parchment Paper
One common mistake when baking cheese into crisps is not using parchment paper, which can lead to sticking and difficulties in removing the crisped cheese from the baking surface.
Parchment paper acts as a non-stick barrier between the cheese and the baking surface, ensuring that the crisps do not adhere to the pan during baking. This not only facilitates the easy removal of the crisped cheese but also helps in maintaining the crispiness of the finished product. Parchment paper is heat-resistant, making it ideal for high-temperature baking without the risk of burning or altering the flavor of the cheese.
If you find yourself without parchment paper, alternatives like silicone baking mats or greasing the baking sheet with oil can be considered. These alternatives may not provide the same level of non-stick properties and convenience as parchment paper, potentially leading to a less desirable outcome in terms of texture and appearance.
Not Letting the Crisps Cool Completely
Another common mistake is not allowing the cheese crisps to cool completely before serving, which can affect their texture and result in a less crispy final product.
Proper cooling is crucial for cheese crisps as it plays a significant role in ensuring the desired texture and crunchiness. When cheese crisps are hot, they are still in a pliable state, prone to becoming soggy quickly. Allowing them to cool properly allows the cheese to solidify, creating that irresistible crispy texture that everyone loves. Proper cooling also helps in intensifying the flavors of the crisps and enhancing their overall eating experience.
For optimal results, it is recommended to cool the cheese crisps for at least 10-15 minutes before serving. This duration allows the cheese to firm up adequately while retaining the right amount of crunchiness. Serving the crisps at the ideal temperature ensures that they are at their best, providing a delightful and satisfying snacking experience for everyone.
Frequently Asked Questions
1. How do I make crispy cheese crisps?
To make crispy cheese crisps, start by preheating your oven to 350°F (175°C). Line a baking sheet with parchment paper and place small piles of shredded cheese (cheddar, parmesan, or any other hard cheese) on the sheet, leaving enough space between each pile. Bake for 5-7 minutes, until the cheese is melted and golden brown. Let them cool for a few minutes before removing them from the sheet and enjoying your crispy cheese crisps!
2. Can I use any type of cheese for this recipe?
Yes, you can use any type of hard cheese for this recipe. Cheddar, parmesan, and even gouda are great options. Just make sure to shred the cheese before baking it into crisps for the best results.
3. How thin should I spread the cheese on the baking sheet?
You don’t need to spread the cheese on the baking sheet, just create small piles of shredded cheese. The cheese will spread and melt while baking, so make sure to leave enough space between each pile to prevent them from sticking together.
4. Can I add any other ingredients to the cheese before baking?
Yes, you can add herbs, spices, or even other types of shredded cheese to the main cheese pile to add extra flavor. However, make sure not to add too much as it can prevent the cheese from crisping up properly.
5. How do I store leftover cheese crisps?
If you have any leftover cheese crisps, store them in an airtight container in the fridge for up to 3 days. To maintain their crispiness, you can reheat them in the oven for a few minutes before serving.
6. Can I make these cheese crisps in advance?
Yes, you can make these cheese crisps in advance and store them in an airtight container. To ensure they stay crispy, reheat them in the oven for a few minutes before serving. However, they are best enjoyed fresh out of the oven.