

How to Bake Chicken After Brining?
Are you looking to take your chicken dishes to the next level? Brining is the key!
In this article, we will explore what brining is, why you should brine chicken before baking, and how to do it step by step.
From choosing the right brine solution to baking the chicken to perfection, we’ve got you covered.
Learn about cooking temperature, cooking time, how to tell if the chicken is fully cooked, and some tips for baking brined chicken. Let’s make your chicken dishes a culinary masterpiece!
Key Takeaways:
What is Brining?
Brining is a process of soaking chicken breasts in a saltwater solution with seasonings to enhance flavor and moisture.
This process allows the chicken breasts to absorb water and salt, resulting in a juicier and more flavorful end product. By adding various herbs and spices to the brine, such as rosemary, garlic, and peppercorns, you can infuse additional layers of taste into the meat. Brining also helps to tenderize the chicken breasts, making them more succulent and less likely to dry out during cooking. To maximize the effects of brining, it’s essential to let the chicken breasts marinate in the brine for an adequate amount of time, typically ranging from 30 minutes to overnight.
Why Should You Brine Chicken Before Baking?
Brining chicken before baking is crucial to ensure that the meat remains juicy, flavorful, and tender throughout the cooking process.
When chicken breasts are brined, they undergo a transformative process where the solution of salt, water, and sometimes sugar allows the meat to absorb moisture, resulting in a juicier end product. The brine also acts as a carrier for additional flavors that enhance the taste profile of the chicken, creating a more delicious final dish.
The brining process helps the protein structure of the chicken to relax, leading to a more tender texture once cooked. Taking the time to brine your chicken breasts before baking can significantly elevate the quality of your meal.
How to Brine Chicken?
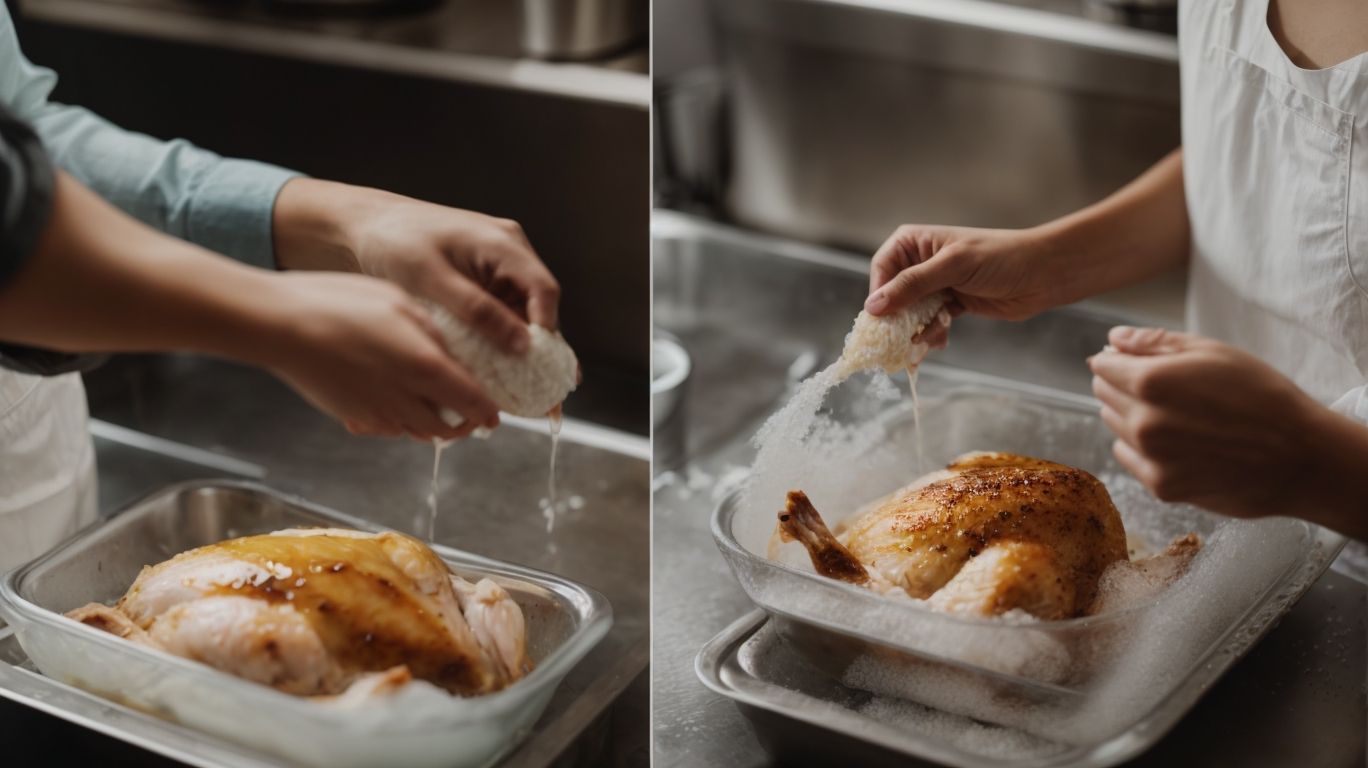
Credits: Poormet.Com – Steven Nguyen
To brine chicken, create a solution of water, salt, and seasonings, then submerge the chicken breasts in the brine mixture.
Brining chicken breasts is a simple yet effective technique to ensure they end up juicy and flavorful when cooked. Start by mixing water with salt and your choice of herbs or spices in a large container to create the brine. The ideal ratio for the brine is about 1 cup of salt to 1 gallon of water, but you can adjust based on your preference.
Once your brine mixture is ready, submerge the chicken breasts in the liquid, making sure they are fully covered, and then refrigerate them for at least 1 hour, but preferably up to 4 hours.
Choosing the Right Brine Solution
Selecting the appropriate brine solution for chicken breasts involves considering the ratio of salt to water, as well as the inclusion of sugar for added flavor.
In terms of salt concentration, a general guideline is around 5-8% salinity in the brine solution, ensuring the chicken gets adequately seasoned without being overly salty.
- Adjusting the sugar content in the brine can bring a delicate balance of sweet and savory to the chicken, enhancing its natural flavors.
Experimenting with various seasonings like herbs, garlic, peppercorns, or even citrus zest can offer an array of flavor profiles to suit your preferences.
Preparing the Brine Solution
Preparing the brine solution for chicken requires dissolving salt, sugar, and seasonings in water, ensuring the mixture is at the correct temperature.
Proper mixing of the brine is crucial to ensure that the salt, sugar, and seasonings are evenly distributed, allowing the flavors to penetrate the meat thoroughly. The salt in the brine solution works to break down the proteins in the chicken, resulting in a juicier and more tender end product. When choosing seasonings, you have the flexibility to customize the flavors based on your preferences, whether it be herbs, spices, or aromatics, to enhance the taste of the chicken.
Brining the Chicken
Brining the chicken involves placing the seasoned breasts in a container filled with the brine solution and allowing them to soak for a specified period.
When selecting a container for brining, ensure it is non-reactive such as stainless steel, glass, or food-grade plastic. The marinating time can vary depending on the size of the chicken pieces, generally ranging from 1 to 12 hours.
Choosing the right seasonings for the brine will significantly impact the flavor of the chicken dish. For example, using herbs like rosemary and thyme can add a fragrant earthiness while citrus zest can bring a refreshing zing to the meat.
How to Bake Chicken After Brining?
After brining, bake the chicken breasts in a preheated oven at high heat to achieve a crispy exterior and juicy interior.
For optimal results, preheat your oven to 400°F (200°C) before placing the chicken breasts inside. This high heat will help seal in the juices and create a beautiful golden crust on the outside. Depending on the thickness of the breasts, the cooking time can vary, but a good rule of thumb is around 20-25 minutes.
To ensure the chicken stays moist, you can baste it with melted butter or olive oil halfway through cooking. You can also cover the breasts loosely with foil for the first half of the cooking time to retain moisture before uncovering them to crisp up the skin.
Preparing the Chicken for Baking
Before baking, pat dry the brined chicken breasts and let them come to room temperature to ensure even cooking.
Patting dry the chicken breasts after brining is crucial to remove any excess moisture that may hinder the browning process and crispiness of the skin during baking. The room temperature chicken will also ensure more even cooking throughout the meat, preventing any part from being overcooked or undercooked.
Properly drying and adjusting the temperature are simple yet important steps that can significantly impact the final outcome of your baked chicken dish.
Seasoning the Chicken
Season the brined chicken breasts with olive oil, herbs, and spices to enhance the flavor profile before baking.
To ensure your baked chicken turns out tender and packed with flavor, start by drizzling a high-quality olive oil over the brined chicken breasts. This will help seal in moisture and create a deliciously crispy exterior. Next, generously sprinkle a blend of your favorite herbs such as rosemary, thyme, and oregano for a fragrant aroma. Don’t forget to add a mix of spices like garlic powder, paprika, and cayenne pepper to give your chicken a tasty kick. Allow the seasoned chicken to marinate for at least 30 minutes before baking to let the flavors infuse completely.
Baking the Chicken
Bake the seasoned chicken breasts until they reach the desired internal temperature using a cooking thermometer to ensure safe consumption.
When baking brined chicken, it’s crucial to preheat the oven to the recommended temperature as specified in the recipe. Typically, a moderate oven temperature around 375°F to 400°F is ideal for achieving juicy and tender chicken breasts.
During the cooking process, it’s essential to periodically check the internal temperature of the chicken using the cooking thermometer. Insert the thermometer into the thickest part of the breast, making sure it doesn’t touch the bone, to get an accurate reading of doneness.
While cooking times can vary depending on the oven and the size of the chicken breasts, a general guideline is to bake them for approximately 20-25 minutes, flipping halfway through to ensure even cooking.
What Temperature and Time Should You Bake Chicken After Brining?
When baking brined chicken, it is recommended to use high heat and cook until the internal temperature reaches a safe level as indicated by a thermometer.
For optimal results, preheat your oven to 425°F before placing the brined chicken in. This high temperature will help to crisp up the skin while ensuring that the chicken cooks through evenly. The cooking duration will vary depending on the cut of chicken being used, but as a general guideline, boneless chicken breasts typically take around 20-25 minutes, while bone-in pieces may require an additional 5-10 minutes.
To determine when the chicken is done, always use a reliable thermometer. The internal temperature should reach 165°F for safe consumption. Remember, relying solely on cooking time can lead to over or undercooked chicken, so invest in a good quality thermometer for accurate results every time.
Cooking Temperature
To ensure safe consumption, bake brined chicken breasts at a high temperature, typically around 400°F (200°C), until the internal temperature reaches 165°F (74°C) as measured by a thermometer.
Using a reliable thermometer is crucial in ensuring that the chicken is thoroughly cooked. This kitchen tool helps you gauge the doneness of the poultry accurately, avoiding the risk of undercooking, which can lead to foodborne illnesses.
By cooking the chicken to an internal temperature of 165°F (74°C), you can be confident that it’s safe to eat. Keep in mind that different ovens may vary in temperature accuracy, so a thermometer is your best ally in guaranteeing a perfectly cooked, juicy chicken dish.
Cooking Time
Bake brined chicken breasts for approximately 20-30 minutes, monitoring the cooking time closely to ensure they remain juicy and tender, as indicated by a thermometer.
Timing is essential in cooking a perfect brined chicken dish. The goal is to strike a balance between cooking the chicken thoroughly and preserving its moisture content. Overcooking can result in dry and tough meat, while undercooking poses health risks. By following the recommended bake time, you allow the flavors to develop while maintaining the desired texture.
Brining helps the chicken retain moisture, making it more forgiving during cooking. Proper brining enhances the flavor and tenderness of the meat, transforming an ordinary dish into a gourmet delight. Remember, the key to delicious brined chicken lies in patience, precision, and attention to detail.
How to Tell if the Chicken is Fully Cooked?
To determine if the chicken is fully cooked, use a thermometer to check that the internal temperature has reached 165°F (74°C) for safe consumption.
While the appearance of the chicken can sometimes be deceptive, as it may look done when it’s not, relying solely on color and texture is not reliable. By using a thermometer, you ensure that the chicken reaches the safe temperature necessary to kill harmful bacteria. Insert the thermometer into the thickest part of the chicken breast without touching bone for an accurate reading.
Remember, undercooked chicken can lead to foodborne illnesses, so investing in a good quality thermometer is a small price to pay for food safety. Check multiple spots in the chicken breasts to confirm that the entire piece is evenly cooked.
What are Some Tips for Baking Brined Chicken?
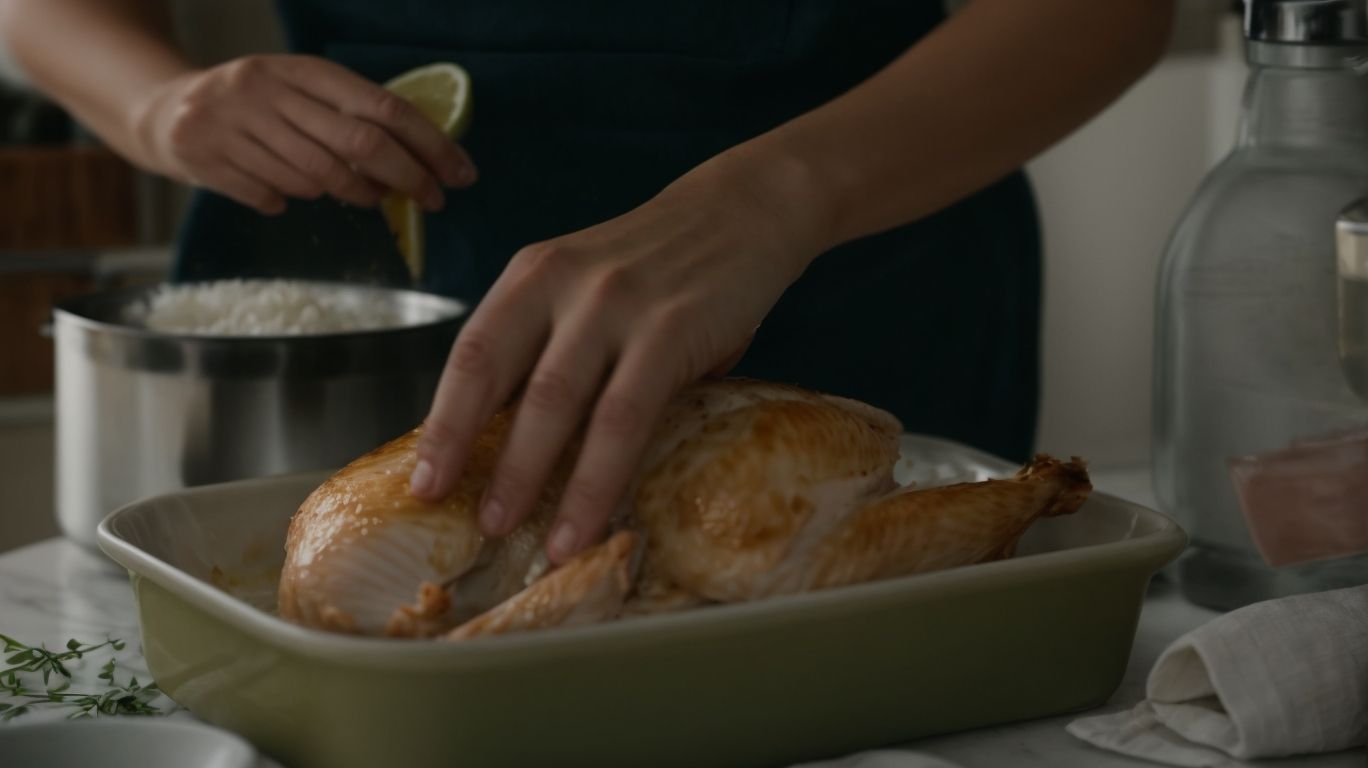
Credits: Poormet.Com – Paul Lewis
Enhance your baked brined chicken by using a meat thermometer, allowing the chicken to rest after baking, and adding a flavorful glaze or sauce for extra taste.
Ensuring the proper cooking temperature is crucial to achieving a perfectly juicy and tender chicken. Invest in a reliable meat thermometer to monitor the internal temperature of the chicken. Once the chicken is cooked, let it rest for a few minutes before slicing into it; this allows the juices to redistribute, resulting in a more succulent dish. To elevate the flavor profile, consider experimenting with different glazes or sauces such as a honey mustard glaze, a herb-infused butter sauce, or a tangy balsamic reduction.
Using a Meat Thermometer
Utilize a meat thermometer to ensure that the brined chicken reaches the recommended internal temperature for safe consumption, typically 165°F (74°C).
Using a meat thermometer is a foolproof way to eliminate any guesswork when it comes to cooking chicken. By inserting the thermometer into the thickest part of the meat, you can accurately gauge if it has reached the desired temperature, avoiding undercooked or overcooked poultry. This ensures that the chicken is not only safe to eat but also maintains its juiciness and flavor profile. Mastering the art of checking the internal temperature of chicken with a meat thermometer is a fundamental skill for any home cook striving to create delicious and safe meals.
Letting the Chicken Rest
Allow the baked brined chicken to rest for a few minutes before serving to enhance tenderness and retain flavorful juices within the meat.
Letting the chicken rest after baking is a crucial step that often gets overlooked but can make a significant difference in the final dish. When you take the time to allow the chicken to rest, it gives the meat a chance to redistribute its juices, resulting in a more evenly moist and tender texture.
This resting period also allows the residual heat to continue cooking the chicken slightly, ensuring it reaches the perfect level of doneness without becoming dry or overcooked. Moreover, resting the chicken before slicing or serving helps in retaining its moisture, preventing the juices from running out and leaving the meat dry.
Adding a Glaze or Sauce
Elevate the taste of your baked brined chicken by incorporating a delicious glaze or sauce that adds layers of flavor and creativity to the dish.
In terms of enhancing your baked brined chicken with glazes or sauces, the possibilities are endless. Consider a tangy honey mustard glaze for a sweet and savory twist, or a zesty barbecue sauce for a smoky flavor explosion.
You can apply these glazes before baking to create a caramelized, sticky coating, or brush them on during cooking for a glossy finish. Experiment with different herbs and spices in your sauces to tailor the flavor to your liking.
Not only will these glazes and sauces boost the flavor profile of your dish, but they will also add a visually appealing element to the final presentation. A beautifully glazed chicken, glistening with flavor, is sure to impress your guests.
Frequently Asked Questions
How to Bake Chicken After Brining?
1. What is brining and why is it important for baking chicken?
Brining is a process of soaking chicken in a saltwater solution, which helps to tenderize and flavor the meat. It is important for baking chicken because it ensures that the chicken stays moist and juicy, even after being cooked in the oven.
2. Can I use any type of salt for brining chicken?
Yes, you can use any type of salt for brining chicken, including table salt, sea salt, and kosher salt. Just make sure to use the correct ratio of salt to water, as different types of salt have varying levels of saltiness.
3. How long should I brine chicken before baking?
The length of time for brining chicken depends on the size and type of chicken you are using. Generally, a whole chicken should be brined for 4-6 hours, while chicken breasts can be brined for 1-2 hours. It is important not to over-brine, as this can result in overly salty chicken.
4. Can I add other ingredients to the brine for extra flavor?
Yes, you can add other ingredients to the brine to enhance the flavor of the chicken. Some popular additions include herbs, spices, citrus fruits, and honey. Just make sure to strain the brine before using it to avoid any solid particles sticking to the chicken.
5. Do I need to rinse the chicken after brining before baking?
It is not necessary to rinse the chicken after brining, as long as you did not use an excessive amount of salt in the brine. However, if you prefer a less salty taste, you can rinse the chicken and pat it dry before baking.
6. What is the best temperature and time for baking chicken after brining?
The recommended temperature for baking chicken after brining is 375°F (190°C) for about 20 minutes per pound. However, always use a meat thermometer to ensure the internal temperature of the chicken reaches at least 165°F (74°C) for safe consumption.