
How to Bake Concealer Without Creasing?
Have you ever heard of baking concealer? If you’re looking for a flawless makeup finish, baking concealer might just be the secret weapon you need.
This article explores what baking concealer is, why it’s important, and the benefits it can offer. We also guide you through a step-by-step process on how to bake concealer without creasing, along with some helpful tips to prevent any unwanted creases.
If you’re ready to elevate your makeup game, keep reading!
Key Takeaways:
What is Baking Concealer?
Credits: Poormet.Com – Jack Roberts
Baking concealer is a makeup technique that involves setting concealer with powder to create a long-lasting, flawless finish.
When you bake your concealer, it helps to lock in the product, preventing it from creasing or fading throughout the day. The process usually involves applying a generous amount of loose powder on top of the concealer and letting it sit for a few minutes before dusting off the excess.
This method is particularly effective for those with oily skin or for areas on the face that tend to experience more creasing, such as the under-eye area. By using this technique, you can achieve a smooth and airbrushed look that lasts for hours, giving your skin a perfected appearance.
Why is Baking Concealer Important?
Credits: Poormet.Com – Jerry Ramirez
Baking concealer is crucial in makeup routines as it helps prevent creasing, enhances coverage, and ensures a smooth, crease-free look throughout the day.
Applying a setting powder over concealer, known as baking concealer, involves leaving the product on the skin for a few minutes to allow the heat from the face to set it. This technique not only locks the concealer in place but also brightens the under-eye area and provides a more flawless finish. By allowing the powder to ‘bake’ into the skin, it creates a long-lasting base that reduces the chances of creasing, especially in fine lines and wrinkles.
What are the Benefits of Baking Concealer?
The benefits of baking concealer include increased coverage for fine lines and undereye bags, improved makeup longevity, and enhanced skincare benefits.
When you bake your concealer, you are essentially allowing the product to set and meld with your skin for a flawless finish that lasts throughout the day. Baking locks in the concealer, preventing it from creasing or fading, which is especially beneficial for those with oily skin or in hot climates.
The baking process can also help blur imperfections like pores and provide a smooth canvas for the rest of your makeup application. By setting your concealer with translucent powder and letting it ‘bake’ for a few minutes before dusting off the excess, you create a long-lasting and crease-free base that enhances the overall look.
How to Bake Concealer without Creasing?
Achieving a crease-free baking concealer look involves proper skin preparation, application techniques, and strategic layering of products to set the concealer effectively.
Begin by moisturizing your skin with a lightweight, hydrating primer suitable for your skin type to create a smooth base for the concealer. Next, apply your favorite high-coverage concealer in a shade that matches your skin tone using a small concealer brush, focusing on areas that need coverage.
- Press and roll the concealer into the skin using your fingertip or a damp makeup sponge, ensuring even distribution and seamless integration with your natural skin tone.
- To intensify the coverage, consider layering a thin translucent setting powder over the concealed areas, allowing it to bake and set for a few minutes before gently dusting off the excess powder with a fluffy brush.
Step 1: Prep Your Skin
The first step in baking concealer without creasing is to prep your skin by cleansing, moisturizing, and applying a hydrating primer to create a smooth base.
Start by cleansing your face with a gentle cleanser to remove any dirt, oil, or makeup residue. This step is crucial as it ensures a clean canvas for your makeup application. Follow up with a hydrating moisturizer to provide your skin with the necessary hydration and create a smooth surface.
Once the moisturizer has absorbed into your skin, apply a hydrating primer that is specifically designed to keep your skin hydrated throughout the day. This will help prevent the concealer from settling into fine lines or creasing. Hydrating primers are ideal for those with dry or combination skin types.
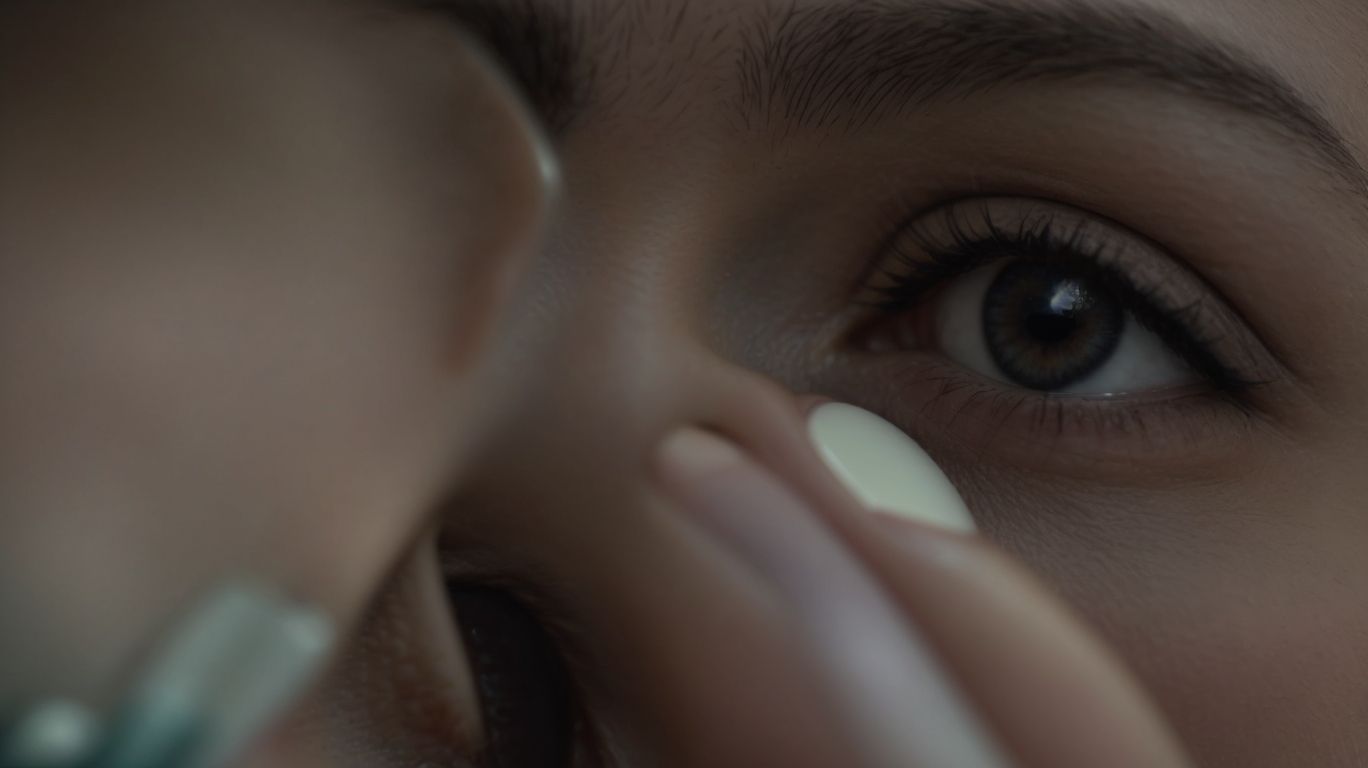
Step 2: Apply a Hydrating Eye Cream
Next, gently dab a hydrating eye cream on the undereye area to nourish and hydrate the delicate skin, preparing it for concealer application and preventing drying.
Using your ring finger, start by taking a small amount of the eye cream and gently pat it onto the skin under your eyes, moving from the inner corners to the outer corners.
This step is crucial as the undereye area tends to lack sebaceous glands, making it prone to dryness and fine lines. By moisturizing this area with a hydrating eye cream, you create a smooth base for concealer, ensuring it applies evenly and does not settle into any creases or wrinkles.
Step 3: Choose the Right Concealer
Select a concealer with a hydrating formula that matches your skin tone and offers full coverage to effectively conceal imperfections without caking or settling into fine lines.
When choosing a concealer for baking, opt for a formula that not only provides hydration but also blends effortlessly into the skin for a natural look. The right formula can make a significant difference in the overall finish of your makeup.
Consider the coverage level you need – whether it’s light, medium, or full coverage – to ensure your concealer effectively hides any blemishes or dark circles.
It’s essential to pay attention to shade matching to avoid any unnatural discoloration or ashy tones. Harmonizing the concealer shade with your foundation is crucial for a seamless transition between the two products for a flawless complexion.
Keep in mind that the undertones of both products should complement each other to achieve a cohesive makeup look.
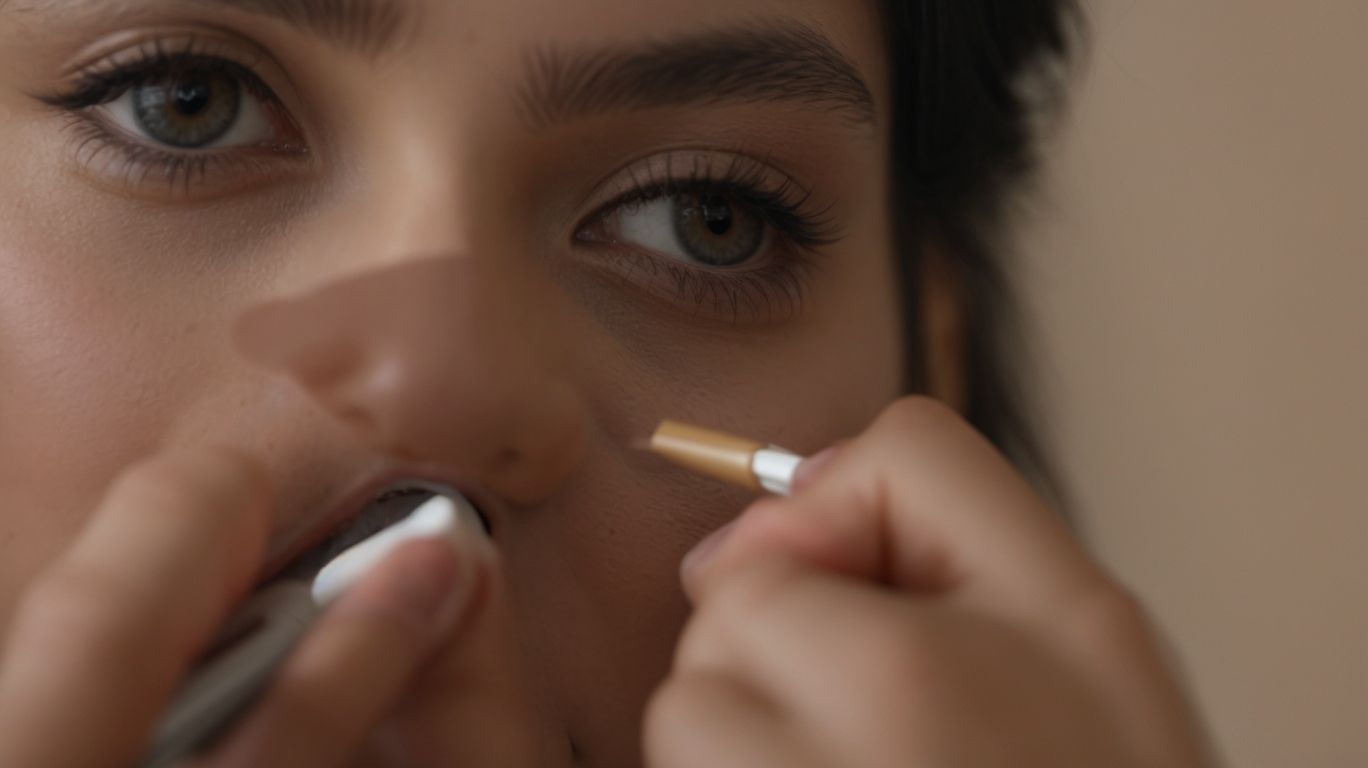
Step 4: Apply Concealer on Your Under Eye Area
Apply the chosen concealer in thin layers to the undereye area, gently patting and blending it with your fingertip or a makeup sponge for even coverage and minimal product buildup.
When layering concealer under your eyes, it’s essential to start with a small amount and gradually build coverage if needed, ensuring a natural finish without cakiness.
Remember to focus on the inner corners and any dark areas, gently tapping the product in rather than dragging it across the delicate skin to prevent tugging or emphasizing fine lines.
Utilize a dabbing motion to blend the edges seamlessly into your foundation without creating harsh lines or visible demarcations.
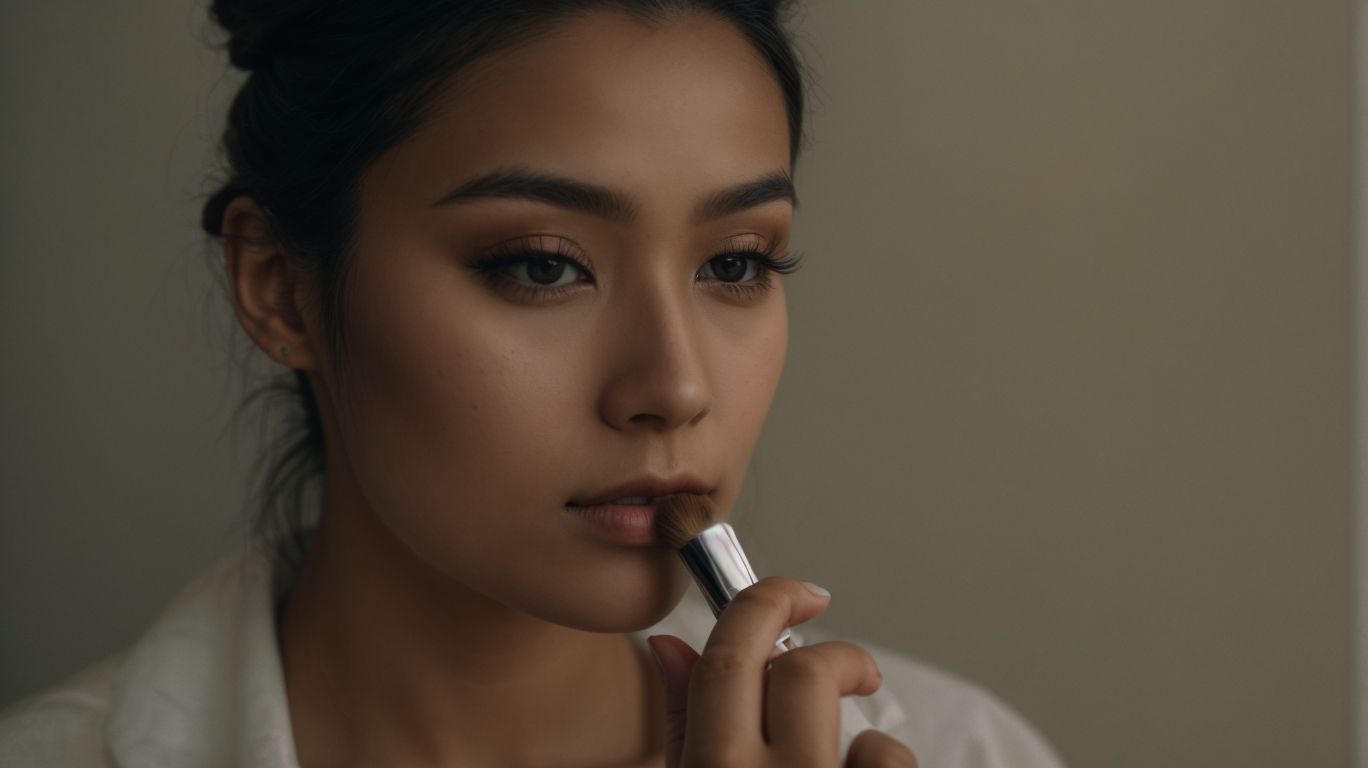
Step 5: Use a Damp Beauty Sponge to Blend
Blend the concealer seamlessly using a damp beauty sponge, softly pressing and bouncing the sponge over the applied layers to ensure a smooth transition and flawless finish.
When blending with a damp beauty sponge, remember to use gentle motions to avoid disrupting the foundation or concealer underneath. Start by dabbing the sponge lightly onto the skin, then softly press and bounce it to blend the product evenly.
Focus on merging the edges of the concealer with the surrounding skin, ensuring there are no harsh lines or uneven patches. By layering and blending in a circular motion, you can achieve a seamless look that appears natural and well-blended.
Step 6: Set with Translucent Powder
Set the concealed area with a translucent setting powder to lock in the coverage, absorb excess oils, and mattify the skin for a long-lasting and crease-resistant finish.
Using a translucent setting powder after applying concealer not only helps to enhance the longevity of your makeup but also ensures a smooth and flawless look throughout the day. The fine texture of the powder assists in setting the concealer by creating a barrier that prevents it from creasing or fading.
The translucent setting powder aids in controlling excess oil production on the skin, keeping shine at bay and maintaining a fresh complexion. This step is particularly beneficial for individuals with oily skin types or in humid environments where makeup tends to slide off easily.
Step 7: Let it ‘Bake’ for 5-10 Minutes
Allow the baking process to set in by leaving the powder on the concealer for 5-10 minutes, letting the heat of the skin meld the products and enhance the coverage and longevity.
During this time, the setting powder works its magic by absorbing excess oils, ensuring that your concealer stays in place without creasing. The baking step also helps to brighten and highlight the under-eye area, making you look more awake and refreshed. It aids in locking the concealer’s pigments in place, preventing any smudging or fading throughout the day. For optimal results, ensure that the powder sits undisturbed on the skin, allowing it to fully adhere and set the concealer for a flawless finish.
Step 8: Gently Dust Off Excess Powder
After the baking period, lightly dust off any excess powder using a fluffy brush, tapping gently to remove the powder residue and blend any remaining product seamlessly.
Excess powder lingering on the surface post-baking can detract from the final appearance of your product, so it’s crucial to address it with care. When dusting off the excess powder, ensure the brush you choose is soft and fluffy to prevent any damage to the underlying layer. By tapping gently rather than rubbing aggressively, you can effectively remove the excess powder without disturbing the finish. Remember, the goal is to blend any remaining product seamlessly, creating a uniform and flawless surface.
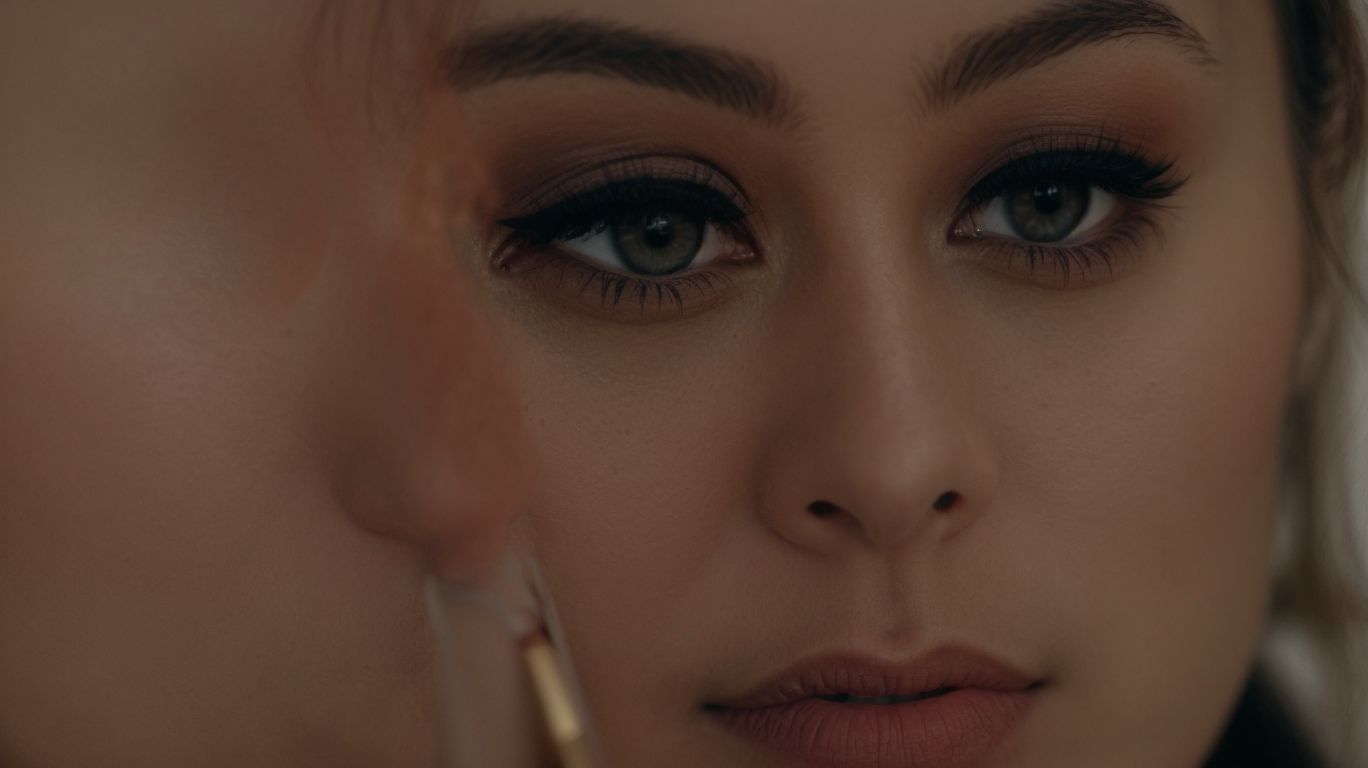
Tips for Preventing Creasing
Credits: Poormet.Com – Jesse Roberts
To prevent creasing with baking concealer, consider using a primer, setting spray, and maintaining balanced skin hydration to ensure a seamless and long-lasting makeup application.
Primer acts as a base, creating a smooth surface for the concealer to adhere to, reducing the chances of creasing throughout the day.
Setting spray, on the other hand, helps to lock in your makeup, including the concealed areas, ensuring a fresh look for hours.
Staying hydrated by drinking enough water and using a moisturizer suitable for your skin type can play a crucial role in preventing textures and creases from forming under the concealer.
Use a Primer
Applying a primer before baking concealer can create a smooth base, fill in fine lines, and prolong the wear of your makeup by providing a barrier between the skin and products.
Primers are essential in any makeup routine, acting as a foundation for flawless application. In terms of baking concealer, a primer becomes even more crucial as it prevents the concealer from settling into creases and fine lines, thus minimizing creasing throughout the day. By applying a primer first, you not only ensure a seamless finish but also enhance the longevity of your makeup look. This step is particularly beneficial for individuals with oily skin, as it helps control excess sebum production, leading to a more matte and refined appearance.
Set with a Setting Spray
Lock in your baked concealer with a setting spray to enhance its durability, prevent creasing, and maintain a fresh makeup look throughout the day.
Once you finish applying and baking your concealer to achieve that flawless finish, a setting spray acts as the final protective barrier for your makeup. Spritzing this magical product not only helps to lock in the concealer but also helps blend all your makeup layers seamlessly. The setting spray ensures that your makeup stays intact for hours, making it perfect for long days or special occasions when you need your look to stay flawless. Invest in a high-quality setting spray to elevate your makeup game and increase its longevity.
Avoid Overly Dry or Oily Skin
Maintain balanced skin hydration by avoiding extremes of dryness or oiliness, as both can contribute to creasing when using baking concealer.
When the skin is overly dry, it lacks the necessary moisture to maintain its elasticity, leading to accentuated lines and wrinkles when makeup is applied. On the other hand, excessively oily skin can cause makeup to slide and settle into creases, highlighting imperfections.
Establishing a consistent skincare routine tailored to your skin type is essential in preventing these issues. Hydrating serums and lightweight, non-comedogenic moisturizers can help maintain a healthy moisture balance without clogging pores.
Incorporating products with ingredients like hyaluronic acid and glycerin can boost hydration levels, promoting a smooth canvas for makeup application.
Conclusion
Mastering the art of baking concealer can elevate your makeup game by providing enhanced coverage, crease prevention, and a flawless finish that lasts all day.
When you bake your concealer, you are essentially setting it with translucent powder for prolonged wear. This technique helps in mattifying the skin, absorbing excess oil, and ensuring your makeup remains intact for hours.
By allowing the heat from your skin to set the concealer before dusting off the excess powder, you can achieve a smooth, airbrushed look. Baking concealer not only enhances your makeup but also contributes to skincare benefits by hydrating the delicate under-eye area and preventing creasing.
This practice can make your concealer work double duty by nourishing your skin while giving you the desired coverage.
Frequently Asked Questions
How to Bake Concealer Without Creasing?
1. What is baking and why is it important for preventing creasing?
Baking is a makeup technique where you apply a thick layer of translucent powder on top of your concealer and let it sit for a few minutes before dusting it off. This helps to set the concealer and prevent it from creasing throughout the day.
2. What type of concealer works best for baking?
Creamy and full-coverage concealers work best for baking as they have a thicker consistency and can hold up better under the powder. Liquid concealers may not be as effective as they can move around and cause creasing.
3. How do I apply concealer for baking without creasing?
After applying your concealer, use a damp beauty sponge or brush to blend it out. Then, using a fluffy brush, lightly dust translucent powder over the concealer and let it sit for a few minutes before blending it in with the rest of your makeup.
4. Can I use regular face powder instead of translucent powder for baking?
While face powders may work for some people, translucent powder is specifically designed to be lightweight and finely milled, making it ideal for baking. Regular face powders may be too heavy and can cause creasing.
5. How can I prevent my under-eye area from looking dry and cakey after baking?
It’s important to use a hydrating eye cream before applying concealer and powder. Also, make sure to only use a small amount of powder and lightly dust it on, rather than packing it on heavily.
6. Can I bake my concealer if I have mature skin?
Yes, baking can work for all ages and skin types. Just make sure to use a finely milled powder and only let it sit for a few minutes before blending it in. You may also want to avoid baking on areas with fine lines to prevent emphasizing them.