
How to Bake Cookies After Chilling?
Are you a cookie enthusiast looking to take your baking skills to the next level?
Chilling cookie dough before baking is a game-changer that can elevate your treats to new heights.
We’ll explore why chilling cookies is essential, how long you should chill them for optimal results, and what types of cookies benefit the most from this technique.
Discover the proper methods for chilling cookie dough, baking tips post-chill, and storage options for your dough.
Join me on this delicious journey to baking perfection!
Key Takeaways:
Why Should You Chill Cookies Before Baking?
Credits: Poormet.Com – Brian Robinson
Chilling cookie dough before baking serves multiple important purposes, including enhancing the flavor and texture of the cookies, preventing excessive spreading, and ensuring optimal results.
When you chill cookie dough, several key reactions take place. The flavors within the dough get a chance to meld together, creating a more complex taste profile. This rest period allows the ingredients to mingle, yielding a more well-developed taste once baked.
Additionally, texture benefits from chilling as the fats in the dough solidify, resulting in a chewier and more tender consistency. Moreover, temperature plays a crucial role in the baking process; chilled dough retains its shape better during baking, reducing excessive spreading and resulting in cookies with a better appearance and consistency.
Prevents Cookies from Spreading Too Much
Chilling cookie dough is a crucial step to prevent cookies from spreading excessively during baking, resulting in a more defined shape and texture.
When cookie dough is chilled, the butter in the dough solidifies, helping to maintain the shape of the cookies as they bake. This solidification process slows down the spreading of the cookies, ensuring they stay firm on the baking sheet. A rule of thumb for chilling cookie dough is around 30 minutes to 1 hour in the refrigerator, but this can vary based on the recipe. By chilling the dough, you allow the ingredients to meld together, enhancing the flavor and texture of the final product.
Enhances Flavor and Texture
Chilling cookie dough not only improves the flavor profile of cookies but also enhances their texture, resulting in a more satisfying and delicious end product.
When you chill the dough, the ingredients have a chance to meld together, allowing the flavors to deepen and intensify. This process results in cookies with a more complex and well-rounded taste. Chilling the dough helps in achieving the perfect balance between a chewy center and crispy edges, giving you that ideal cookie texture that everyone loves.
It is crucial to use high-quality ingredients in your cookie recipe when chilling the dough. Premium ingredients can make a significant difference in the final outcome, elevating the overall taste and texture of the cookies. Opting for top-notch butter, flour, sugar, and other components will enhance the flavor profile and ensure a superior baking experience.
Saves Time and Effort
Chilling cookie dough ahead of time can save you effort during the baking process, as it allows the fat in the dough to solidify and results in an impressive final texture.
Before chilling the cookie dough, it’s recommended to let it rest at room temperature for about 30 minutes to an hour. This resting period allows the flavors to meld together and the flour to fully hydrate, resulting in a more developed taste profile.
Once the dough has rested, placing it in the refrigerator for several hours or overnight enhances the texture even further. The prolonged chilling time helps the flavors intensify and the dough to firm up, leading to a chewier and more flavorful cookie.
How Long Should You Chill Cookies?
Credits: Poormet.Com – Scott Lopez
The duration for chilling cookie dough varies depending on the recipe and the type of cookies being prepared, with some requiring a longer rest time in the fridge for optimal results.
Factors such as the ingredients used in the dough, the moisture content, and the fat-to-flour ratio play a crucial role in determining the ideal chilling time.
For example, rich doughs with lots of butter may need longer chilling periods to prevent excessive spreading during baking. The desired cookie texture influences the chilling time; softer cookies benefit from longer chilling, while crisp cookies might require less time in the fridge.
Conducting a test batch is essential to gauge how the cookies spread and hold their shape after baking. This allows for adjustments in chilling time to achieve the perfect cookie texture and appearance. Aging the dough in the refrigerator overnight not only enhances the flavors by allowing the ingredients to meld but also improves the cookie’s texture by giving the gluten in the dough time to relax and develop.
Depends on the Recipe
The recommended chilling time for cookie dough depends heavily on the recipe used, as different types of cookies may require varying durations in the fridge to achieve the desired texture and flavor.
When considering the chilling time, factors such as the ingredients, dough consistency, and baking temperature come into play.
- For example, soft and buttery doughs like shortbread or sugar cookies often benefit from longer chilling periods
- whereas delicate doughs like tuiles may only need a brief chill to maintain their structure.
Experimenting with chilling times is key; it can affect the spread, thickness, and overall texture of the baked cookies.
Minimum Chilling Time for Different Types of Cookies
Different types of cookies have varying minimum chilling times, with some recipes requiring a few hours in the fridge while others benefit from an overnight rest for the best baking results.
Chilling cookie dough serves several crucial purposes in the baking process. The minimum chilling times are essential for the dough to firm up, allowing the flavors to meld together harmoniously.
For delicate types like cut-out sugar cookies, a longer chilling time is necessary to maintain their shapes during baking. On the other hand, softer doughs like chocolate chip or oatmeal cookies benefit from a shorter chill to prevent excessive spreading in the oven.
Overnight chilling can enhance the texture and depth of flavor, as the ingredients have time to fully hydrate and develop.
What Types of Cookies Benefit from Chilling?

Credits: Poormet.Com – Kyle Williams
Certain types of cookies, such as sugar cookies, chocolate chip cookies, and shortbread cookies, benefit significantly from the chilling process, enhancing their flavors and textures.
Regarding sugar cookies, chilling the dough before baking helps to solidify the butter, which leads to less spread in the oven and results in a thicker, chewier cookie.
For chocolate chip cookies, chilling the dough allows the flavors to meld together, intensifying the rich chocolate taste and creating a more complex flavor profile.
Shortbread cookies, on the other hand, benefit from chilling as it firms up the dough, making it easier to slice and resulting in clean, defined edges when baked.
Sugar Cookies
Chilling sugar cookie dough before baking is crucial for achieving the desired texture and ensuring the cookies hold their shape during the baking process.
When you chill the dough, it solidifies the fat in the recipe, usually butter, which helps in the cookies maintaining their shape and thickness while baking. This step also allows the flavors to meld together and intensify, resulting in a richer and more complex taste. Chilling the dough helps prevent the cookies from spreading too much in the oven, giving them a more uniform appearance. The duration of chilling can vary depending on the recipe, but typically, allowing the dough to rest in the refrigerator for at least an hour is recommended.
Chocolate Chip Cookies
Chilling chocolate chip cookie dough helps the fat in the dough solidify, resulting in cookies with a perfect balance of chewy centers and crisp edges.
preventing them from spreading too much and becoming flat. This process also enhances the flavors by allowing the ingredients to meld together better. Choosing the right recipe plays a significant role in this process. Certain recipes are specifically designed to benefit from chilling, ensuring the cookies have the ideal consistency – delightfully chewy with a slight crunch. Properly chilled dough also helps in controlling the spread of the cookies during baking, leading to a more uniform size and shape across the batch. The patience of chilling the dough pays off in the form of beautifully textured, irresistible cookies.”
}
When the dough is chilled, the fat content, usually butter, becomes firm, which is crucial for the texture of the baked cookies. It allows the dough to retain its shape while baking, preventing them from spreading too much and becoming flat. This process also enhances the flavors by allowing the ingredients to meld together better. Choosing the right recipe plays a significant role in this process. Certain recipes are specifically designed to benefit from chilling, ensuring the cookies have the ideal consistency – delightfully chewy with a slight crunch. Properly chilled dough also helps in controlling the spread of the cookies during baking, leading to a more uniform size and shape across the batch. The patience of chilling the dough pays off in the form of beautifully textured, irresistible cookies.
Shortbread Cookies
Chilling shortbread cookie dough is essential to ensure the cookies maintain their delicate and crumbly texture, resulting in perfectly firm and flavorful treats.
The key role of butter in shortbread cookies cannot be overstated, as it provides the rich, buttery flavor and the signature tender crumb. By chilling the dough, the butter solidifies, preventing the cookies from spreading too thin while baking and helping them maintain their shape.
Proper chilling also allows the flavors to meld together, enhancing the overall taste of the cookies. It’s imperative to follow the recipe meticulously, as precise measurements and instructions are crucial for achieving that quintessential shortbread texture and taste.
How to Properly Chill Cookie Dough?
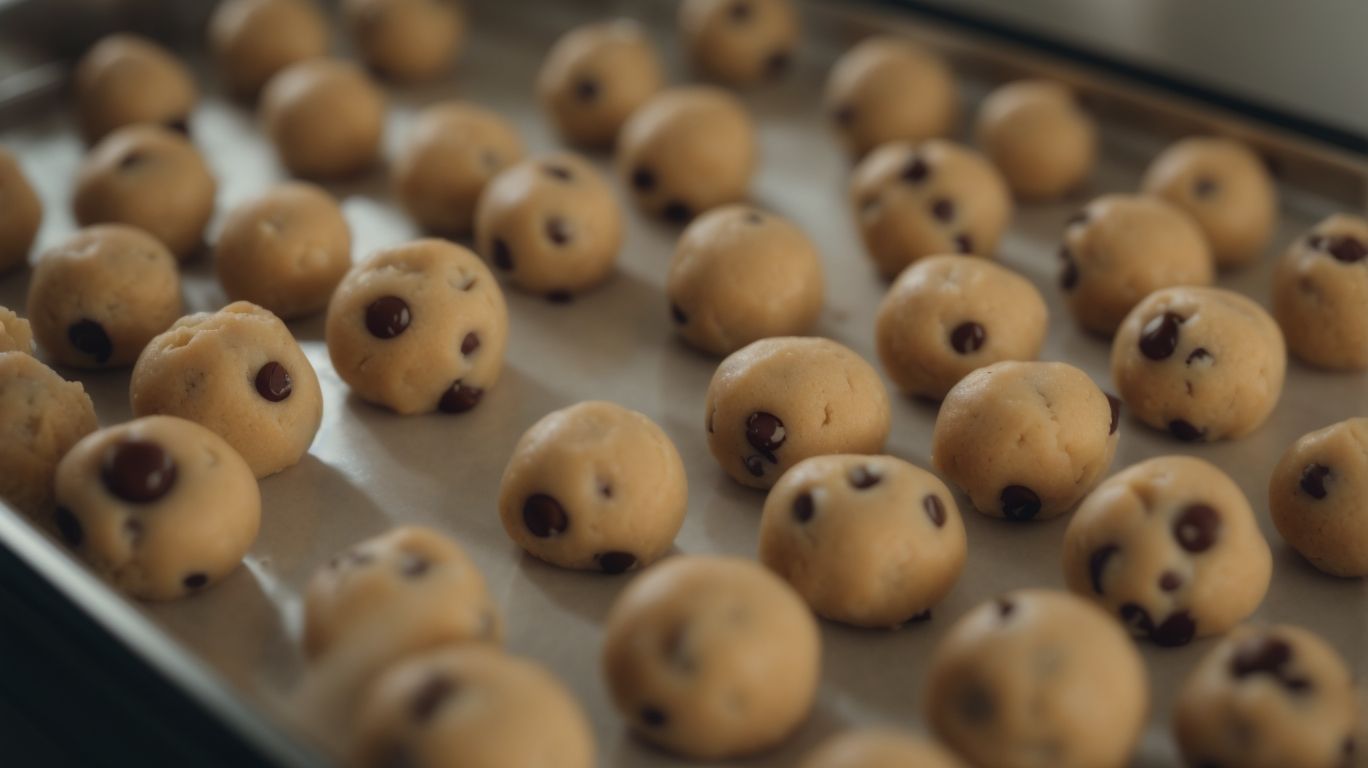
Properly chilling cookie dough involves shaping the dough, wrapping it securely, and storing it correctly to achieve the best possible results when baking.
When shaping the dough, ensure it is evenly portioned for consistent baking. You can use cookie cutters, a spoon, or even roll it into balls depending on the desired shape. After shaping, wrapping is crucial to prevent the dough from drying out and absorbing unwanted flavors from the fridge. Use plastic wrap or an airtight container to keep moisture in and odors out.
Storing the dough in the refrigerator allows the flavors to meld together and for the fat content to solidify, leading to a chewier texture. The fat content affects the firmness of the dough, so higher fat content doughs may require slightly longer chilling times. Typically, it’s recommended to chill the dough for at least 30 minutes to 24 hours for optimal results.
When ready to bake, ensure the oven is preheated to the correct temperature. Baking chilled dough at the recommended temperature and time helps the cookies retain their shape and prevents them from spreading too much. This process also enhances the flavors and textures, giving you delicious, perfectly baked cookies every time.
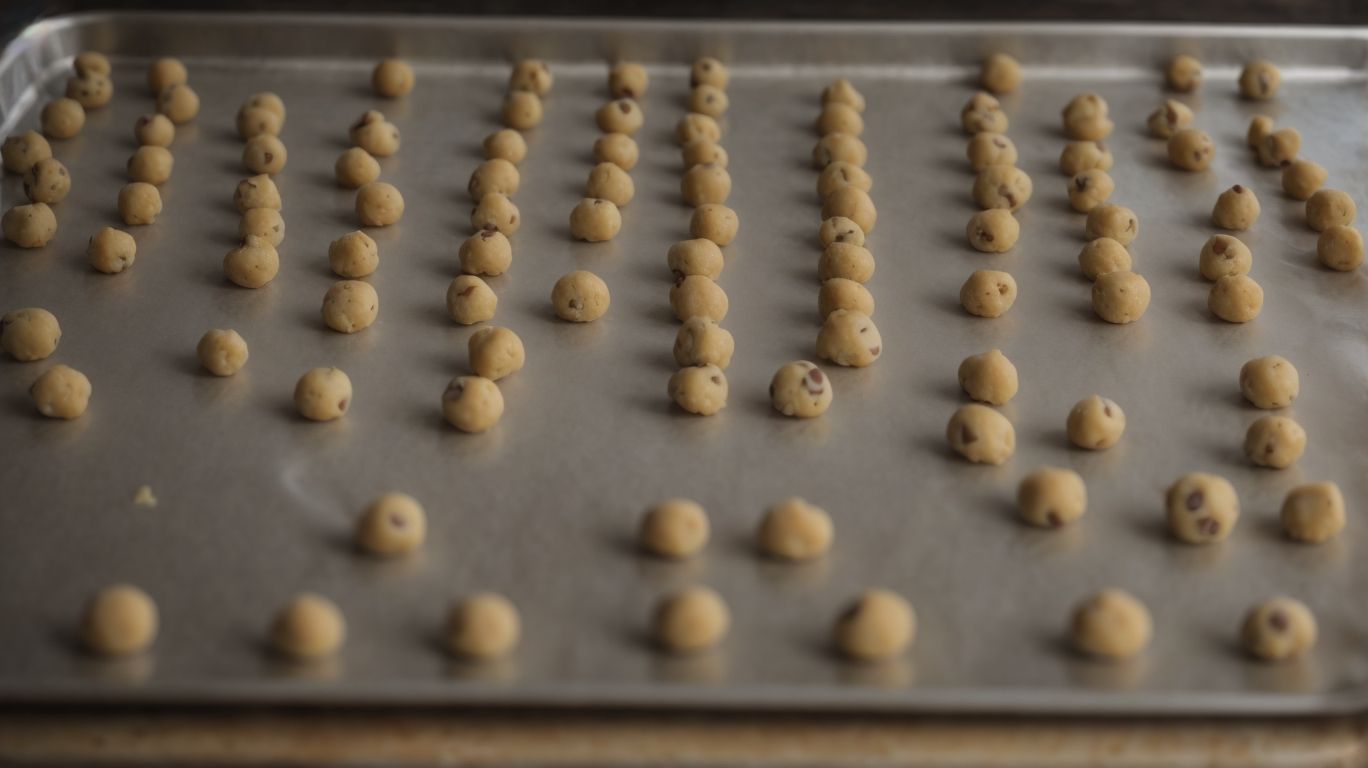
Shaping the Dough
When chilling cookie dough, ensure that it is shaped according to the desired cookie form, as this step impacts the final results in terms of shape and texture.
Properly shaping the cookie dough before chilling is crucial as it dictates how the cookies will spread and hold their structure during baking. The fat content in the dough plays a significant role in shaping; higher fat content tends to result in cookies that spread more while baking.
Allowing the dough to rest after shaping allows the ingredients to meld together, enhancing the flavors and promoting a more uniform texture. This resting period also helps to prevent the cookies from spreading excessively during baking, resulting in perfectly shaped, flavorful treats.
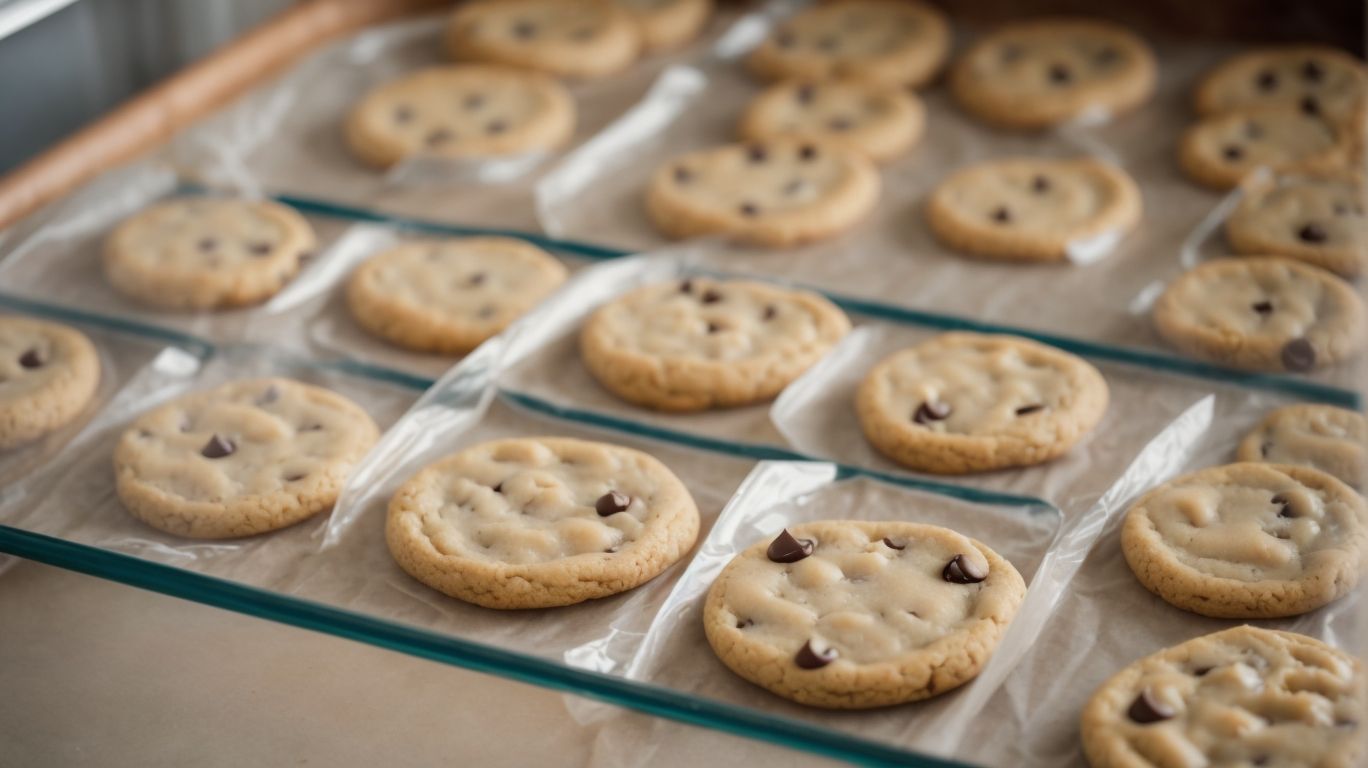
Wrapping the Dough
Properly wrapping cookie dough before chilling is essential to prevent it from drying out and absorbing unwanted odors, maintaining its freshness and integrity for the ideal baking process.
When you wrap your cookie dough securely, you create a barrier that keeps it moist and free from absorbing any flavors from the surrounding environment. This ensures that your cookies taste exactly as they should, with all the flavors intact.
Refrigerating the wrapped dough at the proper temperature helps it firm up, making it easier to handle and shape when it’s time to bake. Remember to allow the dough to come to room temperature before baking to ensure even cooking and a perfect texture in your finished cookies.
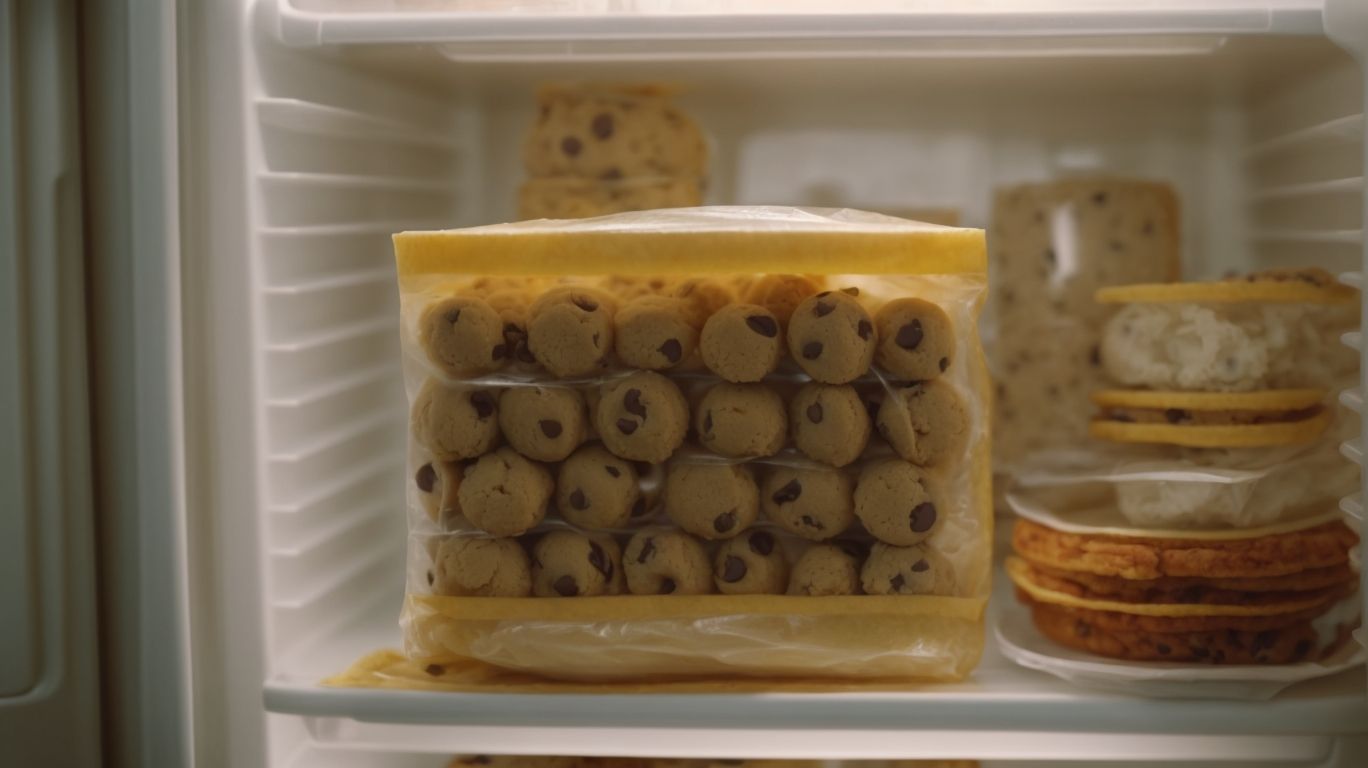
Storing the Dough
Storing chilled cookie dough properly, whether in the fridge or freezer, ensures its freshness and extends its shelf life, allowing for convenient thawing and baking when needed.
When storing cookie dough in the refrigerator, it is best to place it in an airtight container or wrap it tightly in plastic wrap to prevent it from drying out or absorbing other odors. Alternatively, freezing cookie dough is a great option for long-term storage. Before freezing, shape the dough into individual cookie rounds or logs for easy portioning.
Remember that the shelf life varies depending on the ingredients used, typically ranging from a few days to several months in the freezer. To bake frozen cookie dough, simply let it thaw in the refrigerator overnight before scooping or slicing it for baking, ensuring delicious freshly baked treats in no time.
What to Do After Chilling the Cookies?
Credits: Poormet.Com – David Lopez
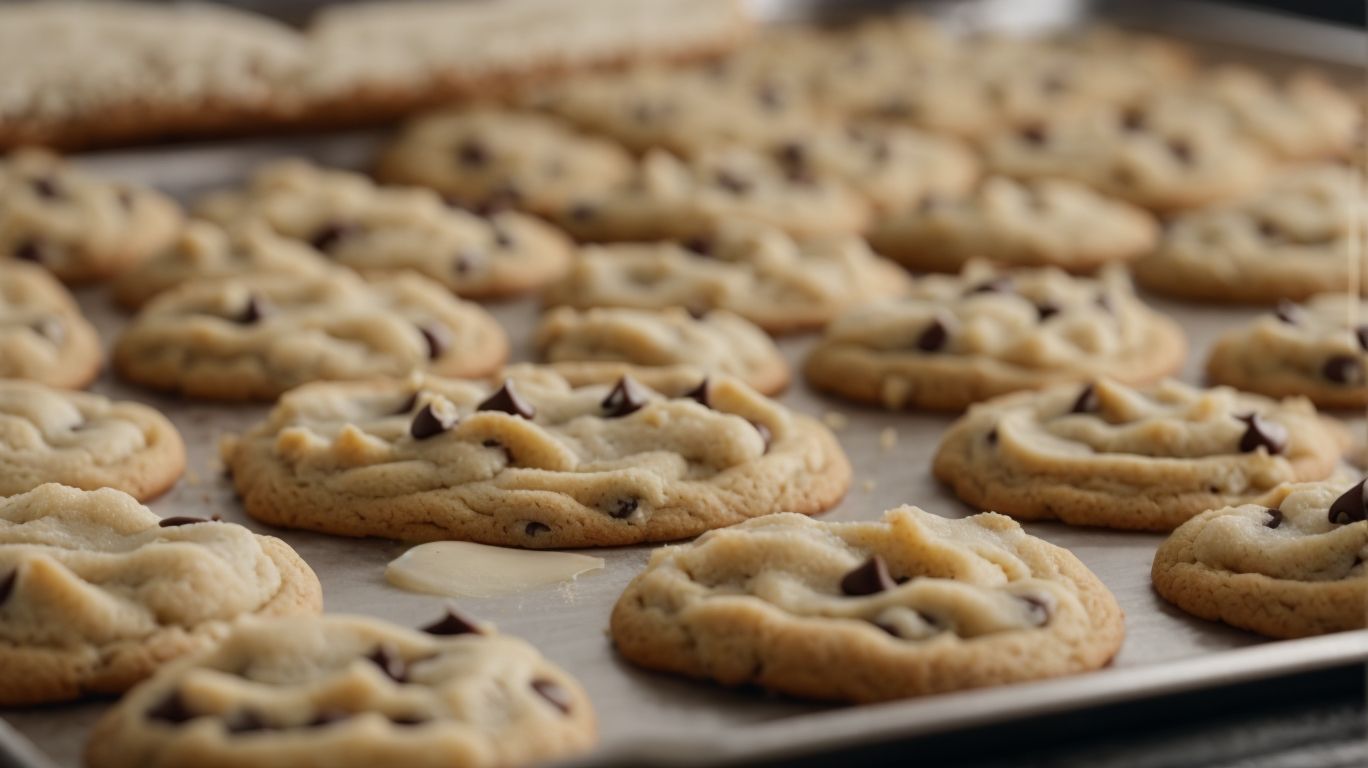
After chilling the cookies, it is essential to preheat the oven to the correct temperature and follow baking guidelines carefully to achieve the perfect cookie texture and appearance.
Preheating the oven ensures that the cookies are exposed to the optimal heat level from the moment they enter, promoting even baking and consistent results.
When placing the cookies on the baking tray, ensure they are evenly spaced to allow for proper airflow, which aids in uniform baking.
To achieve a chewy texture, consider slightly underbaking the cookies, allowing them to firm up as they cool on the baking sheet.
For a golden-brown appearance, keep an eye on the edges while baking; they should be slightly crisp but not overly browned for the perfect outcome.
Preheat the Oven
Before baking chilled cookie dough, it is crucial to preheat the oven to the specified temperature to ensure even baking and optimal results.
Preheating the oven properly is a fundamental step in baking that is often overlooked. When you preheat the oven, you are allowing it to reach the desired temperature so that when the cookie dough goes in, it starts baking immediately. This process ensures that the cookies cook evenly from start to finish, preventing the risk of undercooked centers and burnt edges.
By preheating, you set the stage for a consistent baking environment, which is crucial for achieving the perfect texture in your cookies. Without this initial step, the dough may be exposed to fluctuating temperatures, resulting in uneven cooking and potentially altering the final taste and texture of the cookies.
Baking Time and Temperature
Determining the right baking time and temperature for chilled cookie dough is crucial to achieve the desired results, such as the perfect golden brown color and firm texture.
When baking chilled cookie dough, it’s essential to strike a balance between the time and temperature setting. Too high a temperature can lead to burnt edges while the center remains raw. Conversely, baking at too low a temperature for an extended period may result in cookies that spread too much and lose their shape. The magic happens when you find that sweet spot, typically around 350°F (175°C) for 10-12 minutes, producing cookies with a delightful crispy edge and a soft, chewy center. The right baking time and temperature not only affect the appearance but also the overall taste and texture of your cookies, making the difference between mediocre and heavenly treats.
Tips for Baking Perfect Cookies
To achieve perfect cookies, consider factors like baking temperature, time, and techniques to ensure an impressive outcome with the ideal texture and flavor.
Regarding baking, precision is key. Make sure your oven is preheated to the exact temperature specified in the recipe to guarantee even baking. Use an oven thermometer for accuracy. Adjust the baking time accordingly if needed – underbaking can result in soft, chewy cookies, while overbaking leads to a dry texture.
Experiment with techniques like chilling the dough before baking for thicker cookies or using different types of sugars for unique flavors and textures. Practice good habits like properly measuring ingredients and following each step meticulously for consistently perfect results.
How to Store Chilled Cookie Dough?
Credits: Poormet.Com – Walter Robinson
Storing chilled cookie dough can be done by refrigerating or freezing it based on your needs, with each method offering distinct advantages in terms of shelf life and convenience for baking.
When you opt to refrigerate the dough, it typically retains its quality for up to 1-2 days, making it a great choice for immediate baking needs. Refrigeration also helps in developing flavors and allows you to have fresh cookies whenever you crave them.
On the other hand, freezing the cookie dough extends its shelf life significantly, up to 3 months! This is perfect for those who like to have cookie dough readily available for impromptu baking sessions.
Refrigerating vs. Freezing
Deciding between refrigerating and freezing chilled cookie dough depends on factors like shelf life requirements, thawing time, and baking convenience, each offering distinct advantages for storing dough.
Refrigerating cookie dough is ideal for short-term storage, as it can be kept in the fridge for up to three days. This method allows the dough to stay pliable and ready to bake with minimal thawing required. On the other hand, freezing cookie dough extends its shelf life significantly, up to three months or more, making it convenient for long-term use.
Regarding texture, refrigerated dough tends to spread more during baking, resulting in thinner, crispier cookies. In contrast, frozen dough produces thicker, chewier cookies due to the slower spread while baking.
For those seeking ultimate convenience, refrigerating the dough allows for immediate baking without the need for thawing, perfect for a spontaneous treat. Freezing the dough requires planning ahead, as it must be thawed in the fridge overnight or at room temperature for optimal results.
Shelf Life of Chilled Cookie Dough
Understanding the shelf life of chilled cookie dough is essential for proper refrigeration or freezing, ensuring that the dough remains fresh and maintains its quality for future baking sessions.
Factors such as the ingredients used, the amount of preservatives present, and the storage conditions greatly impact the dough’s shelf life. Ingredients like eggs and dairy can make the dough more perishable, while preservatives can extend its freshness. When storing in the fridge, make sure to tightly wrap the dough in plastic wrap or sealable containers to prevent it from drying out or absorbing other flavors. For freezer storage, consider portioning the dough into individual servings for easier thawing and less waste.
Thawing and Baking Frozen Cookie Dough
Thawing frozen cookie dough before baking requires proper planning to ensure the dough reaches the ideal consistency and temperature for achieving excellent baking results.
One essential factor to consider when thawing frozen cookie dough is the time it takes to defrost. It is advisable to let the dough thaw slowly in the refrigerator rather than using quicker methods like microwaving, as this can lead to uneven defrosting. The refrigerator method allows for a gradual thawing process, ensuring the dough maintains its integrity and texture. This slow thawing process also helps the dough to evenly distribute moisture, which is crucial for the final texture of the baked cookies.
Frequently Asked Questions
What is the benefit of chilling cookie dough before baking?
Chilling cookie dough before baking helps the flavors to develop and allows the dough to firm up, resulting in a thicker and chewier cookie.
How long should I chill cookie dough before baking?
The recommended time for chilling cookie dough is at least 30 minutes, but you can chill it for up to 24 hours for maximum flavor and texture.
Can I skip chilling the cookie dough and bake it right away?
While you can bake the cookies right after mixing the dough, chilling the dough will result in a better and more consistent texture and flavor.
Do I need to cover the cookie dough while chilling?
Yes, it is important to cover the cookie dough while chilling to prevent it from drying out and to avoid absorbing any flavors from other food in the fridge.
Can I freeze cookie dough instead of chilling it?
Yes, you can freeze cookie dough for up to 3 months. However, you will need to thaw it in the fridge before baking.
What is the best way to bake cookies after chilling the dough?
Preheat your oven to the recommended temperature and line a baking sheet with parchment paper. Then, scoop the chilled dough onto the sheet and bake for the recommended time, or until the edges are golden brown.