
How to Bake Metal Into Polymer Clay?
Have you ever wondered how to take your polymer clay creations to the next level by incorporating metal elements into them?
We will explore the different types of polymer clay, the types of metal that can be baked into polymer clay, and how to prepare and bake metal into your polymer clay projects.
Discover the best temperature and time for baking and creative ways to incorporate metal into your designs. Tips and tricks to enhance your polymer clay creations with baked metal elements are coming your way!
Key Takeaways:
What is Polymer Clay?
Credits: Poormet.Com – Tyler Lee
Polymer clay is a versatile modeling material that can be shaped, molded, and baked to create a wide range of artistic pieces and projects.
One of the key benefits of working with polymer clay is its ease of use, making it ideal for both beginners and experienced artists alike. Its pliability allows for intricate detailing and fine sculpting, while its ability to hold textures and colors well makes it a favorite among crafters. Polymer clay comes in a vast array of colors that can be mixed and blended to create custom hues, providing endless possibilities for creativity. Whether crafting jewelry, home decor, figurines, or embellishments, polymer clay offers durability and versatility in various applications.
What are the Different Types of Polymer Clay?
Various types of polymer clay brands offer a diverse selection of colors, textures, and special features to suit different project requirements.
One popular brand of polymer clay is Fimo, known for its vibrant and rich colors, making it perfect for intricate designs and detailed projects. On the other hand, Sculpey is favored for its soft and malleable texture, ideal for beginners and those who enjoy sculpting. Kato Polyclay is renowned for its durability and strength, making it suitable for projects that require sturdy finished pieces. Each brand also offers a range of translucent and metallic shades, expanding the creative possibilities for artists and crafters.
What Types of Metal Can Be Baked into Polymer Clay?
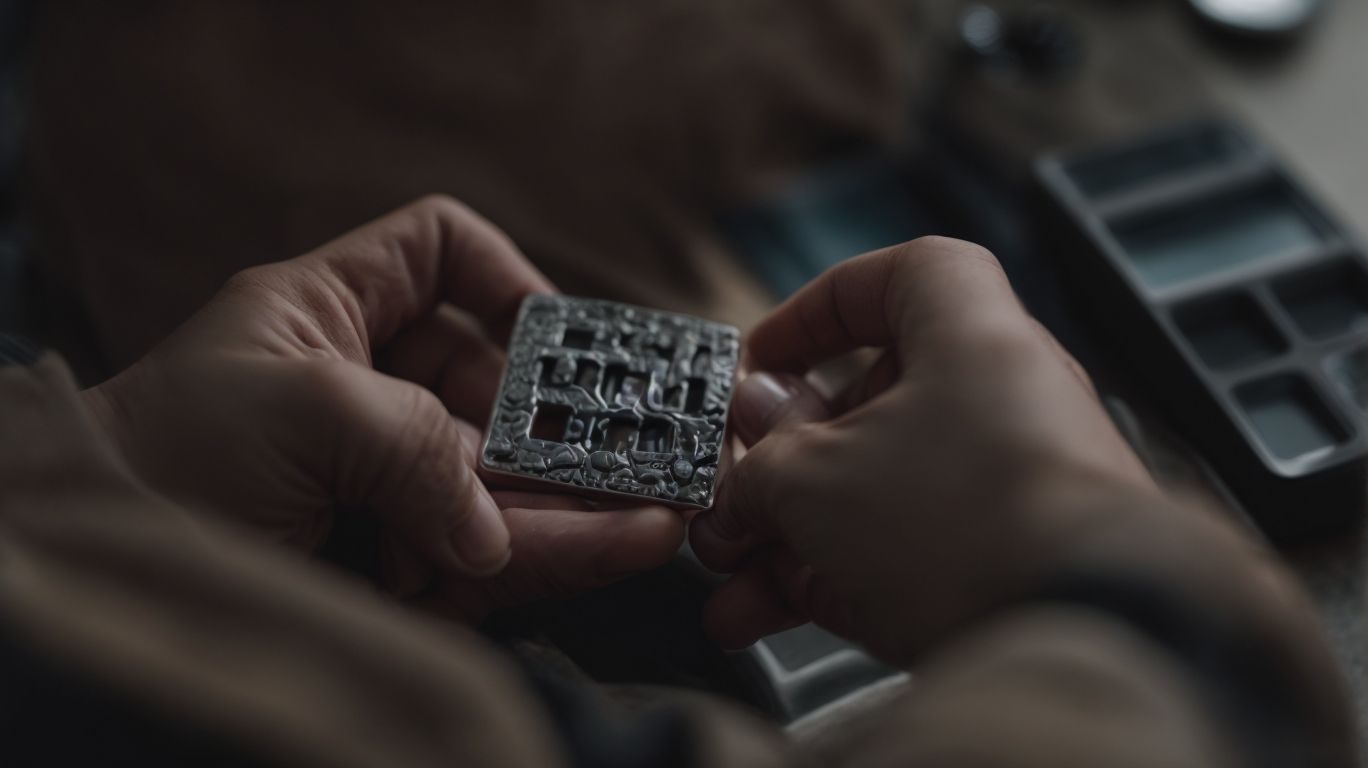
Credits: Poormet.Com – Eugene Smith
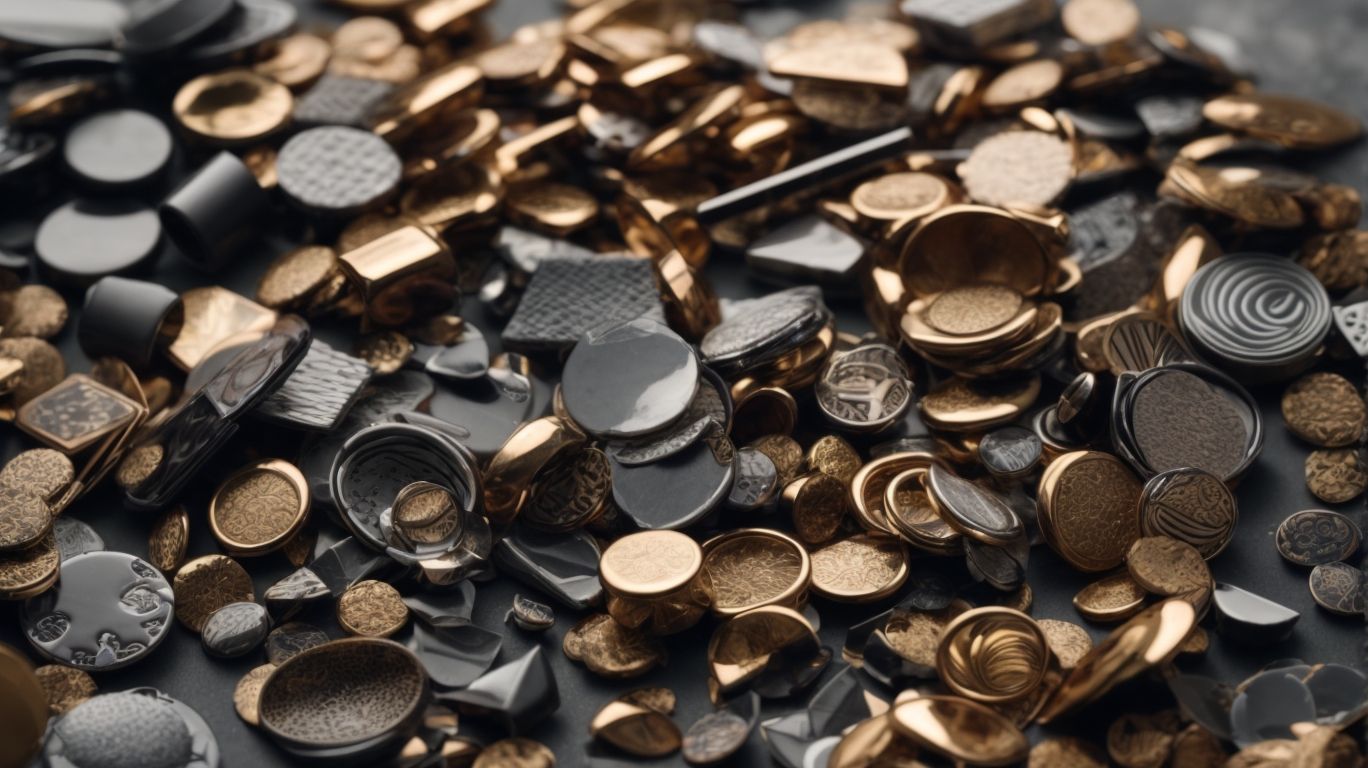
Metal pieces such as wire, rivets, and beads can be baked into polymer clay to add decorative elements and structural strength to artistic projects.
When choosing metal pieces to incorporate into polymer clay creations, it is essential to consider the compatibility of the metal with the baking process. Certain metals like silver, gold, and copper are safe to bake in clay without adverse reactions.
These metals not only provide aesthetic appeal but also contribute to the overall durability of the final piece. Wire can be shaped into intricate designs, while rivets add a touch of industrial chic. Beads offer a pop of color and texture, elevating the visual interest of the artwork.
What Metals are Safe to Bake into Polymer Clay?
When baking metal into polymer clay, it is essential to consider the recommended temperature and baking time to ensure proper curing without damaging the raw clay or the metal components.
Metal pieces can be added to polymer clay creations before baking to create unique jewelry and decorative items. The ideal temperature for baking polymer clay typically ranges between 265°F and 275°F (130°C – 135°C). Baking clay at a higher temperature may result in burnt pieces or discoloration. It’s crucial to follow the manufacturer’s instructions for baking times as well, as overbaking can lead to excessive hardening and potential cracking of the clay. Maintain proper temperature control throughout the baking process to achieve the desired results while preserving the integrity of the raw clay.
What Metals Should Not Be Baked into Polymer Clay?
Certain metals like aluminum foil and thin wire should be avoided when baking into polymer clay due to their susceptibility to heat damage and potential risks during the curing process.
When subjected to the high temperatures required for curing polymer clay, aluminum foil and thin wire can melt, release toxic fumes, or even cause fires in extreme cases. These materials may also leave undesirable marks or discoloration on the finished clay pieces.
To prevent such issues, it is advisable to use stainless steel, copper, or brass materials that are heat-resistant and safe for baking. Stainless steel crafting wire, for example, is a durable alternative to thin wire that maintains its integrity under heat.
Utilizing metal cookie cutters or stainless steel armatures can provide structural support while avoiding the risks of using incompatible metals.
How to Prepare the Metal for Baking into Polymer Clay?
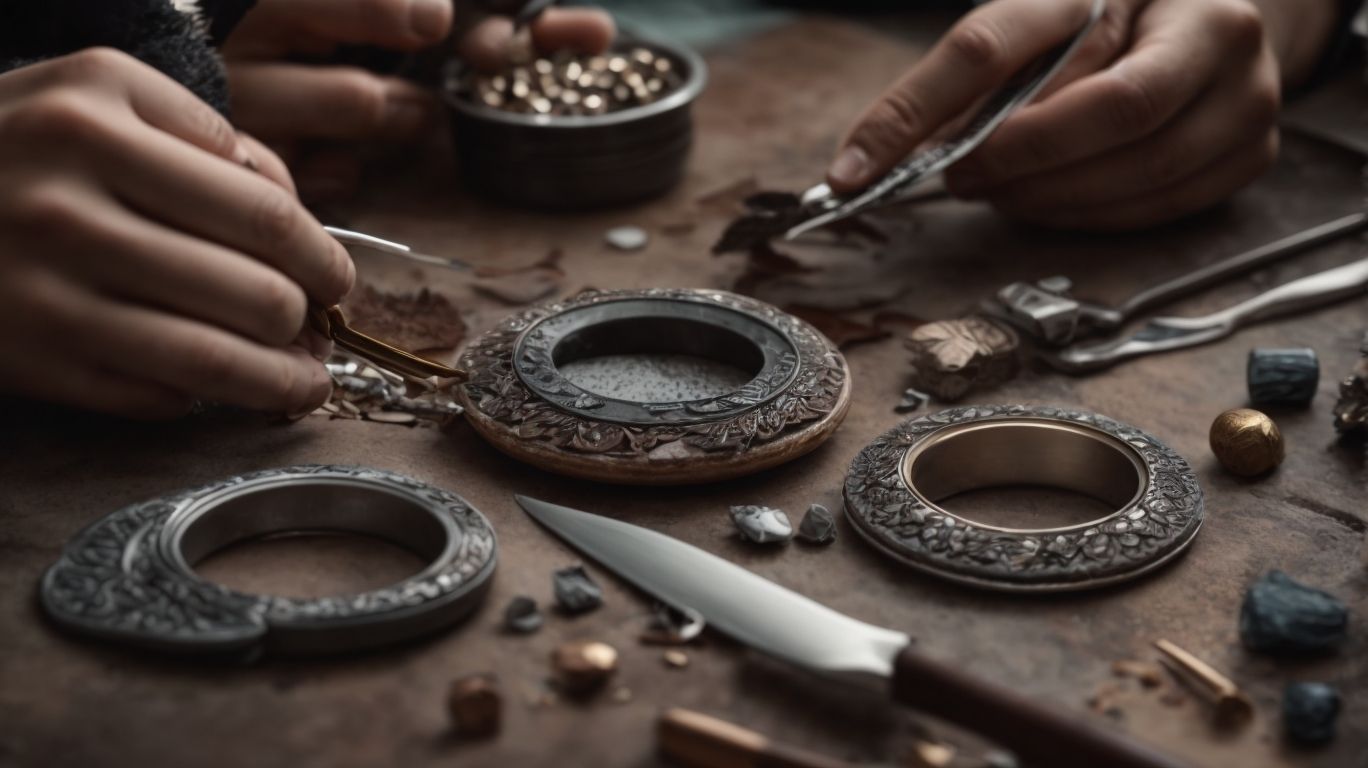
Preparing metal components for baking into polymer clay involves selecting suitable methods to secure the pieces, ensuring they are clean, smooth, and of an appropriate thickness for the desired project.
One crucial step is ensuring that the metal pieces are securely attached before baking; commonly used attachment methods include embedding the metal piece partially into the clay or using an adhesive specifically designed for metal and clay bonding. Surface treatment is another important aspect, and artists often use techniques like sanding, texturing, or polishing to achieve the desired finish.
Considering the thickness of the metal is equally essential – the thickness of the metal should be compatible with the depth of the clay to avoid issues with baking and ensure durability.
What Tools Do You Need to Prepare the Metal?
To prepare metal for baking into polymer clay, essential tools like coverings for sensitive areas, bolt cutters for resizing, and protective coatings for thick pieces are necessary for a successful integration.
When working with metal components, a good pair of protective gloves is crucial to shield your hands from cuts or scratches. Additionally, sandpaper of varying grits can help you smooth out any rough edges or surfaces before applying the polymer clay. Wire brushes are handy for cleaning off any rust or debris that might interfere with the clay’s adherence.
For intricate designs, precision tools like metal shears and needle files are critical for cutting and shaping metal with accuracy. To protect your work surface, a self-healing cutting mat can prevent scratches and damage while you work.
What Steps Should You Take to Prepare the Metal?
Preparing metal for baking into polymer clay involves steps such as applying a protective cover, using liquid clay as an adhesive, and considering the compatibility of metals like copper for long-lasting results.
Start by thoroughly cleaning the metal surface to remove any dirt or oils that could affect the adhesion of the clay. Next, cover the metal with a thin layer of liquid clay, which acts as a strong adhesive between the metal and polymer clay. Make sure to apply the liquid clay evenly to ensure a secure bond.
When working with metals like copper, it’s essential to consider their reaction to heat during baking. Copper tends to oxidize when exposed to high temperatures, so it’s advisable to protect it with additional layers of clay or a heat-resistant coating before baking.
How to Bake Metal into Polymer Clay?
Credits: Poormet.Com – Richard Walker
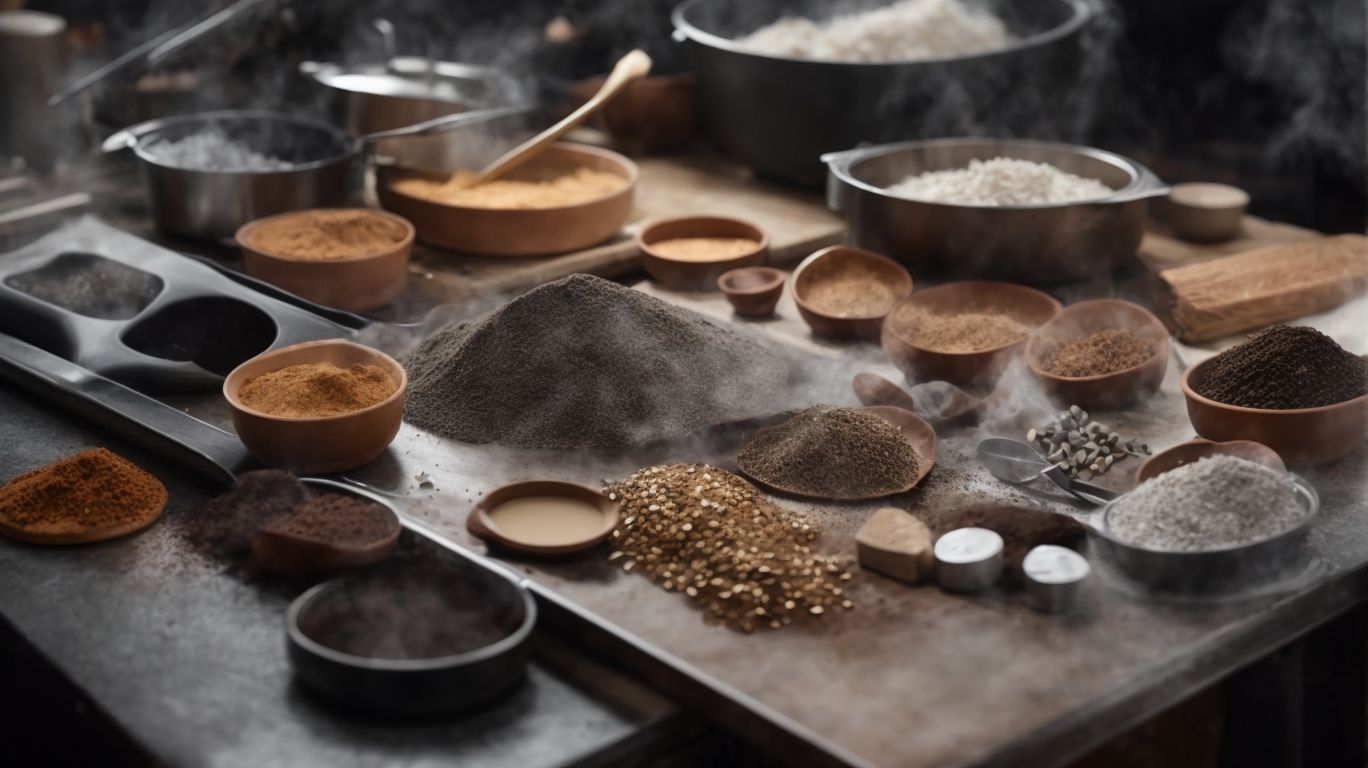
Baking metal into polymer clay requires placing the project in a preheated oven at the recommended temperature, allowing the heat to cure both the clay and metal components effectively.
For successful incorporation, ensure even heat distribution throughout the baking process. This can be achieved by using an oven thermometer to monitor the temperature accurately. Covering the project with a foil tent can help prevent direct heat exposure, leading to a more uniform curing process. It’s essential to follow the manufacturer’s guidelines for baking times, as underbaking can result in incomplete curing, while overbaking can lead to discoloration or burning. By mastering the art of controlling the oven temperature and heat distribution, your metal-infused polymer clay creations will turn out beautifully every time.
What Temperature and Time is Best for Baking?
Determining the ideal temperature and baking time is crucial when baking metal into polymer clay to ensure proper curing and structural integrity of the final piece.
For beginners starting out with metal-clay projects, it is recommended to set the oven temperature between 275-300 degrees Fahrenheit for at least 30 minutes. This initial curing stage is essential to strengthen the bond between the metal and clay. Slowly ramping up the temperature can prevent cracking or burning the clay surface. Adjusting the baking time for larger or thicker pieces is a wise practice; for instance, add 10-15 minutes for a bulky pendant or a thick bangle to ensure thorough curing.
What Precautions Should You Take When Baking?
When baking metal components with polymer clay, precautions such as avoiding direct wire exposure, protecting delicate pearls, and securing head pins are essential to prevent damage or mishaps during the curing process.
During the baking process, it is crucial to shield delicate pearls from direct contact with the heat source to avoid any adverse effects on their appearance or structural integrity. To ensure the safety of wire elements, it is recommended to embed them securely within the clay rather than leaving them exposed on the surface, as this can lead to overheating and potential damage.
When using head pins in your polymer clay creations, make sure they are firmly anchored within the clay to prevent them from dislodging or causing accidents while baking. Securing the pins properly not only safeguards your work but also avoids any safety hazards that may arise from loose or misplaced components.
What Are the Benefits of Baking Metal into Polymer Clay?
Credits: Poormet.Com – Dennis Martin
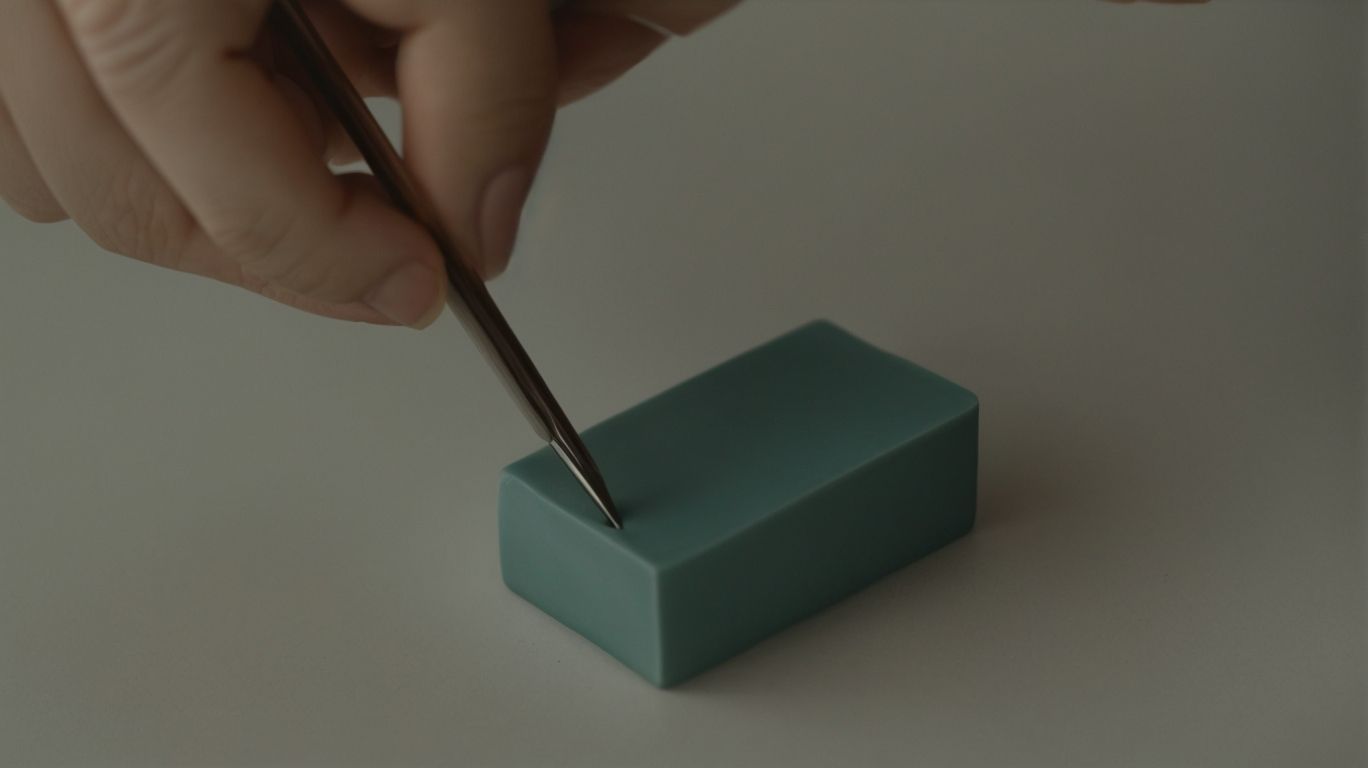
Incorporating metal elements through baking adds depth, texture, and structural reinforcement to polymer clay projects, allowing for the creation of intricate designs with layered rivets and embellishments.
When metal is integrated into polymer clay and subjected to the baking process, it not only enhances the aesthetics of the project but also brings a unique tactile quality that adds a distinctive touch to the final piece. The combination of metal and clay allows for the creation of visually stunning layered designs that play with light and shadow, adding an element of depth and complexity to the artwork. Using rivets in polymer clay projects serves as a decorative element that can be strategically placed to create focal points, highlight certain features, or simply add a touch of elegance to the overall design.
How Does Baking Metal Into Polymer Clay Affect the Finished Product?
Baking metal into polymer clay results in a finished product with securely embedded elements, strengthened structural integrity through hole reinforcement, and the incorporation of thick wires for durability and design flexibility.
When metal objects are strategically placed within polymer clay before baking, they become an integral part of the final creation. This process ensures that any components such as beads or charms stay securely embedded within the clay, avoiding any risk of detachment. The act of baking also reinforces any holes made in the clay, making them sturdy and less prone to breakage.
Thick wires, when utilized in this technique, offer both strength and a unique opportunity for creative expression. By incorporating thick wires into the clay, artisans can create bold and striking designs that stand out and make a statement. These wires not only add to the visual appeal but also contribute to the overall durability of the finished piece.”
What Are Some Creative Ways to Incorporate Baked Metal into Polymer Clay?
Creative possibilities abound when incorporating baked metal elements into polymer clay, from using bolts as focal points to adding metal beads for intricate detailing and exploring varied baking times to achieve desired effects.
In terms of using bolt as a focal point, consider strategically placing it within the clay design to create a striking visual impact that contrasts with the polymer texture. Metal bead embellishments offer a more delicate touch, allowing for the incorporation of intricate patterns or adding a touch of elegance to the overall piece. Experimenting with baking time adjustments can yield fascinating results, influencing the metal’s appearance and how it interacts with the clay, granting artists the ability to customize the final look based on their vision.
Conclusion: Tips and Tricks for Baking Metal into Polymer Clay
Mastering the art of baking metal into polymer clay involves attention to detail, experimentation with baking temperatures, and adapting to different project thicknesses for optimal results.
When embarking on a metal-polymer clay fusion project, it’s essential to choose a suitable metal that can withstand the baking process without deformation or discoloration. Common choices such as copper, bronze, and aluminum are popular due to their ability to retain their shape and color under heat.
In terms of oven techniques, preheating the oven is crucial to ensure even heat distribution throughout the baking process. Using a dedicated oven thermometer can help monitor temperature fluctuations accurately, enabling precise control over the baking environment.
Adjusting the thickness of your polymer clay project is also a vital consideration. Thickness variations can impact baking times and temperatures, so it’s advisable to experiment with different thicknesses to determine the optimal baking conditions for your specific project.
Frequently Asked Questions
Can I bake metal into polymer clay?
Yes, you can! Baking metal into polymer clay is a great way to create intricate and unique designs that are durable and long-lasting.
What type of metal can I use for baking into polymer clay?
You can use a variety of metals such as aluminum foil, wire, or small metal charms. Just make sure they are safe for use in the oven and won’t melt or release harmful fumes.
Do I need to prepare the metal before baking it into polymer clay?
Yes, it is important to clean and dry the metal before incorporating it into your polymer clay project. This will ensure better adhesion and prevent any unwanted reactions between the metal and clay.
How do I incorporate metal into my polymer clay design?
There are several ways to add metal to your polymer clay design. You can embed metal pieces into the clay, wrap wire around the clay, or create a metal base for your clay to sit on. Get creative and experiment with different techniques!
What temperature and time should I bake my polymer clay with metal?
It is recommended to follow the instructions on your polymer clay package for baking temperature and time. Generally, the temperature should be around 265-275°F for 15-30 minutes, depending on the thickness of your clay.
Can I use a regular oven to bake my polymer clay with metal?
Yes, you can use a regular oven to bake your polymer clay with metal. However, make sure to use an oven thermometer to ensure the temperature is accurate and to prevent any potential damage to your oven.