
How to Bake Polymer Clay?
Are you ready to dive into the world of polymer clay crafting? In this comprehensive guide, we will explore everything you need to know about baking polymer clay. From preparing your clay for baking to troubleshooting common baking issues, we’ve got you covered. Get ready to learn about the materials you need, the best surfaces to bake on, and how to achieve the perfect finish for your creations. Let’s get started on your polymer clay baking journey!
Key Takeaways:
What is Polymer Clay?
Polymer clay is a versatile modeling material that is popular among crafters and artists for its flexibility and ease of use.
Its composition includes a PVC base mixed with a liquid plasticizer, giving it a malleable texture that can be molded into various shapes. Once shaped, polymer clay can be hardened by baking it in a home oven. This process activates the plasticizer, making the clay durable and permanent. Polymer clay comes in a wide range of colors, and artists often blend different hues to create custom shades for their projects. Crafters use a range of techniques like sculpting, cane-making, and texturing to produce intricate designs in jewelry, figurines, and home decor items.
Why Bake Polymer Clay?
Baking polymer clay is essential for curing the material and transforming it into a durable, long-lasting piece of art or craft.
In terms of creating handmade creations or artisanal goods, proper baking not only solidifies the clay but also ensures that it does not easily break or wear over time. By subjecting the sculpted piece to the correct temperatures in an oven, the molecules within the clay bond together, resulting in a resilient final product. This process also improves the overall strength and structural integrity of your crafted projects, making them suitable for everyday use or display.
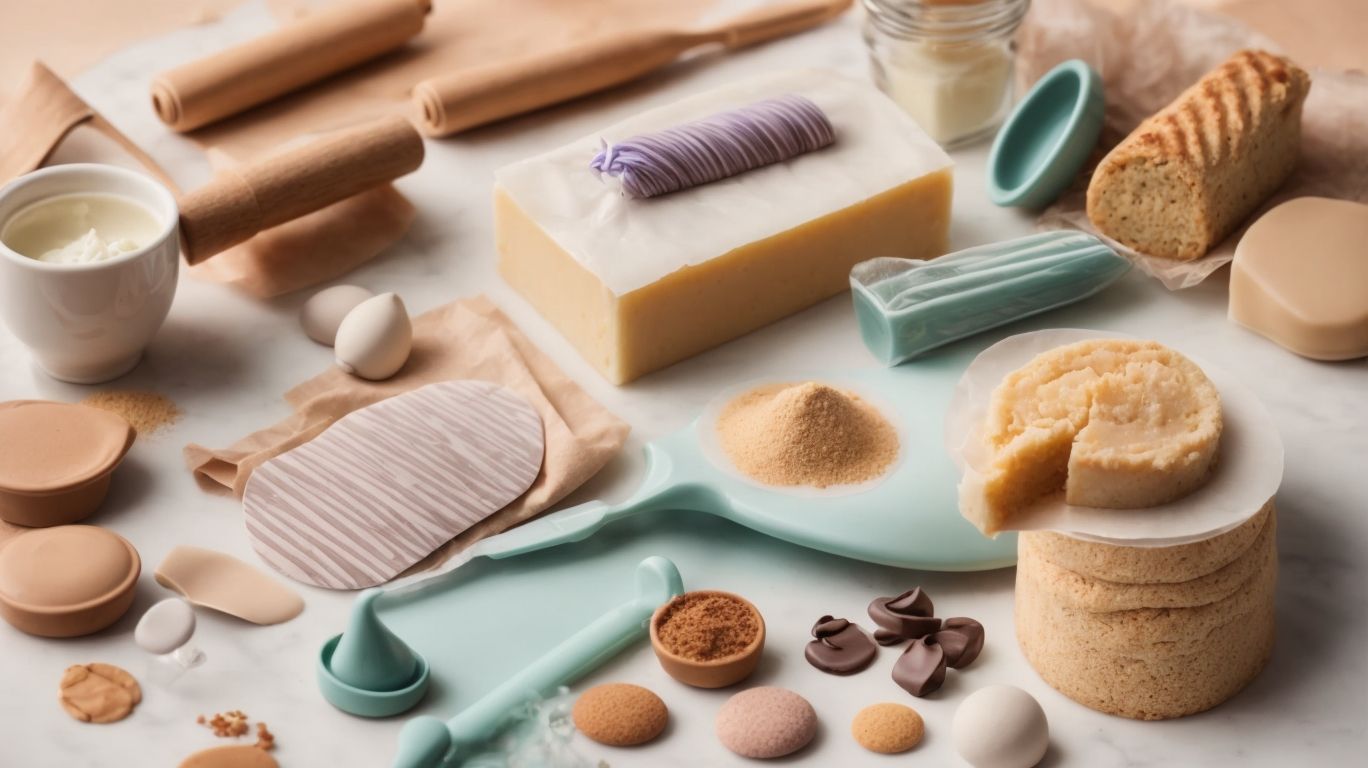
Preparing for Baking
Preparing polymer clay for baking involves gathering the necessary materials, selecting suitable baking surfaces, and ensuring the clay is properly conditioned for optimal results.
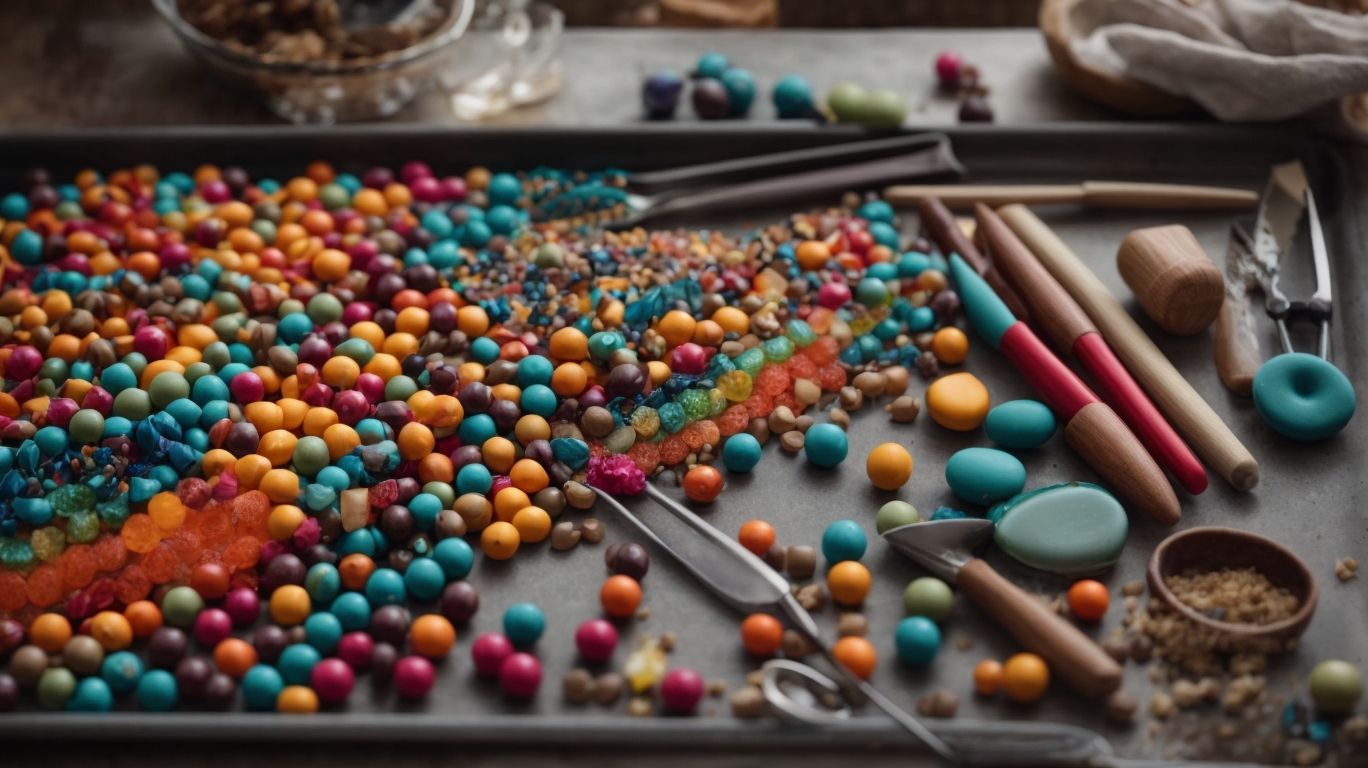
What Materials Do You Need?
To bake polymer clay successfully, you will need quality clay from reputable brands, basic tools for shaping and cutting, and any project-specific accessories.
In terms of polymer clay, the brand plays a crucial role in the outcome of your creations. Opting for well-known brands ensures that the clay has the right consistency and bakes evenly. Some popular brands known for their quality include Polyform, Sculpey, and Fimo.
For tools, make sure to have a rolling pin, cutting blade, sculpting tools, and a curing oven. These tools are essential for crafting intricate pieces and achieving professional results. Consider investing in a work surface, cookie cutters, texture sheets, and sandpaper for refining your projects.
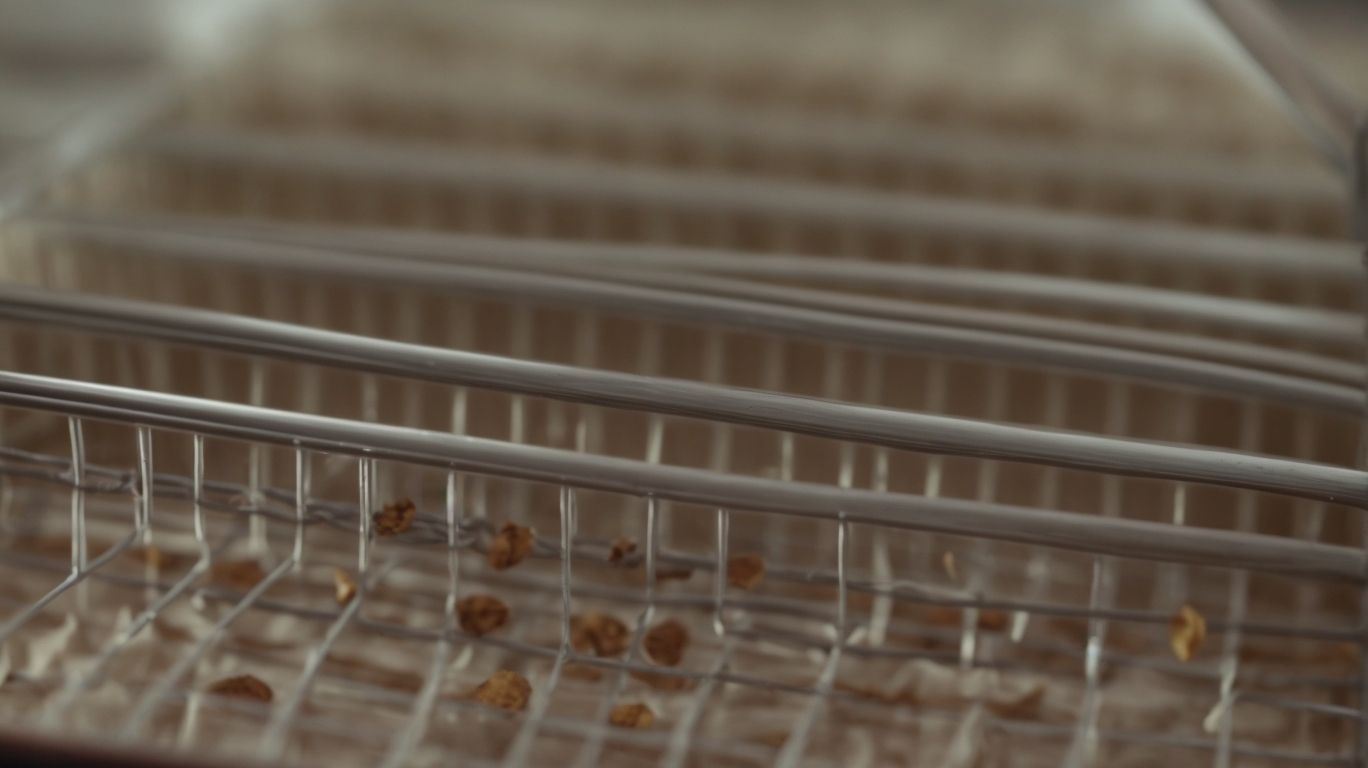
What Surfaces Can You Bake Polymer Clay On?
Polymer clay can be baked on various surfaces such as ceramic tiles, glass containers, or dedicated bead racks, ensuring even heating and proper curing.
Out of these options,
- ceramic tiles
- glass containers
are popular choices due to their excellent heat retention and non-reactive properties, which help in creating a consistent baking environment. When using ceramic tiles or glass containers, there is less chance of shiny spots forming on the clay surface, resulting in a smooth and evenly cured finish. To achieve optimal results, it’s advisable to preheat the tiles or containers in the oven before placing the clay, following specific baking tips to ensure the best outcome.
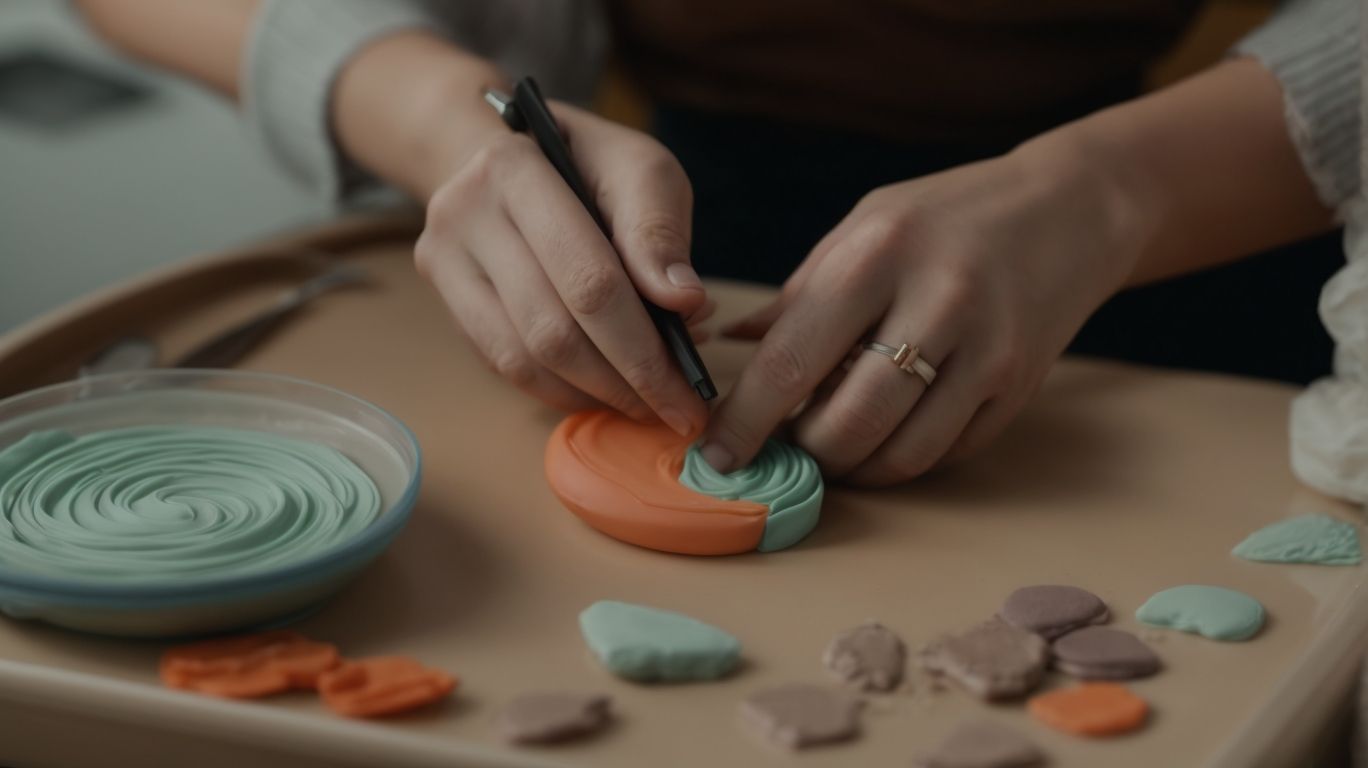
How to Condition Polymer Clay?
Conditioning polymer clay involves kneading the material to make it pliable, smooth, and free from air bubbles, ensuring it is ready for shaping into various clay projects.
This process is crucial for achieving professional-looking results in your polymer clay creations. Proper kneading techniques help distribute the plasticizers evenly throughout the clay, making it more malleable and easier to work with.
When preparing clay for flat pieces like jewelry or coasters, it’s essential to roll it out uniformly to the desired thickness to avoid uneven baking. In contrast, for projects requiring special shapes, such as intricate sculptures or beads, consider warming the clay slightly to make it more flexible and easier to shape with precision.
Baking Polymer Clay
Credits: Poormet.Com – Matthew Thompson
Baking polymer clay requires precise control of temperature and time, whether using a conventional oven or a specialized toaster oven for smaller projects.
What Temperature Should You Bake Polymer Clay At?
The temperature for baking polymer clay typically ranges between 200-275°F, depending on the brand and the heating efficiency of your oven or toaster oven.
Controlling the baking temperature is crucial as it directly affects the curing process of the polymer clay. Consistent and accurate temperature levels are essential to ensure that the clay cures properly without burning or underbaking. When setting the temperature, it’s important to consider the heating elements in your oven or toaster oven, as they can impact the temperature distribution within the baking chamber.
Some ovens may have hot spots or uneven heating, which can lead to inconsistencies in the baking process. To combat this, you can use a baking stone or a preheated tile in the oven to help distribute heat more evenly. Positioning your items properly within the baking setup can also influence the results.
How Long Should You Bake Polymer Clay?
The baking duration for polymer clay varies depending on the thickness and intricacy of the piece, with most projects requiring 10-60 minutes for complete curing and best results.
For smaller, simpler pieces like beads or charms, a baking time of around 10-20 minutes can suffice. On the other hand, larger and more intricate pieces such as figurines or jewelry might need closer to the 60-minute mark to ensure thorough curing.
It’s essential to preheat your oven accurately and maintain a consistent temperature throughout the baking process. Using an oven thermometer can help ensure the temperature is correct.
To prevent underbaking, always follow the time recommended for your specific brand of polymer clay. If the clay is underbaked, it may be brittle or prone to breaking.
How to Check If Polymer Clay is Fully Baked?
To ensure polymer clay is fully baked, look for a matte finish, absence of shiny spots, and gently tap the piece to check for hardness and completeness of the cure.
If you notice any shiny spots or areas on the surface of the clay after baking, it indicates that those areas are not fully cured. Shiny spots suggest that the heat didn’t reach those specific regions properly. In such cases, you can put the piece back in the oven for a little longer, ensuring it reaches the optimal temperature throughout. You can also try using a baking soda test to determine if the clay is fully cured. If your beads or creations seem brittle or break easily, they may need additional time in the oven.
Cooling and Finishing
Credits: Poormet.Com – Ethan Martin
After baking, polymer clay should be allowed to cool gradually to room temperature before finishing techniques such as sanding, buffing, and sealing can be applied to enhance the final appearance.
How to Cool Polymer Clay After Baking?
Cooling polymer clay after baking is crucial to prevent warping or cracking, and placing the hot pieces on a heat-resistant surface like ceramic tiles or a baking sheet aids in the cooling process.
Proper cooling procedures also help in ensuring the durability and finish of your polymer clay creations. To prevent issues like shiny spots that can occur when hot clay comes into contact with surfaces like metal or glass containers, opt for materials that distribute heat evenly such as ceramic tiles or a baking sheet lined with parchment paper. When handling hot pieces, use tools like oven mitts or tongs to prevent burns and transfer them carefully to the designated cooling surface to prevent browning or other unwanted effects.
How to Sand and Buff Polymer Clay?
Sanding and buffing polymer clay after baking can smooth rough edges, remove imperfections, and create a polished finish, ensuring the piece looks professional and refined.
To start with the sanding process, begin with a lower grit sandpaper (around 400 grit) to remove any major imperfections or uneven surfaces. Gradually progress to higher grits, such as 800 and 1000, for a smoother finish. Buffing comes next, using a soft cloth or a polishing wheel to bring out a glossy sheen.
Benefits of sanding include refining the shape of your creation and preparing the surface for buffing, which further enhances the shine. The buffing phase not only smooths the clay but also helps remove any remaining blemishes or marks. By utilizing baking surfaces like ceramic tiles during these steps, you ensure an even and stable foundation for your work.
How to Seal Polymer Clay?
Sealing polymer clay with a clear varnish or resin can protect the surface, enhance colors, and provide a glossy or matte finish, improving the overall appearance of the crafted piece.
In terms of sealing polymer clay, choosing the right option is crucial. Varnish is a popular choice for a quick and easy application, offering a glossy finish that brings out the vibrancy of colors in the clay. On the other hand, resin provides a durable and long-lasting seal that can create a glass-like finish, ideal for adding depth and dimension to intricate designs.
Utilizing a baking soda bead rack can be a handy trick when sealing polymer clay, as it prevents the clay from developing shiny spots or marks when placed flat on a surface during the sealing process.
Troubleshooting Common Baking Issues
Credits: Poormet.Com – Larry Martin
In case of common baking issues such as burned clay, cracking, or underbaking, certain steps can be taken to salvage the project and prevent further problems in future baking attempts.
What to Do If Polymer Clay Burns?
If polymer clay burns during baking, immediately remove it from the oven, allow it to cool, and assess the extent of damage to determine salvageability or need for re-baking.
To salvage partially burned polymer clay pieces, gently scrape off the charred areas with a craft knife or sandpaper. If the damage is minimal, you can often smooth out the surface with fine-grit sandpaper or a clay conditioning tool. For more severe burns, consider patching up the affected areas with fresh clay and re-baking the entire piece.
When baking polymer clay, it’s crucial to keep an eye on the packaging instructions for temperature and duration. Make sure your oven’s heating element is accurate by using an oven thermometer and preheating the oven to the correct temperature to avoid overheating your creations.
What to Do If Polymer Clay Cracks?
To address cracks in polymer clay, carefully inspect the baked piece, apply a thin layer of liquid clay or bake-and-bond to repair the fissures, and adjust baking duration or temperature for future projects.
When examining the clay for cracks, pay close attention to areas that may have been stressed during shaping or curing. These cracks can occur due to several reasons, from air bubbles trapped within the clay to insufficient conditioning.
Reapplying a thin layer of liquid clay can effectively mend the fissures, ensuring a seamless finish. Following specific brand instructions, such as Sculpey’s guidelines for temperature regulation, can prevent cracks in subsequent baking sessions. Engaging with the crafting community can also provide valuable insights and troubleshooting tips for maintaining flawless polymer clay creations.
What to Do If Polymer Clay Is Still Soft After Baking?
If polymer clay remains soft after baking, return it to the oven for additional curing time, using an oven thermometer to monitor temperature accuracy and prevent underbaking issues.
One crucial factor in achieving optimum results with polymer clay is ensuring that it is baked at the correct temperature. This step is vital as improper baking can lead to soft or underbaked pieces. By utilizing an oven thermometer, you can guarantee that the clay reaches the necessary temperature, allowing for a thorough and even distribution of heat. This attention to detail is key for obtaining fully cured and hardened creations.
Frequently Asked Questions
What is Polymer Clay?
Polymer clay is a type of modeling clay that is made from PVC, plasticizers, binders, and pigments. It is used for creating various crafts and art pieces, and can be baked to harden and preserve the shape.
How to Bake Polymer Clay?
To bake polymer clay, you will need to preheat your oven to the temperature specified on the clay packaging. Place your clay creation on a baking sheet lined with parchment paper and bake it for the time recommended on the package, usually between 15-30 minutes.
What temperature should I use to bake Polymer Clay?
The temperature for baking polymer clay varies depending on the brand and type of clay you are using. It is important to always follow the instructions on the packaging, as different types of clay may require different temperatures to properly harden.
What can I use to bake Polymer Clay?
Polymer clay can be baked in a standard home oven, as long as it can reach the required temperature for the specific type of clay you are using. Some clay artists also use dedicated clay ovens, which are specifically designed for baking polymer clay.
How long should I bake Polymer Clay?
The baking time for polymer clay depends on the thickness of your creation, as well as the type of clay you are using. Thicker pieces may require longer baking times, while smaller pieces may only need a few minutes. Be sure to check the instructions on the packaging for the recommended baking time.
Can I bake Polymer Clay more than once?
Yes, you can bake polymer clay multiple times. However, each time you bake it, the clay may become slightly darker in color. To avoid this, try to bake your creation in one go and only re-bake if necessary.