
How to Bake Ribs After Boiling?
Looking to elevate your rib game in the kitchen? Boiling ribs before baking may be the secret to achieving fall-off-the-bone perfection.
We will explore the benefits of this cooking method, step-by-step instructions on how to boil ribs for baking, and tips for achieving perfectly baked ribs every time.
From seasoning to serving suggestions, we’ve got you covered. Get ready to impress your guests with delicious, tender ribs that will have everyone coming back for seconds.
Key Takeaways:
Why Boil Ribs Before Baking?
Credits: Poormet.Com – Donald Scott
Boiling ribs before baking is a crucial step that enhances the tenderness and flavor of the meat, creating a mouthwatering dish that is sure to please any barbecue enthusiast.
By simmering the ribs in a liquid mixture typically consisting of water, vinegar, and various spices, the meat undergoes a gentle cooking process that helps break down tough fibers, resulting in a more tender texture. The combination of gentle heat and moisture infuses the ribs with delicious flavors, particularly vital when working with country-style pork ribs known for their thickness.
This initial boiling stage also ensures that the ribs stay wonderfully juicy throughout the subsequent baking or grilling, preventing them from drying out during the more intense cooking method that follows.
What Are the Benefits of Boiling Ribs Before Baking?
There are several benefits to boiling ribs before baking, including improved tenderness, enhanced flavor absorption, and reduced cooking time, resulting in perfectly cooked and delectable ribs.
By boiling the ribs first, you are not only breaking down the tough connective tissue, but also helping the meat to become more tender and juicy. This pre-cooking method allows the ribs to absorb the flavors of the seasoning and marinade more efficiently, resulting in a more flavorful end product. Boiling the ribs beforehand cuts down on the overall cooking time when they are later baked or grilled, making the whole process more efficient and quicker.
How to Boil Ribs for Baking?
Preparing ribs for baking involves a simple yet essential boiling process that sets the foundation for succulent and flavorful meat, ensuring a delightful dining experience.
Choose high-quality pork ribs, whether baby back ribs or spare ribs, to guarantee the best results. Begin by prepping the ribs, ensuring they are trimmed and cleaned thoroughly. In a large pot, place the ribs and cover them with water, adding a splash of apple cider vinegar to help tenderize the meat and enhance its flavor. Bring the water to a gentle boil and then reduce the heat to a simmer, allowing the ribs to cook for about 45 minutes until they are tender.
Step 1: Prepare the Ribs
The first step in boiling ribs for baking involves preparing the meat by trimming excess fat, seasoning with a flavorful rub, and allowing it to marinate for optimal taste infusion.
In terms of trimming the ribs, it’s crucial to remove any thick sections of fat to prevent them from becoming chewy during cooking. A sharp knife works best for this task.
Next, the seasoning process is where the magic happens – a blend of pork rub, paprika, garlic powder, and brown sugar can create a mouthwatering flavor profile that will have everyone craving more.
Allowing the seasoned ribs to marinate in the fridge for a few hours or overnight is ideal. This gives the ingredients time to penetrate the meat, ensuring each bite is bursting with deliciousness. Patience is key here – the longer the marination time, the better the flavors will meld together.
Step 2: Boil the Ribs
Boiling the ribs in a flavorful liquid mixture, such as a seasoned broth or barbecue sauce, helps tenderize the meat while infusing it with delicious flavors that will intensify during baking.
When boiling ribs, the key is to ensure that the liquid covers the meat entirely, promoting even cooking and flavor absorption. By simmering the ribs at a gentle boil, the connective tissues break down, resulting in a succulent and fall-off-the-bone texture. This method also preps the ribs for the next cooking phase, whether it be grilling, roasting, or saucing. BBQ aficionados swear by this initial step to achieve that perfect combination of tenderness and taste.
Step 3: Remove Ribs from Boiling Water
After boiling the ribs to the desired tenderness, it is essential to carefully remove them from the hot liquid and prepare them for the baking phase, ensuring a smooth transition in the cooking process.
Once the ribs have reached the perfect texture through the boiling method, the next step involves gently lifting them out of the pot using tongs or a slotted spoon. It’s vital to handle the ribs with caution to avoid any burns or accidents with the hot liquid.
Place the removed ribs on a clean surface or a baking tray lined with foil or parchment paper to prevent sticking during baking. This preparation step sets the stage for infusing the ribs with flavorful barbecue goodness in the oven.
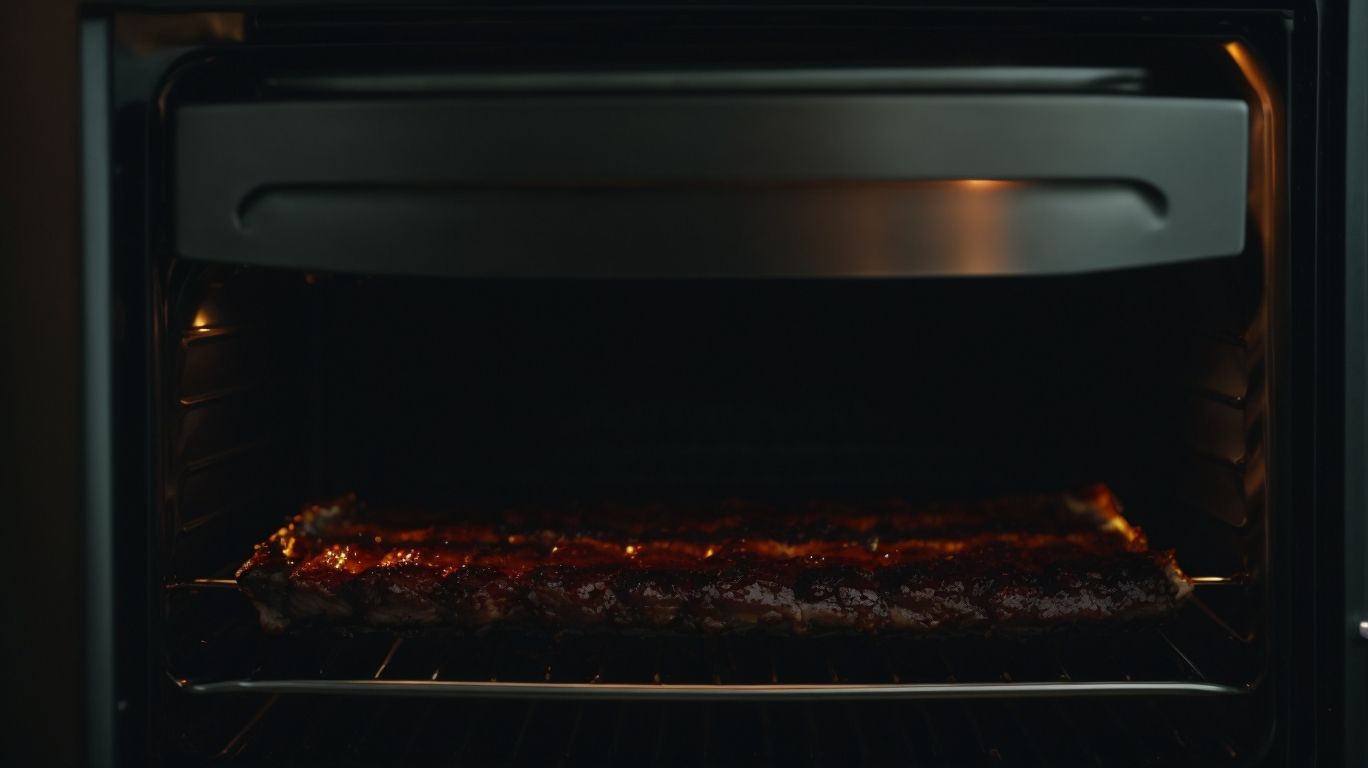
How to Bake Ribs After Boiling?
Baking ribs after the boiling process involves applying a flavorful glaze or sauce, transferring the ribs to a baking sheet, and cooking them to achieve a caramelized finish that seals in the rich flavors.
Once the glaze or sauce is evenly spread on the ribs, preheat the oven to the desired temperature, often around 325-350°F for a perfect cooking environment. Placing the ribs bone side down on the baking sheet helps ensure even cooking and prevents them from drying out. BBQ sauce lovers can opt for a generous coating, while those favoring a more subtle taste can go lighter. Remember, the key lies in basting the ribs occasionally during baking to enhance flavor and moisture retention.
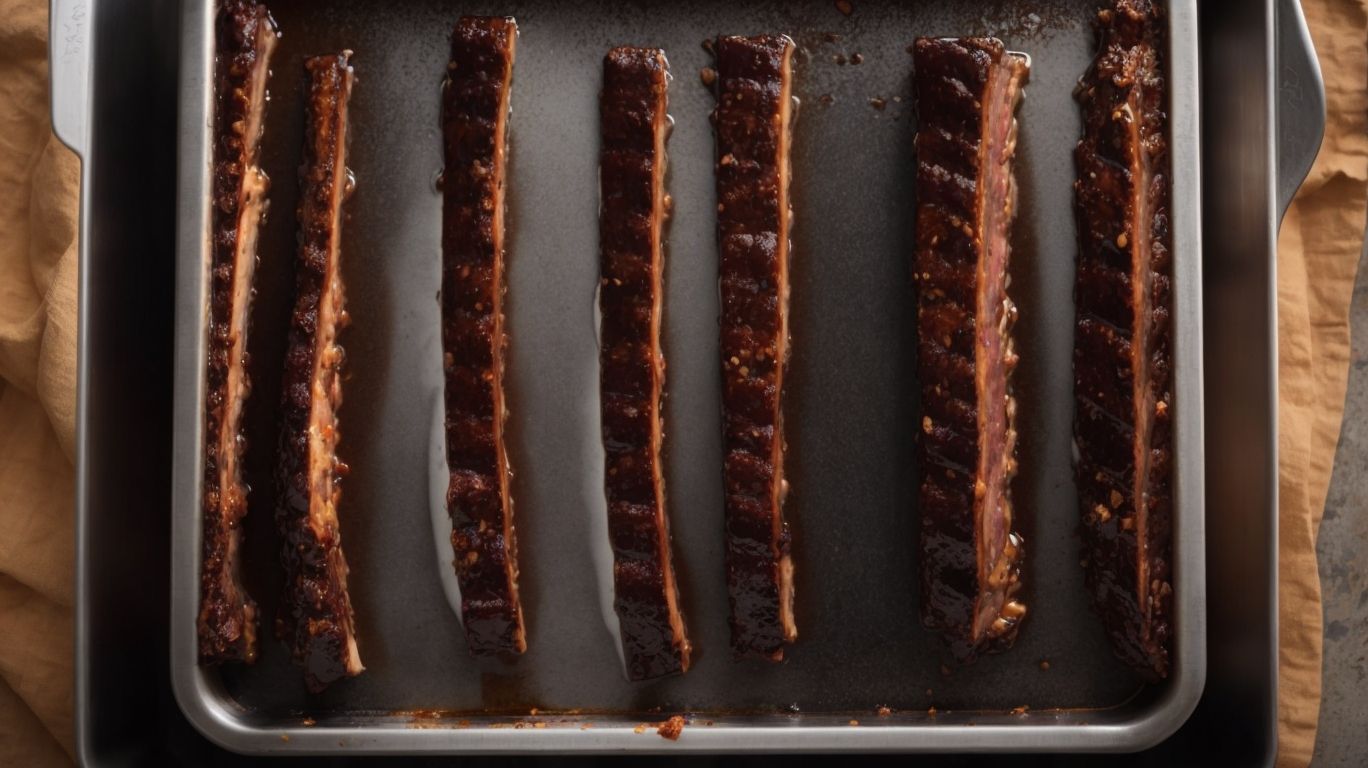
Step 1: Prepare the Baking Pan
Before baking the ribs, it is crucial to prepare the baking pan by lining it with foil or parchment paper and preheating the oven to the required temperature for optimal cooking results.
Preheating the oven ensures that the ribs cook evenly and retain their moisture, while lining the baking pan with foil or parchment paper aids in easy cleanup post-cooking.
For that ideal BBQ flavor, consider brushing the ribs with a pork glaze made of a tantalizing mix of BBQ sauce, vinegar, and a hint of sweetness. This will enhance the taste and create a mouthwatering glaze as the ribs bake to perfection.
Step 2: Season the Ribs
Seasoning the boiled ribs with a flavorful rub or barbecue sauce enhances the taste profile, ensuring a delicious outcome once the ribs are baked to perfection in the oven.
In terms of country-style cooking, ribs play a leading role in creating a mouthwatering meal. To begin, prep your boiled ribs by patting them dry with paper towels to remove excess moisture, allowing the seasoning to adhere better. BBQ enthusiasts often opt for a dry rub for a rich crust, made with a blend of paprika, garlic powder, brown sugar, and cayenne pepper. Alternatively, a tangy barbecue sauce can be brushed generously over the ribs for a saucier finish. Choose your flavor profile wisely to achieve that irresistible smoky and savory taste.
”
Step 3: Bake the Ribs
Baking the seasoned ribs in the preheated oven allows the flavors to meld, the glaze to caramelize, and the meat to achieve a succulent texture that will leave your taste buds craving for more.
Once the ribs are done boiling and marinated to perfection, it’s time to fire up the oven. Preheat it to 375°F for optimal results. Place the ribs on a baking sheet, brush them generously with your favorite BBQ sauce, and cover them with foil to seal in the juices. For maximum tenderness, bake the ribs for about 30-45 minutes. Remember, the longer they cook, the more the flavors will deepen, creating that signature BBQ taste that everyone loves.
What is the Ideal Temperature and Time for Baking Ribs After Boiling?
Achieving the perfect balance of temperature and cooking time is essential when baking ribs after the boiling process, as it ensures that the meat is cooked through while maintaining its juiciness and tenderness.
For BBQ pork ribs, the ideal temperature setting when baking in the oven ranges from 275°F to 325°F, providing enough heat to slowly cook the ribs without drying them out. Depending on the thickness of the ribs and your desired level of tenderness, the cooking duration typically falls between 2 to 3 hours. To add a delicious glazed finish, baste the ribs with your favorite BBQ sauce during the last 30 minutes of cooking, allowing the flavors to caramelize and enhance the overall taste.
How to Tell if the Ribs are Fully Cooked?
Determining the doneness of ribs can be done by checking for specific indicators such as meat pullback from the bones, internal temperature readings, and the desired texture of the meat when pierced with a fork.
When cooking BBQ ribs, one key indicator of readiness is the meat pullback from the bones. As the meat cooks, it naturally begins to recede from the ends of the bones, revealing a tantalizing glimpse of the delicious, tender meat within.
Using a meat thermometer to check the internal temperature is also crucial; for pork ribs, the thermometer should read at least 145°F for safe consumption. The texture of the meat plays a vital role in determining the perfect doneness level. Look for a tender, yet slightly firm texture when pierced with a fork for that ideal melt-in-your-mouth experience.
What to Serve with Baked Ribs?
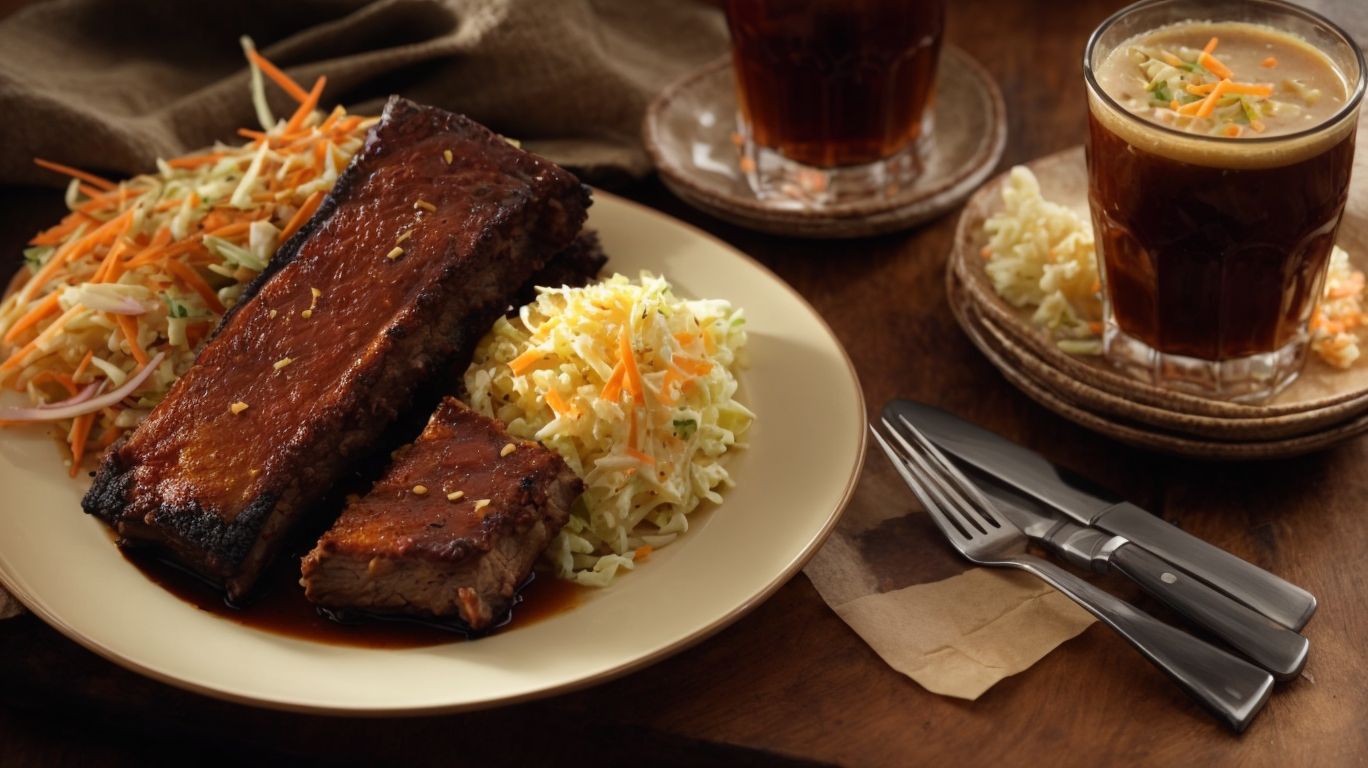
Credits: Poormet.Com – Randy Wilson
Complement the delectable flavors of baked ribs with an array of enticing side dishes, such as tangy coleslaw, buttery cornbread, or savory baked beans, to create a well-rounded and satisfying meal.
Adding a crisp garden salad with a zesty vinaigrette can provide a refreshing contrast to the rich barbecue flavors of the ribs.
Consider serving fluffy mashed sweet potatoes sprinkled with cinnamon for a sweet and savory twist.
For a touch of freshness, a citrus-infused quinoa salad with ripe cherry tomatoes and diced cucumber adds a burst of flavor.
Don’t forget to include a platter of grilled vegetables like zucchini, bell peppers, and mushrooms for a wholesome and colorful side.
Warm garlic bread rolls straight from the oven make a delightful addition to round off the meal.
Side Dish Ideas for Baked Ribs
Explore a range of side dish options that perfectly complement the savory goodness of baked ribs, from classic barbecue sides like mac and cheese to refreshing salads and zesty vegetable medleys.
For those looking to balance the rich flavors of BBQ pork ribs, consider serving up creamy coleslaw made with a tangy dressing. The crunch of the cabbage alongside the tender meat creates a delightful contrast. If you prefer a more hearty pairing, why not whip up some cornbread muffins? Their slightly sweet taste and crumbly texture make them a winning choice.
For a healthier twist, opt for grilled asparagus drizzled with a delicious balsamic glaze or a quinoa salad packed with colorful veggies and tossed in a light vinaigrette. These options add a pop of freshness to your meal while still offering a satisfying bite.
Tips for Perfectly Baked Ribs After Boiling
Enhance your culinary prowess with expert tips for achieving flawlessly baked ribs post-boiling, including marinating overnight, basting with sauce, and adjusting cooking times based on thickness for optimal results.
Once your ribs have been boiled to perfection, it’s time to elevate them to BBQ greatness in the oven. Preheat your oven to around 325°F, and prepare a delectable glaze using a blend of rich pork broth, tangy vinegar, and a hint of sweetness. Glazed ribs add a whole new depth of flavor and succulence to the dish.
When placing your ribs in the oven, ensure they are spread out evenly on a baking tray, allowing the heat to circulate around each piece. This encourages a consistent cooking process and helps in achieving tender, juicy ribs throughout. Remember to baste your ribs with the glaze every 15-20 minutes, creating a mouthwatering, caramelized crust.
Frequently Asked Questions
1. How to Bake Ribs After Boiling?
To bake ribs after boiling, preheat your oven to 375 degrees Fahrenheit and line a baking sheet with aluminum foil. Place the boiled ribs on the baking sheet and brush them with your favorite barbecue sauce. Bake for 20 minutes, then flip the ribs and brush with more sauce. Bake for an additional 15-20 minutes, until the ribs are tender and the sauce is caramelized.
2. What is the benefit of boiling ribs before baking?
Boiling ribs before baking helps to tenderize the meat and remove excess fat, resulting in a more succulent and healthier dish. It also helps to shorten the baking time, allowing you to enjoy your ribs faster.
3. Can I use any type of barbecue sauce to bake ribs after boiling?
Yes, you can use any type of barbecue sauce to bake ribs after boiling. However, for a more flavorful and unique taste, try making your own homemade barbecue sauce using your favorite ingredients.
4. How long should I boil ribs before baking them?
The recommended time for boiling ribs before baking is 45-60 minutes. This will ensure that the ribs are fully cooked and tender before going into the oven for the final baking process.
5. Can I bake ribs after boiling without using aluminum foil?
Yes, you can bake ribs after boiling without using aluminum foil, but it is not recommended. The foil helps to trap the heat and moisture, resulting in more tender and juicy ribs. It also makes for easier cleanup afterwards.
6. How do I know when the ribs are fully cooked and ready to be served?
The best way to test if the ribs are fully cooked is by using a meat thermometer. Insert the thermometer into the thickest part of the ribs, and if it reads 145 degrees Fahrenheit, the ribs are safe to eat. You can also do a visual test – the meat should be pulling away from the bones and have a nice caramelized glaze on the surface.