
How to Bake Scones With Self Raising Flour?
Are you craving a delicious treat that is perfect for breakfast or afternoon tea? Look no further!
I, Chris Poormet, a culinary blogger and former chef, will guide you through the process of baking scrumptious scones using self-raising flour.
In this article, we will explore the ingredients needed, the differences between self-raising and all-purpose flour, how to bake the perfect scones, and some tips for achieving that ideal texture and flavor.
Get your apron on and let’s start baking!
Key Takeaways:
About the Author: Chris Poormet
Chris Poormet, the owner of Poormet.com, is an accomplished former chef who gained recognition as the Culinary Blogger of the Year for sharing his award-winning recipes and culinary tips.
With a passion for cooking that began in his childhood, Chris honed his culinary skills in some of the top kitchens around the world, refining his techniques and developing a unique flair for blending flavors.
His blog, Poormet.com, quickly gained a loyal following due to his innovative recipes that cater to both novice cooks and seasoned food enthusiasts. Chris’s talent isn’t limited to just his recipes; his engaging writing style and helpful cooking tips have set him apart in the competitive culinary blogosphere.
What Are Scones?

Credits: Poormet.Com – Vincent Campbell
Scones are a versatile and beloved baked treat that come in various shapes, flavors, and styles, with distinctions between English, American, and British variations.
In England, traditional scones are round and fluffy, often served with clotted cream and jam for a classic afternoon tea experience. On the other hand, American scones are typically larger and sweeter, sometimes incorporating ingredients like berries or chocolate chips. British scones, known for their triangular shape, are usually served with butter and are a staple in many afternoon tea rituals.
What Are the Ingredients for Scones?
The essential ingredients for scones include flour, butter, milk, eggs, baking powder, and sugar, which form the basis of the dough used to create these delightful treats.
Flour plays a crucial role in providing the structure and body to scones, while butter adds richness and flavor. Milk adds moisture to the dough, keeping it tender, while eggs contribute to the binding and richness of the mixture. Baking powder is the leavening agent responsible for the scones’ light and airy texture, and sugar offers sweetness and enhances the overall flavor profile. These ingredients work in harmony to create a dough that can be shaped into delectable scones ready for baking.
What Is Self Raising Flour?

Credits: Poormet.Com – Nicholas Robinson
Self-raising flour is a specialized flour blend that already contains a leavening agent, typically baking powder, which simplifies the baking process by eliminating the need for additional rising agents.
This unique flour composition is particularly convenient for home bakers as it saves them the trouble of measuring and mixing separate ingredients such as plain flour and baking powder. By using self-raising flour, one can ensure even and consistent results in their baked goods without worrying about the technicalities of leavening. This makes it a popular choice for making quick and easy recipes like cakes, muffins, and scones.
How Is Self Raising Flour Different from All-purpose Flour?
Self-raising flour differs from all-purpose flour in that it already contains a rising agent, whereas all-purpose flour requires additional leavening agents like baking powder or yeast for baking purposes.
Self-raising flour is specifically formulated to include baking powder, meaning it’s ideally suited for recipes where aeration is required, such as cakes and muffins. On the other hand, all-purpose flour is a versatile option, suitable for a wide range of recipes beyond just baked goods, making it a pantry staple for many home cooks.
When using self-raising flour, it’s essential to note that the rising agent may affect the final texture and structure of the baked goods, resulting in a lighter, fluffier outcome. In contrast, all-purpose flour gives the baker more control over the leavening process, allowing for adjustments based on the specific requirements of the recipe.
Can You Make Your Own Self Raising Flour?
You can create your own self-raising flour by combining plain flour with baking powder in specific proportions, allowing for a homemade alternative when the specialized flour is not readily available.
To make your homemade self-raising flour, mix 1 cup of plain flour with 1 1/2 teaspoons of baking powder. The key is to ensure thorough incorporation of the two ingredients for even distribution. Consider sifting the mixture a couple of times to guarantee a uniform blend, preventing clumps or uneven rising in your baked goods. Once mixed, your DIY self-raising flour is ready to be used in your favorite recipes, from fluffy pancakes to airy cakes.
How to Bake Scones with Self Raising Flour?
Credits: Poormet.Com – Elijah Adams
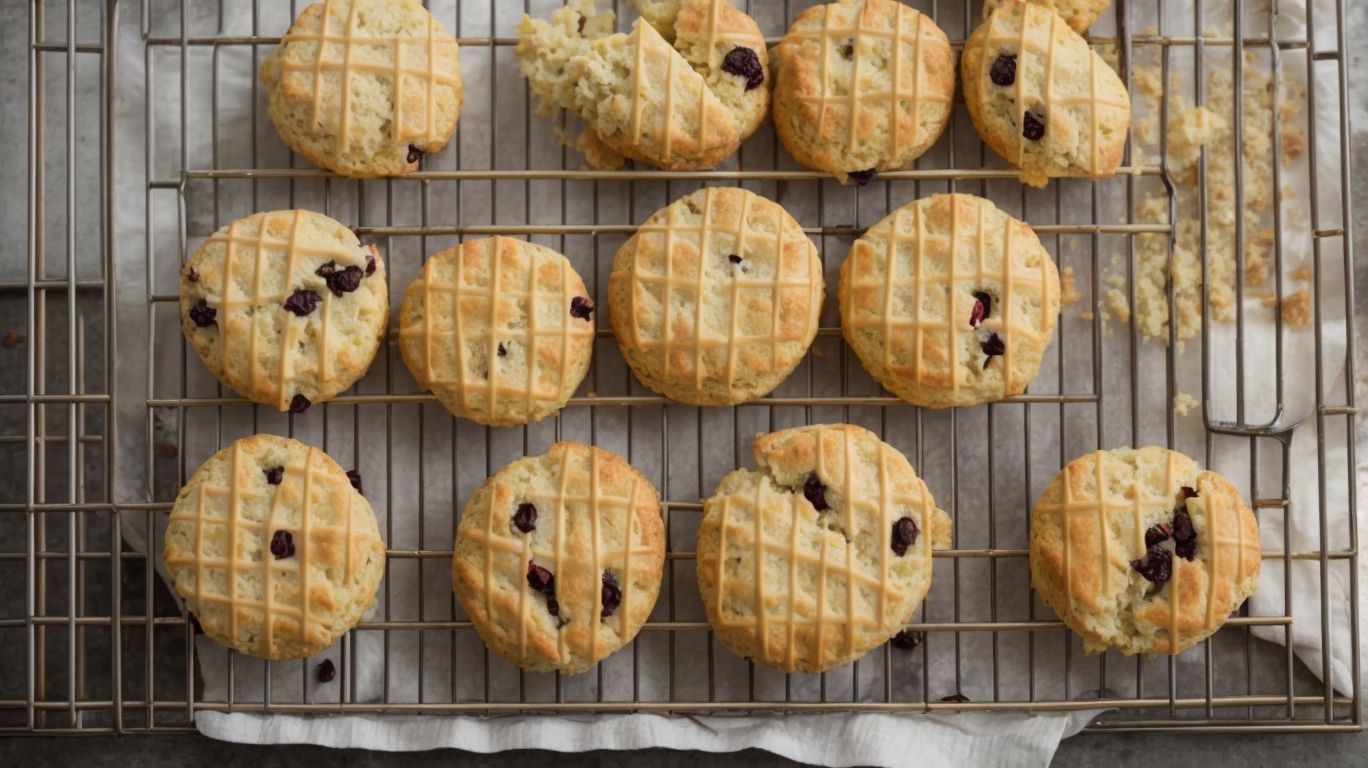
Baking scones with self-raising flour is a straightforward process that involves shaping the dough into rounds, placing them on a baking tray, and baking them in a preheated oven until they turn golden brown and rise beautifully.
To begin the scone-making adventure, gather your ingredients which typically include self-raising flour, sugar, butter, milk, and perhaps some dried fruit for added sweetness. Accurate measurements are key to achieving the perfect texture. Combine the dry ingredients in a mixing bowl, then rub in the butter until the mixture resembles breadcrumbs. Next, slowly pour in the milk, stirring until a soft dough forms. Pat the dough gently before using a round cutter to shape the scones. Place them on a lined baking tray and brush the tops with a little milk for that golden finish.
Step 1: Preheat Your Oven
To begin baking scones, the first step is to preheat your oven to the recommended temperature specified in the recipe, ensuring that it reaches the ideal heat for perfect scone baking.
Preheating the oven adequately is crucial as it allows the scones to rise evenly and achieve that desirable golden-brown crust. When the oven is at the right temperature, the scones react to the heat properly, resulting in a light and fluffy texture.
Plus following the recipe accurately, ensuring the oven is preheated to the correct temperature range guarantees consistent baking outcomes. The controlled heat from preheating also helps in activating the leavening agents in the scone batter, aiding in their proper expansion.
Step 2: Gather Your Ingredients
The second step in scone baking is to gather all the necessary ingredients as per the recipe, ensuring that you have everything organized and ready for the mixing process to follow.
Having a well-organized work station with all ingredients lined up will make the baking process smoother and more enjoyable. Before you start measuring out the flour and butter, it’s crucial to double-check your list against what you have on hand. This attention to detail will save you from any last-minute ingredient hunts once you’re knee-deep in the recipe.
A tidy kitchen with ample counter space for laying out bowls, milk, eggs, and any additional flavorings like vanilla extract or lemon zest sets the scene for a successful baking adventure.
Step 3: Mix the Dry Ingredients
Next, mix the dry ingredients such as flour, baking powder, and sugar in a bowl to create the base dough for your scones, ensuring even distribution and homogeneity.
After combining the dry ingredients, you will need to cut in cold butter using a pastry cutter or two knives until the mixture resembles coarse crumbs. This step is crucial as it helps to create a flaky texture in the scones. The ratio of butter to flour plays a significant role in determining the final consistency of the dough. The key here is to work quickly to prevent the butter from melting and thoroughly incorporate it into the flour mixture.
Step 4: Cut in the Butter
After mixing the dry ingredients, cut cold butter into the flour mixture using a pastry cutter or your fingers until the mixture resembles coarse crumbs, incorporating the butter evenly into the dough.
Ensure the butter is kept cold throughout this process to maintain its flakiness in the baked scones. The cold butter creates steam pockets during baking, contributing to the light and airy texture of the scones.
- When using a pastry cutter, apply pressure downwards and then a slight twisting motion to cut the butter into the flour, repeating until the desired crumbly texture is achieved.
- If using your fingers, rub the butter into the flour by pinching and gently breaking it apart, being careful not to overwork the dough.
Step 5: Add the Liquid Ingredients
Once the butter is incorporated, add the liquid ingredients like milk and egg to the dry mixture, gently combining them to form a cohesive dough that can be shaped into scones.
Incorporating milk and egg into the scone dough is crucial for achieving the right texture and flavor. When adding the milk, it’s important to pour it gradually, as the amount needed may vary depending on factors like humidity and the specific type of flour used. The milk helps bind the ingredients together and adds moisture to the dough. Eggs are typically beaten before incorporating into the mixture to ensure even distribution. This addition not only contributes to the structure and richness of the scones but also helps with browning during baking.
Step 6: Shape and Cut the Dough
After mixing the dough, shape it into a round disc and cut it into scone rounds using a 6 cm cookie cutter or knife, ensuring uniformity and consistent sizing for even baking.
Shaping the dough is a crucial step in ensuring that your scones rise evenly and bake to perfection. One technique to achieve this is gently patting the dough into a specified thickness, usually around 2 cm, to maintain consistency in the height of the scones. In terms of cutting, using a sharp cookie cutter or a knife dipped in flour can help create clean edges and prevent the dough from sticking.
Uniformity in size is key to ensure that all scones bake uniformly and have an equal share of delicious crust. By paying attention to these details, you’ll elevate your scone-making game and delight your taste buds with perfectly sized treats.
Step 7: Bake the Scones
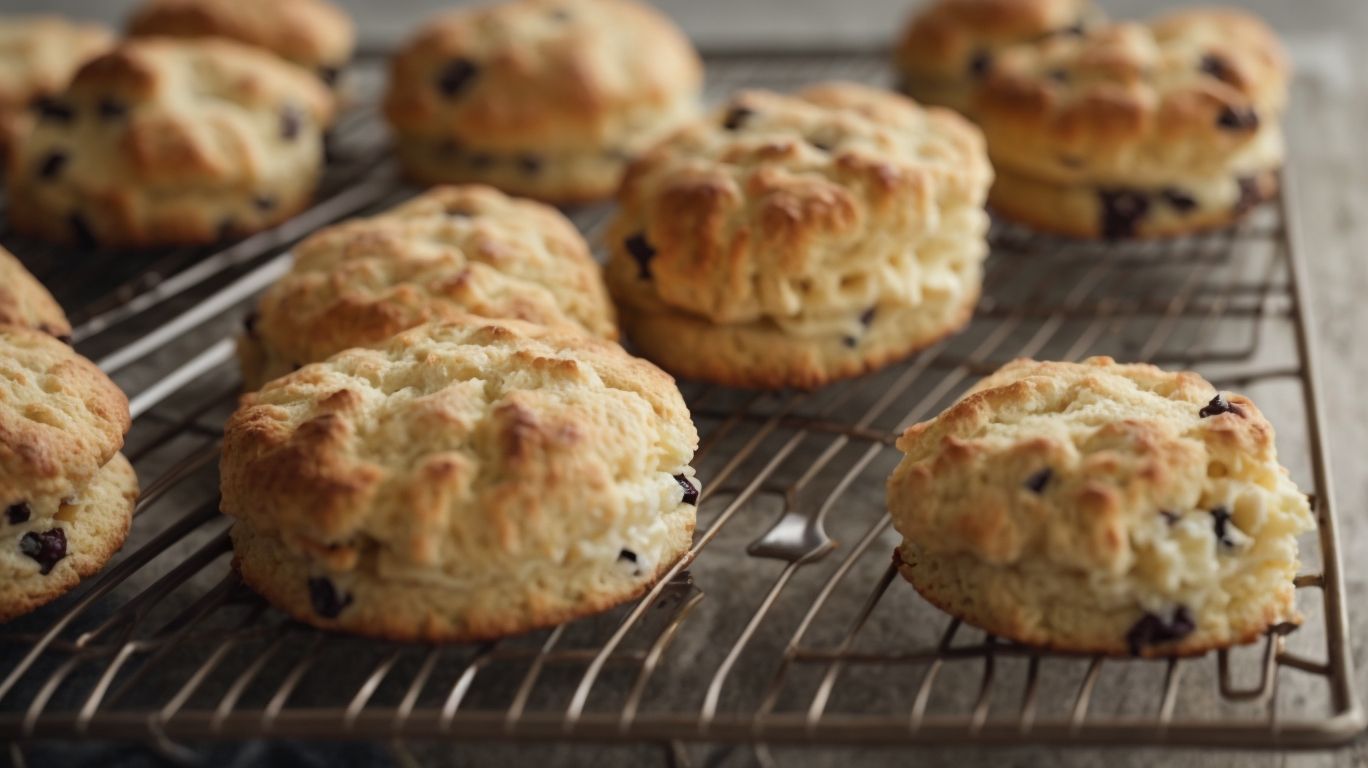
Place the scone rounds on a baking tray and bake them in a preheated oven until they turn golden brown, rise beautifully, and achieve a fluffy texture, indicating their readiness for a delectable snack or tea accompaniment.
When baking scones, the oven should be preheated to around 400°F (200°C) for optimal heat distribution. The baking time typically ranges from 15 to 20 minutes, but it’s crucial to monitor them closely. An essential visual cue for determining doneness is the golden brown color that develops on the surface. A gentle rise in the scones during baking indicates that they are developing the desired light and airy fluffy texture. These characteristics ensure that your scones will be perfectly delicious and delightful.
Tips for Perfect Scones
Achieving perfect scones requires attention to detail and some essential tips, including using cold ingredients, avoiding overmixing, utilizing a sharp cutter for clean edges, brushing with egg wash for a shiny finish, and serving warm with jam and cream for a delightful treat.
To start your scone-making process, it’s crucial to keep your butter and any liquid ingredients icy cold to achieve that desirable flakiness. When combining your dry and wet ingredients, remember not to overmix the dough, as this can result in tough scones.
For that classic scone shape, use a sharp cutter to ensure clean edges. Before baking, a light brushing of egg wash will give your scones a golden, glossy finish that is irresistible.
And when serving, warm scones with a dollop of jam and a dollop of cream will elevate your tea time experience to a whole new level.
Use Cold Ingredients
Cold ingredients, particularly chilled butter and cold milk, are essential for achieving the desired flakiness and texture in scones, ensuring a light and airy final product.
When making scones, using cold ingredients not only helps in creating a tender crumb but also plays a crucial role in ensuring that the scones rise properly. The cold butter, when cut into the flour, creates pockets of fat that melt while baking, resulting in the flaky layers that are characteristic of a well-made scone.
Similarly, incorporating cold milk helps maintain the butter in its solid form during mixing, preventing it from blending too thoroughly with the dry ingredients. This intentional separation of fat and flour is what contributes to the flakiness of the scones.
Don’t Overmix the Dough
Overmixing the scone dough can lead to a tough and dense final product, as excessive mixing develops gluten and interferes with the desired light and fluffy texture of scones.
When the dough is mixed too vigorously, the proteins in the flour bind together and form gluten, resulting in a tight and chewy scone rather than the crumbly, tender texture we crave. To avoid this, it’s crucial to handle the dough with care and use gentle folding and kneading techniques. This way, you allow the ingredients to combine without overworking them.
Use a Sharp Cutter
A sharp cutter, such as a knife or biscuit cutter, ensures clean and precise edges when shaping scones, promoting even rising and a polished appearance in the final baked goods.
When the edges of the scone dough are neatly cut with a sharp tool, it allows for a more uniform shape, aiding in consistent baking. This precision in cutting leads to the scones rising evenly during the baking process, resulting in a visually appealing end product that entices both the eyes and taste buds. The use of a sharp cutter is essential in achieving professional-looking scones that have a delightful texture and attractive presentation.
Brush with Egg Wash
Applying an egg wash on top of scones before baking adds a golden sheen and a glossy finish to the crust, enhancing the visual appeal and texture of the baked scones.
When preparing scones, the egg wash not only contributes to the aesthetics but also plays a crucial role in creating that coveted crisp crust that contrasts with the soft interior of the scone. The simple mixture of beaten egg and a liquid, such as water or milk, provides a protective layer that helps in browning and sealing the surface during baking. This process gives the scones a beautiful color and a slight sheen that makes them look professionally baked.
Serve Warm with Jam and Cream
For the ultimate scone experience, serve them warm with a dollop of jam and a generous spread of clotted cream, creating a classic and delightful pairing that complements the scones’ flavors and textures.
This traditional serving method highlights the cultural significance of scones as a beloved treat across many regions, from English tea rooms to cozy cafes in the countryside. The warm scones, fresh from the oven, perfectly contrast the cool creaminess of the clotted cream and the sweet tang of the jam – a harmonious blend of flavors and temperatures that awaken the taste buds.
The ritual of spreading the cream first or the jam first varies by region, sparking friendly debates among scone enthusiasts. Some swear by the Cornish method of cream first, while others argue for the Devonshire way of jam first. Regardless of the order, the key is to savor each bite of the delicate scone amidst the luxurious toppings, a truly divine combination that stands the test of time.
Frequently Asked Questions
How to Bake Scones With Self Raising Flour?
What is self raising flour and how is it different from regular flour?
Self raising flour is a type of flour that already contains baking powder and salt, making it perfect for baking. It differs from regular flour which is just plain ground wheat.