
How to Bake Scones?
Welcome to the world of scones, a beloved treat that has been enjoyed for centuries.
In this article, we will explore the history of scones, the different types of scones you can bake, and the essential ingredients needed for this delightful pastry.
We will also discuss the tools and equipment required, provide a step-by-step guide to baking scones, and share some tips for achieving perfectly baked scones every time.
So, grab your baking tray and let’s get started on your scone-making adventure!
Key Takeaways:
What Are Scones?
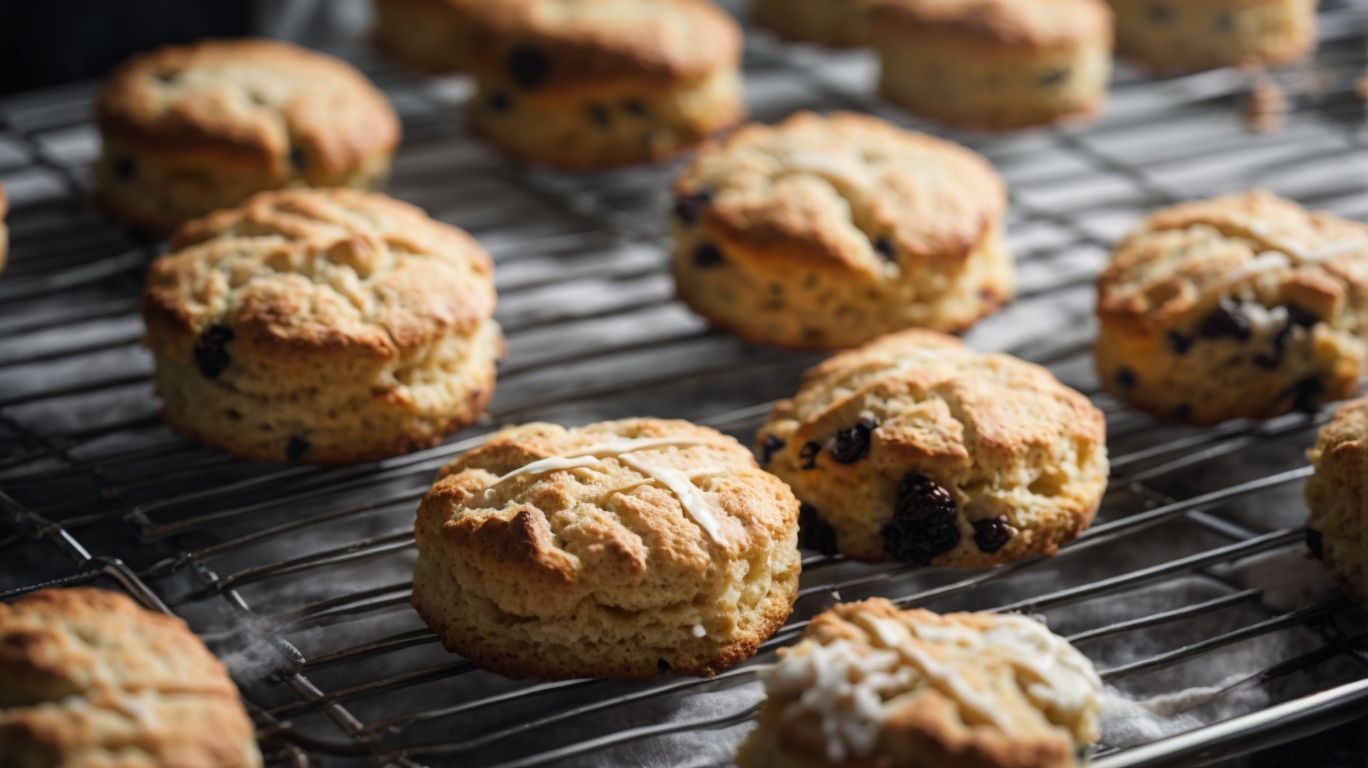
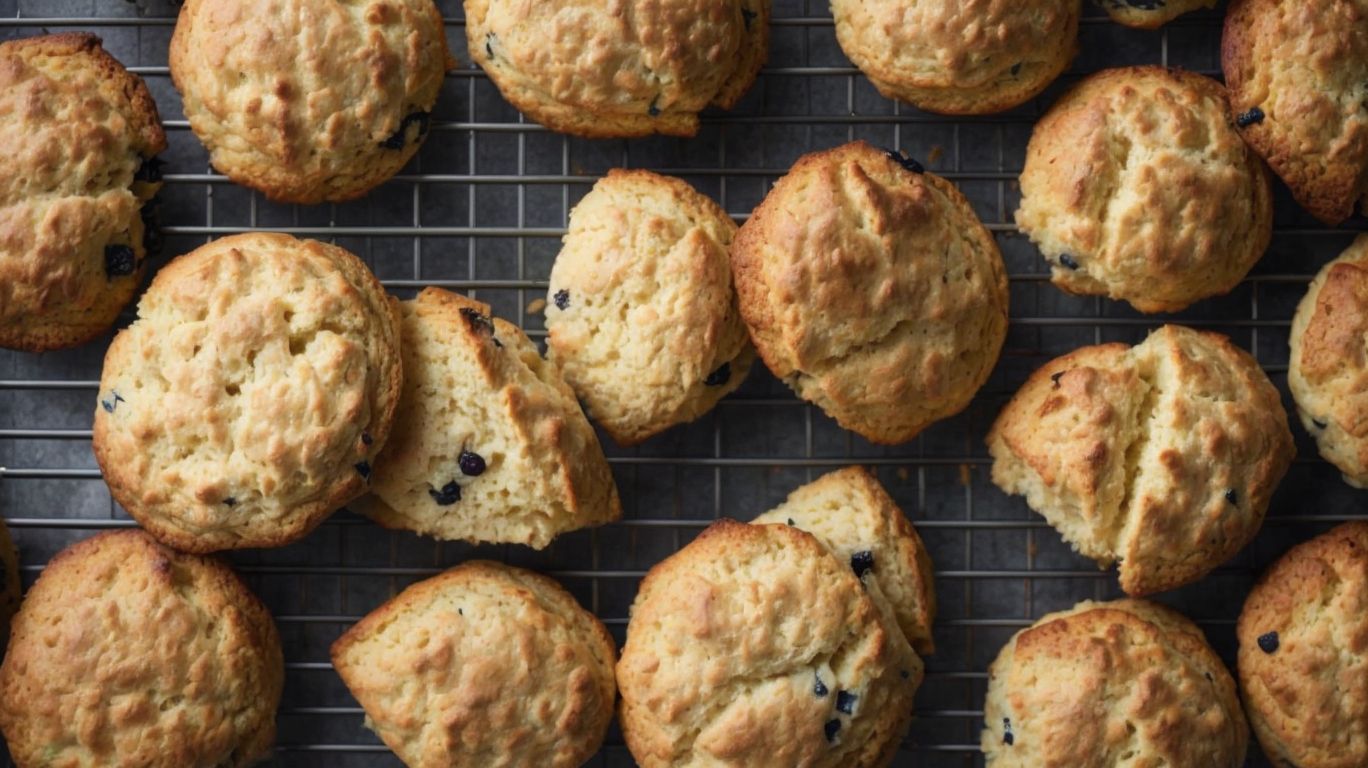
Scones are a popular baked treat known for their crumbly texture and delicious flavor. They are versatile pastries that can be enjoyed at any time of the day.
Scones have a rich history dating back to the Scottish origins, where they were traditionally made using butter and ingredients like flour, sugar, and milk. The key to achieving that perfect crumbly texture lies in the careful mixing of these ingredients, ensuring the butter is cold and cut into the dry mixture to create a flaky pastry. Whether you prefer classic plain scones, fruity variations with blueberries or cranberries, or savory versions with cheese and herbs, there is a scone recipe to suit every taste bud.
History of Scones
The history of scones dates back centuries, with origins traced to Scotland and England. Originally a plain, unleavened oatcake, scones have evolved into the beloved baked goods we enjoy today.
Centuries ago, scones were a staple in the diets of Scottish and English people, often enjoyed with tea or as a quick snack. As time passed, the traditional recipes underwent numerous modifications, incorporating ingredients such as butter, sugar, and various fruits. The term ‘scone’ itself has a disputed etymology, with some linking it to the Stone of Destiny in Edinburgh. Over the years, scones gained popularity across different regions, each embracing the pastry with their own unique variations and flavors.
Types of Scones
There is a wide variety of scones available, ranging from traditional plain scones to modern versions infused with fruits, nuts, and spices.
Traditional scones typically highlight the simplicity of ingredients like flour, sugar, butter, and milk, resulting in a rich, buttery flavor and a crumbly texture.
On the other hand, contemporary scones push boundaries by incorporating innovative combinations such as lemon blueberry, cranberry orange, or cheddar herb.
The choice of variations, whether sweet or savory, greatly influences the scone’s profile, offering options for breakfast treats, afternoon snacks, or elegant tea-time accompaniments.
Ingredients for Baking Scones
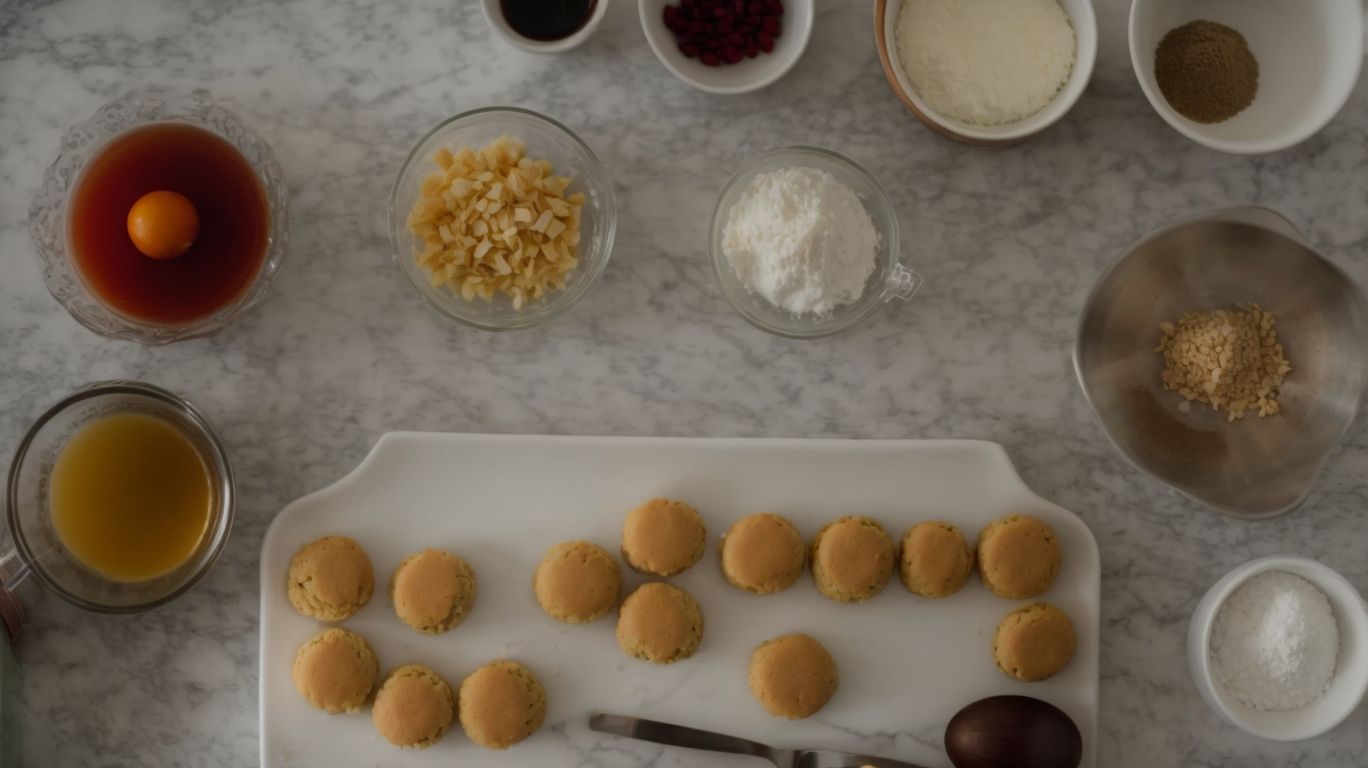
Credits: Poormet.Com – Philip Ramirez
To create delectable scones, you will need a few key ingredients such as butter, flour, sugar, baking powder, and vanilla extract. These components come together to form the perfect scone dough.
Butter is a crucial ingredient in scones as it provides richness and contributes to the tender, flaky texture.
Flour acts as the main structure of the scone, giving it body and forming the base for other ingredients to bind.
Sugar not only sweetens the scone but also helps in browning and caramelization during baking.
Baking powder is essential for leavening, ensuring the scones rise properly and have a light, airy crumb.
Vanilla extract adds a subtle aroma and flavor, enhancing the overall taste of the scones.
Flour
Flour is a fundamental ingredient in scone recipes, providing structure and texture to the dough. Choose the right type of flour based on the desired scone consistency and flavor profile.
In terms of scone baking, the type of flour used can significantly impact the outcome. All-purpose flour is the most common choice, offering a balanced texture. Using cake flour results in a lighter, more tender crumb, perfect for delicate scones. On the other hand, whole wheat flour adds a nuttier flavor and heartier texture. Understanding how different flours interact with the ingredients in the dough is crucial for achieving the desired scone characteristics.
Butter
Butter is a crucial ingredient in scone recipes, imparting richness and flavor to the baked goods. The quality of butter used can significantly influence the taste and texture of the scones.
When making scones, it’s important to choose a high-quality butter to bring out the best in your baked treats. The type of butter you select, be it salted or unsalted, can alter the overall taste profile of the scones.
Fresh butter typically lends a more pronounced and delightful buttery essence to the pastry, intensifying its richness. The texture of the scones can vary based on the fat content of the butter, with higher fat content butter leading to a more tender and luscious crumb.
Sugar
Sugar adds sweetness and balance to scone recipes, complementing the other flavors in the baked goods. The type and amount of sugar used can be adjusted based on personal preferences.
Sugar plays a crucial role in achieving the perfect scone texture and taste. Different sugar varieties bring distinct flavors to the mix, enhancing the overall experience. For instance, brown sugar adds a hint of caramel notes, while honey imparts a subtle floral sweetness.
It’s essential to consider the impact of each sugar option on the final product. Finding the right balance with sweet ingredients ensures that the scones have the ideal level of sweetness without overwhelming the other flavors.
Milk or Cream
Milk or cream is essential for moistening the scone dough and enhancing its richness. The choice between milk and cream can influence the final texture and flavor of the scones.
In terms of making scones, the use of milk provides a subtle moisture, resulting in a crumbly and tender texture. On the other hand, cream adds a luxurious richness and a softer crumb to the scones, elevating them to a more decadent treat.
The hydration level in the dough plays a crucial role in determining the scone’s tenderness; milk helps achieve a balance between moistness and structure, while cream tends to yield a more velvety and indulgent outcome.
The choice between milk or cream can impact the overall quality of the scones, affecting factors such as their rise, color, and even shelf life. The next time you whip up a batch of these beloved baked goods, consider the role of milk or cream and how it can transform your scone-making experience.
Eggs
Eggs serve as a binding agent in scone recipes, helping to hold the ingredients together and create a cohesive dough.
The inclusion of eggs can contribute significantly to the scones’ overall texture and moistness, enhancing their tenderness and structure. When eggs are mixed with the dry ingredients, their proteins form a network that traps air bubbles during baking, resulting in a lighter, fluffier scone. This network also helps to create a more uniform crumb, giving the scones a desirable delicate yet slightly crumbly consistency.
Optional Add-ins (Fruits, Nuts, etc.)
Adding fruits, nuts, or other ingredients to scone dough can elevate the flavor profile and texture of the baked goods. Experiment with various add-ins to create unique scone variations.
By introducing fresh fruits like berries, apples, or citrus zest, you can infuse a burst of juicy sweetness into each bite. These fruits not only add natural sweetness but also bring a colorful and vibrant appeal to the scones. Incorporating crunchy nuts such as almonds, pecans, or walnuts can provide a delightful contrast in texture, giving your scones a satisfying crunch.
Tools and Equipment for Baking Scones
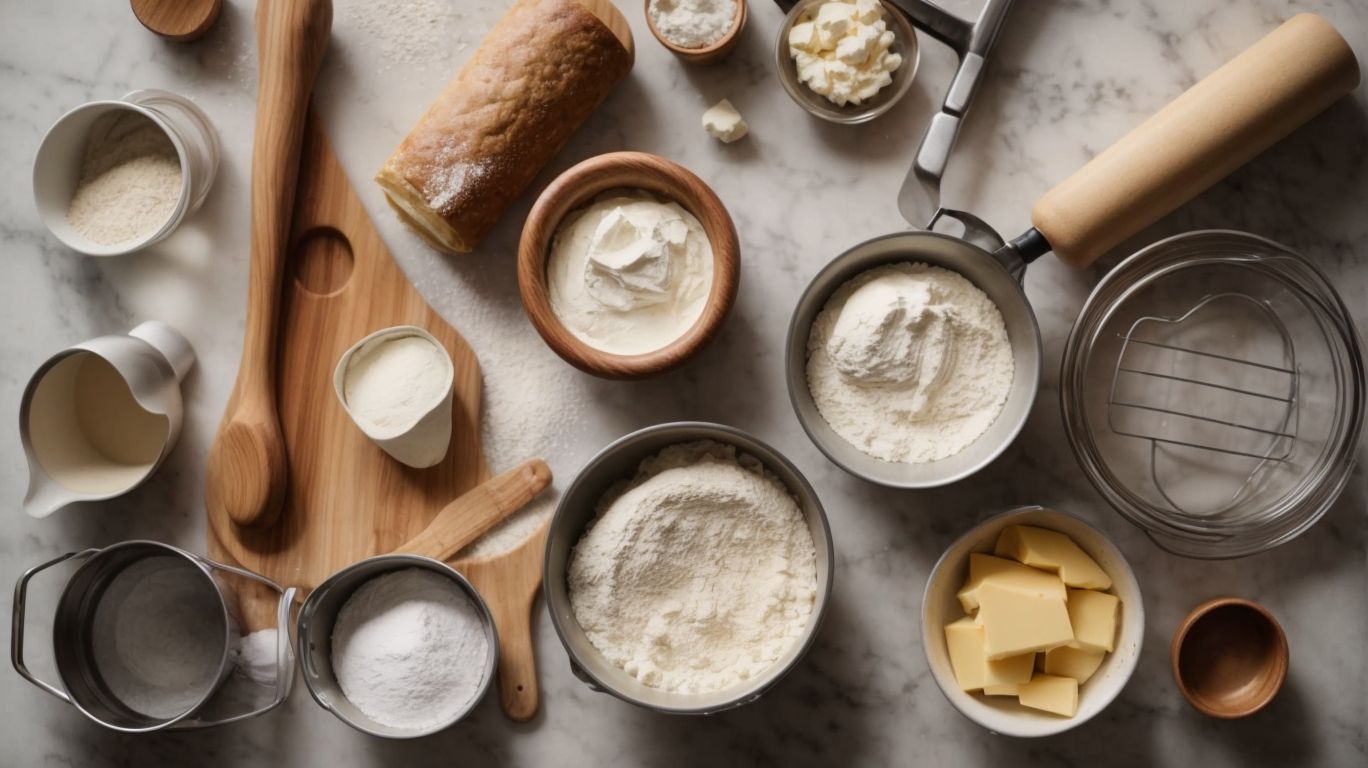
Credits: Poormet.Com – Jacob Perez
Along with ingredients, you will need specific tools and equipment for baking scones, including a baking tray, whisk, pastry cutter, and baking brush. These items are essential for preparing and shaping the scone dough.
Let’s delve into the role of each piece of equipment in the scone-making process.
- The baking tray serves as the foundation for your scones, providing a stable surface for them to bake evenly.
- A sturdy whisk is perfect for combining the dry and wet ingredients thoroughly, ensuring a consistent scone batter.
- The pastry cutter, also known as a biscuit cutter, shapes the scone dough into perfect rounds, promoting even baking and uniformity.
- The baking brush is handy for applying egg wash or melted butter to give your scones that golden, glossy finish.
Baking Tray
A baking tray is a vital tool for baking scones, providing a flat surface for dough placement and even heat distribution in the oven. Choose a sturdy, non-stick tray for optimal scone baking results.
When preparing scone dough, the baking tray serves as the foundation where the dough takes shape before being placed into the oven. This flat surface ensures that the scones maintain their desired shape and rise evenly during baking. The choice of baking tray material greatly influences the texture of the scones. A well-chosen tray helps retain moisture in the dough, resulting in soft and fluffy scones. On the other hand, using a subpar tray might lead to uneven heating, potentially causing scones to be dry or unevenly cooked.
Bowl and Whisk
A mixing bowl and whisk are essential for combining scone ingredients and achieving a uniform dough consistency. Use a spacious bowl and a sturdy whisk for efficient scone preparation.
When making scones, the role of the mixing bowl goes beyond just holding the ingredients—it provides ample space for the dry and wet components to come together smoothly. Opt for a bowl that is large enough to accommodate all the ingredients comfortably without causing spillage or hindering the mixing process. Similarly, choosing the right whisk is crucial for achieving the desired dough consistency. A whisk helps incorporate air into the mixture, resulting in light and fluffy scones. Look for a sturdy whisk with appropriately spaced wires to handle the mixing process efficiently and effectively.
Pastry Cutter or Fork
A pastry cutter or fork is useful for blending butter into the scone dough, creating a crumbly texture that contributes to the scones’ flakiness. Choose a sturdy pastry cutter or fork for efficient dough preparation.
When using a pastry cutter, the sharp blades cut the butter evenly into the flour mixture, ensuring that the fat is distributed in small, pea-sized pieces. This distribution of fat is essential for producing a light and tender scone.
On the other hand, a fork can achieve a similar effect by breaking down the butter into smaller chunks, ultimately leading to a flaky texture in the baked scones. Both tools allow you to work the ingredients together without overheating the butter, which is crucial for maintaining the desired texture.
Baking Brush
A baking brush is handy for applying glazes or egg wash to scones before baking, enhancing their appearance and flavor. Choose a food-safe brush with soft bristles for precise glazing.
In terms of scone decoration, the use of a baking brush plays a crucial role in achieving that perfect glazed finish. The soft bristles of the brush ensure that the glaze or egg wash is applied evenly, resulting in a professional-looking outcome. Whether you opt for a silicone brush or a natural bristle one, make sure it is food-safe and easy to clean.
For those looking to experiment with different textures and designs on their scones, investing in a set of baking brushes of varying sizes could be beneficial. This versatility allows for more creativity in applying glazes, creating intricate patterns, or adding decorative touches before baking.
Step-by-Step Guide to Baking Scones
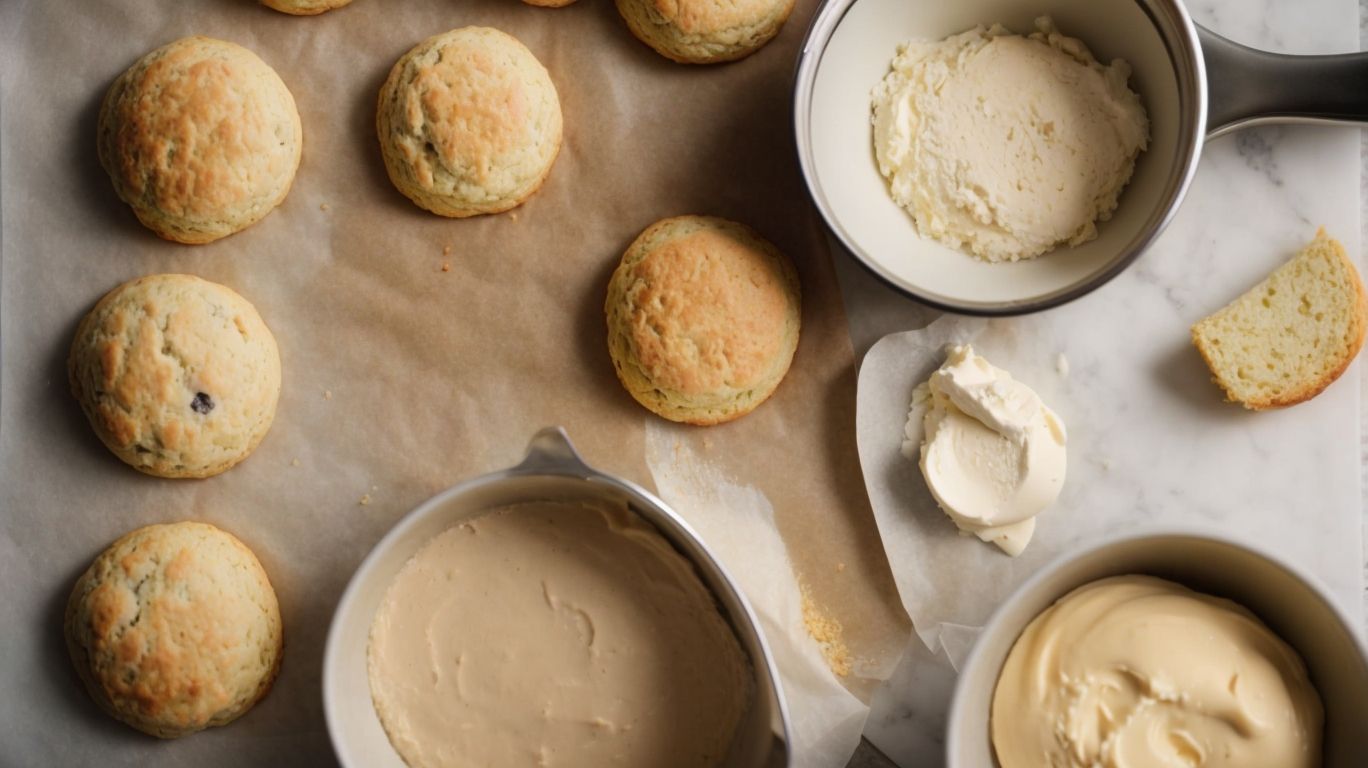
Credits: Poormet.Com – Andrew Wright
For a successful scone baking experience, follow this step-by-step guide that covers preparing the dough, shaping the scones, and baking them to golden perfection. These instructions will help you create the perfect batch of scones.
In terms of dough preparation, ensure your ingredients are cold, especially the butter, to achieve that flaky texture. Start by combining the dry ingredients like flour, sugar, baking powder, and a pinch of salt. Cut in chilled butter until the mixture resembles breadcrumbs. Slowly add the wet ingredients like buttermilk or cream, gently mixing until just combined.
Next, the shaping process is crucial; gently pat the dough into a circle about an inch thick and cut into wedges. Remember, a light touch is key to avoid toughness in the scones. Bake your shaped scones on a parchment-lined baking sheet at the recommended temperature until they are beautifully golden and puffed up!
Preparing the Dough
Preparing the scone dough is a crucial first step in the baking process. Combine the ingredients carefully, ensuring that the dough achieves the right consistency for light and fluffy scones.
Key to achieving the perfect scone dough is the delicate balance of mixing techniques and quality ingredients.
- Start by sifting the dry ingredients – flour, sugar, salt, and baking powder – together to ensure even distribution.
- In a separate bowl, whisk together the wet ingredients – typically butter, eggs, and milk – before gently incorporating them into the dry mixture.
- Be mindful not to overmix, as this can lead to tough scones. Aim for a crumbly texture with visible pea-sized bits of butter for that classic flakiness.
Shaping the Scones
Shaping the scone dough into uniform portions is essential for consistent baking and presentation. Use a pastry cutter or knife to shape the dough and create the classic scone appearance.
When shaping scone dough, the goal is to ensure that each portion is not only equal in size but also uniform in shape, allowing for even baking throughout. By employing a pastry cutter or a sharp knife, you can effortlessly divide the dough into equal parts, resulting in scones that are not only delicious but visually appealing as well. This step not only aids in achieving consistent baking results but also enhances the overall aesthetic appeal of your baked treats.
Baking the Scones
Baking scones to golden perfection requires precise timing and temperature control in the oven.
When baking scones, preheat the oven to around 400°F (200°C) for that perfect temperature. The initial blast of heat helps the scones rise rapidly and creates that lovely flaky interior.
As the scones bake, keep a close eye on them through the oven door. A golden brown color indicates caramelization of the sugars in the dough, adding depth of flavor and a visually appealing touch.
To achieve that desirable light and fluffy texture, avoid overmixing the dough. When ingredients are just combined, stop mixing to prevent toughness.
Tips for Perfectly Baked Scones
Credits: Poormet.Com – Philip Perez
Achieve bakery-worthy scones with these expert tips that focus on enhancing texture, flavor, and overall baking success. These simple but effective suggestions will elevate your scone-making skills.
To ensure the ideal texture, use cold butter and avoid overmixing the dough, as this can result in tough scones. Incorporating flavor enhancers like citrus zest, dried fruits, or spices can add a delightful twist to your scones. Experiment with different combinations to find your signature flavor profile.
In terms of baking techniques, preheating the oven and handling the dough gently for a tender crumb are key. Remember, a light touch and attention to detail are crucial for achieving perfect scones every time!
Serving and Storing Scones

Credits: Poormet.Com – Ralph Davis
Enjoy freshly baked scones by following these serving and storing guidelines that ensure maximum freshness and flavor. Discover the best methods for reheating scones to preserve their deliciousness.
When serving scones, it is ideal to enjoy them on the same day they are baked for the ultimate flavor and texture. If you need to store them, wrap them tightly in plastic wrap or an airtight container to prevent them from drying out.
To reheat scones, preheat your oven to 350°F (180°C) and warm them for about 5-10 minutes. Ensuring the perfect balance of warmth and moisture is key to reviving their freshness.
For longer preservation, consider freezing scones—simply wrap them individually and store in an airtight bag for up to three months.
Frequently Asked Questions
How to Bake Scones?
What ingredients do I need to bake scones?
To bake scones, you will need flour, sugar, baking powder, salt, butter, milk, and any additional flavorings or mix-ins of your choice.
How to Bake Scones?
Can I make scones without butter?
Butter is an essential ingredient in scones as it adds flakiness and tenderness. However, you can substitute it with vegan butter or vegetable shortening for a dairy-free option.
How to Bake Scones?
Can I use whole wheat flour instead of all-purpose flour?
Yes, you can use whole wheat flour in place of all-purpose flour, but the texture and taste may be slightly different. You may need to add more liquid to the dough to compensate for the absorption of the whole wheat flour.
How to Bake Scones?
Do I need to chill the dough before baking?
It is recommended to chill the dough for at least 30 minutes before baking to allow the butter to solidify and the dough to become firmer, making it easier to handle and resulting in flakier scones.
How to Bake Scones?
How do I prevent my scones from spreading too much?
To prevent spreading, make sure your butter is cold and cut into small pieces before incorporating it into the dough. Also, avoid overworking the dough, as this can cause the butter to melt and result in flat scones.
How to Bake Scones?
Can I freeze the scone dough for later use?
Yes, you can freeze the scone dough for up to 3 months. Just wrap it tightly in plastic wrap and place it in an airtight container. Thaw in the refrigerator before baking as directed.