
How to Bake Vetkoek?
Are you looking to impress your friends and family with a delicious treat?
Look no further than Vetkoek!
In this article, we will explore what Vetkoek is, the key ingredients needed to bake it, step-by-step instructions on how to make the perfect Vetkoek dough, and how to bake it to perfection.
We will also provide you with some expert tips to ensure your Vetkoek turns out perfect every time.
Stay tuned for all the mouth-watering details!
Key Takeaways:
What Is Vetkoek?
Vetkoek is a traditional South African fried bread that is beloved for its savory flavors and versatility in accompaniments.
Vetkoek has its origins in Dutch settlers who brought the recipe with them to South Africa, where it has since become a staple in the local cuisine. This delicious bread has a rich cultural significance, often enjoyed during festive occasions or as a comforting snack.
The preparation of vetkoek involves making a dough from flour, yeast, sugar, salt, and water, which is then deep-fried until golden brown. It can be filled with various ingredients such as curried mince, cheese, or syrup, making it a versatile dish.
Popular serving options for vetkoek include pairing it with apricot jam, cheese and tomato, or even enjoying it plain with a cup of coffee. Traditionally, vetkoek is consumed warm and fresh, right after frying, to fully appreciate its crispy exterior and soft, fluffy interior.
This beloved fried bread plays a significant role in South African culinary traditions, with many families passing down their own recipes for generations, making it a cherished part of local food culture.
What Ingredients Do You Need to Bake Vetkoek?
To bake delicious vetkoek, you will need a combination of basic ingredients such as flour, yeast, water, and oil, along with optional fillings like mince meat, curry, or savory jams and cheeses.
When preparing vetkoek, the flour serves as the foundation, providing the structure and bulk to the dough. Yeast plays a crucial role in leavening the dough, creating those airy pockets and light texture that characterize this traditional South African delicacy. The water is essential for hydration and forming the dough consistency.
As for the oil, it’s not just for frying; it contributes to the flavor and gives the vetkoek that irresistible golden crispiness. Mince meat adds a savory richness, while variations like curry infuse aromatic spices into the filling.
For those with a sweet tooth, opting for savory jams and cheeses as fillings can bring a delightful contrast of flavors to the soft, pillowy vetkoek. These versatile options make vetkoek a versatile dish suitable for any occasion from snack time to gatherings and celebrations.
Flour
Flour is a crucial component in vetkoek dough, providing the base structure and texture for the fried bread.
When making vetkoek, the type of flour you choose can significantly impact the final result. All-purpose flour is a popular choice due to its balanced protein content, which gives the dough just the right amount of elasticity for a soft yet sturdy texture after frying. To ensure accurate measurements, spoon the flour into a measuring cup and level it off with a knife. If the dough feels too sticky, gradually add more flour until it reaches a smooth consistency, allowing it to hold its shape when formed into balls.
Yeast
Yeast is an essential ingredient that helps the vetkoek dough rise and achieve the desired light and fluffy texture when fried.
When yeast is added to the dough, it feeds on sugars present in the mixture, producing carbon dioxide gas as a byproduct. This gas gets trapped in the dough, causing it to expand and rise, resulting in those airy pockets that make vetkoek so irresistible.
To prepare a yeast mixture for your dough, start by activating the yeast in warm water with a pinch of sugar. Let it sit until it becomes frothy, indicating that the yeast is active and ready to work its magic.
Salt
Salt is a vital ingredient in vetkoek dough, enhancing the overall flavor profile of the fried bread.
Not only does salt add a crucial element to the taste of the vetkoek, but it also plays a key role in activating the yeast in the dough mixture. The right amount of salt can make the difference between a bland dough and one that is perfectly seasoned.
When preparing your vetkoek recipe, it is recommended to use approximately 1 teaspoon of salt per cup of flour. This can be adjusted based on personal preference for a saltier or less salty final product.
Sugar
Sugar adds a touch of sweetness to the vetkoek dough, complementing the savory fillings and creating a balanced flavor profile.
Sugar plays a crucial role in the texture and color development of the vetkoek. When fried, the sugar caramelizes, adding a desirable golden hue and a hint of caramelized flavor to the outer crust. Different types of sugar such as white sugar, brown sugar, or even honey can be used to adjust the sweetness levels and flavor nuances of the vetkoek.
To cater to varying taste preferences, it’s important to consider the impact of sugar quantities on the overall flavor. Increasing the sugar amount would result in a sweeter dough with a more pronounced sweetness that might complement fruity fillings, while reducing the sugar content could appeal to those looking for a more subtle sweetness that pairs well with savory or spicy fillings.
Water
Water is a fundamental ingredient in vetkoek dough, contributing to hydration and gluten development for optimal texture.
When preparing vetkoek dough, it’s crucial to use lukewarm water as it helps activate the yeast, kickstarting the fermentation process that gives the dough its light, airy texture. Yeast requires warmth to become active and thrive, and lukewarm water creates the perfect environment for this. Warm water aids in promoting gluten formation, which is essential for structure and elasticity in the dough.
To ensure accuracy in measuring water, it is recommended to use a kitchen scale for precise amounts. Adjusting the hydration levels by adding more water if the dough seems dry or more flour if it’s too sticky can help achieve the desired consistency. The temperature of the water not only impacts the initial dough but also affects how much the dough rises and the final texture of the vetkoek once fried to golden perfection.
Oil
Oil plays a key role in the frying process of vetkoek, ensuring a crispy exterior and even cooking.
Regarding choosing the right oil for frying vetkoek, the options can seem overwhelming. However, not all oils are created equal when it comes to deep-frying. Some of the best oils for frying vetkoek are those with high smoke points, such as canola oil, peanut oil, and sunflower oil. These oils are ideal for deep-frying as they can withstand the high temperatures without breaking down and imparting off-flavors.
- Canola oil, with its mild flavor and high smoke point, is a versatile choice for frying vetkoek.
- Peanut oil, known for its neutral taste and high smoke point, is excellent for achieving that perfect golden crust.
- Sunflower oil, with its light flavor and high smoke point, is a popular option that works well for frying vetkoek.
It is crucial to maintain the oil at the right temperature throughout the frying process to achieve optimal results. Using a deep-fry thermometer can help you monitor the oil temperature accurately. Keep in mind that overheating the oil can lead to burnt vetkoek, while maintaining it at too low a temperature can result in greasy and soggy outcomes. Remember, proper oil maintenance is key to creating delicious and perfectly fried vetkoek every time!
How Do You Make Vetkoek Dough?
Making vetkoek dough involves a series of steps, from proofing the yeast to kneading the ingredients into a smooth and elastic dough.
Once the yeast is proofed, combine it with flour, sugar, salt, and lukewarm water in a mixing bowl.
Gradually integrate the ingredients, ensuring an even distribution to achieve that perfect dough consistency.
When kneading, use a gentle but firm touch, pushing the dough away with the heel of your hand, then folding it back towards you. This process helps develop the gluten for a nice stretchy texture.
Allow the dough to rise in a warm, draft-free place until it doubles in size, covering it with a damp cloth to retain moisture and aid in the rising process.
Proof the Yeast
Proofing the yeast is a crucial step in vetkoek dough preparation, ensuring that it is active and ready to leaven the dough.
You’ll need to start by activating the yeast. To do this, combine warm water (around 110-115°F) with sugar in a bowl, ensuring the water is not too hot as it can kill the yeast. After adding the yeast, let it sit for about 5-10 minutes until it becomes frothy and starts to bubble. These bubbles are a clear indication that the yeast is alive and functioning. This visual cue shows that the yeast is activated and ready for integration with the dough. Once the yeast is foamy and fragrant, it’s time to mix it into the dough mixture.
Mix the Dry Ingredients
Mixing the dry ingredients sets the foundation for vetkoek dough, ensuring uniform distribution of key components for optimal flavor and texture.
Start by sifting the flour to remove any lumps and aerate it for a lighter texture. Add the salt and sugar to the sifted flour, using a whisk or spoon to combine the ingredients thoroughly. It’s crucial to mix the dry components well to avoid pockets of uneven seasoning or sweetness in the final product.
If you’re experimenting with different variations of the vetkoek recipe, consider adjusting the ratios of salt and sugar to suit your preference. Keep in mind that these adjustments can subtly alter the overall taste profile, so it’s best to start with small changes and taste test along the way.
Add Water and Knead the Dough
Incorporating water into the dry ingredients and kneading the dough are critical steps in achieving the right consistency and texture for vetkoek.
When adding water, it’s essential to do so gradually, as the amount needed may vary depending on factors like humidity levels and the type of flour used. Start by creating a well in the center of the dry ingredients and slowly pour in the water while mixing with a fork or your hands.
Proper hydration levels are key to ensuring the dough is neither too dry nor too sticky. If the dough feels too dry, add a bit more water; conversely, if it’s too sticky, incorporate a bit more flour.
Once the water is fully absorbed, begin kneading the dough. This process helps develop the gluten structure that gives vetkoek its desirable chewiness. Kneading involves folding the dough over itself, pushing it down, and repeating until it becomes smooth and elastic.
Let the Dough Rise
Allowing the vetkoek dough to rise is essential for yeast activation and fermentation, resulting in a light and airy texture when fried.
Optimal dough rising time can vary depending on factors like room temperature and the type of yeast used. Generally, allowing the dough to double in size during the first rise is a good indicator of proper fermentation. This usually takes around 1-2 hours, but don’t rush the process – patience is key.
For the second rise, shaping the dough into individual portions before a shorter proofing time helps develop the desired lightness and fluffiness in the final product.
If your dough isn’t rising as expected, check the warmth and moisture levels; a warm, draft-free environment is crucial for yeast activity. You can also add a pinch of sugar to help jumpstart fermentation if needed.
How Do You Bake Vetkoek?
Baking vetkoek involves a frying technique that results in a crisp and golden exterior, creating a delicious contrast to the soft and fluffy interior.
To achieve the perfect vetkoek, start by heating oil in a deep pot or fryer. The ideal temperature for frying is around 350°F (180°C) which ensures that the dough cooks through evenly without burning. Ensuring the oil is at the right temperature is crucial for the vetkoek to absorb minimal oil and retain its texture.
When shaping the dough, aim for uniform-sized portions to promote even cooking times. Gently lower the vetkoek into the hot oil, being careful not to overcrowd the pot, which can lower the temperature and result in greasy vetkoek.
Heat the Oil
Heating the oil to the right temperature is crucial for achieving crispy and evenly cooked vetkoek during the frying process.
When frying vetkoek, the ideal oil temperature typically ranges between 350°F to 375°F. This temperature range allows the vetkoek to cook through evenly without absorbing excess oil, resulting in a light and fluffy texture on the inside while achieving a golden-brown crispy exterior.
Testing the oil readiness before frying is essential to ensure optimal results. One method is to drop a small piece of bread or a cube of dough into the oil; if it sizzles and rises to the surface immediately, the oil is likely at the right temperature for frying.
Selecting the proper oil for frying is key. Choosing oils with high smoke points such as canola, peanut, or vegetable oils is recommended to prevent overheating and off-flavors. Consider the flavor profile of the oil as it can subtly influence the taste of the vetkoek.
To maintain consistent frying temperatures, use a deep-fry thermometer to monitor the oil temperature throughout the frying process. Adjust the heat source as needed to keep the oil within the ideal temperature range for best results.
Shape the Dough
Shaping the vetkoek dough before frying is a critical step in creating uniform sizes and ensuring even cooking.
To start, ensure that the dough has been mixed and rested according to the recipe instructions. Take a portion of the dough and gently roll it into a ball, applying light pressure to maintain a consistent shape. Then, flatten the ball slightly into a disk, making sure it is neither too thick nor too thin.
For traditional round vetkoek, aim for a uniform circular shape. Alternatively, for a rustic look, irregular shapes can add character. Remember, the thickness of the dough will impact the cooking time and texture – thinner dough will cook faster but may be crispier, while thicker dough will be softer but take longer to cook.
Fry the Vetkoek
Frying the shaped vetkoek dough in hot oil until golden brown and crispy is the final step in the baking process.
For the perfect batch of vetkoek, make sure the oil is hot but not smoking before carefully placing the dough into it. Deep-frying involves immersing the dough portions fully into the oil, allowing them to sizzle and expand as they cook. To achieve a consistent color and texture, it’s essential to monitor the cooking times closely, flipping the vetkoek halfway through the frying process using tongs for an even finish. This ensures that both sides are cooked to a beautiful golden hue and that the interior is thoroughly cooked.
Drain and Serve
Draining excess oil from the fried vetkoek and serving it hot with desired toppings enhances the overall taste and presentation.
By properly draining the excess oil, you can avoid ending up with a greasy and soggy vetkoek, ensuring a crispy exterior and a light, fluffy interior. This simple step can make a world of difference in the texture and mouthfeel of this beloved South African treat.
- When considering toppings, traditional choices like mince meat with a hint of curry can offer a savory and satisfying option that balances the mild sweetness of the vetkoek dough.
- For a sweet twist, pairing vetkoek with a generous slather of fruity jam or a sprinkle of powdered sugar can create a delightful contrast of flavors.
- Another popular combination is melting cheese on top of a warm vetkoek, adding a gooey and indulgent element that pairs wonderfully with a dollop of chutney.
For a creative touch, you can experiment with fusion toppings such as pulled pork, coleslaw, or even a drizzle of sriracha sauce for those who enjoy a hint of spice in their culinary adventures.
What Are Some Tips for Baking Perfect Vetkoek?
To achieve perfect vetkoek, follow these expert tips that cover every stage from dough preparation to serving the finished fried bread.
Regarding ingredient selection, opt for high-quality flour and fresh yeast to ensure the best possible outcome. Consistency is key when preparing the dough, so make sure it is elastic and not too sticky. Allow the dough to rise properly to achieve that light and fluffy texture. When frying, maintain the oil at the right temperature to avoid greasiness – around 180-190°C is ideal. To serve, consider traditional accompaniments like mince, cheese, or jam for a delicious twist. When troubleshooting, adjust the amount of yeast or kneading time to perfect your vetkoek.
Use Fresh Yeast
Opt for fresh yeast when preparing vetkoek dough to ensure optimal activation and fermentation for light and airy texture.
Fresh yeast is highly beneficial in vetkoek preparation due to its superior leavening capabilities and ability to enhance the flavor profile of the dough. Unlike dry yeast, fresh yeast contains living microorganisms that actively consume sugars in the dough and release carbon dioxide gas, resulting in a well-risen and flavorful end product.
When storing fresh yeast, keep it refrigerated to maintain its freshness and potency. Allow the yeast to come to room temperature before using it, as extreme temperature changes can affect its activity. To activate fresh yeast, dissolve it in warm water with a pinch of sugar to feed the yeast and kickstart the fermentation process.
Let the Dough Rise Properly
Allowing the vetkoek dough to rise adequately is essential for achieving the desired light and fluffy texture in the final product.
Proper dough rising times play a crucial role in developing the flavors and textures of vetkoek. During the rising process, yeast ferments the sugars in the dough, producing carbon dioxide gas that creates air pockets. This leads to a lighter and more porous final product.
If the dough doesn’t rise long enough, it may result in a dense and heavy texture. To troubleshoot rising issues, check the warmth and moisture of the proofing area and ensure a draft-free environment. Creating an ideal proofing environment, with consistent warmth and humidity, will help maintain reliable rising conditions for consistent results.
Use the Right Oil and Temperature for Frying
Selecting the appropriate oil and maintaining the correct frying temperature are crucial for achieving crispy and evenly cooked vetkoek.
Regarding oil selection, opt for oils with high smoke points, such as vegetable, canola, or peanut oil, to prevent burning and impart a pleasant flavor. Consider the flavor profiles of different oils, like the nuttiness of peanut oil or the neutrality of vegetable oil, to complement the taste of your vetkoek. Monitoring oil temperature with a thermometer is essential to avoid under or overcooking; aim for a range between 350°F to 375°F for golden-brown results. Remember to adjust the heat settings as needed throughout the frying process to maintain the desired temperature consistently.
Serve Hot and Fresh
For the best flavor and texture, serve vetkoek hot and fresh, accompanied by your favorite fillings or toppings.
Serving vetkoek immediately after frying is crucial to maintain its crispy exterior and fluffy interior. The contrast in textures created by the crispy shell and soft insides is a key aspect of what makes vetkoek so delicious. Regarding choosing toppings, the options are endless. Traditional choices include apricot jam, cheese, or minced meat, but you can get creative with sweet or savory fillings to suit any taste preference.
Frequently Asked Questions
1. How to Bake Vetkoek?
Vetkoek is a popular South African fried dough bread that is crispy on the outside and soft on the inside. However, it can also be baked for a healthier option. To bake vetkoek, follow these simple steps:
2. What ingredients do I need to bake vetkoek?
The ingredients for vetkoek include flour, yeast, sugar, salt, water, and oil. You can also add fillings such as cheese, meat, or vegetables to make it more flavorful.
3. Do I need to let the dough rise before baking vetkoek?
Yes, it is important to let the dough rise for at least an hour before baking. This allows the yeast to activate and gives the vetkoek a light and fluffy texture.
4. Can I use a regular oven to bake vetkoek?
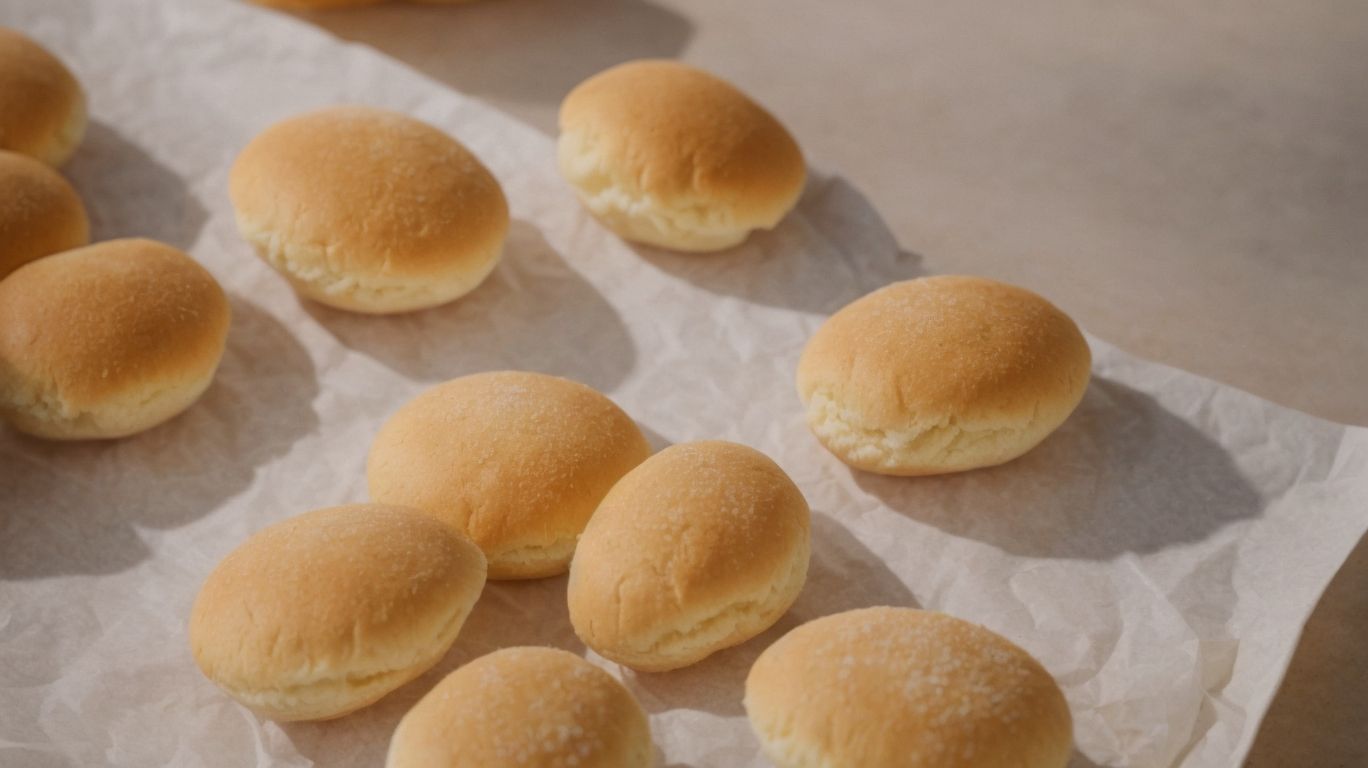
Yes, you can use a regular oven to bake vetkoek. Preheat the oven to 375°F and place the vetkoek on a greased baking sheet. Bake for 15-20 minutes until golden brown.
5. How do I know when vetkoek is fully baked?
You can check if vetkoek is fully baked by inserting a toothpick in the center. If it comes out clean, then the vetkoek is ready to be taken out of the oven.
6. Can I freeze unbaked vetkoek dough?
Yes, you can freeze unbaked vetkoek dough for up to 3 months. Just make sure to let it thaw completely before baking. This is a great option for meal prep or quick and easy snacks.