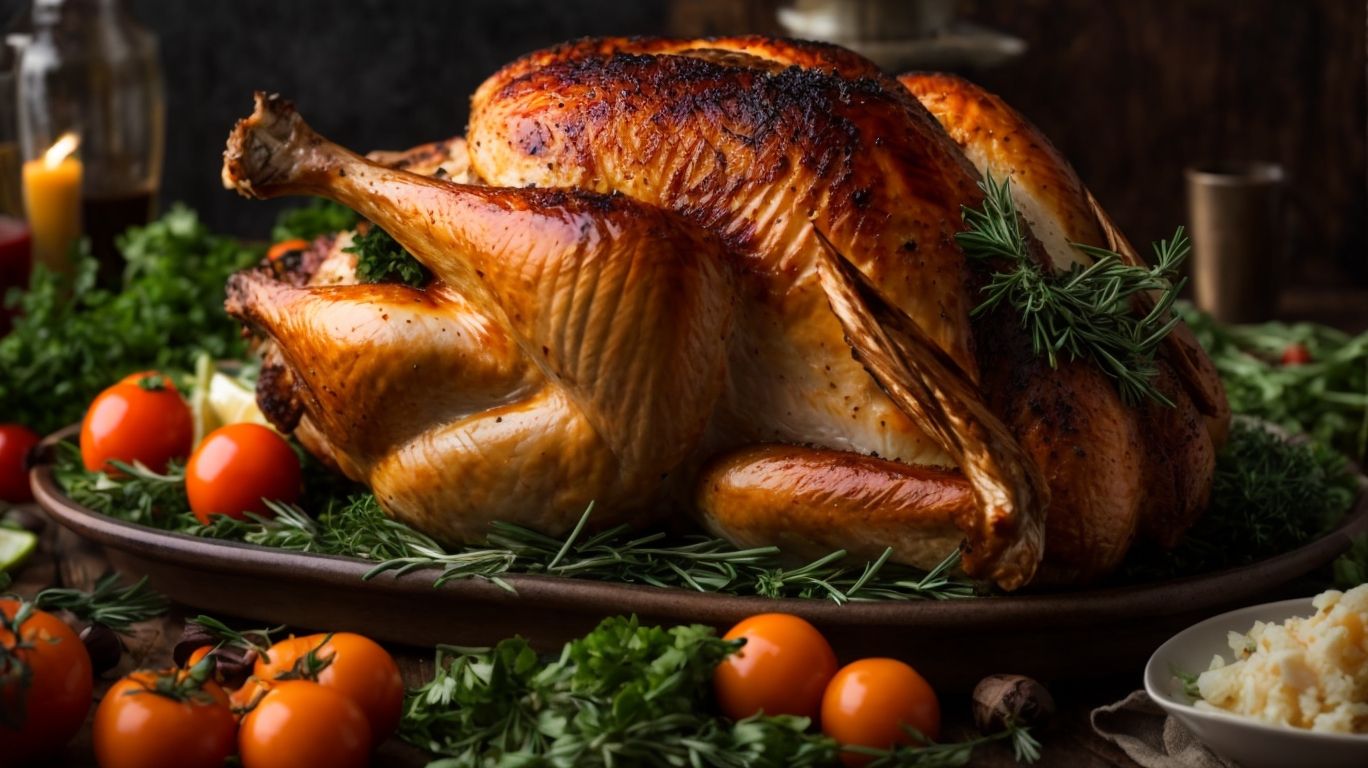
How to Cook a Turkey After Brining?
Looking to impress your guests this holiday season with a perfectly cooked turkey?
In this article, we will guide you through the process of brining and cooking a turkey to perfection.
From selecting the right brine solution to carving the bird, we have all the information you need.
So, put on your apron and prepare to elevate your turkey game with expert tips from culinary blogger of the year, Chris Poormet.
Key Takeaways:
What Is Brining?
Brining is a process of soaking a turkey in a salt and water solution before cooking to enhance its flavor and moisture content.
Brining significantly improves the tenderness and juiciness of the turkey meat by allowing the salt solution to penetrate the muscle fibers, resulting in a more succulent and flavorful end product. The salt in the brine also helps denature the proteins, allowing them to retain more moisture during the cooking process.
One of the key benefits of using a brine for turkey is that it helps prevent the meat from drying out, especially during long cooking times, such as roasting a whole turkey. Brining imparts additional flavors from herbs, spices, and aromatics added to the solution, enhancing the overall taste profile of the dish.
There are various variations of brine solutions that can be used, ranging from simple salt and water mixtures to more complex blends including ingredients like sugar, citrus, herbs, and spices. Some recipes also call for adding apple cider, beer, or buttermilk to the brine for additional depth of flavor.
Why Brine a Turkey?
Credits: Poormet.Com – Roger Hill
Brining a turkey helps to infuse it with flavor, ensuring a moist and juicy final result that delights the taste buds.
Not only does the brine add flavor, but it also enhances the texture of the turkey meat, making it more tender and succulent. The process of brining also acts as a natural tenderizer, breaking down the proteins in the meat, resulting in a more enjoyable eating experience. Furthermore, brining helps to regulate the moisture content within the turkey, reducing the risk of it drying out during the cooking process.
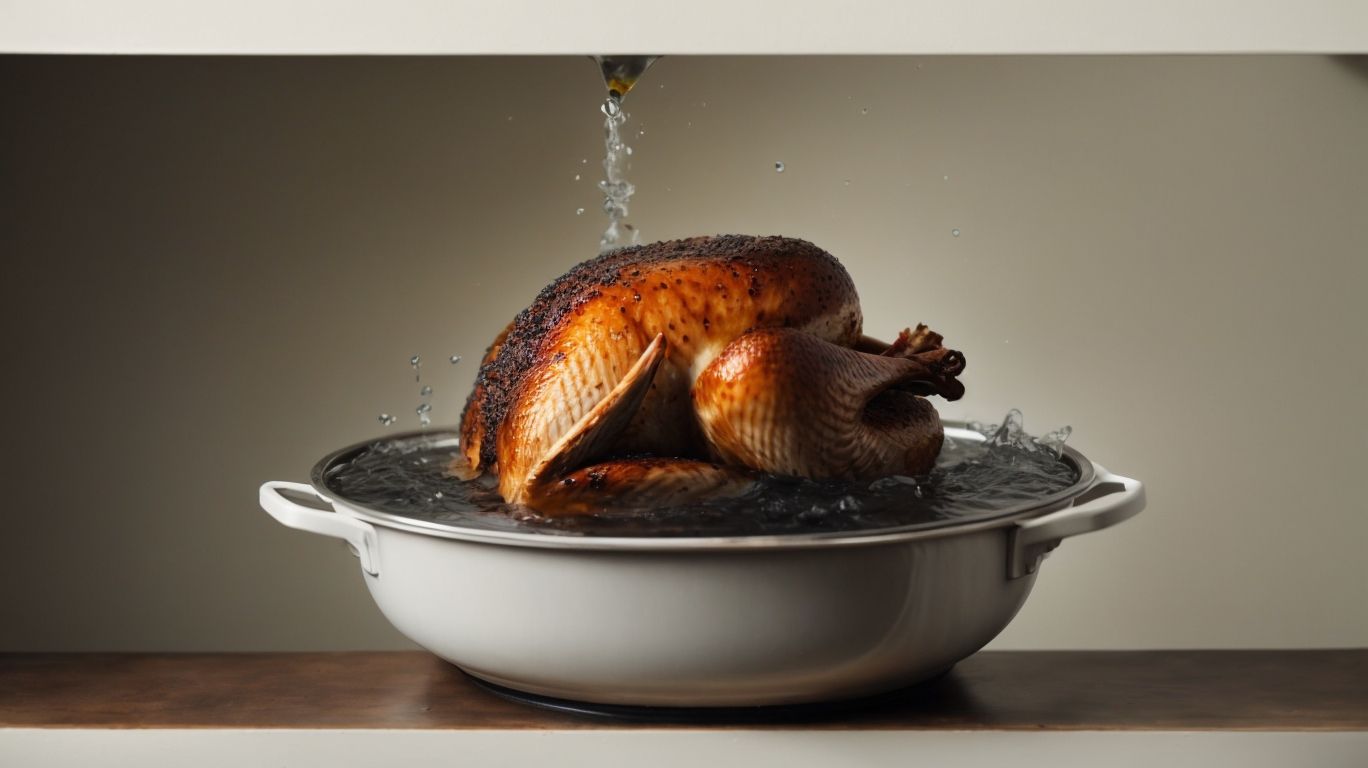
How to Brine a Turkey?
Credits: Poormet.Com – Jason Davis
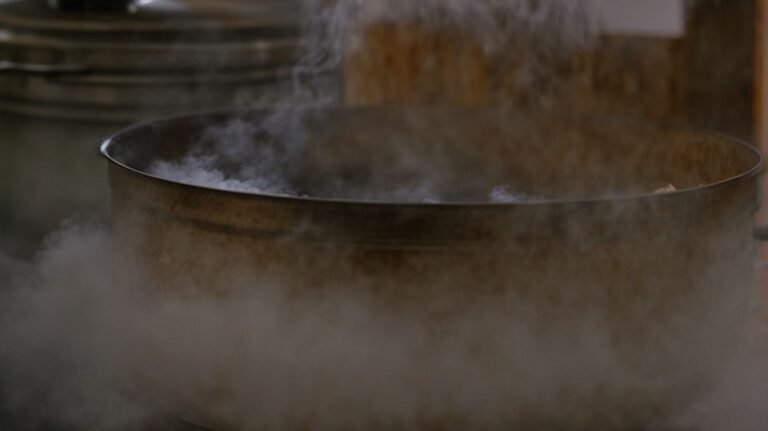
To brine a turkey, you need to prepare a solution of salt and water, submerge the bird in the brine, and let it rest in a cooler for a specified time.
Start by selecting a clean container that is large enough to hold the turkey and the brine solution. Ensure that the turkey fits comfortably without overflowing.
- In a separate pot, heat water until it’s warm, then add salt.
- Stir the mixture until the salt is fully dissolved, creating the brine solution.
Gently lower the turkey into the brine, ensuring it is completely submerged. You can also add herbs, spices, or citrus peels to enhance the flavors.
Cover the container and place it in the refrigerator to chill or use ice packs to keep it cold, allowing the turkey to brine for the recommended time period.
Choose the Right Brine Solution
Selecting the appropriate brine solution for your turkey involves combining salt, sugar, water, and additional flavor enhancers to create a balanced and tasty brine mixture.
When creating a brine solution, the salt plays a crucial role in not only seasoning the turkey but also tenderizing the meat through osmosis. The sugar helps to balance out the saltiness while imparting a subtle sweetness to the turkey.
Experimenting with different ratios of salt and sugar can allow you to customize the brine to suit your taste preferences. Some recipes may call for a higher salt content to intensify the flavor, while others might opt for a lower salt-to-sugar ratio for a milder taste.
Incorporating fresh herbs like rosemary, thyme, or sage can infuse the brine with aromatic notes, elevating the overall flavor profile of the turkey. These natural flavor enhancers add depth and complexity to the brine mixture, enhancing the taste of the bird.
Prepare the Turkey for Brining
Before brining, prepare the turkey by removing giblets, washing the bird, and stuffing the cavity with aromatic ingredients like carrots, celery, and onion for added flavor.
Then, make sure to pat the turkey dry with paper towels to help the brine penetrate better and ensure a crispy skin after roasting. Quality ingredients are crucial; opt for fresh herbs like rosemary and thyme, along with whole spices such as peppercorns and cloves to enhance the overall taste. Don’t forget to season the exterior with salt and pepper before proceeding with the brining process. By taking these steps, you’ll set the foundation for a moist and flavorful turkey that will be the star of your holiday feast.
Brine the Turkey
Next, immerse the prepared turkey in the brine solution and place it in a cooler to marinate, allowing the flavors to penetrate the meat for optimal taste and tenderness.
Marinating the turkey in a brine solution is a crucial step in achieving a juicy and flavorful end result. The key is to ensure that the brine completely covers the turkey to guarantee even saturation. Maintaining a consistent temperature in the cooler is essential to prevent bacterial growth and ensure food safety. Periodically rotating the turkey in the brine solution helps in achieving uniform distribution of flavors.
How Long Should You Brine a Turkey?
The ideal brining time for a turkey varies depending on the size of the bird, but a general guideline is to brine it for at least 12-24 hours for optimal flavor infusion.
Factors such as the thickness of the meat and the intensity of the brine solution can influence the required brining duration as well.
Thicker cuts may need a longer brining period to ensure that the flavors penetrate deep into the meat. Similarly, a more concentrated brine solution may require less time for the turkey to achieve the desired taste. It’s crucial to strike a balance to avoid over-brining, which can result in overly salty meat.
What to Do After Brining a Turkey?
After brining a turkey, rinse it thoroughly, pat it dry with paper towels, and season the bird with your desired blend of herbs and spices for added flavor.
Once the turkey has been rinsed, ensure to remove any excess brine solution to prevent the meat from becoming too salty. This step helps maintain the perfect balance of flavors during cooking.
Properly drying the turkey is crucial to achieving a crispy, golden skin. Use a clean kitchen towel to gently pat the bird inside and out, absorbing any leftover moisture. This process aids in enhancing the texture of the skin and enables better absorption of the seasoning.
Rinse the Turkey
Ensure to rinse the brined turkey under cold water to remove excess salt and brine solution, promoting a balanced flavor profile in the final cooked dish.
Rinsing the brined turkey is a crucial step in the cooking process, as it not only helps in achieving the desired flavor but also ensures that the meat is not overly salty. By thoroughly cleaning the turkey under running water, you are effectively washing away any residual brine that may have penetrated the meat during the brining process.
This simple yet essential task plays a significant role in enhancing the overall taste and texture of the turkey. It also helps in preventing the dish from becoming too salty, which can otherwise overpower the natural flavors of the meat.
Pat Dry the Turkey
Use paper towels to gently pat dry the rinsed turkey, ensuring that the surface is moisture-free before proceeding with seasoning and cooking.
This simple yet crucial step of drying the turkey post-brining plays a vital role in achieving a beautifully crispy and golden-brown skin while ensuring that the flavors penetrate the meat perfectly. By removing excess moisture with paper towels, you allow the seasoning to adhere better to the surface of the turkey, resulting in a more flavorful end product.
Season the Turkey
Season the dried turkey with a blend of fresh herbs, spices, and aromatic ingredients to enhance its flavor profile and create a delicious roasted bird.
For a classic twist, consider combining rosemary, thyme, sage, and garlic for a fragrant herb blend that pairs perfectly with turkey. To add a hint of warmth and depth, sprinkle in some ground cumin or smoked paprika. For those looking to introduce a touch of sweetness, a sprinkle of cinnamon or nutmeg can work wonders.
Experiment with different combinations to find your perfect flavor balance. Remember to coat the turkey generously with olive oil or melted butter before applying the seasoning mix to create a crispy and flavorful outer layer during roasting.
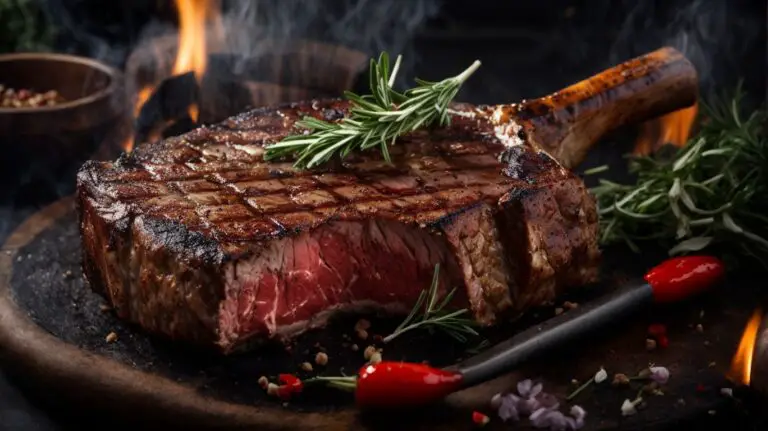
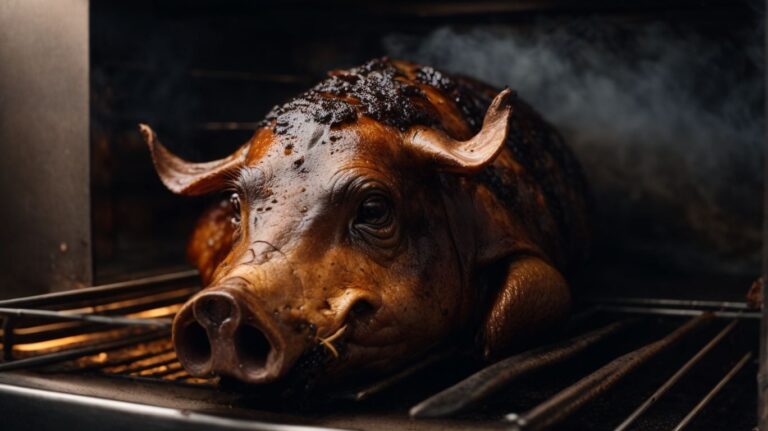
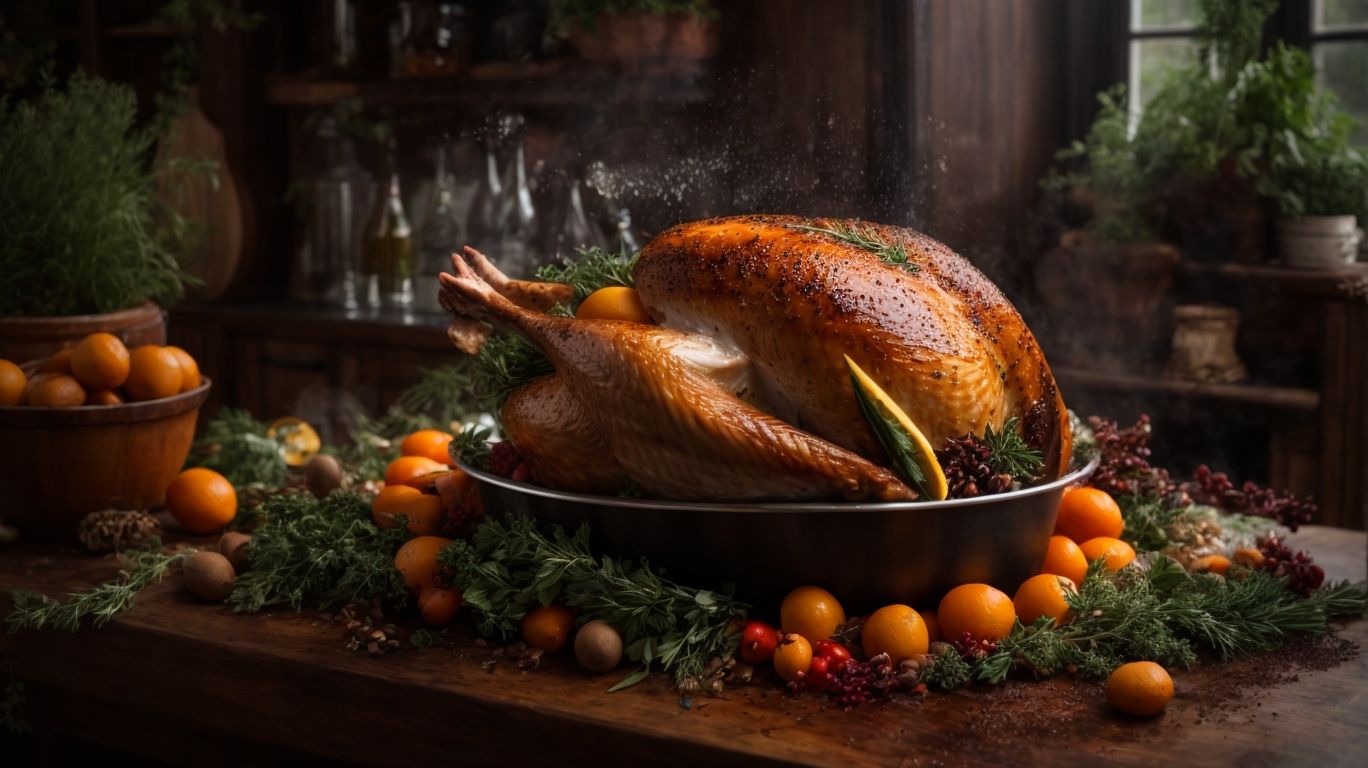
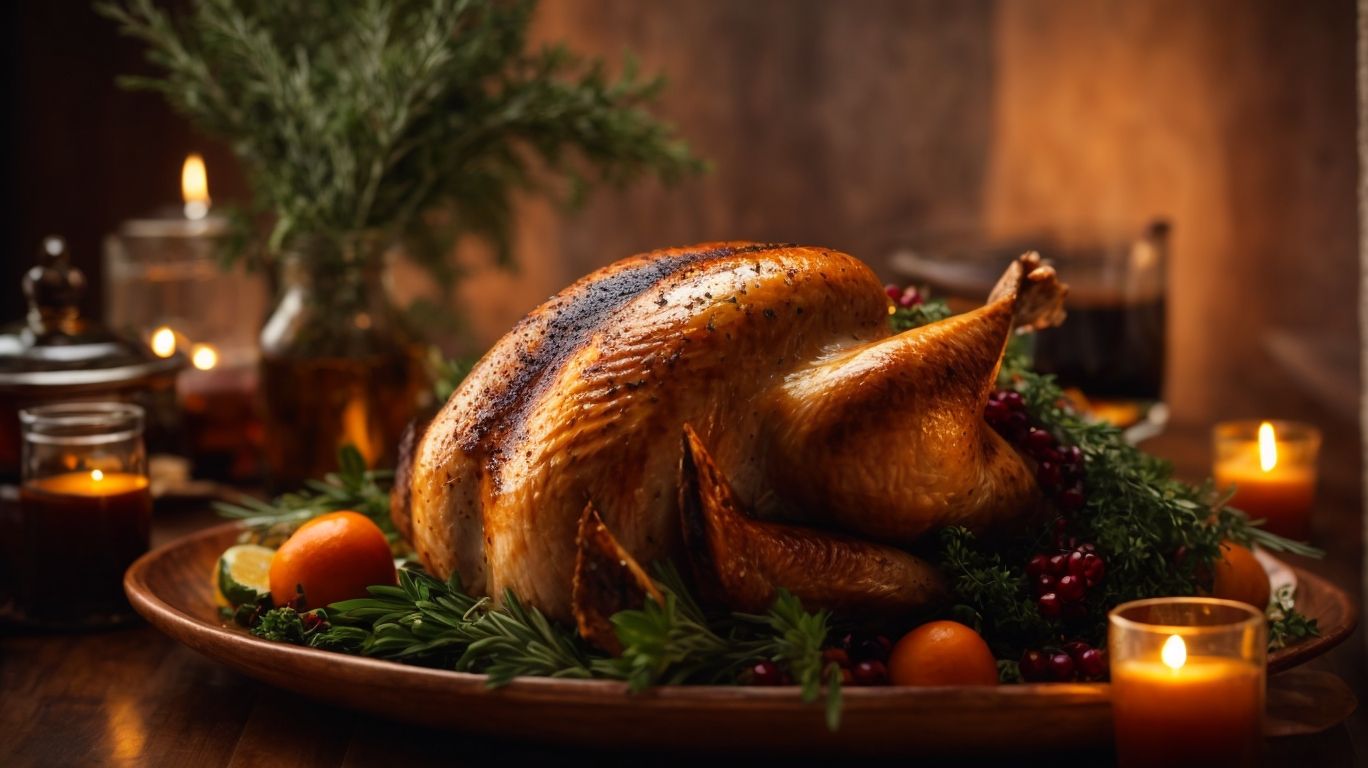
How to Cook a Brined Turkey?
Cooking a brined turkey involves roasting the bird in the oven at a specific temperature, basting it with butter for a golden, crispy skin, and preparing flavorful gravy from the pan drippings.
Once the turkey has been brined to enhance its flavor and juiciness, preheat the oven to 325°F (165°C). Place the turkey on a rack in a roasting pan, breast side up. To ensure even cooking, tent the bird with foil for the first few hours and then remove it to let the skin crisp up. Periodically baste the turkey with melted butter to add richness and help achieve that desirable golden hue. As the turkey cooks, internal temperature reaches 165°F (74°C). Don’t forget about the delicious gravy – once the turkey is done, remove it from the oven, tent with foil, and let it rest for about 20 minutes before carving.
Preheat the Oven
Begin by preheating the oven to the recommended temperature specified in your recipe, ensuring that the cooking environment is adequately heated for roasting the turkey.
Setting the oven to the correct temperature is crucial as it kickstarts the cooking process effectively and ensures even cooking throughout the turkey. Typically, for roasting a turkey, a temperature of around 325°F to 350°F is ideal, but this may vary based on your specific recipe. Preheating the oven for at least 15-20 minutes before placing the turkey inside allows the heat to evenly distribute, creating the perfect conditions for a juicy and tender final dish. The preheating duration impacts the cooking efficiency by jumpstarting the turkey’s roasting process and reducing overall cooking time.
Prepare the Roasting Pan
Prepare the roasting pan by greasing it with butter or nonstick spray before placing the brined turkey on a V-shaped rack inside the pan for even cooking and browning.
Ensuring the roasting pan is properly prepped is crucial for achieving a delicious, juicy turkey with a beautifully crispy skin. When greasing the pan with butter, consider using softened butter for easy application or melt it and brush it on evenly. The V-shaped rack elevates the turkey above the bottom of the pan, allowing hot air to circulate evenly around the bird, promoting even cooking. Lightly buttering the outer skin of the turkey before placing it in the oven can further enhance its flavor and help in developing a golden-brown, crispy exterior.
Place the Turkey in the Oven
Carefully position the prepared turkey in the preheated oven, allowing it to roast slowly until the skin turns golden brown and develops a crispy texture.
Once the turkey is in the oven, it’s crucial to monitor its progress closely. A general rule of thumb is to calculate around 13-15 minutes of cooking time per pound at 325°F (165°C). However, temperature adjustments might be necessary based on your oven’s individual characteristics. Keep in mind that an inserted meat thermometer should register 165°F (74°C) in the thickest part of the bird when it’s fully cooked. To achieve that perfect crispy exterior and moist interior, periodic basting with the natural juices is recommended.
How Long to Cook a Brined Turkey?

Credits: Poormet.Com – Steven Miller
The cooking time for a brined turkey varies based on its weight and the oven temperature, with general instructions recommending approximately 15 minutes per pound for roasting.
Factors such as the actual temperature of the oven, stuffing the bird, and whether it’s been previously frozen can all impact the cooking time of the turkey.
To ensure a perfectly cooked turkey, it’s essential to use a meat thermometer to check for doneness. Remember to let the turkey rest after cooking to allow the juices to redistribute, resulting in a moist and flavorful bird.
Basting the turkey throughout the cooking process can help maintain moisture and enhance the overall taste of the dish.
How to Tell if the Turkey is Done?
Credits: Poormet.Com – Paul King
To determine if the turkey is cooked, use a probe thermometer to measure the internal temperature, ensuring it reaches the recommended level for safe consumption.
Monitoring the turkey’s internal temperature is crucial in ensuring it is thoroughly cooked. The safe internal temperature for a turkey should reach 165°F (74°C) in the thickest part of the breast, thigh, and wing. Insert the thermometer in the thickest part without touching bone. Visually inspect the turkey; the juices should run clear, the skin should be golden brown, and the legs should move easily. Using both thermometer readings and visual cues guarantees a perfectly cooked turkey for a delectable holiday feast.
How to Let the Turkey Rest?
Credits: Poormet.Com – Stephen Hall
After cooking, allow the turkey to rest for a specified period to redistribute juices and ensure tender, flavorful meat that is easier to carve.
Letting the turkey rest is a crucial step that should not be overlooked in the cooking process. Resting times can vary depending on the size of the bird; generally, a good rule of thumb is to let it rest for about 20-30 minutes after roasting. This resting period allows the juices to redistribute throughout the meat, resulting in a more succulent and juicy final product.
By allowing the turkey to rest, you are essentially giving the meat time to reabsorb some of the juices that have been forced toward the surface during cooking. This leads to a more evenly moist and flavorful bird, making it a delightful centerpiece for your meal.
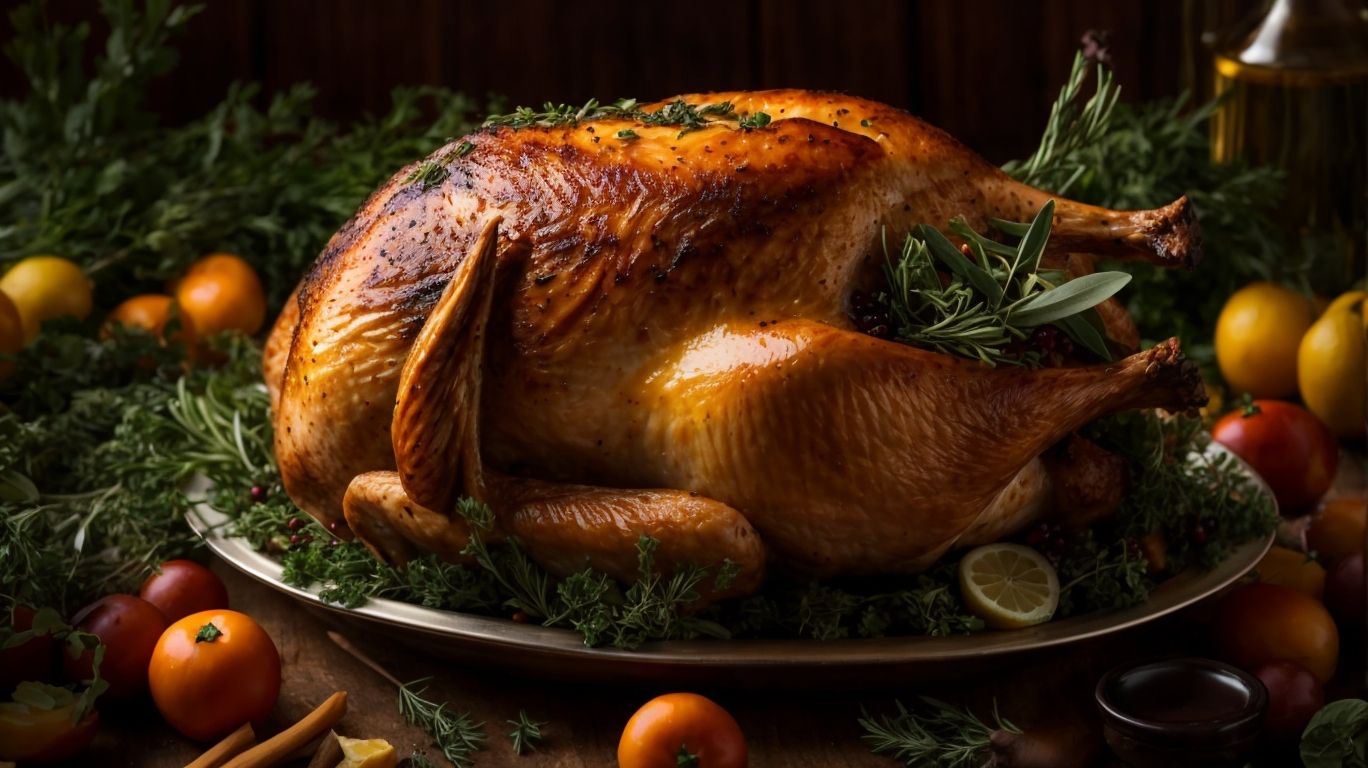
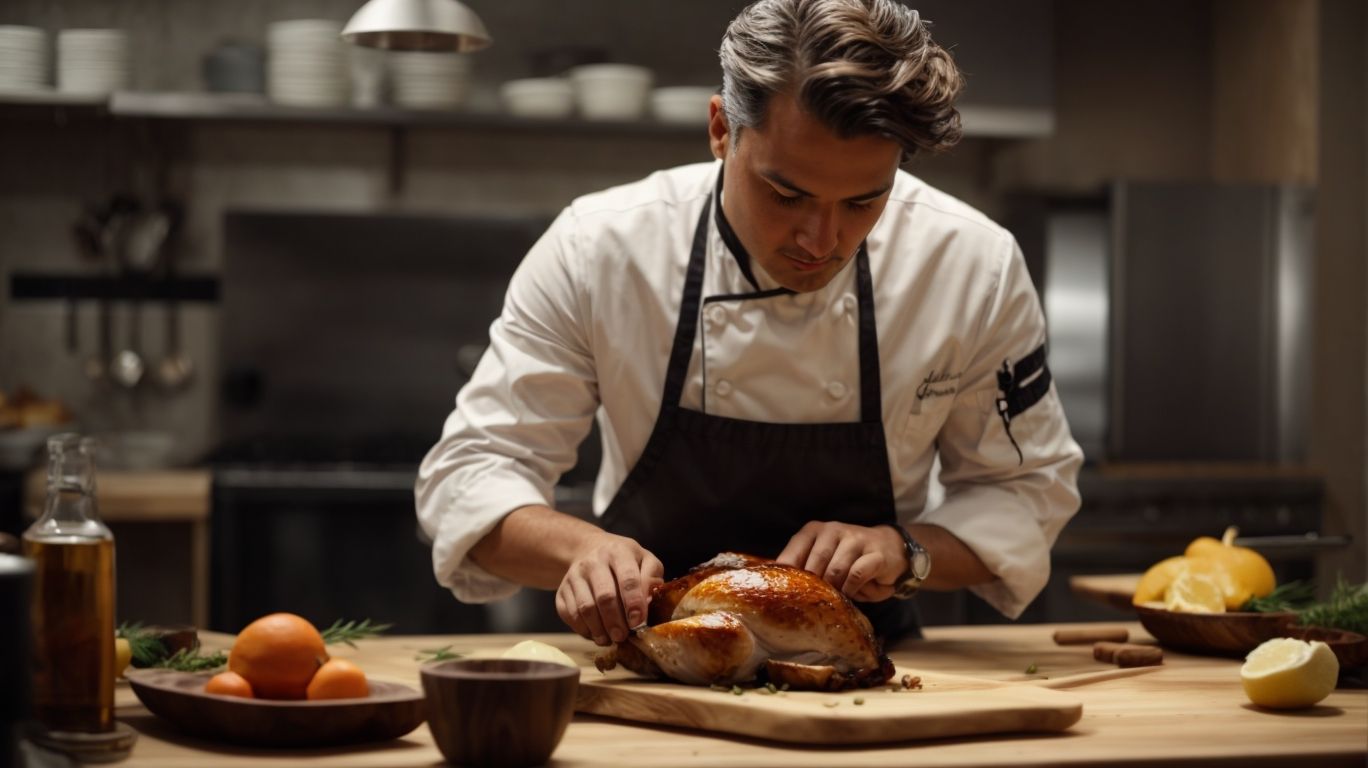
How to Carve a Brined Turkey?
Credits: Poormet.Com – Jerry Baker
To carve a brined turkey, start by separating the drumsticks, wings, and breast meat, then slice the meat against the grain for optimal tenderness and presentation.
Next, use a sharp carving knife to carefully carve the drumsticks away from the body of the turkey, following the natural contours of the joints. For the wings, gently twist them to locate the joint and slice through it to separate them from the body.
When moving onto the breast meat, cut along the breastbone on each side to release the meat in larger slices. To ensure maximum flavor and tenderness, it’s essential to cut the meat against the grain, which helps maintain moisture and prevent toughness.
Pro tip: Store any leftover turkey in an airtight container in the fridge, and consider using it for sandwiches, salads, or soups to make the most out of your delicious meal.
Frequently Asked Questions
What is the purpose of brining a turkey before cooking?
Brining is a process that involves soaking the turkey in a solution of salt and water, which helps to add moisture and flavor to the meat. This results in a juicier and more flavorful turkey after cooking.
How long should I brine a turkey before cooking?
The general rule of thumb is to brine the turkey for 1 hour per pound of meat. So for a 12-pound turkey, you should brine it for 12 hours.
Do I need to rinse off the brine before cooking the turkey?
Yes, it is important to rinse off the brine solution before cooking the turkey. This helps to remove excess salt and prevent the turkey from being too salty.
What temperature should I cook the turkey at after brining?
After brining, you can cook the turkey at a lower temperature of 325°F. This will help to ensure that the turkey stays moist and does not dry out.
How do I know when the turkey is done cooking?
The best way to determine when a turkey is done cooking is by using a meat thermometer. The internal temperature of the turkey should reach 165°F in the thickest part of the meat.
Can I use any type of salt for brining a turkey?
It is recommended to use kosher or sea salt for brining a turkey as they do not contain any additives. Table salt can also be used, but you may need to use less as it is more concentrated.