How to Cook a Turkey?
Are you ready to impress your family and friends with a delicious turkey feast?
In this article, we will guide you through the process of cooking a perfect turkey from start to finish.
From selecting the right seasonings to carving the turkey for serving, we’ve got you covered.
Follow along as we share expert tips and step-by-step instructions on how to prepare, cook, and serve a mouthwatering turkey that will have everyone coming back for seconds.
Let’s get cooking!
Key Takeaways:
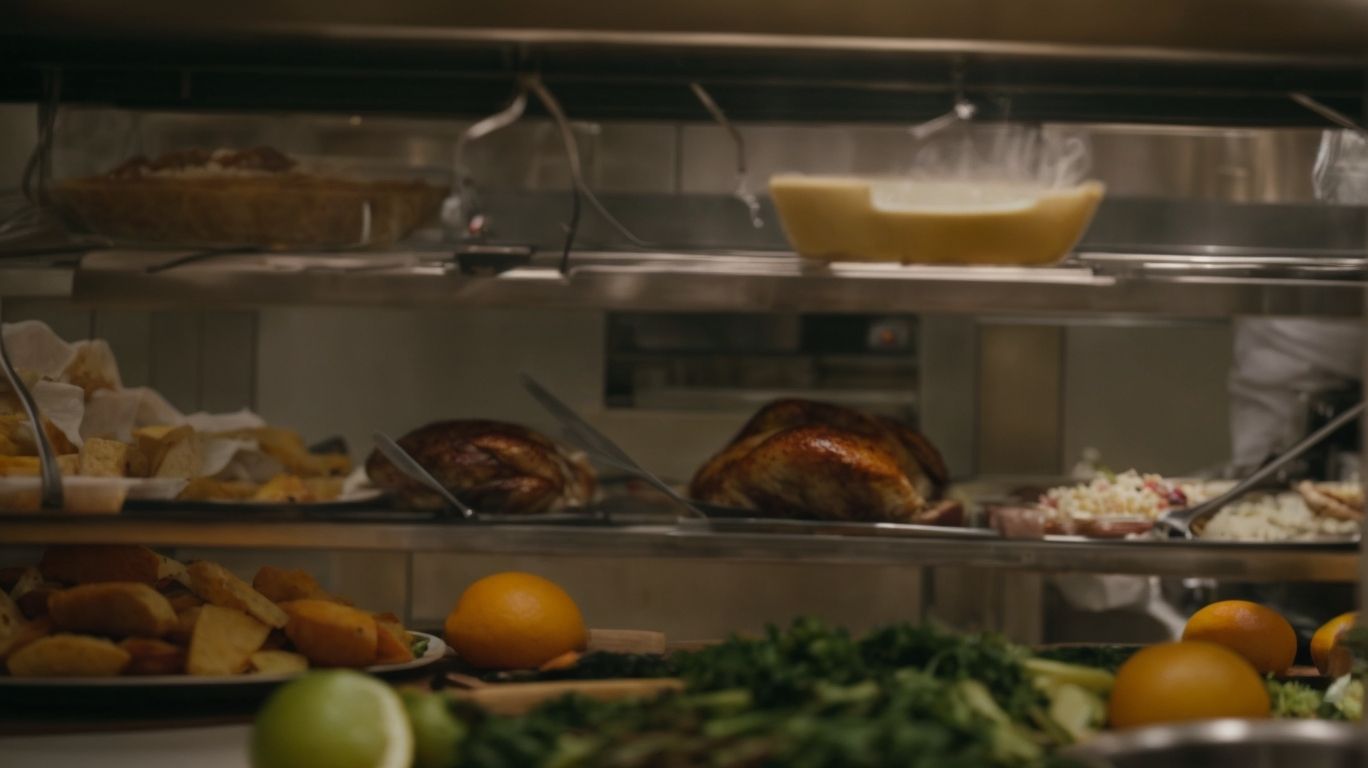
What You’ll Need to Cook a Turkey
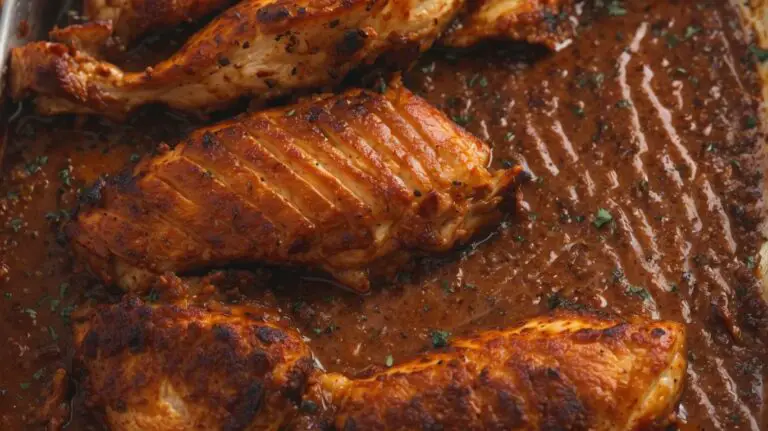
Credits: Poormet.Com – Thomas Young
Preparing a delicious roasted turkey involves gathering essential ingredients and equipment to ensure a flavorful and perfectly cooked centerpiece for your Thanksgiving feast.
Starting with the star of the show, the turkey itself must be properly thawed before cooking to ensure even cooking and juiciness.
Seasonings play a crucial role in enhancing the flavor profile of the bird, whether you opt for a classic herb blend or a more unique spice rub.
A sturdy roasting pan is essential for cooking the turkey evenly and collecting drippings for delicious gravy.
An accurate thermometer is essential to prevent undercooked or overcooked meat, ensuring a safe and delectable dish on your table.
A basting brush is vital for adding moisture and flavor throughout the cooking process, resulting in a succulent and golden-brown turkey.
Turkey
Selecting the right turkey for your roast is crucial for achieving a moist and flavorful main dish that will impress your guests.
In terms of choosing a turkey, you have several options to consider. Broad-breasted White turkeys are the most common choice, known for their ample white meat and tender texture. Heritage turkeys, on the other hand, are breeds that have a longer history and offer a more distinct flavor. Free-range turkeys are raised with access to the outdoors, making them a popular choice among those looking for a more natural option.
To ensure your turkey stays juicy during cooking, consider brining. Brining involves soaking the turkey in a saltwater solution before cooking. This process helps the meat retain moisture, resulting in a more succulent bird. You can enhance the flavor of the brine by adding herbs, spices, and aromatics like garlic and citrus.
For a classic roast turkey recipe, preheat your oven to the appropriate temperature based on the size of your bird. Place the turkey on a rack in a roasting pan and rub it with butter or oil. Season with salt, pepper, and herbs. Roast the turkey until it reaches the recommended internal temperature, and let it rest before carving.
In terms of roasting, oven considerations are important. Ensure your oven is clean and properly calibrated for accurate temperature control. Use a meat thermometer to check for doneness and avoid overcooking, which can result in dry meat. Consider tenting the turkey with foil if it starts to brown too quickly.
Seasonings
Enhance the flavor profile of your turkey by utilizing a blend of aromatic herbs and seasonings that will infuse the meat with rich and savory tastes.
Some popular herb choices to use for seasoning your turkey include sage, thyme, rosemary, and parsley. These herbs not only add depth of flavor but also complement the natural taste of the turkey. Along with herbs, incorporating aromatics such as garlic and onions can further enhance the savory notes in your dish.
When preparing the gravy for your turkey, don’t forget to utilize the juices and drippings from the roasted bird to create a flavorful base. You can also add a splash of wine or stock to intensify the richness of the gravy.
To incorporate these elements into your turkey, consider creating a herb and garlic butter rub to coat the bird before roasting. This will ensure that the flavors are infused into the meat as it cooks, resulting in a delicious and aromatic turkey that will impress your guests.
Roasting Pan
A quality roasting pan equipped with a rack is essential for ensuring even cooking and capturing flavorful drippings that can be used for gravy or to enhance the turkey’s taste.
The rack allows heat to circulate around the turkey, ensuring that it cooks uniformly and retains its juiciness. Additionally, aluminum foil can be used to tent the bird, preventing over-browning while locking in moisture for a tender result. This not only enhances the flavor but also helps in easy cleanup afterwards.
Don’t forget to add vegetables like carrots, onions, and celery to the pan. These not only impart delicious flavors to the turkey but also create a flavorful bed that prevents the drippings from burning. The vegetables can later be used to make a delicious side dish or enhance the gravy.
Thermometer
Monitoring the internal temperature of the turkey is crucial for determining doneness and ensuring a safe and delicious meal for your Thanksgiving celebration.
Using a thermometer is the most accurate method to gauge the turkey’s temperature as it cooks. Insert the thermometer into the thickest part of the turkey, avoiding contact with bones for precise readings. For a whole bird, the thermometer should reach the innermost part of the thigh and wing, where the meat is thickest. A properly cooked turkey should register at least 165°F (74°C) in the thigh and the thickest part of the breast.
Once the turkey reaches the desired temperature, it is crucial to let it rest before carving. Resting allows the juices to redistribute, resulting in a more moist and flavorful meat. Cover the cooked turkey loosely with foil and let it rest for about 20-30 minutes before serving.
Basting Brush
A basting brush is a handy tool that helps to keep the turkey moist and flavorful by periodically coating it with its own juices or a savory marinade during the roasting process.
The use of a basting brush is key in the kitchen for achieving a perfectly cooked and succulent turkey. By basting, you not only ensure even cooking but also enhance the flavors by allowing the juices to penetrate the meat. To effectively baste a turkey, gently brush it with the baster every 30 minutes or so, ensuring to do so quickly to avoid heat loss. This process not only keeps the meat moist but also imparts a delicious glaze on the skin. The drippings collected can be used to prepare a rich, flavorful gravy to accompany your meal.
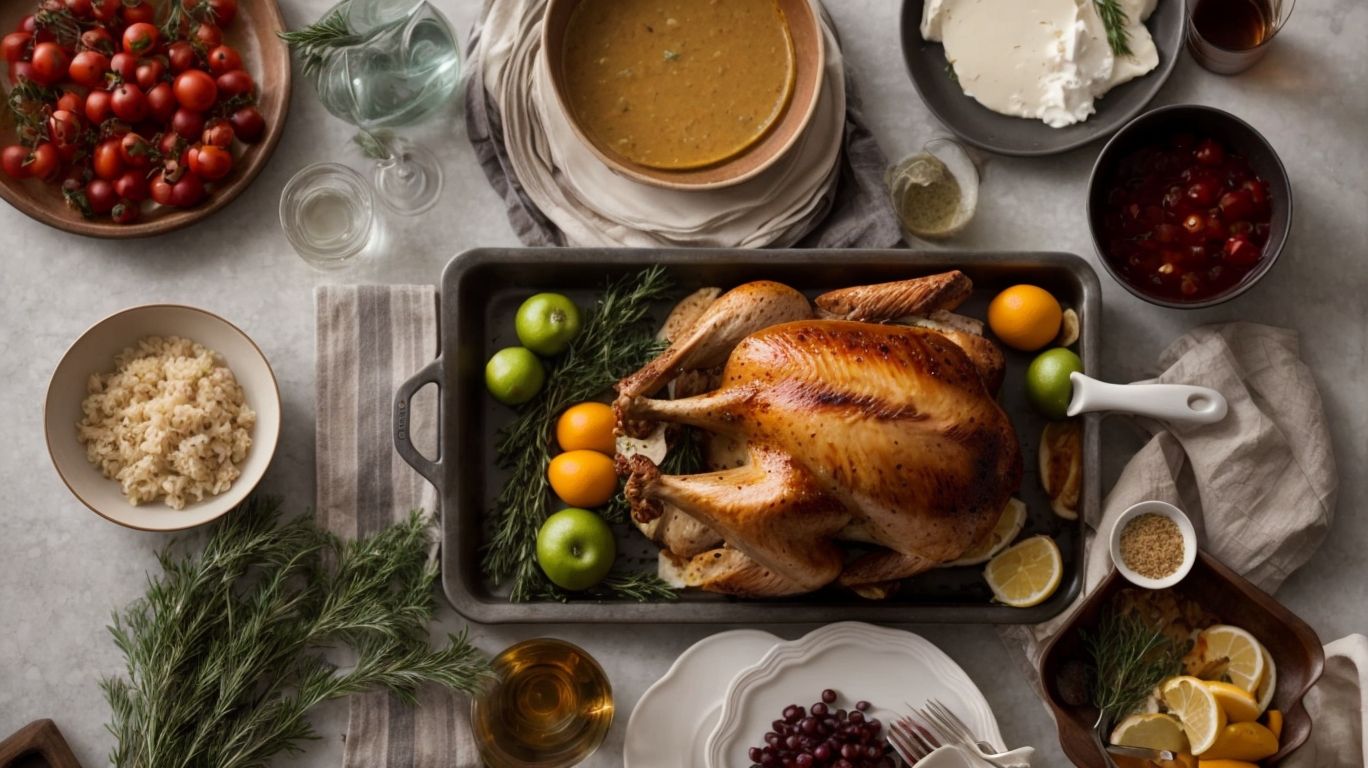
Preparing the Turkey
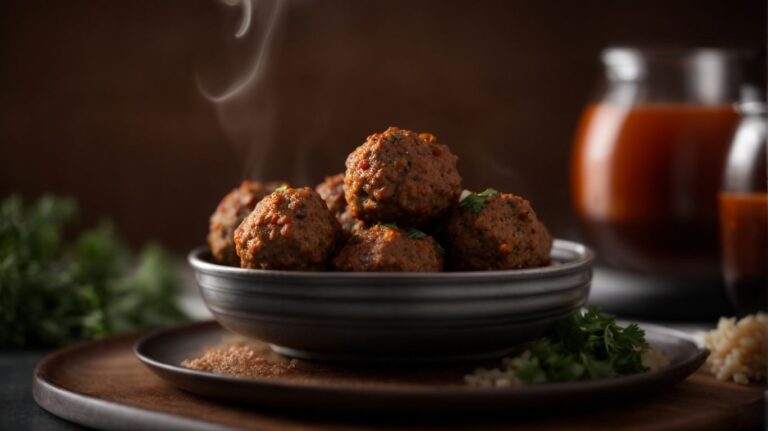
Credits: Poormet.Com – Philip Torres
Before the cooking process begins, it is essential to properly prepare the turkey by cleaning, trimming excess fat, seasoning generously, ensuring it is thawed, and trussing it for even cooking.
Start by rinsing the turkey inside and out with cold water to remove any unwanted residue. Carefully pat it dry with paper towels. Next, trim any excess fat around the neck and body cavity, as well as any loose skin. To season the bird thoroughly, prepare a mixture of your favorite herbs, spices, and salt, and rub it both on the surface and under the skin. Remember, seasoning generously adds flavor to the meat.
To ensure safe cooking, allow the turkey to thaw properly in the refrigerator. A general rule of thumb is to allocate around 24 hours of thawing time for every 4-5 pounds of the bird. Once it is thawed, the trussing step comes into play. With kitchen twine, tie the legs together and tuck the wings under the body to promote even cooking.
Thawing the Turkey
Thawing the turkey properly is crucial to prevent foodborne illness and ensure even cooking throughout the bird.
In terms of thawing a frozen turkey, there are mainly three safe methods to choose from: refrigerator thawing, cold water thawing, and microwave thawing.
- Refrigerator thawing requires planning ahead as it can take a few days based on the size of the bird.
- Cold water thawing is faster but requires changing the water every 30 minutes to maintain a safe temperature.
- On the other hand, microwave thawing can be quick but needs vigilance to prevent uneven cooking spots.
Cleaning and Trimming the Turkey
Cleaning and trimming the turkey involves removing giblets, excess fat, and any unwanted parts to prepare the bird for seasoning and cooking.
After thawing the turkey, the first step is to reach inside the cavity to find the giblets and remove them. These can be the neck, liver, heart, and gizzard, usually packaged in a bag. Ensure you discard or save them for other recipes.
Trimming excess fat from the turkey’s cavities and around the neck and tail areas is essential to prevent flare-ups and to enhance the final presentation of the bird.
Remember to rinse the turkey inside and out, pat it dry with paper towels, and then proceed to season or stuff as needed.
Seasoning the Turkey
Seasoning the turkey with a flavorful blend of herbs, garlic cloves, and other aromatic ingredients will impart a delicious taste to the roast.
In terms of choosing the right herbs for your turkey, consider options like rosemary, thyme, sage, and parsley for a well-rounded flavor profile. Garlic cloves add a robust earthiness that complements the herbs beautifully. To prepare the turkey, finely chop the herbs and garlic cloves, mix them with olive oil, salt, and pepper, and rub this mixture generously all over the turkey, including under the skin for maximum flavor infusion. Allow the seasoned turkey to sit in the refrigerator for a few hours or overnight for the flavors to develop before roasting it to perfection.
Cooking the Turkey
Cooking the turkey to perfection involves a series of steps from preheating the oven to roasting, basting, checking the temperature, and allowing the bird to rest for optimal flavor and tenderness.
Before you start roasting your turkey, it’s essential to preheat the oven to a specific temperature. This ensures that the turkey cooks evenly and retains its juiciness. While roasting, consider using a roasting rack to elevate the turkey, allowing hot air to circulate around the bird efficiently. Basting is another crucial step; it involves brushing or drizzling the turkey with flavorful juices or melted butter to enhance moisture and flavor. Monitoring the internal temperature with a meat thermometer is vital; the turkey is cooked perfectly when it reaches a safe internal temperature. After cooking, let the turkey rest for a specified duration before carving to lock in the juices and ensure a tender, succulent final product.
Preheating the Oven
Preheating the oven to the correct temperature is the first crucial step in ensuring that your turkey cooks evenly and retains its juiciness.
When the oven is preheated, it allows the food to start cooking immediately at the desired temperature, leading to better results. For a succulent turkey, consider preheating your oven to 325°F for a perfect balance of tenderness and crispiness on the outside.
A general rule of thumb is to preheat your oven for at least 20 minutes before placing the turkey inside. This timeframe allows the oven to reach the set temperature consistently, ensuring even cooking throughout.
Preheating at the correct temperature ensures that the turkey’s juices are sealed in, resulting in a moist and flavorful centerpiece for your feast.
Placing the Turkey in the Roasting Pan
Properly placing the seasoned turkey in the roasting pan, preferably on a rack, ensures that it cooks evenly and allows air circulation for a crispy exterior.
Before positioning the turkey in the pan, consider adding aromatic vegetables like onions, carrots, and celery underneath to enhance flavor and keep the meat moist. Make sure the turkey is breast-side up to allow the juices to flow downwards during cooking, resulting in a juicy bird. Additionally, basting the turkey every hour with a mix of broth and melted butter will add moisture and flavor. Remember to tent the turkey with foil initially to prevent excessive browning before removing it for the final crispiness.
Roasting the Turkey
Roasting the turkey at the appropriate temperature and periodically basting it with flavorful juices or marinade ensures a succulent and golden-brown finish.
When roasting a turkey, it’s crucial to preheat the oven to around 325°F to 350°F for even cooking. This moderate heat allows the meat to cook through without drying out, resulting in a juicy interior. Temperature control is key; using a meat thermometer to check the internal temperature is a good practice to prevent undercooking or overcooking.
- Basting the turkey every 30 to 45 minutes not only adds moisture but also imparts additional flavor to the bird. The juices from the turkey mixed with herbs, butter, or wine create a tasty coating that enhances the overall taste.
Regular monitoring is essential during roasting to prevent burning. A quick check and adjustment of foil covering or oven settings can make a significant difference in the end result. Remember, a perfectly roasted turkey is the centerpiece of a memorable meal.
Basting the Turkey
Basting the turkey with its own juices or a delectable marinade throughout the cooking process enhances moisture retention and imparts rich flavors to the meat.
This simple yet crucial technique assists in creating a beautifully browned, crispy skin that adds an irresistible texture to each bite of the succulent turkey. Basting plays a vital role not only in keeping the turkey tender and juicy but also in intensifying the overall taste profile of the dish. It helps in preventing the meat from drying out, ensuring a moist and flavorful outcome.
Checking the Temperature
Regularly checking the internal temperature of the turkey using a reliable thermometer is essential to ensure that it reaches the safe and optimal level for serving.
Monitoring the temperature of the turkey helps in avoiding undercooked dishes that may pose health risks due to harmful bacteria surviving below the recommended temperature range. A digital meat thermometer is a handy tool for this task, ensuring accuracy and precision.
When checking the internal temperature, focus on the thickest part of the turkey, away from bones, as it takes longest to cook. The USDA recommends a minimum internal temperature of 165°F for poultry, with a rest time of 20 minutes, allowing residual heat to continue cooking and making the meat juicy and tender.
Letting the Turkey Rest
Allowing the roasted turkey to rest before carving allows the juices to redistribute, resulting in a more flavorful and tender meat infused with the aromatics and herbs used during cooking.
Resting the turkey is a crucial step in the cooking process, often overlooked but essential for a mouthwatering final dish. During the cooking process, the heat causes the juices to move towards the center of the turkey. Allowing the turkey to rest after it has been removed from the oven allows these juices to redistribute throughout the meat, resulting in a more even flavor and texture.
The aromatics and spices used in the cooking process play a significant role in flavoring the meat. Letting the turkey rest enables these flavors to penetrate the meat deeply, enhancing the overall taste profile. The herbs, such as rosemary, thyme, and sage, along with aromatics like garlic and onion, infuse the meat with their fragrant essence during this resting period.
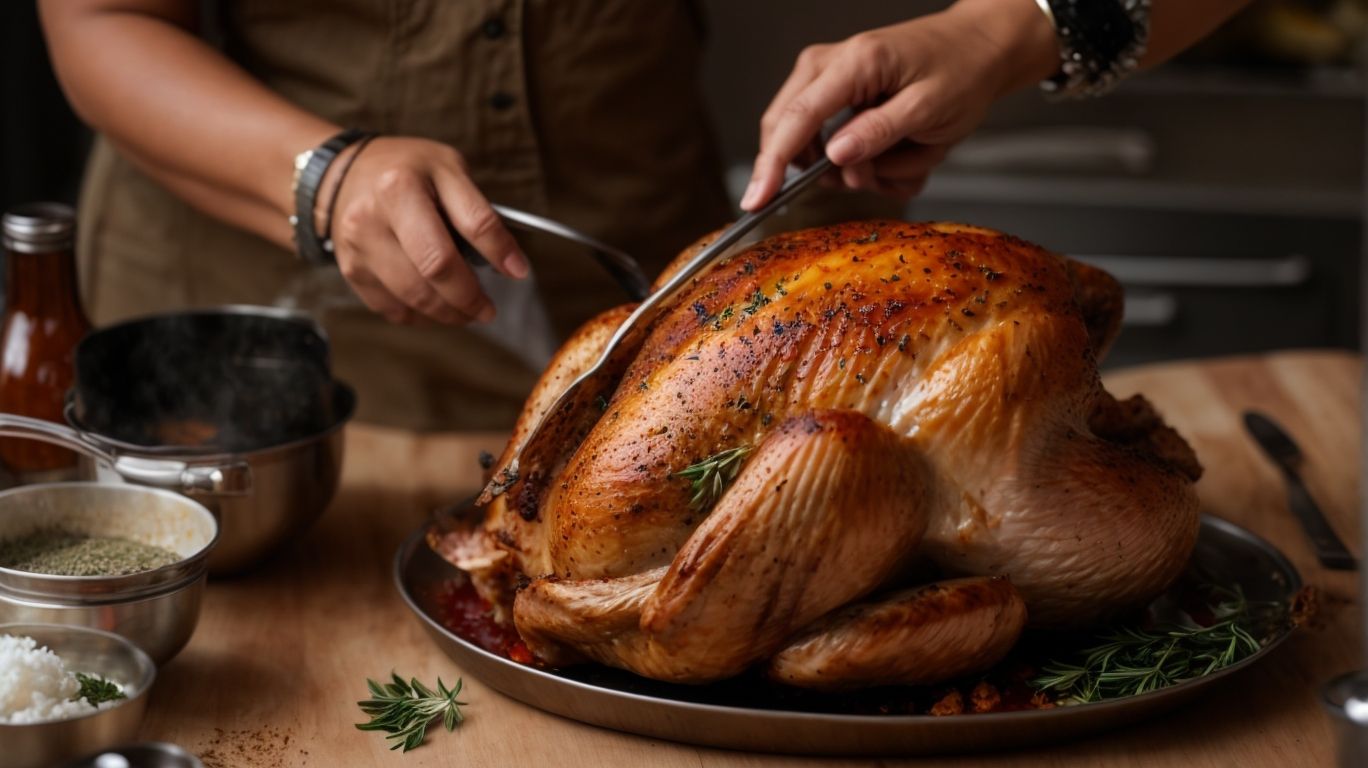
Serving and Carving the Turkey
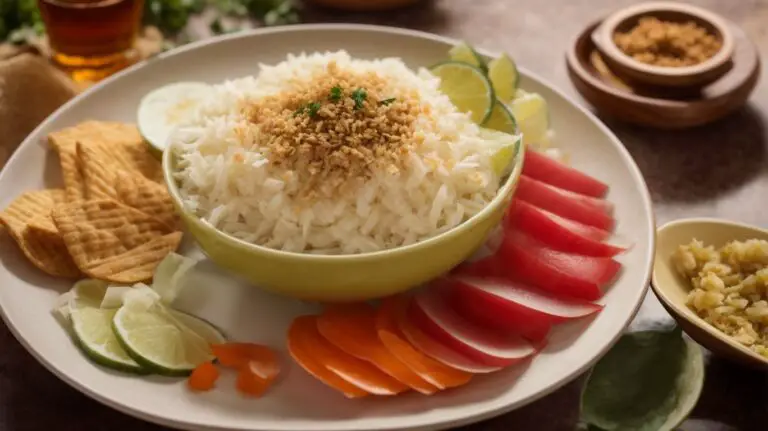
Credits: Poormet.Com – Brandon Johnson
Serving and carving the turkey requires finesse and skill to present a beautifully plated dish that showcases the succulent meat and allows for easy enjoyment by your guests.
Before you begin, ensure you have a sharp carving knife and a sturdy cutting board prepared. Start by placing the turkey on the cutting board breast-side up with the legs facing away from you. To carve the breast, make a long horizontal cut along the bottom of the turkey where the breast meets the thigh. Then, slice down vertically to create thin, even slices.
- For the legs and thighs, gently pull the leg away from the body and cut through the joint to separate them.
- The dark meat of the thighs can be carved into smaller portions for easier serving.
Plating the Turkey
Careful plating of the carved turkey pieces can elevate the visual appeal of your dish, creating an inviting presentation that entices your guests to savor the flavors.
When arranging the turkey slices on the plate, consider colors, textures, and shapes to create a visually appealing arrangement. Utilize the principle of balance and symmetry by placing items thoughtfully.
Experiment with different plate sizes and shapes to complement the dish. Adding a pop of freshness with garnishes like fresh herbs or edible flowers can enhance the overall look.
Remember, a well-plated dish not only stimulates taste buds but also delights the eyes, making for a memorable dining experience.
Carving the Turkey
Mastering the art of carving the turkey, especially the breast meat, involves using the right techniques to yield uniform slices that showcase the tender and juicy qualities of the roast.
In terms of carving the turkey breast meat, selecting the appropriate knife is crucial. A sharp carving knife or a slicing knife with a long, thin blade works best for this task. Begin by placing the rested turkey on a stable cutting board to ensure steady cutting motions.
To achieve even slices, start by cutting parallel to the breastbone, moving along the grain of the meat, and then angle the knife slightly to carve thin, consistent portions. Maintain a steady hand and smooth motions for elegant presentation and optimal flavor distribution.
Frequently Asked Questions
1. How to Cook a Turkey from Scratch?
To cook a turkey from scratch, start by thawing the turkey in the fridge for 24 hours. Then, season the turkey with salt, pepper, and your desired herbs and spices. Place the turkey in a roasting pan and cook it in the oven at 350°F for 20 minutes per pound. Use a meat thermometer to ensure the internal temperature reaches 165°F before serving.
2. Can I Cook a Turkey in a Slow Cooker?
Yes, you can! To cook a turkey in a slow cooker, place it in the slow cooker with your desired seasonings and cook on low heat for 8-10 hours. Make sure to use a smaller turkey (around 8-10 pounds) to ensure it fits in the slow cooker.
3. How to Cook a Turkey for Thanksgiving?
For a perfect Thanksgiving turkey, start by brining the turkey overnight to ensure it stays moist. Then, stuff the turkey with your desired stuffing and cook in the oven at 350°F for 20 minutes per pound. Baste the turkey every 30 minutes for a golden brown and juicy turkey.
4. Should I Stuff the Turkey?
Stuffing a turkey can add a lot of flavor, but it also increases the cooking time and can make the turkey dry. If you choose to stuff the turkey, make sure to use a meat thermometer to ensure the stuffing reaches 165°F as well. Alternatively, you can cook the stuffing separately in a casserole dish.
5. How to Cook a Turkey for a Crowd?
If you’re cooking for a large group, consider cooking two smaller turkeys instead of one large one. This will allow for more even cooking and will also provide more meat for everyone. You can also consider using a roasting pan with a rack to cook multiple turkeys at once.
6. How to Cook a Turkey for Christmas?
For a festive Christmas turkey, consider adding citrus fruits like oranges, lemons, and limes to the cavity of the turkey before cooking. This will add a delicious hint of flavor to the meat. You can also glaze the turkey with a mixture of honey, butter, and herbs for a beautiful and tasty presentation.