How to Cook an Omelette Under the Grill?
Have you ever wondered what makes a delicious omelette? Or why cooking an omelette under the grill is the perfect technique to achieve that fluffy texture and golden brown finish?
In this article, we will explore the step-by-step process of cooking an omelette under the grill, from preparing the ingredients to adding flavorful fillings.
Join Chris Poormet, Culinary Blogger of the Year, as he shares tips and tricks for perfecting your omelette. Let’s dive in and elevate your omelette game!
Key Takeaways:
What Is an Omelette?
An omelette is a versatile dish made primarily from beaten eggs cooked with various fillings, such as vegetables, cheese, or meats.
In terms of the basic ingredients, eggs are the star of the show, providing the foundation for the dish. The beauty of an omelette lies in its flexibility, allowing individuals to customize it to suit their taste and preferences. Whether you opt for a classic combination of cheese and ham, a healthier version with spinach and mushrooms, or a spicy twist with jalapeños and peppers, the choices are endless.
Why Cook an Omelette Under the Grill?
Cooking an omelette under the grill provides even heat distribution, ensuring a perfectly cooked omelette with a nicely browned top.
Unlike traditional stovetop methods, grilling an omelette allows for consistent cooking from top to bottom, eliminating the risk of unevenly cooked or runny portions. The direct heat from the grill seals in flavors while creating that delightful golden crust on the surface. This technique also offers versatility in adding ingredients like cheese or vegetables, which caramelize beautifully under the grill’s heat.
What You Will Need

Credits: Poormet.Com – Philip Johnson
To prepare a delicious omelette under the grill, you will need a variety of ingredients for the omelette itself and specific tools and equipment for cooking.
Ingredients for Omelette
For a flavorful omelette, gather fresh ingredients such as eggs, mushrooms, cheese, parsley, and other fillings of your choice.
To create a scrumptious omelette, start with farm-fresh eggs, ensuring that they are at room temperature for even cooking. When selecting mushrooms, opt for earthy varieties like cremini or shiitake to enhance the umami richness of the dish. Cheese plays a vital role in adding creamy texture and savory depth; consider options like Swiss, cheddar, or goat cheese for a melt-in-your-mouth experience. The addition of fresh parsley not only imparts a subtle herbaceous flavor but also brightens up the overall presentation.
Tools and Equipment
Equip yourself with a good skillet or griddle, a reliable spatula, and suitable mixing bowls to ensure smooth omelette preparation and cooking.
A skillet or griddle is essential for evenly cooking the omelette and ensuring it doesn’t stick to the surface. The spatula plays a crucial role in flipping and folding the omelette with precision, preventing it from breaking apart. Additionally, mixing bowls are necessary for whisking the eggs with any desired fillings before pouring them into the cooking surface. Each of these tools serves a specific purpose in creating a delicious and visually appealing omelette that is both well-cooked and visually appealing.
Step-by-Step Guide to Cooking an Omelette Under the Grill

Credits: Poormet.Com – Jeremy Sanchez
Follow this detailed guide to achieve a perfect omelette by cooking it under the grill with precise instructions at each step of the process.
Step 1: Preparing the Ingredients
Begin by preparing your fresh ingredients, such as chopping vegetables, grating cheese, and whisking the eggs to create a smooth mixture.
Chopping the vegetables uniformly ensures even cooking and consistent flavor distribution throughout the omelette.
When grating the cheese, opt for a medium-fine grater to achieve a balance between melting easily and adding a satisfying texture.
Whisk the eggs vigorously in a bowl until the yolks and whites are fully incorporated, signaling a uniform color and texture. This step ensures a light and fluffy omelette texture once cooked.
Step 2: Whisking the Eggs
Whisk the eggs in a bowl until they are well combined and slightly frothy to ensure a light and fluffy texture for your omelette.
When whisking the eggs for your omelette mixture, you want to aim for a smooth consistency with a few air bubbles dispersed throughout. Eggs whisked to the right point should have a pale yellow color and a slightly thickened texture. Mix the yolks and whites until you no longer see distinct streaks, indicating thorough blending. A proper whisking technique involves using a wire whisk or fork to incorporate air into the eggs, creating that desired lightness. Take care not to over-whisk, as this can lead to a denser omelette. Remember, the key is to strike the balance between well-combined but not overly beaten eggs for the perfect omelette.
Step 3: Preparing the Pan
Preheat your skillet or griddle with a touch of butter to prevent sticking and ensure even cooking of the omelette.
Properly preparing your cooking surface is essential for achieving a delicious and perfectly cooked omelette. By preheating the skillet or griddle, you can create a non-stick surface that allows the omelette to easily slide out without leaving any residue behind.
Plus using butter, you can also consider other techniques such as using a high-quality non-stick spray or a dab of oil to further prevent sticking. Ensuring that the surface is evenly heated before adding the omelette ingredients will help in achieving consistent cooking results.
Step 4: Cooking the Omelette
Pour the egg mixture into the preheated pan and cook the omelette over medium heat until the edges start to set, then gently fold it for uniform cooking.
When cooking an omelette, it’s essential to strike a balance with the heat – too high of a temperature can result in a burnt exterior while the inside remains undercooked. By cooking over medium heat, you allow the eggs to set gradually, ensuring a creamy interior.
As the edges of the omelette start to firm up, it’s time to work on the folding technique. Use a spatula to gently lift one side of the omelette and fold it over the other. This folding action not only aids in even cooking throughout but also gives that classic omelette appearance.
Step 5: Adding Fillings
Sprinkle your favorite fillings, such as cheese, herbs, or cooked vegetables, over the partially cooked omelette before finishing the cooking process.
Adding fillings to your omelette is where you can truly make it your own masterpiece. Whether you prefer a classic combination like cheddar and spinach or want to explore more adventurous flavors like feta and sun-dried tomatoes, the possibilities are endless. Consider incorporating protein-rich ingredients like ham, bacon, or smoked salmon for a heartier dish. Don’t forget to balance the flavors with a touch of freshness from ingredients like diced tomatoes, avocados, or a sprinkle of fresh herbs. The key is to experiment and find the unique flavor combinations that appeal to your taste buds.
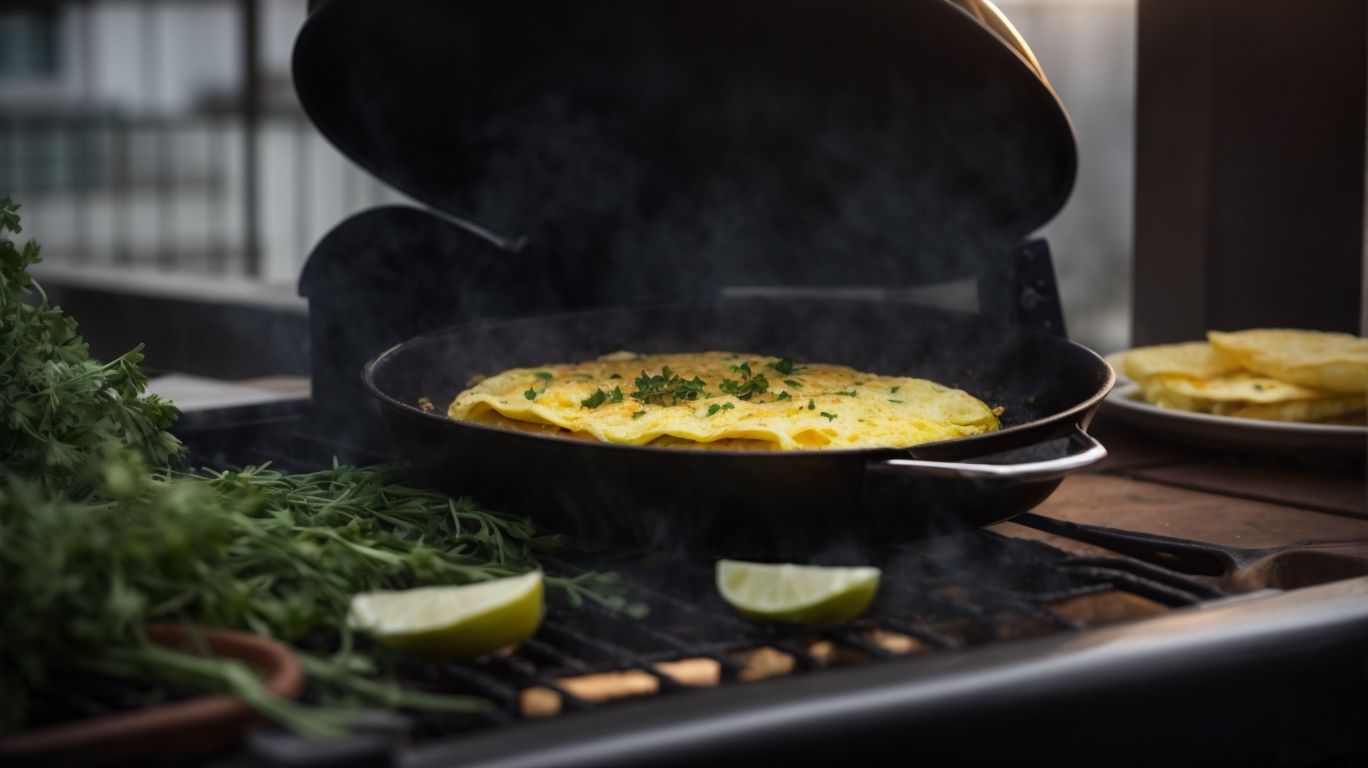
Step 6: Placing the Omelette Under the Grill
Transfer the prepared omelette to the grill for a brief period to melt the cheese and achieve a golden-brown finish on the top layer.
Grilling the omelette serves as the final touch to enhance its taste and texture. As the omelette sits on the grill, the gentle heat will melt the cheese, creating a gooey, savory layer that complements the fluffy eggs. This process also caramelizes the top layer, adding a delightful crunch to each bite. Grilling imparts a smoky flavor, elevating the overall profile of the omelette. By grilling, you infuse the dish with a charred essence, marrying well with the creamy cheese and soft eggs.
Tips and Tricks for Perfecting Your Omelette
Credits: Poormet.Com – Nicholas Mitchell
Discover essential tips and tricks to elevate your omelette-making skills, ensuring consistent and delicious results every time.
How to Know When the Omelette Is Ready?
To determine if your omelette is ready, look for a firm but slightly moist texture in the center and golden-brown edges around the sides.
For a perfectly cooked omelette, pay attention to the lifted edges that should be easily lifted away from the pan without any runny liquid escaping from underneath. The top surface of the omelette should be set and not appear wet or jiggly.
Another key visual cue is the color uniformity across the top of the omelette; it should have a consistent light golden-brown hue, indicating thorough cooking without any raw egg remaining.
How to Prevent the Omelette from Sticking to the Pan?
To prevent your omelette from sticking to the pan, ensure proper preheating, use sufficient butter or oil, and opt for non-stick cookware.
Another essential tip to keep in mind is to avoid cooking over excessively high heat, as this can cause the egg mixture to stick and burn quickly. Consistently stirring your omelette as it cooks can also help prevent sticking, ensuring even cooking throughout. Investing in a high-quality non-stick pan and properly seasoning it before use can significantly reduce the chances of your omelette sticking. Remember that gentle heat and a well-seasoned surface are key to achieving a perfectly cooked, non-stick omelette.
How to Add Flavors to Your Omelette?
Enhance the flavors of your omelette by experimenting with different seasonings, herbs, and spices to create a customized and delicious dish.
Adding freshly ground black pepper can give your omelette a zesty kick, while a sprinkle of paprika adds a touch of smokiness. For a burst of freshness, consider mixing in some chopped fresh chives or basil. Garlic powder can introduce a savory depth, and a pinch of turmeric not only enhances the color but also offers earthy notes.
Conclusion
Mastering the art of cooking an omelette under the grill can elevate your breakfast, lunch, or dinner experience with a flavorful and customizable dish.
When cooking omelettes under the grill, you have the advantage of achieving a perfectly cooked, fluffy texture while ensuring that the fillings are thoroughly integrated. The even heat distribution from the grill helps in avoiding undercooked or overcooked spots, resulting in a consistent taste and texture throughout the omelette.
Grilling the omelette imparts a delicious smoky flavor that adds a new dimension to the dish. By experimenting with various ingredients like cheese, vegetables, meats, or herbs, you can create a range of flavor profiles, making each omelette a unique culinary experience.
Final Thoughts on Cooking an Omelette Under the Grill
Embrace the culinary adventure of cooking omelettes under the grill to explore new flavors, techniques, and dining possibilities that cater to your taste and preference.
When grilling omelettes, the direct heat from the grill adds a delightful charred flavor to the dish, enhancing its overall complexity. The controlled heat distribution ensures even cooking, resulting in a perfectly fluffy and golden omelette.
Grilling omelettes allows for a hands-free cooking experience, giving you the freedom to attend to other meal preparations or entertain guests without constant monitoring.
Experimenting with various ingredients, such as fresh herbs, cheeses, meats, and vegetables, can elevate the flavors of your omelette, providing a creative outlet for culinary exploration.
Frequently Asked Questions
How to Cook an Omelette Under the Grill?
Cooking an omelette under the grill is a delicious and easy way to enjoy this classic breakfast dish. Here are some frequently asked questions and answers to help you perfect your omelette-making skills.
1. What ingredients do I need to make an omelette under the grill?
To make a basic omelette, you will need eggs, milk, salt, pepper, and your choice of fillings such as cheese, vegetables, or meats. You will also need a non-stick pan or oven-safe skillet, and a grill or broiler.
2. How do I prepare the pan for cooking under the grill?
Before cooking your omelette, make sure to preheat your pan or skillet on the stovetop over medium heat. Once the pan is hot, add a small amount of butter or oil to prevent sticking.
3. What is the best way to beat eggs for an omelette under the grill?
The key to a fluffy omelette is to beat the eggs well. To do this, crack the eggs into a bowl and use a whisk or fork to beat them until they are well combined and frothy. This will help create air pockets in the eggs, resulting in a light and fluffy texture.
4. How long should I cook my omelette under the grill?
The cooking time for an omelette under the grill will vary depending on the heat of your grill and the thickness of your omelette. It typically takes about 2-3 minutes for the eggs to set and the cheese to melt. Keep an eye on it to prevent burning.
5. Can I make a vegetarian omelette under the grill?
Yes, you can make a delicious vegetarian omelette under the grill by omitting any meat fillings and using vegetables such as bell peppers, mushrooms, onions, or spinach. You can also add in some shredded cheese for extra flavor.
6. How do I know when my omelette under the grill is ready?
Your omelette is ready when the eggs are set and the cheese is melted. You can test this by gently lifting one side of the omelette with a spatula. If it holds together and is slightly golden on the bottom, it is ready to be removed from the grill.