How to Cook Condensed Milk Into Caramel?
Are you craving something sweet and indulgent? Look no further than caramel made with condensed milk.
Discover the wonders of caramel and condensed milk, exploring why condensed milk is the perfect ingredient for making this delicious treat.
We will discuss the benefits and drawbacks of using condensed milk for caramel, provide you with step-by-step instructions on how to make the perfect caramel, and share some tips for success and creative ways to enjoy your homemade caramel.
Get ready to satisfy your sweet tooth like never before!
Key Takeaways:
What is Caramel?
Caramel is a versatile confection made by heating sugar, often with water or cream, to create a sweet, golden-brown sauce used in various desserts and baked goods.
One popular method of making caramel involves heating sugar until it melts and turns into a rich amber color. Adding sweetened condensed milk to the mixture can produce a creamy texture, while a sprinkle of cinnamon can add a warm, aromatic touch. The key to achieving the perfect consistency lies in careful monitoring and stirring to prevent burning. Once ready, caramel can be drizzled over ice cream, folded into brownie batter, or used as a filling for cakes and pastries.
What is Condensed Milk?
Condensed milk is a thick, sweetened dairy product made by evaporating most of the water content from cow’s milk and adding sugar, resulting in a creamy and concentrated ingredient often used in desserts and baking.
During the production process, after the water content is reduced, the mixture is homogenized to achieve a smooth and rich texture. The thick consistency of condensed milk, with its high sugar content, aids in preserving the product for an extended period without refrigeration, giving it a long shelf life. This makes condensed milk a versatile pantry staple for various culinary creations, ranging from caramel sauces and fudges to ice creams and pies. When using condensed milk in recipes, it is crucial to carefully check the label for nutritional information to monitor sugar levels and calorie intake. Being a dairy product, consumers should also consider any potential allergies or dietary restrictions before consumption.
Why Use Condensed Milk for Caramel?
Using condensed milk for caramel offers a convenient and quick method to create a luscious caramel sauce without the need for extensive cooking or complex ingredients.
Benefits of Using Condensed Milk for Caramel
The benefits of using condensed milk for caramel include a shorter cooking time, a smoother consistency, and the ability to adapt the flavor profile by blending in various ingredients.
When preparing a traditional caramel sauce, one would usually need to slowly heat sugar and butter to the perfect amber hue, a process that can take an hour or more. With condensed milk, the cooking time is significantly reduced, allowing you to achieve that rich caramel flavor in a fraction of the time. This makes it a convenient option for busy cooks or those looking to whip up a quick batch of caramel for their desserts.
Drawbacks of Using Condensed Milk for Caramel
While condensed milk offers convenience, drawbacks of using it for caramel may include a potential lack of control over the caramelization process, requiring longer cooling times to reach desired consistency.
Due to condensed milk’s high sugar content, the caramelization process can happen quickly and may be harder to monitor compared to traditional methods involving separate sugar and cream components. This can lead to the risk of over or under cooking the caramel, affecting its overall taste and texture. The increased liquid content in condensed milk necessitates longer cooling periods, as it takes more time to thicken and set into the desired consistency.
How to Make Caramel with Condensed Milk?
Creating caramel with condensed milk is a straightforward process that involves simmering the condensed milk in a medium saucepan until it transforms into a rich and indulgent sauce.
Step 1: Gather Ingredients
To start making caramel with condensed milk, gather your ingredients, including sweetened condensed milk, water, and any additional flavorings like apple for a unique twist.
Choosing high-quality sweetened condensed milk is crucial for a rich and creamy caramel flavor. Ensure the water you use is clean and free from impurities to avoid any off-flavors in the caramel. When selecting additional flavorings, consider options like vanilla extract, sea salt, or cinnamon for a warm and aromatic touch.
Step 2: Prepare the Condensed Milk
Before cooking, prepare the condensed milk by ensuring the can is clean, removing the label, and spreading it evenly in the saucepan for uniform heating.
Start by cleaning the exterior of the condensed milk can thoroughly to avoid any debris falling into the caramel mixture. Once clean, carefully inspect the can to ensure there are no remnants of the label that could melt or interfere with the cooking process.
After clearing the can of any label remnants, take a spoon and gently stir the condensed milk to achieve a consistent texture throughout. This step is crucial to ensure even distribution of the milk in the pan, which will help in achieving a smooth and creamy caramel consistency.
Step 3: Cook the Condensed Milk
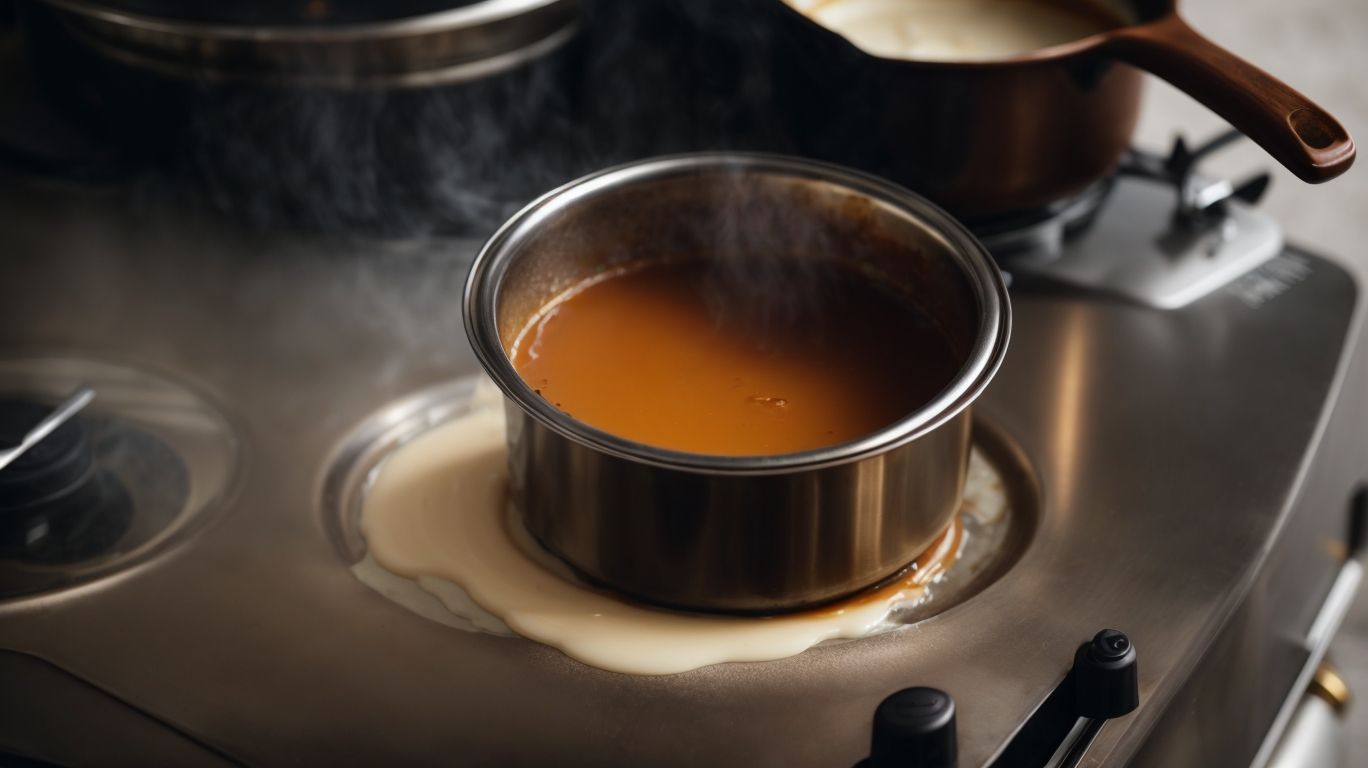
Cook the condensed milk over low heat, allowing it to simmer uncovered for a few hours until it reaches a deep caramel color, stirring occasionally to prevent burning.
Patience is key when cooking condensed milk to caramel. The gradual transformation from a pale creamy hue to a rich caramel shade requires slow and gentle heat. By simmering the condensed milk over low heat, its sugars slowly caramelize, yielding a luscious and velvety texture.
During this process, occasional stirring is crucial to ensure even heat distribution and prevent any scorching. The magic unfolds as the mixture thickens and darkens, intensifying in flavor with each passing minute.
Step 4: Add Flavorings (Optional)
For additional flavor dimensions, consider blending in ingredients like cinnamon or apple to the caramel, adapting the original recipe to suit your taste preferences.
Experimenting with different flavor enhancements can take your caramel to new heights of deliciousness. The warm, fragrant notes of cinnamon can add a cozy, comforting element to the rich sweetness of caramel. Alternatively, the crisp, slightly tart taste of apple can provide a refreshing twist that balances out the sweetness.
By customizing the flavor profile of the caramel, you can create a unique treat that caters exactly to your preferences and cravings. Whether you prefer a more traditional, spiced flavor with cinnamon or a fruity, fresh taste with apple, the possibilities for customization are endless.
Tips for Making Perfect Caramel with Condensed Milk
To ensure success when making caramel with condensed milk, follow these expert tips that guarantee a safe and delicious outcome refined over years of culinary experience.
Tip 1: Use a Non-Stick Pan
Utilize a non-stick pan when making caramel to prevent sticking and ensure a smooth cooking process without the need for excess oil or butter.
Non-stick pans are essential tools that guarantee an effortless caramel-making experience. The non-stick surface provides a slick platform for the sugar to melt evenly without clumping or burning. This ensures that your caramel achieves the perfect consistency and color, giving you that luscious golden hue every time.
Using a non-stick pan reduces the risk of accidents caused by sticky sugar splatters, making the process safer for you. When you are ready to dip or spread your caramel, the non-stick pan facilitates easy removal without leaving a mess or damaging your cookware.
Tip 2: Stir Constantly
Maintain a consistent stirring pace while cooking caramel with condensed milk to prevent burning and achieve a uniform texture throughout the sauce.
Stirring the caramel sauce continuously is crucial as it ensures that the sugar does not crystallize unevenly, leading to an unpleasant grainy texture. When making caramel with condensed milk, the sugars can easily stick to the bottom of the pan and scorch if left unstirred, resulting in a burnt flavor.
Continuous stirring promotes even heating, allowing the sugars to caramelize uniformly. The motion helps distribute the heat evenly, preventing hot spots that can lead to burnt caramel in some areas and undercooked sweetness in others.
Tip 3: Use a Candy Thermometer
Employ a candy thermometer to monitor the temperature of the caramel accurately, ensuring safe handling and cooling to achieve the desired consistency.
Using a candy thermometer when preparing caramel not only guarantees precise temperature control but also minimizes the risk of accidental burns or overheating. Safety should always be a top priority in the kitchen, especially when working with hot sugar mixtures.
By allowing the caramel to cool properly after reaching the ideal temperature, you can enhance its texture and flavor. Remember to follow the recommended cooling times to avoid graininess or crystallization in the final product.
Tip 4: Be Patient
Practice patience during the caramel-making process with condensed milk, as slow cooking yields the best results, allowing the sauce to develop its rich flavors over time.
When condensed milk is slowly heated over a low flame, its sugars break down and caramelize, creating that signature rich and velvety texture that we all love. Giving the sauce ample time to simmer allows for the flavors to deepen and intensify, resulting in a caramel sauce that is truly decadent and irresistible.
The process of caramelization is a delicate dance of heat and time, requiring attentive monitoring and occasional stirring to prevent any burning or scorching.
Ways to Use Caramel Made from Condensed Milk
Credits: Poormet.Com – Mason Brown
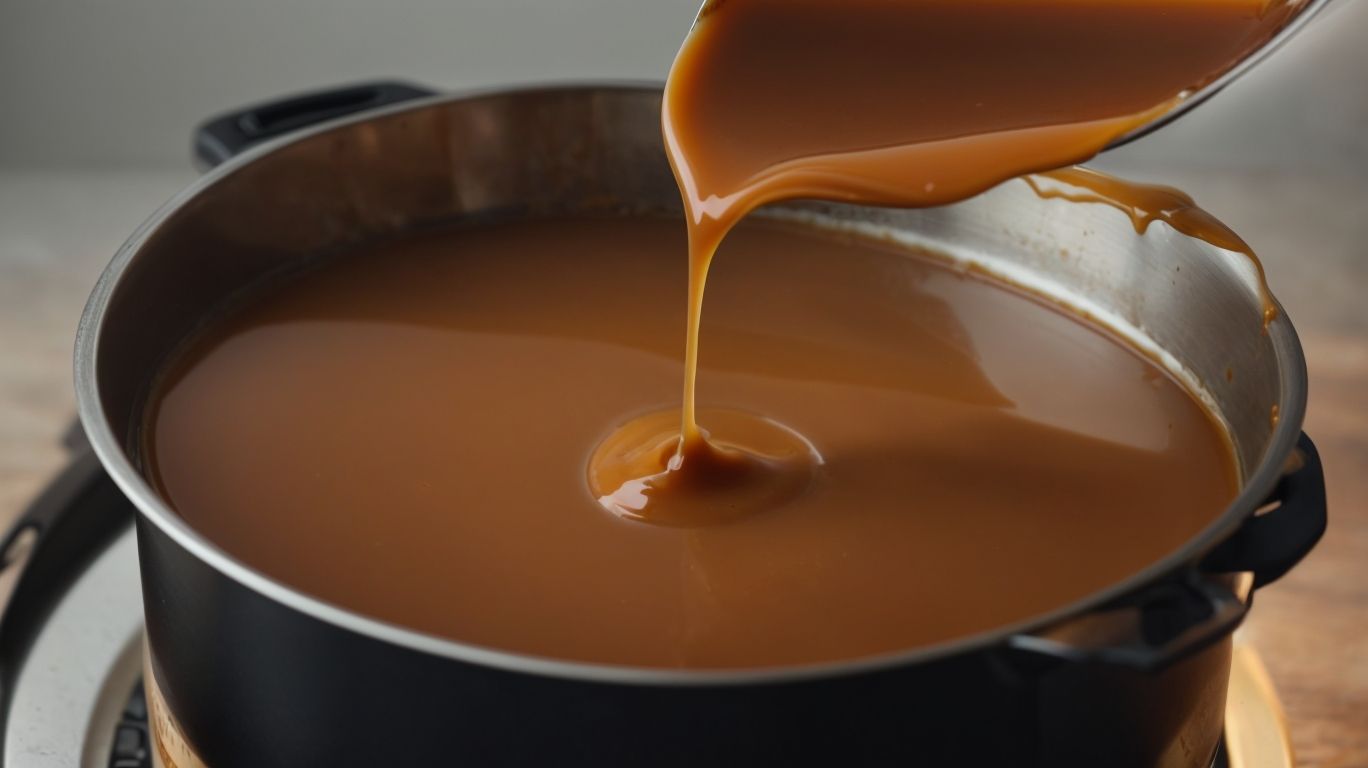
Once you have your decadent caramel made from condensed milk, explore these creative ways to serve it, from drizzling over apple pie to incorporating it into luscious desserts.
As a Topping for Desserts
Enhance your favorite desserts by using caramel made from condensed milk as a delectable topping, creating visually appealing and mouthwatering treats worthy of capturing in photos.
When drizzled over a creamy cheesecake or a warm apple pie, the golden caramel cascading down the sides adds a touch of elegance and a rich, buttery flavor that melds perfectly with the dessert’s sweetness. The contrasting colors and textures of the dessert and caramel create a tantalizing visual contrast that beckons indulgence. Consider capturing these delightful creations on camera to preserve the artistry of your culinary endeavors and share the tantalizing allure with others.
As a Filling for Pastries
Transform ordinary pastries into gourmet delights by incorporating caramel made from condensed milk as a sumptuous filling, adding layers of flavor and indulgence to your baked creations like apple pie rolls.
Using condensed milk caramel in pastries not only enriches them with a creamy sweetness but also imparts a luscious texture that elevates the overall experience. The caramel’s velvety consistency pairs perfectly with the flaky crust of apple pie rolls, creating a harmonious blend of flavors. The slight hint of caramelization adds a depth of complexity, making each bite a delightful journey for the taste buds.
As a Dip for Fruit
Elevate your fruit platters with a decadent caramel dip made from condensed milk, offering a delightful contrast of sweet and tangy flavors to complement a variety of fresh fruits.
The rich and creamy texture of the caramel dip adds a luxurious touch to the crispness of apples, the juiciness of berries, and the tropical sweetness of pineapple.
Condensed milk caramel also brings a depth of flavor that merges beautifully with the natural sweetness of fruits, creating a truly indulgent treat. To enhance the overall fruit experience, consider serving the caramel dip alongside sliced bananas, kiwi, or even chunks of mango for a delightful medley of flavors.
As a Flavoring for Coffee or Cocktails
Infuse your coffee or cocktails with a touch of indulgence by incorporating caramel made from condensed milk as a rich and flavorful sweetener, creating uniquely delicious beverages.
Condensed milk caramel, known for its creamy texture and intense sweetness, adds a velvety richness to your favorite drinks. Whether you’re a coffee connoisseur or a cocktail aficionado, this simple ingredient can elevate your creations to new heights of satisfaction.
A simple drizzle of condensed milk caramel can transform a regular cup of coffee into a decadent treat that rivals those from a specialty cafe. Imagine the smooth caramel notes blending effortlessly with the bold flavors of espresso, creating a harmonious balance of sweetness and bitterness in each sip.
Frequently Asked Questions
What is condensed milk?
Condensed milk is a type of milk that has had the majority of its water content removed, resulting in a thick and sweet syrup.
Can I use any type of condensed milk to make caramel?
Yes, you can use any type of condensed milk, whether it is full-fat or low-fat, to make caramel. The only difference may be in the consistency and sweetness of the final product.
Do I need any special equipment to make caramel from condensed milk?
No, all you need is a saucepan, a spoon, and a stovetop. However, using a non-stick saucepan can make the process easier.
How long does it take to cook condensed milk into caramel?
It usually takes about 2-3 hours to cook condensed milk into caramel, depending on the heat and consistency you desire.
Can I add any additional ingredients to the caramel?
Yes, you can add a pinch of salt, vanilla extract, or even a splash of rum for added flavor. Just be careful not to add too much, as it can alter the consistency of the caramel.
How do I store leftover caramel?
Leftover caramel can be stored in an airtight container in the refrigerator for up to two weeks. You can also freeze it for longer storage, but make sure to thaw it before using.

