How to Cook Damper Without a Camp Oven?
Ever wondered how to make delicious damper without a camp oven?
We will explore the process of cooking this traditional Australian bread over an open fire. From the ingredients needed to tips for success, we will guide you through each step of the process.
Stay tuned to learn how to prepare and cook damper without a camp oven like a pro!
Key Takeaways:
What Is Damper?
Credits: Poormet.Com – Randy Roberts
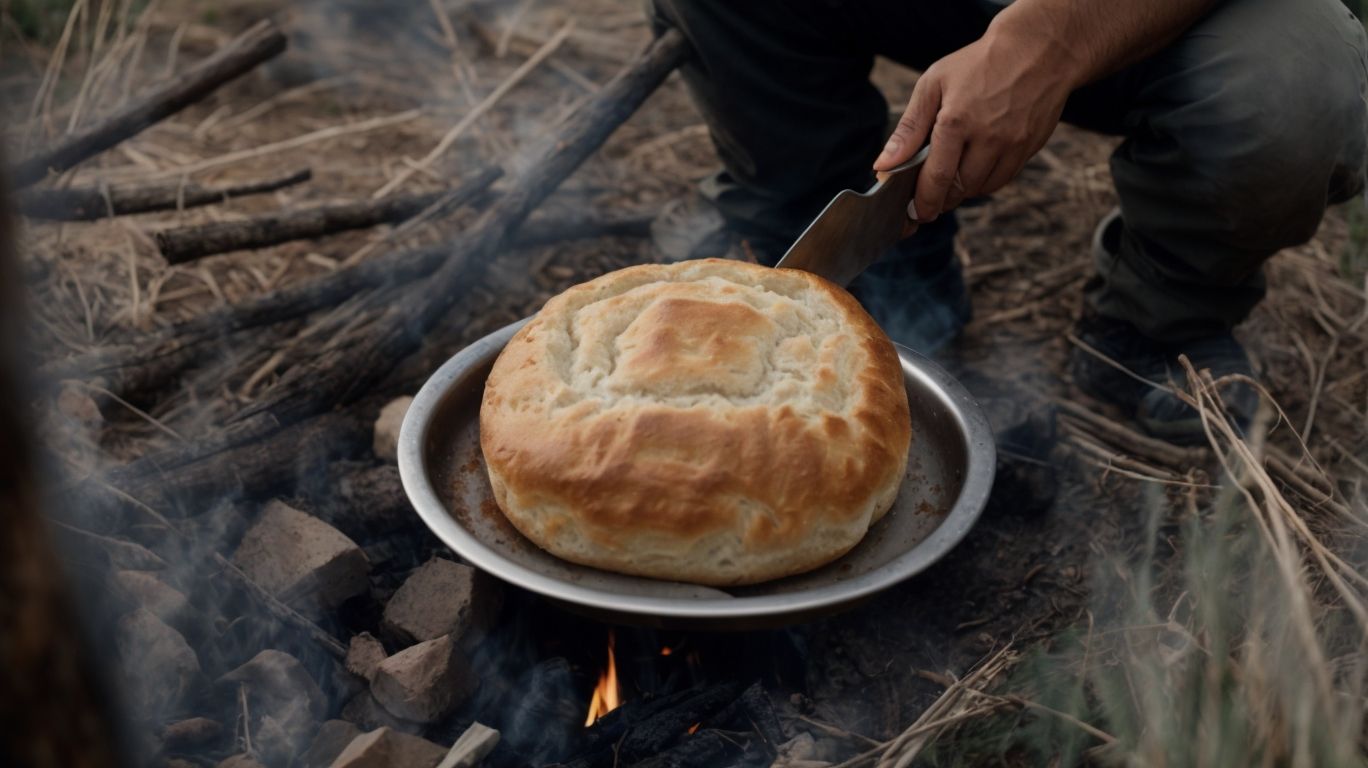
Damper, a traditional Australian bread, holds a special place as a campfire favorite among food enthusiasts.
Its history dates back to the early colonial days in Australia, where it was a staple for drovers and stockmen traveling through the outback. Originally made with just flour, salt, and water, it was cooked in the coals of a campfire, giving it a delicious smoky flavor. The simple ingredients and easy preparation made it a practical and comforting food option in the harsh outback environment.
Today, damper remains popular in Australian households as a nostalgic reminder of the country’s pioneering days. It is often enjoyed with golden syrup, jam, or butter, and its versatility allows for various additions like cheese, herbs, or dried fruits for a modern twist.
Why Cook Damper Without a Camp Oven?
Cooking damper without a camp oven offers a unique experience that enhances the rustic charm of preparing this traditional bread over an open campfire.
Embracing this method allows you to truly connect with nature, feeling the warmth of the flames on your face and hearing the crackling of the firewood as the dough slowly bakes to perfection.
Preparing damper without a camp oven encourages you to master essential campfire cooking techniques, such as judging temperature through the intensity of the fire and adjusting cooking times accordingly.
Accessibility
Accessibility is a key aspect when it comes to cooking damper without a camp oven, catering to campers and outdoor enthusiasts seeking practical solutions.
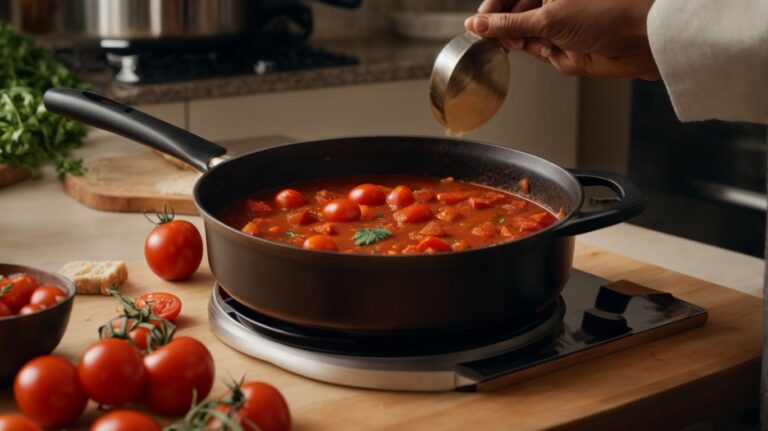
Fortunately, preparing damper sans camp oven doesn’t have to be a daunting task. With a few clever cooking techniques and some basic equipment adjustments, campers can enjoy this traditional Australian bread treat even in the absence of a camp oven. One popular method involves using a cast-iron skillet or Dutch oven over an open flame, allowing the dough to cook evenly and develop that classic crust. By adapting to the resources at hand, outdoor cooking experiences can be fulfilling and delicious.
Convenience
Cooking damper without a camp oven offers unmatched convenience, allowing for flexibility in ingredient choices, cooking methods, and recipe variations.
One of the key advantages of preparing damper without a camp oven is the simplicity in selecting ingredients. You can quickly gather self-raising flour, salt, water, and any optional add-ins like cheese or herbs without the need for special equipment or ingredients. The cooking instructions are straightforward, requiring just a mixing bowl and an oven. Simply combine the ingredients, knead the dough, shape it, and bake until golden brown.
Versatility
The versatility of cooking damper without a camp oven shines through its ability to accommodate both sweet and savory preferences, along with a myriad of recipe variations.
Regarding sweet options, damper can transform into a delightful treat by adding ingredients like honey, dried fruits, or chocolate chips. On the savory side, incorporating cheese, herbs, or garlic can elevate the flavors to a whole new level. The beauty of damper lies in its adaptability; you can customize it to suit your taste buds and experiment with different combinations to create a unique dish each time. Whether you are craving a sugary indulgence or a savory delight, damper offers a canvas for culinary exploration.
What Are the Ingredients for Damper?
Credits: Poormet.Com – Jack Torres
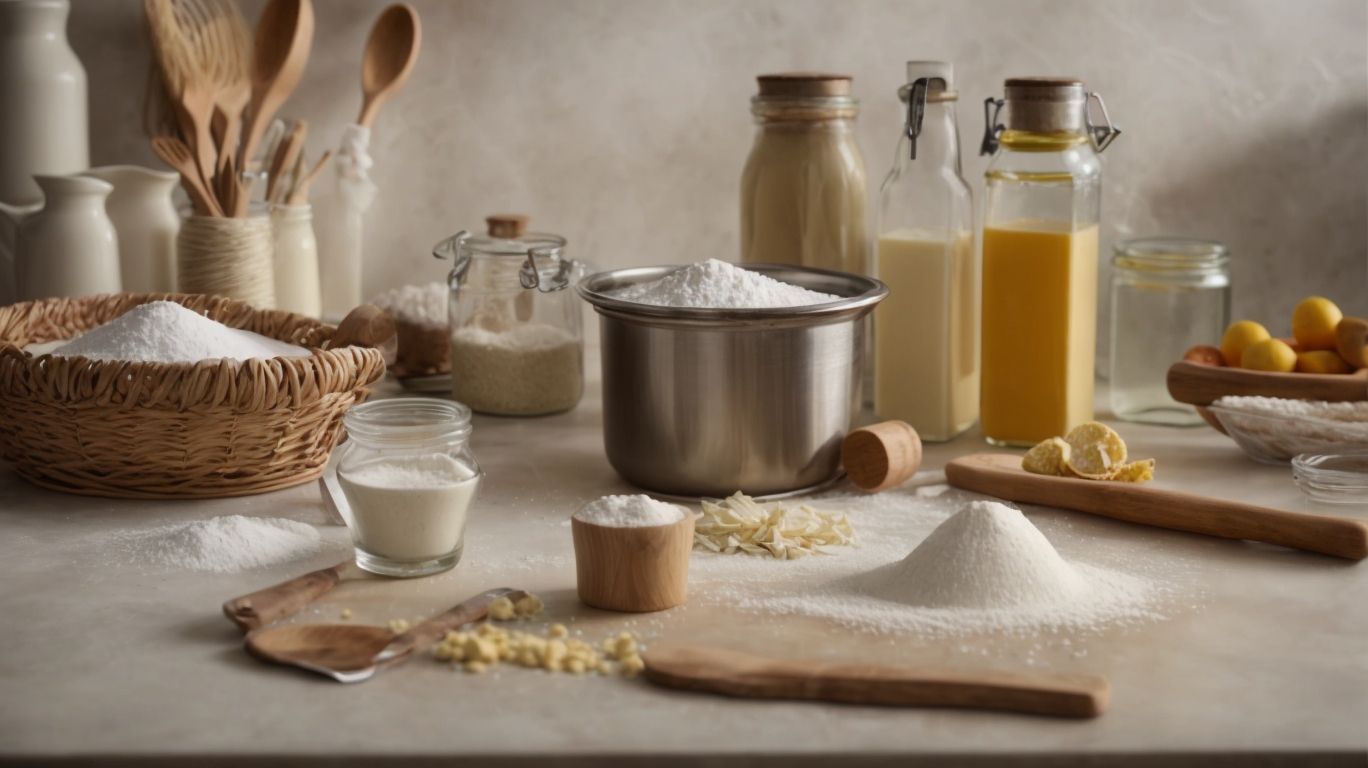
The key ingredients for making damper include self-raising flour, salt, and water, forming the foundation for this traditional Australian bread.
Self-raising flour is crucial as it already contains the perfect ratio of flour and leavening agents, ensuring the damper rises properly without the need for additional yeast.
- Adding just the right amount of salt not only enhances the flavor but also helps to strengthen the gluten structure, giving the damper a desirable texture.
- Water acts as the binding agent, bringing all the ingredients together to form a cohesive dough that can be easily shaped and baked to perfection.
Flour
Flour serves as the fundamental ingredient in damper recipes, acting as the primary component that forms the dough for this traditional bread.
It’s crucial to choose the right type of flour to achieve the desired consistency and texture in your damper. Different flours contain varying amounts of protein, affecting the structure of the dough. High-protein flours like bread flour create a stronger, more elastic dough, while low-protein flours result in a more tender crumb.
When mixing the flour with water and other ingredients, gluten development occurs, contributing to the dough’s elasticity and rise during baking. Kneading the dough helps align the gluten strands for better structure. The amount of flour used also influences the final product, with too little leading to a dense loaf and too much resulting in a tough texture.
Salt
Salt plays a crucial role in enhancing the flavor profile of damper, contributing to the formation of a savory crust that adds depth to this traditional bread.
When salt is incorporated into the damper dough, it helps to intensify the overall taste experience by balancing out the sweetness or neutrality of the other ingredients. Not only does it enhance the savory notes, but salt also plays a key role in controlling the fermentation process, influencing the texture and structure of the final loaf.
Properly seasoning the dough with salt is essential for achieving that perfect balance of flavors. The presence of salt impacts the enzymatic activity, which in turn affects the crust formation, giving the damper its characteristic golden-brown exterior and delightful crunch.
Water
Water is a vital component in damper recipes, essential for creating the right consistency in the dough and ensuring proper cooking of this traditional Australian bread.
Regarding dough hydration, water plays a crucial role in binding the dry ingredients together and activating the gluten formation, which is key for achieving the desired texture of the damper. The amount of water used directly impacts the dough’s elasticity and pliability, affecting how the bread will rise and bake. Water contributes to the overall moisture content of the damper, influencing its tenderness and crumb structure during the baking process. Ensuring the right balance of water in the recipe is fundamental to achieving a delicious and well-textured damper.
Optional Ingredients
Along with the basic ingredients, optional additions like rosemary, cheese, and chives can elevate the flavor profile of damper, offering a creative twist to this traditional bread.
These optional ingredients not only add depth to the flavor but also provide a customizable touch to the recipe. For a herbaceous note, you can mix in fresh rosemary or even experiment with thyme or sage. To introduce a hint of tanginess, consider incorporating shredded cheese like cheddar or parmesan into the dough mixture.
The addition of finely chopped chives can offer a subtle onion flavor that complements the overall taste of the damper. For those looking to further enrich the texture, options such as diced bacon, sun-dried tomatoes, or even caramelized onions can bring a delectable twist to this Aussie favorite.
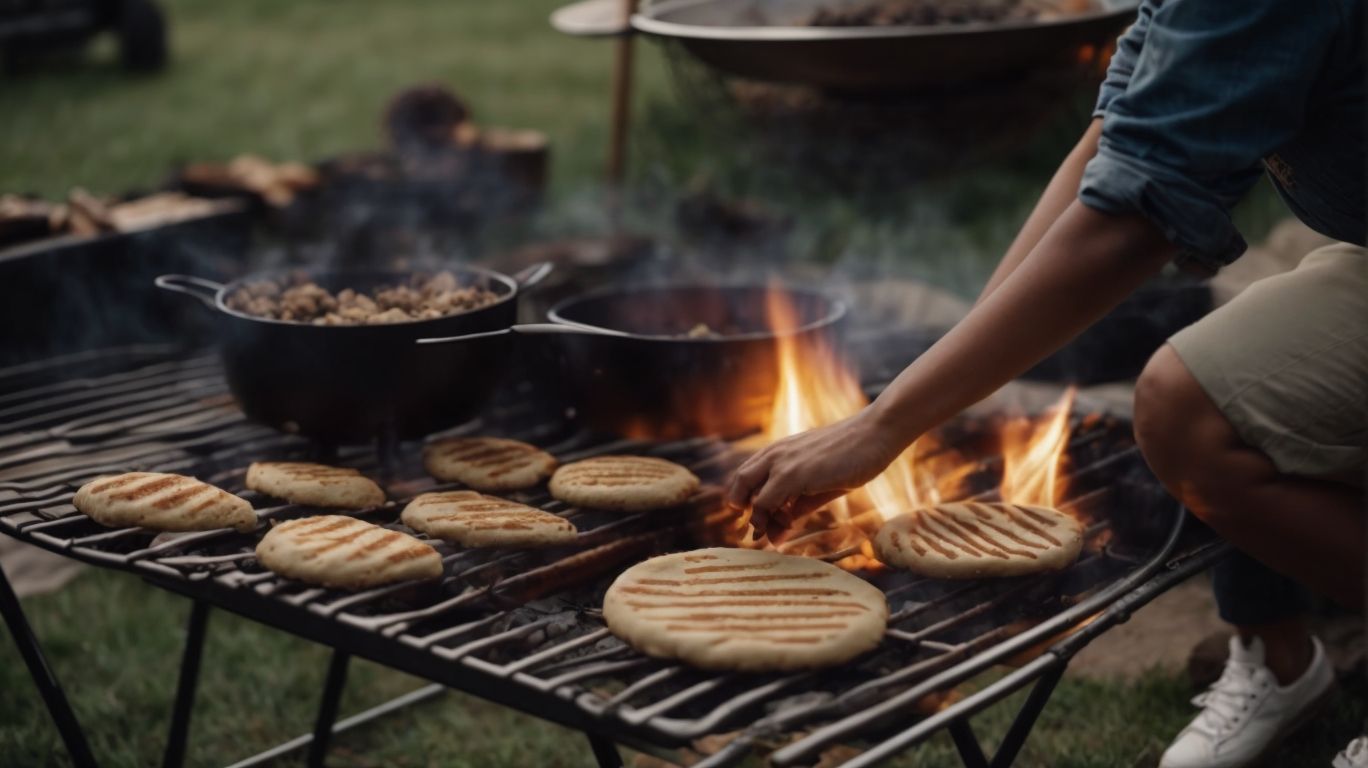
How to Make Damper Without a Camp Oven?
Preparing damper without a camp oven can be a delightful experience, whether on a campsite or using alternative cooking methods such as a camp BBQ or Dutch oven.
When you find yourself without a camp oven, fear not as there are other ways to create this delicious Australian camping staple. Bring out your trusty camp BBQ or a versatile Dutch oven, and you’re ready to start.
- To start, gather your ingredients which typically include flour, salt, water, and sometimes milk. Mix them together in a bowl until you form a sticky dough.
- Next, shape the dough into a round loaf and make a few cuts on the top to help it cook evenly.
- If using a camp BBQ, wrap the damper in foil and place it over medium heat until it’s golden brown on the outside and cooked through.
- For a Dutch oven method, place the damper in the oven, heat some coals, and arrange them on top for even cooking. Check periodically until it’s ready to enjoy!
Prepare the Fire
Preparing the fire is the initial step in cooking damper without a camp oven, requiring suitable campfire setup, with rocks or fire bed to support the cooking process.
This ensures that the heat is evenly distributed for optimal cooking results. Place larger rocks or create a fire bed to form a stable base for the fire.
Once the fire is burning steadily, allow it to reduce to glowing embers before beginning the cooking process to prevent scorching the damper.
Mix the Ingredients
Mixing the ingredients to form a cohesive dough is a crucial stage in the damper-making process, ensuring the correct blend of flavors and textures.
When combining the flour, salt, and water, accuracy in measurements is key to achieving the desired dough consistency. You want the mixture to be neither too dry nor too wet, striking a balance that will allow the dough to hold together without being overly sticky.
Once the ingredients are mixed, kneading the dough thoroughly is essential to develop the gluten bonds, ensuring a good structure for the damper. This process not only affects the texture but also impacts the final rise and overall flavor of the bread.
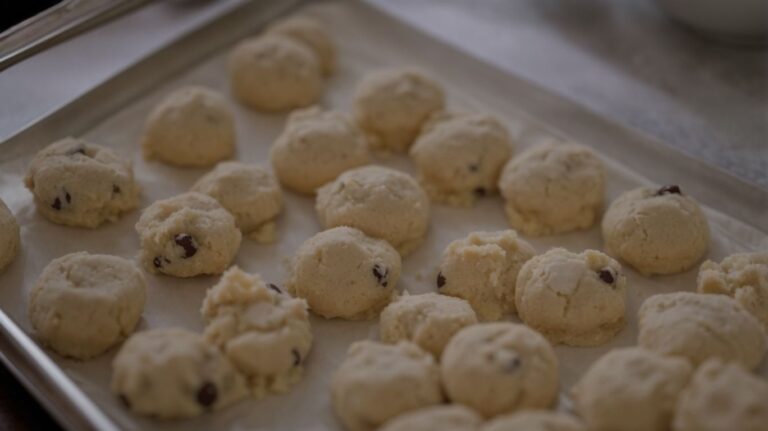
Shape the Dough
Shaping the dough before cooking is a creative step in making damper, allowing for customization of size, thickness, and cooking method to achieve the desired results.
Regarding shaping the damper dough, there are a few key aspects to consider. The size of the dough ball will determine the final size of the damper loaf. You can experiment with different sizes to cater to individual portions or preferences. Adjusting the thickness of the dough will impact the texture of the finished product – thin for a crispier result, thick for a softer bite.
Regarding cooking methods, the traditional way is to bake the damper over an open flame or in a campfire. This imparts a smoky flavor and a rustic charm to the bread. Alternatively, you can bake it in a conventional oven for a more controlled cooking process. Some adventurous cooks even try pan-frying the dough for a unique twist on this classic Australian bread.
Cook the Damper
Cooking the damper over the fire or using alternative methods like a camp oven ensures the proper baking of this traditional bread, requiring attention to temperature and cooking time.
To start, ensure your campfire or camp oven is set up and ready to use. If cooking over a campfire, wait until you have a good bed of hot embers with a few flames still present. For a camp oven, preheat it by placing hot coals on top and underneath. Temperature control is crucial, so adjust the fire or coals to maintain a moderate heat. When placing your damper dough in the fire or oven, be careful not to place it too close to intense heat to avoid burning the crust.
Check for Doneness
Checking for doneness is a crucial step in the damper-making process, ensuring that the bread is properly cooked without being stale or undercooked.
When assessing the readiness of your damper, a golden-brown crust is usually a good indicator of doneness. To be completely sure, you can also tap the bottom of the bread – if it sounds hollow, then it’s likely cooked through. Be mindful not to overbake as this can result in a dry texture.
During the baking process, it’s helpful to rotate the damper halfway through to ensure even cooking. This will prevent uneven browning or undercooked spots. If you’re uncertain about the progress, you can always use a food thermometer to check the internal temperature; for damper, it should read around 190-200°F.
What Are Some Tips for Cooking Damper Without a Camp Oven?
Mastering the art of cooking damper without a camp oven requires attention to detail and adherence to practical tips and FAQs that can enhance the baking experience.
- Check the weather conditions before starting as humidity can affect the dough consistency.
- Preheat your conventional oven to the recommended temperature and prepare a baking tray or cast-iron skillet for the damper.
- Use self-rising flour for quick and easy preparation, or make your own mix of flour, salt, and baking powder.
- Incorporate your favorite ingredients like cheese, herbs, or dried fruits for added flavor.
- To achieve a crispy crust, brush the damper with melted butter before baking.
- Watch the baking time as every oven varies – a golden-brown color indicates it’s ready.
- Allow the damper to cool slightly before serving with butter, jam, or savory fillings.
Use a Clean Stick or Skewer
Utilizing a clean stick or skewer is a recommended technique for testing the doneness of damper, ensuring thorough cooking without the need for advanced equipment.
When you insert a clean stick or skewer into the center of the damper, it should come out clean and dry if the bread is fully cooked. This method provides a reliable indication of the internal cooking progress, as any wet batter residue on the stick suggests that the damper needs more time in the oven. By adopting this simple yet effective testing technique, home cooks can achieve perfectly baked damper each time without uncertainty. It also avoids the risk of overbaking, resulting in a dry texture.
Rotate the Damper Regularly
Rotating the damper regularly during cooking helps achieve an evenly baked batch, ensuring a golden brown crust and a hollow base characteristic of well-prepared damper.
This method is particularly crucial when batch cooking to maintain consistent results across each piece. By rotating the damper, you allow the heat to distribute evenly, promoting uniform baking and preventing any sections from becoming overly browned or undercooked. The golden brown crust is a sign of caramelization, adding depth of flavor, while the hollow base ensures the interior is light and airy. These key textures elevate the overall quality of the damper, making it a delightful treat for any occasion.
Keep the Fire Consistent
Maintaining a consistent fire temperature throughout the cooking process is essential for achieving the perfect damper texture, ensuring that the bread cooks evenly without burning or undercooking.
One crucial aspect of managing fire consistency when baking damper lies in the control of heat fluctuations. Keeping a steady fire temperature aids in regulating the baking process, preventing sudden spikes or drops that could affect the dough’s texture.
Ensuring the coals are evenly spread beneath the cooking vessel contributes to uniform heat distribution, resulting in a well-cooked damper.
- Regularly checking the fire’s intensity and adding or removing wood or charcoal as necessary is key to maintaining a stable temperature for consistent baking outcomes.
- Positioning the pot or skillet at the right distance from the flames helps in controlling the heat levels to avoid scorching or incomplete cooking.
Use a Thermometer
Employing a thermometer can aid in monitoring the internal temperature of the damper, allowing for precise adjustments and optimal results, especially when exploring sweet or savory variations.
By using a thermometer, you ensure that the damper reaches the desired level of doneness without any guesswork. This is crucial for enthusiasts who enjoy experimenting with different flavors, as the right temperature can significantly enhance the taste and texture of both sweet and savory damper variations. The thermometer provides a safety net, ensuring that the damper is cooked thoroughly and eliminating the risk of undercooked food. Whether you’re a seasoned cook or a novice, employing a thermometer can elevate your culinary skills and guarantee consistent, delicious results.
Frequently Asked Questions
What is damper and why is it important to know how to cook it without a camp oven?
Damper is a traditional Australian bread made from basic ingredients like flour, water, and sometimes milk. It was often cooked over a campfire by early settlers and is still a popular camping food. Knowing how to cook damper without a camp oven is important for outdoor enthusiasts who want to enjoy this delicious bread while camping.
Can I use any type of flour to make damper?
Yes, you can use any type of flour to make damper, but self-raising flour is the most common and traditional choice. You can also use whole wheat flour for a healthier option or gluten-free flour for those with dietary restrictions.
How do I cook damper without a camp oven?
There are a few different methods for cooking damper without a camp oven. You can wrap the dough in aluminum foil and cook it in the coals of a campfire or use a cast iron skillet over a grill or open fire. You can also shape the dough into a long stick and cook it over the fire like a marshmallow.
Do I need any special equipment to make damper?
No, you don’t need any special equipment to make damper. All you need is a mixing bowl, a spoon, and some basic ingredients. If you don’t have a camp oven, you can still make damper using alternative methods like we mentioned before.
How long does it take to cook damper without a camp oven?
The cooking time for damper without a camp oven varies depending on the method you choose. Generally, it takes about 20-30 minutes to cook damper in the coals of a campfire or on a grill. Cooking it on a stick over the fire will take a little longer.
Can I add additional ingredients to the basic damper recipe?
Yes, you can add additional ingredients to the basic damper recipe to add more flavor and texture. Some popular additions include cheese, herbs, dried fruits, or even chocolate chips for a sweeter version. Get creative and experiment with different flavors to find your favorite.