How to Cook Green Beans After Canning?
Are you looking to elevate your canned green beans game?
We will explore what canned green beans are, why you should cook them, and how to prepare them for cooking.
Discover various cooking methods such as stovetop, microwave, and oven cooking, along with tips for seasoning and adding extra ingredients.
We will also cover storing leftover cooked green beans, freezing them, and reheating them. Get ready to take your green bean dishes to the next level!
Key Takeaways:
What are Canned Green Beans?
Canned green beans are preserved green vegetables that have undergone a canning process to extend their shelf life and retain their freshness.
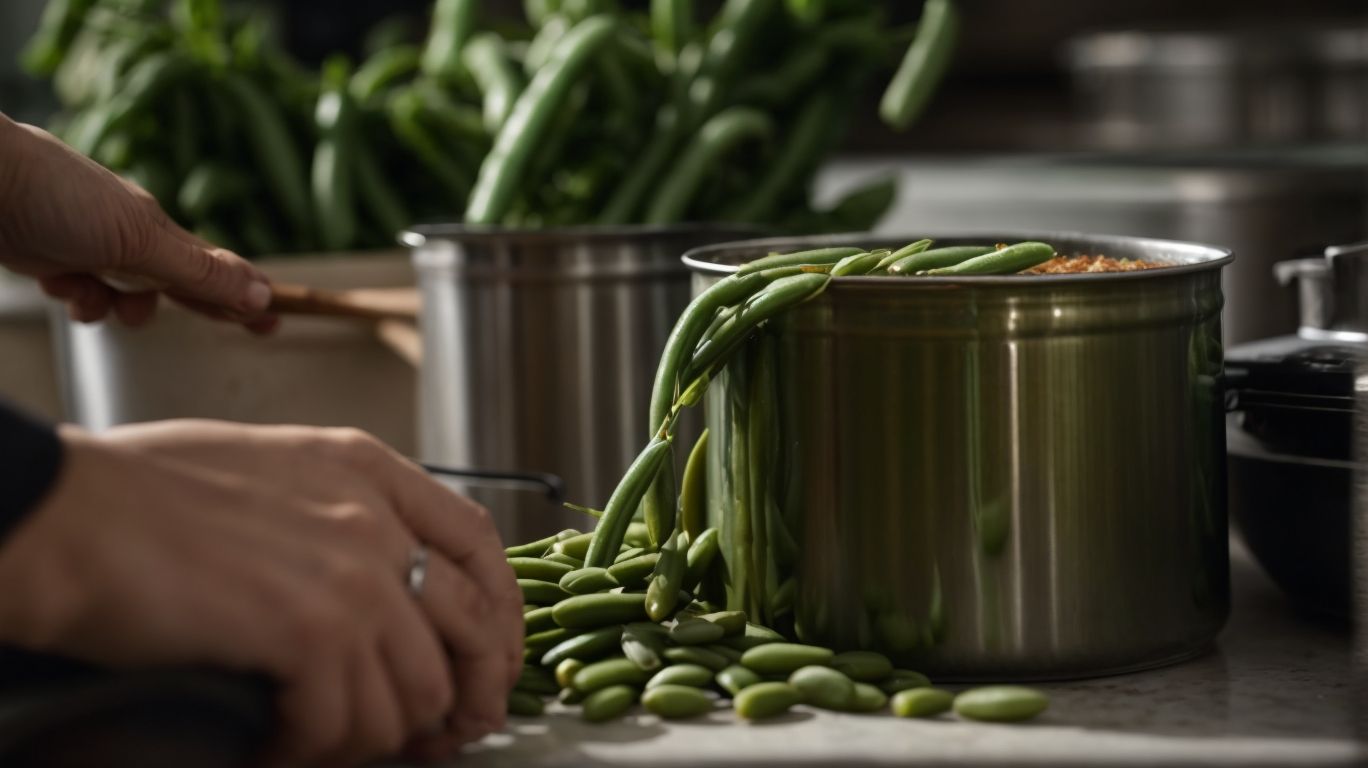
One of the essential benefits of canning green beans is that it allows you to enjoy fresh-tasting vegetables even when they are out of season. The process involves selecting fresh green beans, washing them thoroughly, trimming the ends, and cutting them to fit into the canning jars. The green beans are then blanched to preserve their color and texture before being packed tightly into sterilized jars. After filling the jars with the green beans, a brine or salt solution is added to help with the preservation process. Processing time for canning green beans varies depending on the method used, with pressure canning typically taking around 20-25 minutes for quarts and 15-20 minutes for pints.
Why Should You Cook Canned Green Beans?
Cooking canned green beans enhances their flavors, textures, and nutritional value, making them a delicious and convenient addition to meals.
When you cook canned green beans, the process allows the flavors to develop further, creating a richer taste profile compared to consuming them straight out of the can. By adding simple seasonings like garlic, onion, or lemon pepper during the cooking process, you can elevate the dish and make it more enjoyable for your taste buds.
In terms of nutrition, cooking canned green beans can help retain more of their vitamins and minerals, ensuring that you get the maximum benefits from this vegetable. As you simmer them in water or broth, the beans absorb the flavors of the liquid, enhancing their nutritional content while remaining low in calories.
How to Prepare Canned Green Beans for Cooking?
Preparing canned green beans for cooking involves simple steps like opening the can, draining the liquid, and rinsing the beans to remove excess salt or brine.
Once you have selected your can of green beans, use a can opener to puncture holes around the lid, releasing the pressure. Be cautious of any sharp edges.
Carefully pour the contents into a colander to separate the beans from the preserving liquid. Next, rinse the beans under running water to wash away any residual salt or brine, enhancing their flavor. Pat the beans dry and they are ready to be incorporated into your favorite recipes!
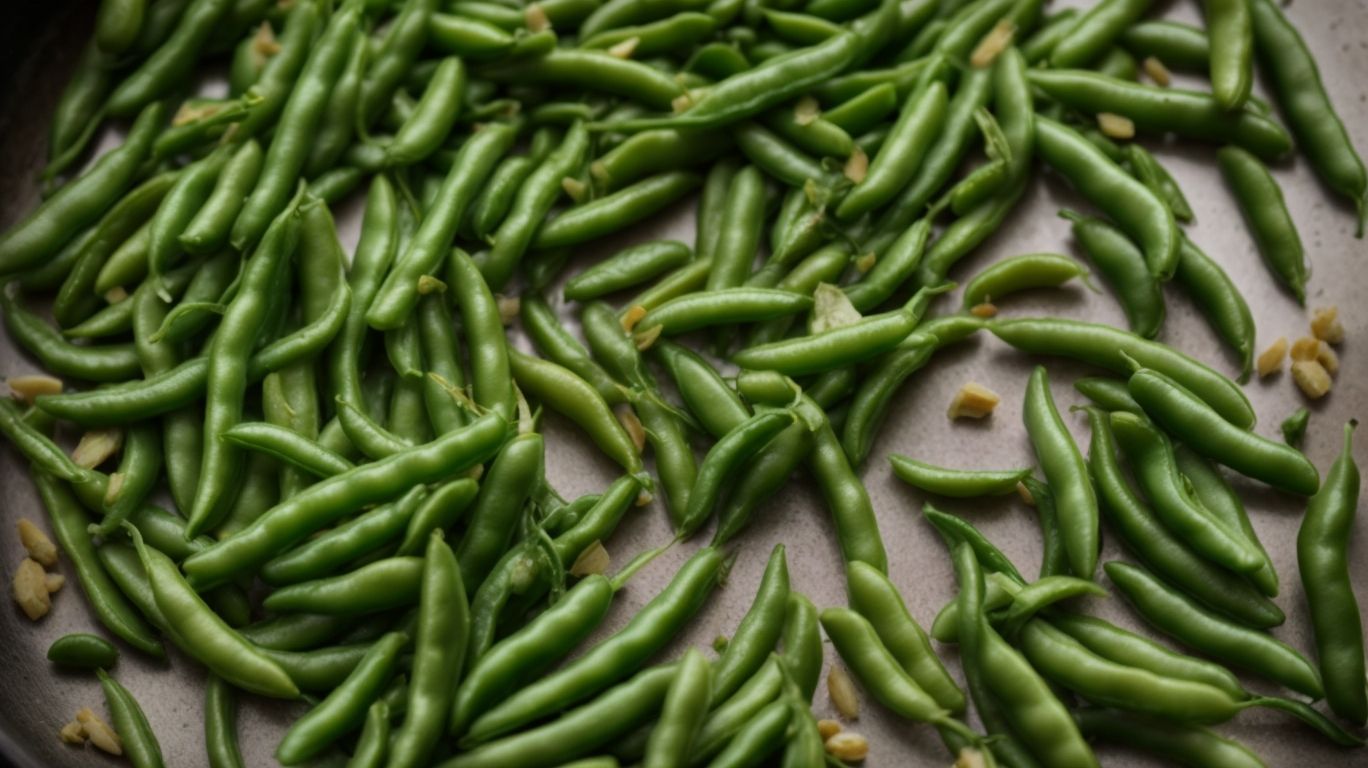
How to Drain Canned Green Beans?
Draining canned green beans requires pouring the contents into a colander or strainer to remove the excess liquid or brine used in the canning process.
After rinsing the beans with cold water, gently shake the colander to ensure most of the water drains out. This step not only helps reduce the sodium content from the brine but also eliminates the metallic taste that can sometimes be present in canned vegetables. Patting the beans dry with a paper towel can further enhance their flavor and texture, making them more suitable for various recipes.
How to Rinse Canned Green Beans?
Rinsing canned green beans under cold water helps wash away any residual salt or brine, ensuring a milder flavor and reducing sodium content.
When you open a can of green beans, they are often soaked in a solution containing high levels of salt to aid in the canning process. By rinsing them under cold water, you are not only getting rid of excess salt but also enhancing their natural taste. This simple step can make a significant difference in the overall flavor profile of your dish.
Using water to rinse the canned green beans is an effective way to maintain their firmness and texture. Excessive salt can sometimes cause the beans to become mushy, but a quick rinse can help preserve their crispness.
Methods for Cooking Canned Green Beans
There are various methods to cook canned green beans, including stovetop cooking, microwave preparation, and oven baking, each offering unique flavors and textures.
Stovetop cooking involves simply heating the canned green beans in a saucepan with a bit of water, butter, and seasonings to enhance their taste. The microwave method is quick and convenient, where you can place the beans in a microwave-safe dish, cover, and heat until they reach the desired warmth. On the other hand, oven baking allows for a crispy texture, especially when combined with breadcrumbs or cheese for a flavorful twist.
Stovetop Cooking
Stovetop cooking is a traditional method for preparing canned green beans, requiring a pan, some water, a pinch of salt, and a flavorful recipe to enhance the dish.
To start the process, take a sturdy saucepan and empty the contents of the canned green beans into it. Add just enough water to cover the beans entirely, and remember to add a pinch of salt to enhance the flavor profile. Allow the green beans to simmer on low heat, absorbing the salty essence, while you prepare your favorite seasoning mix. The seasoning blend should complement the earthy taste of the green beans and elevate the overall dish. Stir occasionally and taste-test to ensure the beans are perfectly cooked before serving.
Microwave Cooking
Microwave cooking offers a quick and convenient way to prepare canned green beans, requiring minimal time, a microwave-safe dish, some vinegar for flavor, and simple instructions.
First, start by draining the canned green beans and placing them in a microwave-safe dish. Add a splash of vinegar to enhance the flavor profile. Cover the dish with a microwave-safe lid or vented plastic wrap to allow steam to escape during the cooking process. Microwave on high for a few minutes, stirring halfway through, until the green beans are heated through and tender. The process is so straightforward that even a beginner cook can easily master it. Once cooked, season with salt and pepper to taste, and your delicious side dish is ready to be served!
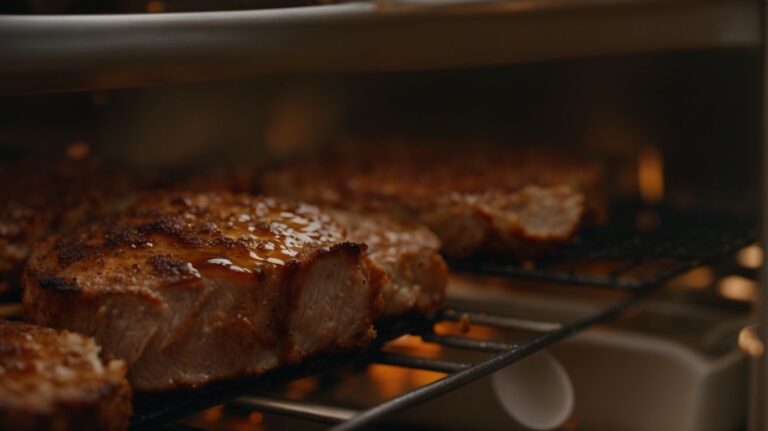
Oven Cooking
Oven cooking canned green beans involves baking them in a covered dish with a selection of herbs, spices, and a lid to seal in the flavors and moisture during the cooking process.
Regarding canning green beans, the process involves preserving them in airtight containers, ensuring they stay fresh for extended periods. Utilizing a lid during the baking process plays a crucial role in retaining the natural juices and flavors of the beans. The combination of herbs and spices not only adds depth and complexity to the dish but also infuses the beans with aromatic undertones.
Before placing the dish in the oven, make sure the lid is securely closed to create a sealed environment for the beans to cook slowly and become tender. Baking the green beans at the right temperature ensures they are perfectly cooked, maintaining their texture and taste.
Tips for Cooking Canned Green Beans
Credits: Poormet.Com – Ralph Gonzalez
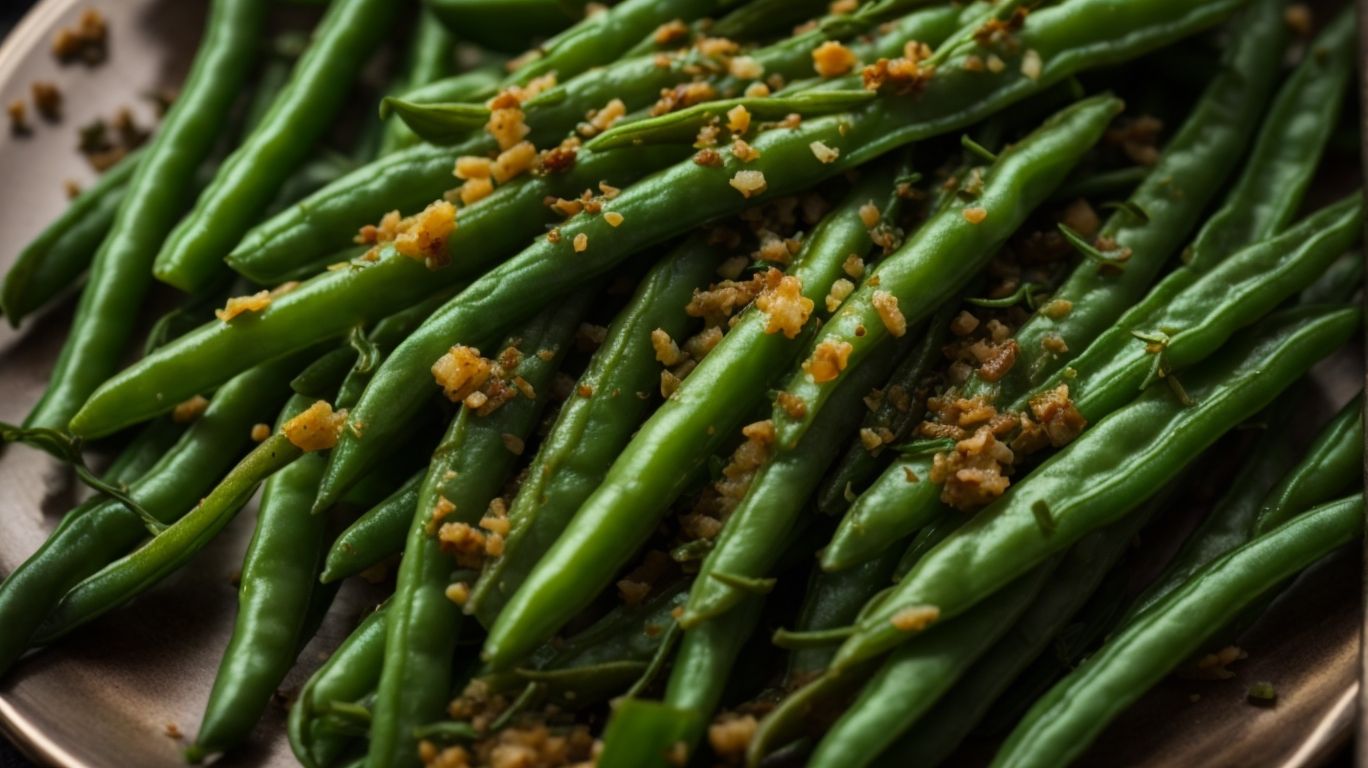
Enhance the flavor of cooked canned green beans with seasoning suggestions like garlic, onion, herbs, or a dash of lemon juice to create a delicious and aromatic side dish.
Experimenting with different herbs and spices can elevate the taste of canned green beans. Try adding a pinch of cumin for a warm, earthy flavor, or some paprika for a smoky kick. For a touch of freshness, consider incorporating dill or mint. Don’t forget to season with salt and pepper to taste. Mixing in some red pepper flakes can also add a subtle heat to the dish.
To add a burst of tanginess, a splash of balsamic vinegar or a drizzle of olive oil can work wonders. You can even toss in some bacon bits for an extra layer of flavor and texture. The options are endless, so feel free to experiment and find your perfect mix of seasonings!
Seasoning Suggestions
Experiment with garden-fresh herbs like rosemary, thyme, or basil to elevate the taste profile of cooked canned green beans, adding a touch of freshness and aroma to the dish.
When using garden herbs for seasoning canned green beans, the key lies in the freshness of the herbs. Opt for freshly picked herbs from your garden for maximum flavor impact. The unique aroma of fresh herbs can transform a plain dish into a delectable culinary experience.
Consider the compatibility of herbs like rosemary, thyme, or basil with the earthy flavors of canned green beans. Each herb brings its own distinct flavor profile to the dish, enhancing the overall taste and elevating the dining experience.
Cooking Time Recommendations
Adjust the cooking time for canned green beans based on the quantity being prepared, ensuring that larger batches in quarts or smaller servings receive the appropriate cooking duration for optimal results.
When canning green beans, it’s crucial to follow processing time guidelines to maintain safety and flavor. For quarts of green beans, the standard processing time is typically between 20-25 minutes in a pressure canner. Smaller quantities, like pints, may only require around 15 minutes. These times are essential to destroy harmful bacteria and enzymes while retaining the beans’ texture and nutritional value. Always refer to trusted sources for precise instructions on canning green beans to ensure a successful outcome.
Adding Extra Ingredients
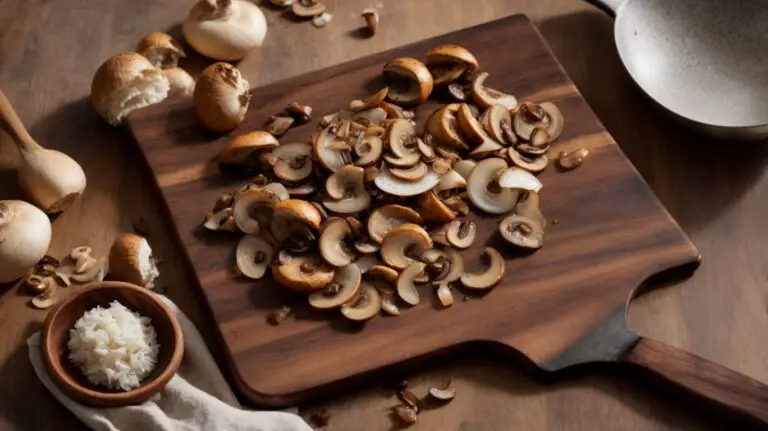
Elevate the flavor profile of canned green beans by incorporating extra ingredients like bacon, mushrooms, or caramelized onions during the cooking process, enhancing the dish with additional textures and savory notes.
Adding crisp bacon pieces to your green beans adds a smoky, salty element that complements the natural sweetness of the beans. The crispy texture of the bacon contrasts beautifully with the softness of the beans, creating a delightful mouthfeel.
Another excellent addition is sautéed mushrooms, which bring an earthy umami flavor to the dish. The mushrooms soak up the flavors of the beans and create a rich, complex taste that elevates the overall dish.
How to Store Leftover Cooked Canned Green Beans?
Store leftover cooked canned green beans in a sealed container in the refrigerator to maintain freshness and prevent spoilage, ensuring they remain safe for consumption.
When sealing the container, make sure it is airtight to keep out any bacteria. Refrigerate the beans within two hours of cooking to minimize the risk of foodborne illnesses. For optimal freshness, consume the leftover green beans within 3-4 days.
Remember, canning involves heat-processing the beans in sealed jars for long-term storage, while refrigeration is ideal for short-term preservation.
Always check for any signs of spoilage before consuming, such as an off smell or unusual discoloration. By following these food safety measures, you can enjoy your canned green beans safely and deliciously!
Can You Freeze Cooked Canned Green Beans?
Freezing cooked canned green beans is possible but may alter the texture and taste, so follow specific instructions for freezing and thawing to preserve their quality.
When considering freezing already canned green beans, it’s important to acknowledge that the process may lead to a slight change in their texture and flavor profile. Canned green beans, due to the canning process, are already partially cooked, so freezing them involves additional steps to maintain their overall quality. To freeze canned green beans properly, start by transferring them from the can into an airtight container or freezer-safe bag. Removing excess liquid before freezing can help preserve the beans’ texture.
Regarding thawing frozen canned green beans, remember to do so gradually in the refrigerator to minimize further changes in taste and texture. Rapid temperature changes can impact the quality of the beans, so allowing them to thaw slowly is ideal. Once thawed, consider using the green beans in cooked dishes rather than serving them as a side on their own to help mitigate any potential changes in flavor.
How to Reheat Cooked Canned Green Beans?
Credits: Poormet.Com – Edward Miller
To reheat cooked canned green beans, use methods like stovetop reheating or microwave warming, ensuring that the green beans are heated evenly and reach a safe serving temperature.
When reheating green beans on the stovetop, start by placing them in a saucepan with a bit of water to prevent sticking and aid in even heating. Stir occasionally to ensure all parts are heated uniformly.
For microwave reheating, transfer the green beans to a microwave-safe dish, cover partially, and heat in short intervals, stirring in between. This method helps avoid overly dried out or unevenly heated beans.
It is crucial to check the internal temperature of the beans with a thermometer to ensure they reach a safe serving temperature of at least 165°F to prevent any foodborne illnesses.
Conclusion
Cooking canned green beans opens up a world of flavorful possibilities, providing convenience, nutrition, and culinary creativity for delicious meals.
With canned green beans, you can skip the time-consuming process of cleaning and canning fresh beans, saving valuable time in the kitchen. Canned green beans retain a high level of nutrition as they are picked and packed at their peak freshness. Boiling canned green beans is a quick and simple cooking method that preserves their texture and flavor while still offering a nutritious side dish. Their versatility shines through in various recipes, from green bean casseroles to salads, adding a pop of color and flavor to any meal.
Frequently Asked Questions
Can I cook green beans after canning?
Yes, you can definitely cook green beans after canning. In fact, canned green beans are already cooked and just need to be reheated.
How long do I need to cook canned green beans?
Canned green beans can be cooked in a matter of minutes, usually 5-10 minutes. However, make sure to check the label for specific instructions.
What is the best way to cook canned green beans?
The best way to cook canned green beans is by heating them in a pot on the stove. You can also microwave them or add them to a casserole dish for baking.
Can I add seasoning to canned green beans while cooking?
Yes, you can add seasoning to canned green beans while cooking to enhance the flavor. Some popular options include salt, pepper, garlic powder, and onion powder.
Do I need to drain the liquid from canned green beans before cooking?
It is not necessary to drain the liquid from canned green beans before cooking. In fact, the liquid can add flavor to the dish. However, you can drain it if you prefer a less liquidy texture.
How long can I store cooked canned green beans?
Cooked canned green beans can be stored in the refrigerator for 3-4 days. Make sure to cover them tightly and reheat them before consuming.