How to Cook Japanese Rice on Rice Cooker?
Are you craving perfectly cooked Japanese rice that is fluffy and delicious? Look no further!
This article covers the basics of cooking Japanese rice, starting with what you will need to prepare the dish. From selecting the right type of rice to using a rice cooker, we guide you through the process step by step.
Find tips and tricks for achieving perfectly cooked Japanese rice every time. Let’s get cooking!
Key Takeaways:
The Basics of Cooking Japanese Rice
The Basics of Cooking Japanese Rice involves mastering the art of preparing this staple dish with precision and care, ensuring a delightful dining experience.
In terms of traditional methods of cooking Japanese rice, the quality of ingredients plays a crucial role. Japanese rice is the star of the dish, requiring the right amount of water and vinegar to achieve the perfect balance of stickiness and firmness. The process involves washing the rice to remove excess starch, soaking it to enhance its texture, and cooking it in a precise manner to bring out its natural flavors.
What You Will Need
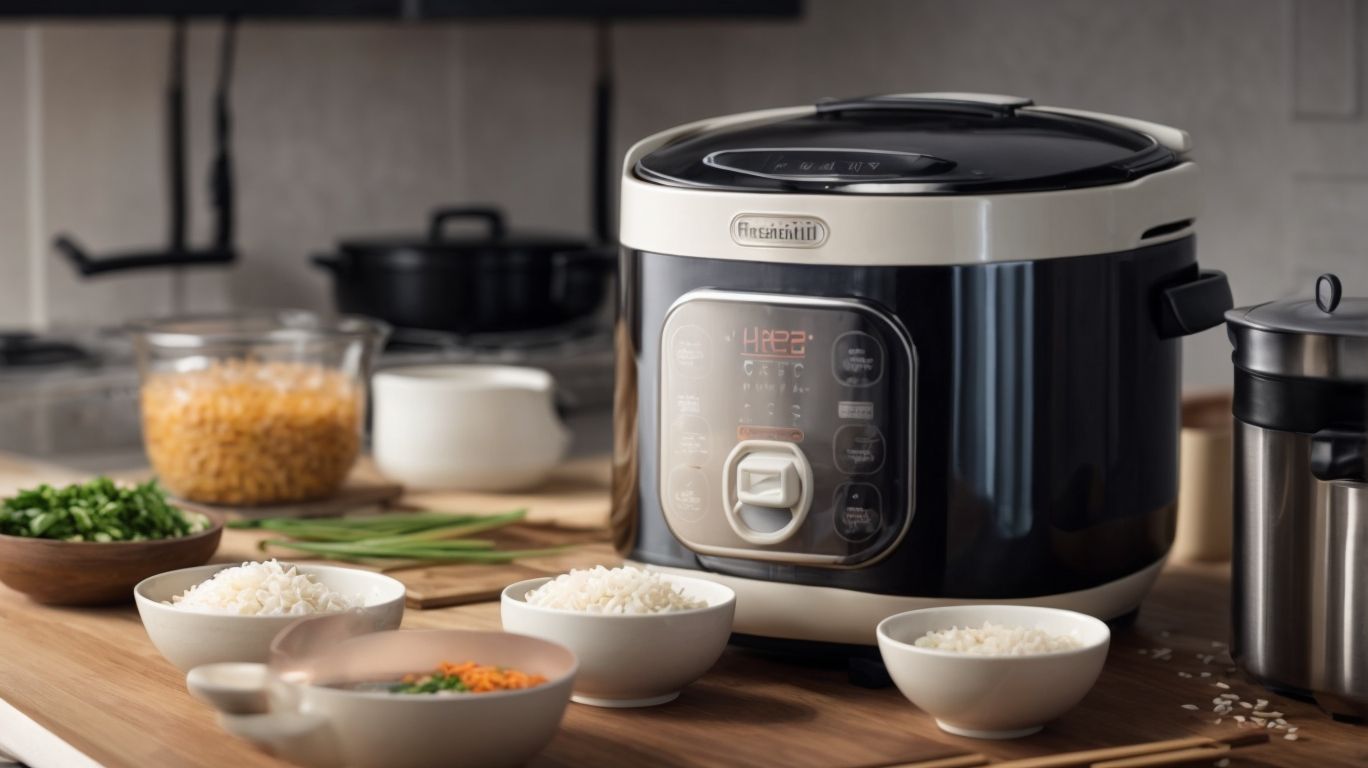
To embark on your Japanese rice cooking journey, you will need essential tools and ingredients such as a rice cooker, measuring cup, water, and a rice washing bowl.
Japanese Rice
Japanese Rice, particularly short-grain white rice, is the foundation of many traditional Japanese dishes, known for its sticky texture and subtle sweetness.
Short-grain white rice, such as Nishiki, Tamanishiki, and Yuki Tsubaki, is prized for its plump grains that stick together when cooked—ideal for making sushi, rice balls, or rice bowls.
Quality control plays a crucial role in ensuring the desired taste and texture. When selecting rice, understanding the differences between these brands can elevate your culinary creations. Whether you prefer a creamy texture or a firmer bite, choosing the right rice variety can make all the difference in your favorite Japanese dishes.
Rice Cooker
A reliable rice cooker, such as the Zojirushi or Aroma cooker, streamlines the rice cooking process, ensuring consistent results with minimal effort.
These modern rice cookers are equipped with advanced technologies that not only cook perfect fluffy rice but also offer versatile functionalities like steaming vegetables and even baking cakes.
The Zojirushi and Aroma cookers are highly sought after for their programmable settings, keep-warm functions, and even options for different types of rice like jasmine or basmati.
With features such as fuzzy logic technology and automatic temperature control, these rice cookers ensure that every batch of rice is cooked to perfection, making them essential appliances in any kitchen.
Measuring Cup
A precise measuring cup, ideally the rice cooker cup provided with your appliance, ensures the accurate ratio of rice to water for perfect Japanese rice every time.
Using a standardized measuring cup, such as the one that comes with your rice cooker, plays a crucial role in achieving the desired texture and consistency in your cooked rice. Consistency is key when it comes to preparing rice dishes, and having precise measurements ensures that your rice turns out just right each time you cook. By using the designated cup that accompanies your rice cooker, you eliminate any guesswork and uncertainties, resulting in delicious, fluffy rice with the ideal balance of moisture and tenderness.
Water
High-quality water, like filtered water, is crucial for cooking Japanese rice, as it significantly impacts the overall taste and texture of the final dish.
When preparing Japanese rice, the water used plays a vital role in determining the outcome. The minerals in the water can affect the flavor profile of the rice, enhancing its natural taste. The right amount of water is essential to achieve the perfect consistency and stickiness of the grains. Filtered water helps in removing impurities, resulting in a cleaner taste. It also ensures that no unwanted flavors interfere with the delicate nuances of the rice. By using quality water, you can elevate the dining experience and enjoy the authentic essence of Japanese cuisine.
Optional: Rice Washing Bowl
While optional, a dedicated rice washing bowl can simplify the rinsing process and help remove excess starch from the rice grains before cooking, resulting in fluffier and more distinct grains.
When rinsing Japanese rice, using a rice washing bowl provides a specialized container designed to enhance the overall quality of the cooked rice.
The unique design of the bowl facilitates thorough rinsing, ensuring the removal of impurities and starch that can affect the texture of the rice.
By having a designated vessel for this task, you can streamline the process and maintain consistent results, resulting in a more enjoyable dining experience.
How to Prepare the Rice
Before diving into the cooking process, it’s essential to prepare the rice meticulously by rinsing and soaking it to enhance its flavor and texture.
Rinsing the rice is a crucial first step to remove excess starch, which can result in sticky and clumpy rice if left untouched. By gently washing the grains under running water until the water runs clear, you ensure a cleaner taste and separate, fluffy grains post-cooking.
Soaking the rice, on the other hand, is like giving it a refreshing spa treatment. This process allows the grains to absorb moisture evenly, resulting in a perfect texture and consistency when cooked.
Measure the Rice
Accurate measurement of the rice quantity sets the foundation for a perfectly cooked batch, ensuring the ideal rice-to-water ratio for fluffy and moist grains.
When determining the appropriate rice quantity, it’s essential to consider the number of servings required and individual cooking preferences. For instance, a general rule of thumb is 1 cup of rice to 2 cups of water for a standard serving size, but this can vary based on the type of rice being used. Long-grain rice may require more water for a lighter texture, while short-grain varieties need less for a stickier consistency.
Adapting the amount of rice used can also impact the final dish’s flavor profile and overall satisfaction. Whether aiming for a looser, more separate grain structure or a denser, more compact result, the accurate measurement of rice plays a pivotal role in achieving these culinary goals.
Rinse the Rice
Rinsing the rice under cold water helps remove excess starch and impurities, resulting in cleaner grains that cook up fluffier and less sticky.
When you rinse the rice, you are not just removing dirt and debris, but also eliminating surface starch which, if not washed away, can cause the grains to clump together, resulting in a sticky texture post-cooking. By giving the rice a thorough rinse, you allow each grain to hold its shape better, ensuring a more distinct and individual texture when cooked.
Soak the Rice
Soaking the rice in water for a brief period before cooking allows the grains to absorb moisture evenly, resulting in plumper and more tender cooked rice.
While the exact soaking time can vary depending on the type of rice, a general guideline is to soak white rice for about 30 minutes to 1 hour, and brown rice for at least 4 hours or overnight.
This process not only softens the outer bran layer of the rice, making it easier to cook, but also helps the grains expand during cooking, resulting in a fluffier and more flavorful dish.
Soaking rice can reduce the cooking time and energy consumption, as the grains become partially hydrated beforehand, ensuring a more consistent texture throughout.
How to Cook the Rice in a Rice Cooker
Utilizing a rice cooker simplifies the cooking process, ensuring consistent results by following a few simple steps to cook the rice to perfection.
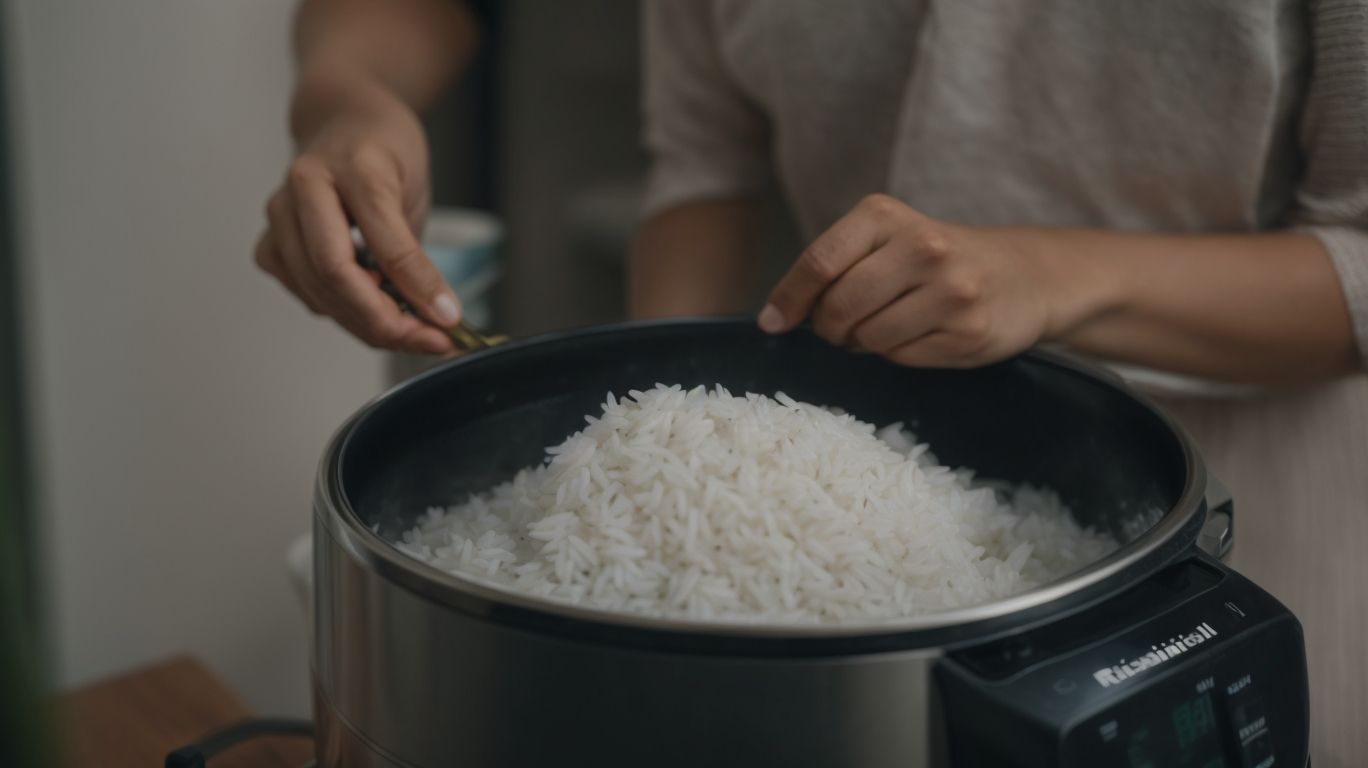
First, measure the desired amount of Japanese rice using a measuring cup. Rinse the rice thoroughly until the water runs clear to remove excess starch. Once rinsed, add the rinsed rice into the inner pot of the rice cooker. Next, add the appropriate amount of water based on the type of rice used; usually, the ratio is 1:1 for short-grain Japanese rice. After adding water, gently level the rice in the pot for even cooking.
Choose the appropriate setting on the rice cooker, typically labeled for white or brown rice. Start the cooking process, ensuring the lid is securely closed. Allow the rice cooker to work its magic, monitoring the progress until it switches to the warm setting. Once done, let the rice sit for a few minutes before fluffing with a fork.
Add the Rice and Water to the Rice Cooker
To start the cooking process, add the measured rice and water to the rice cooker, ensuring an accurate ratio for perfectly cooked Japanese rice.
When determining the ideal rice-to-water ratio, it is crucial to achieve the right balance. The typical ratio for Japanese rice is 1:1 for short-grain rice and 1:1.25 for medium-grain rice. This ratio ensures that the rice absorbs enough water during the cooking process, resulting in a fluffy and slightly sticky texture.
Adding too much water can make the rice mushy, while too little water can lead to undercooked grains. Following the correct ratio is key to achieving the desired consistency and flavor in your cooked rice.
Select the Appropriate Setting
Choosing the suitable setting on the rice cooker based on the rice type and desired texture ensures that the grains are cooked to perfection without any guesswork.
Modern rice cookers come equipped with a variety of settings, including options for white rice, brown rice, sushi rice, and even porridge. Each setting is tailored to optimize the cooking process based on the specific needs of the rice type. For example, the brown rice setting typically involves a longer cooking time and higher temperature to ensure that the tougher bran layers are properly softened.
When selecting the appropriate setting, it’s crucial to consider not only the type of rice being cooked but also the desired consistency. The difference in settings can significantly impact the final outcome, leading to perfectly fluffy white rice or creamy and sticky sushi rice.
Let the Rice Cook
After setting the rice cooker, allow the rice to cook undisturbed, letting the appliance work its magic to produce perfectly cooked Japanese rice.
During this crucial cooking phase, the rice absorbs the water and gradually transforms into a fluffy, tender texture that is essential for an authentic Japanese rice dish. Opening the cooker prematurely disrupts this process, leading to undercooked or unevenly cooked rice.
Patience is the key here; resist the temptation to check on the rice’s progress repeatedly. Most rice cookers have sensors that detect when the rice is cooked, so trust the technology and give it the time needed to ensure uniform cooking.
Tips for Perfectly Cooked Japanese Rice
Mastering the art of cooking Japanese rice to perfection requires attention to detail and adherence to essential tips that elevate the dining experience.
One crucial aspect is getting the water-to-rice ratio just right. For most types of Japanese rice, the standard ratio is 1:1.1 to 1:1.2, but this may vary slightly depending on the specific variety you are using. Ensure that the rice is rinsed thoroughly to remove excess starch, which can lead to a sticky final result.
Resting the rice after cooking is equally important. Let the cooked rice sit covered for about 10-15 minutes after turning off the heat. This allows the rice to steam and achieve the perfect texture.
Consider investing in a high-quality rice cooker for consistent results, or utilize a heavy-bottomed pot for stovetop cooking. These tools can help prevent burning or uneven cooking.
Use the Correct Ratio of Rice to Water
Maintaining the correct ratio of rice to water is crucial for achieving the desired texture and consistency in Japanese rice, ensuring a delightful culinary experience.
In Japanese cuisine, the quality of the rice is paramount, and the precise balance of rice-to-water ratio plays a significant role in bringing out the perfect stickiness and fluffiness in the rice grains. A common mistake novice cooks make is using too much or too little water, resulting in either mushy or undercooked rice. To determine the ideal ratio, consider the type of rice being used, whether it’s short-grain, medium-grain, or long-grain, as each variety requires a slightly different ratio for optimal results.
Let the Rice Rest Before Serving
Allowing the cooked rice to rest for a brief period before serving enhances its texture and flavor, ensuring a more enjoyable dining experience.
When rice is cooked, it undergoes various transformations, and one crucial step is the redistribution of moisture within the grains. Allowing for this resting time post-cooking enables the rice to absorb any excess moisture more evenly, leading to a fluffier and well-textured outcome. During this resting phase, the flavors of the ingredients used in cooking blend harmoniously with the rice, creating a more cohesive taste profile.
Use a Rice Washing Bowl for Optimal Results
Employing a rice washing bowl in the preparation process can lead to optimal results by ensuring cleaner grains and a smoother cooking experience.
One of the key advantages of using a dedicated rice washing bowl is the efficient removal of excess starch, bran, and impurities from the rice grains, which often leads to a superior cooking outcome. The design of these bowls allows for better control over the washing process, ensuring that the rice is thoroughly rinsed without losing any grains or water. This meticulous rinsing not only enhances the texture and taste of the rice but also contributes to the overall quality of the dish being prepared.
Additional Tips and Tricks
Credits: Poormet.Com – Gregory Mitchell
Enhance your Japanese rice cooking prowess with additional tips and tricks that infuse new flavors and experiences into this classic dish.
Experiment with different rice varieties such as sushi rice, brown rice, or jasmine rice to bring a unique twist to your dishes.
- Consider incorporating condiments like furikake (Japanese seasoning mix), mirin (sweet rice wine), or soy sauce to add depth and complexity to the flavors.
- Explore traditional Japanese cooking techniques like oyakodon (chicken and egg rice bowl) or chahan (Japanese fried rice) to broaden your culinary repertoire.
Enhance the overall dining experience by serving your rice dishes with miso soup, pickles, and a refreshing green tea.
Add Flavorings to the Rice Before Cooking
Infusing the rice with flavorings before cooking can transform ordinary Japanese rice into a culinary delight, offering a myriad of taste sensations.
One popular choice for flavoring Japanese rice is by adding furikake, a versatile seasoning mix typically composed of dried fish, seaweed, sesame seeds, and other savory ingredients. This blend adds a burst of umami flavor and texture to the rice, elevating its taste profile.
Alternatively, traditional seasonings like mirin (a sweet rice wine), soy sauce, or dashi (a Japanese soup stock) can be incorporated to impart rich, complex flavors to the rice. These time-honored ingredients infuse the dish with authentic Japanese essence.
For a more innovative approach, try incorporating fresh herbs like shiso leaves or yuzu zest for a refreshing and aromatic twist. These modern flavorings can introduce unexpected dimensions to the classic rice preparation, offering a contemporary touch to traditional Japanese cuisine.
Experiment with Different Types of Japanese Rice
Diversify your culinary repertoire by experimenting with various types of Japanese rice, discovering new flavors and textures that cater to different preferences.
Japanese rice comes in a rich array of options, each offering its distinct qualities. Short-grain brown rice, for instance, infuses dishes with nuttiness and a hearty feel, making it a healthier alternative to white rice. On the other hand, Koshihikari is renowned for its delicate taste and slightly sticky texture, perfect for sushi or rice bowls. To enhance your culinary experience, consider the cooking method alongside the rice variety chosen, ensuring perfectly cooked grains that bring out the best of each type.
Always Use High-Quality Rice and Water
The foundation of exceptional Japanese rice dishes lies in the quality of the rice and water used, emphasizing the importance of premium ingredients for culinary success.
In terms of Japanese cuisine, the dominant role of rice and water cannot be overstated. High-quality rice, like the acclaimed Koshihikari variety, ensures a perfect balance of stickiness and firmness, crucial for sushi and rice bowls. Equally vital is the pristine water sourced, influencing the rice’s taste purity and texture. This harmonious blend of superior rice and water sets the stage for unparalleled umami flavors and delicate mouthfeel, elevating dishes to gastronomic heights.
Frequently Asked Questions
1. How to Cook Japanese Rice on Rice Cooker?
Ans: To cook Japanese rice on a rice cooker, first rinse the rice until the water runs clear. Then, add the rice and water to the cooker according to the manufacturer’s instructions. Press start and let the rice cook for the recommended time.
2. What type of rice should I use to cook Japanese rice on a rice cooker?
Ans: Ideally, you should use short or medium grain Japanese rice to achieve the perfect texture and stickiness. However, you can also use Jasmine or Basmati rice as an alternative.
3. How much water should I use when cooking Japanese rice on a rice cooker?
Ans: The general rule of thumb is to use 1 1/2 cups of water for every 1 cup of rice. However, this may vary depending on the type of rice and your personal preference for the consistency of the rice.
4. Is it necessary to soak the rice before cooking it in a rice cooker?
Ans: No, soaking the rice is not necessary when using a rice cooker. However, if you prefer softer rice, you can soak it for 20-30 minutes before cooking.
5. Can I add other ingredients to the rice cooker when cooking Japanese rice?
Ans: Yes, you can add some flavorings like salt, soy sauce, or dashi broth to enhance the taste of the rice. You can also add vegetables or meat to make a one-pot meal.
6. How long does it take to cook Japanese rice on a rice cooker?
Ans: Typically, it takes around 20-30 minutes to cook Japanese rice on a rice cooker. However, this may vary depending on the type and brand of rice cooker you are using.

