How to Cook Juicy Chicken Tenders on Stove?
Want to know the secrets to making the juiciest chicken tenders on the stove? Look no further!
In this article, we will discuss the key factors that contribute to the succulence of chicken tenders, from choosing the right cut of chicken to cooking at the perfect temperature.
We will also provide you with a step-by-step guide and essential equipment needed for cooking juicy chicken tenders.
Stay tuned for tips and serving suggestions that will elevate your chicken tender game!
Key Takeaways:
What Makes Chicken Tenders Juicy?
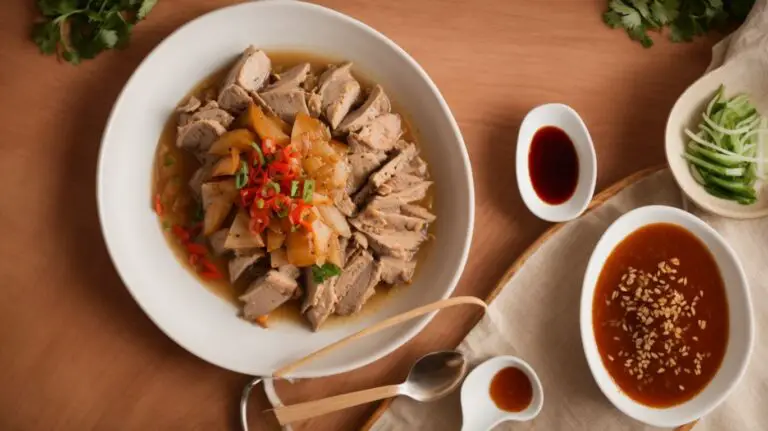
Achieving juicy chicken tenders relies on various factors, including the choice of the right cut of chicken, appropriate marination, precise cooking temperatures, and allowing the chicken to rest properly.
In terms of selecting the cut of chicken, opting for boneless, skinless chicken breasts or tenderloins can help in maintaining the tenderness and succulence of the meat. Marinating the chicken in a mixture of acidic ingredients like lemon juice or yogurt can not only add flavor but also tenderize the meat. Cooking the chicken at the correct temperature ensures that it cooks evenly without drying out. Letting the cooked chicken rest for a few minutes before serving allows the juices to redistribute within the meat, further enhancing its juiciness.
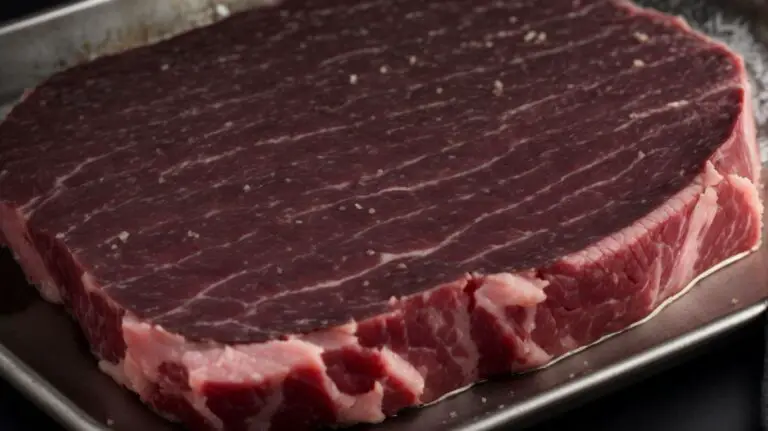
Choosing the Right Cut of Chicken
Selecting the appropriate cut of chicken, such as boneless and skinless chicken tenderloins, is essential for ensuring the tenderness and flavor of the dish.
When opting for boneless, skinless chicken tenderloins, you are not only saving on preparation time but also ensuring a leaner and more tender result compared to other cuts. These tenderloins provide a blank canvas that readily absorbs flavors, making them ideal for incorporating spices like smoked paprika, oregano, and black pepper. Their versatility shines whether you are grilling, baking, or sautéing them, and the absence of bones and skin simplifies the cooking process, resulting in a quicker meal prep.
Marinating the Chicken
Marinating the chicken tenders with a blend of seasonings like salt, pepper, garlic powder, and onion powder enhances the depth of flavors and helps in tenderizing the meat.
For an effective marination process, it is crucial to ensure that the seasonings are evenly distributed on the chicken tenders. Start by placing the tenders in a shallow dish or a resealable plastic bag. Sprinkle the salt, pepper, garlic powder, and onion powder generously over the chicken. Then, gently massage the seasonings into the meat, making sure each piece is coated thoroughly.
Cover the dish or seal the bag and refrigerate for at least 1-2 hours, or ideally overnight. This allows the flavors to penetrate the chicken, resulting in a more succulent and flavorful dish. Before cooking, remember to bring the marinated chicken to room temperature for even cooking.
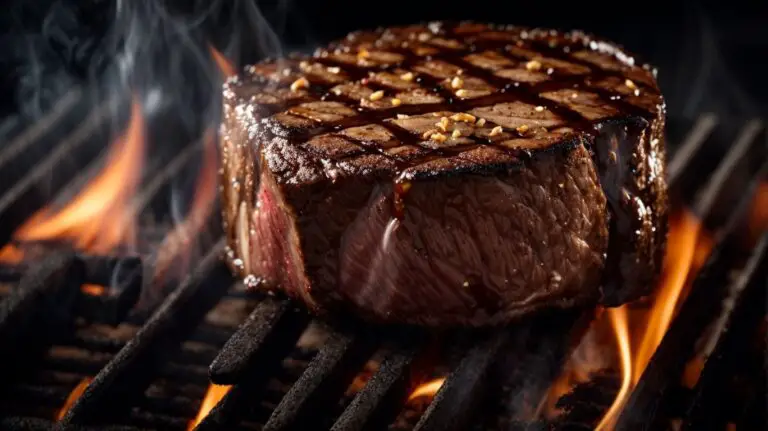
Cooking at the Right Temperature
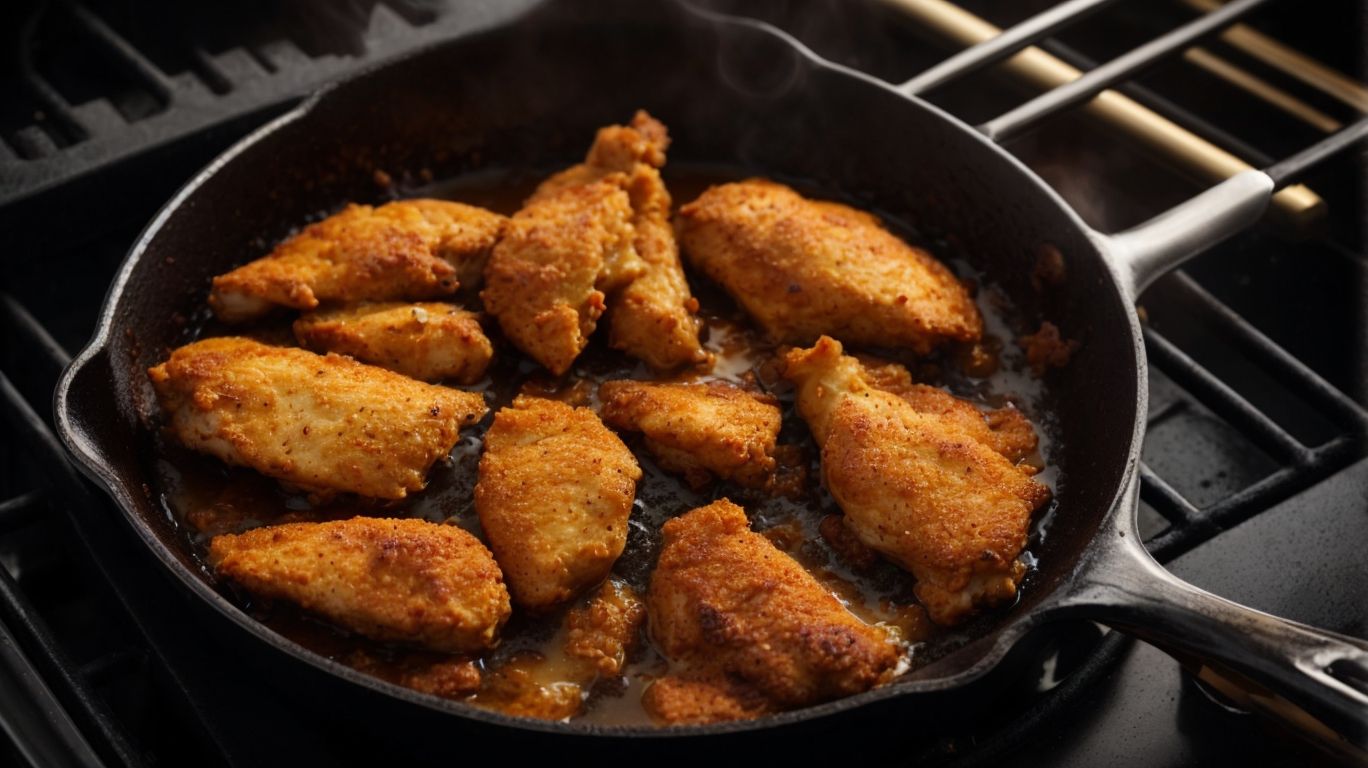
Cooking chicken tenders at the correct temperature in a skillet with butter ensures a crispy, golden-brown exterior while retaining the succulence of the meat.
When cooking chicken tenders, maintaining the right temperature is crucial as it helps to seal in the juices and flavors, resulting in a tender and juicy bite. The butter in the skillet adds a rich, savory undertone to the dish and aids in achieving that desirable crunch on the outside. By cooking the tenders at the correct temperature, you ensure that they cook evenly, preventing dryness while creating a delicious contrast of textures. Whether it’s for a quick weekday dinner or a weekend treat, mastering this technique can elevate your chicken tender game to a whole new level.
Resting the Chicken
Allowing the cooked chicken tenders to rest briefly before serving helps in redistributing the juices, resulting in a more flavorful and tender dish.
When the chicken tenders are removed from the heat source, they are still actively cooking due to residual heat. Allowing them to rest for a few minutes before slicing or serving prevents the juices from escaping, ensuring that each bite is succulent and full of flavor. This resting period also allows the juices to redistribute throughout the meat, enhancing its overall taste and moisture content.
To further elevate the dish, consider incorporating additional ingredients like lemon juice, capers, mushrooms, and green onions during the preparation process.
Equipment Needed for Cooking Juicy Chicken Tenders
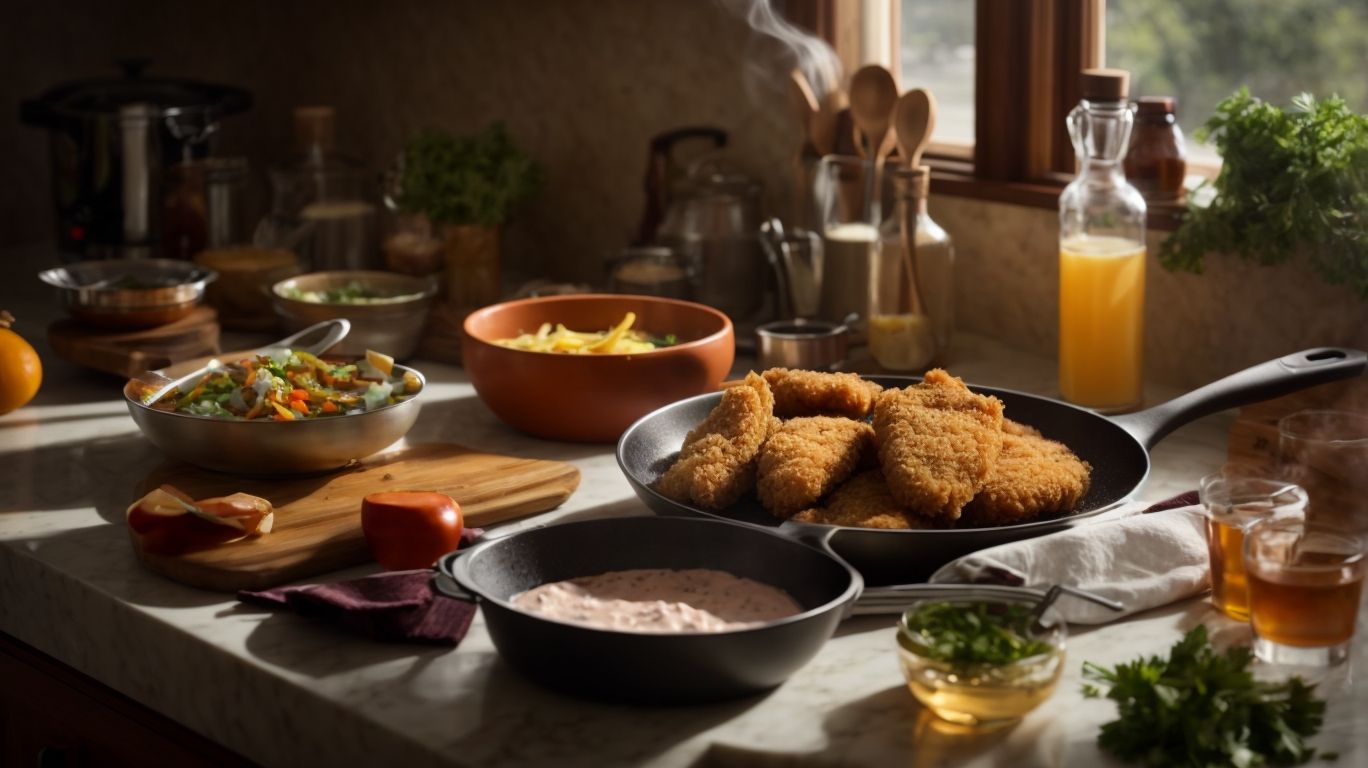
Credits: Poormet.Com – Andrew Green
To prepare juicy chicken tenders, essential equipment includes a quality skillet for cooking and a reliable meat thermometer for checking the internal temperature.
In terms of selecting a skillet for cooking chicken tenders, opt for a heavy-duty pan that distributes heat evenly. A non-stick surface can help prevent the tenders from sticking and facilitate easier cleanup. A meat thermometer is crucial for ensuring that the chicken reaches the recommended internal temperature of 165°F (74°C) to guarantee safe consumption. Being able to monitor the temperature accurately is key to achieving perfectly cooked, tender chicken every time.
Skillet or Pan
A well-heated skillet or pan is crucial for achieving the desired level of crispiness and browning on the chicken tenders while using butter for added flavor.
When the skillet is properly heated, it ensures that the chicken tenders sear quickly on the outside, locking in the juices and flavors while creating that irresistible golden crust. The intense heat of a well-heated pan is what kickstarts the Maillard reaction, responsible for the browning and development of complex flavors in the chicken. By hearing the sizzle as the chicken hits the hot surface, you can be confident that the exterior will turn beautifully crisp without becoming greasy or soggy. This process is essential for making your chicken tenders restaurant-quality crispy and delicious.
Tongs or Spatula
Utilizing tongs or a spatula for flipping and turning the chicken tenders during cooking ensures even heat distribution and proper handling of the meat.
By using tongs or a spatula to manipulate the chicken tenders, you can prevent hot spots and ensure that each piece cooks uniformly, enhancing the overall taste and texture. These tools allow you to handle the meat without piercing it, which helps retain the juices and flavors inside for a more succulent result. To achieve that desired golden brown exterior without overcooking, the control and precision offered by tongs or a spatula are invaluable in the cooking process. This method results in a more professional and satisfying dish, making your culinary experience a seamless and enjoyable one.
Meat Thermometer
A meat thermometer is essential for monitoring the internal temperature of chicken tenders to ensure they are cooked thoroughly and reach the desired level of doneness.
Proper use of a meat thermometer provides accurate readings that help prevent undercooking, which can lead to foodborne illnesses, or overcooking, resulting in dry and tough chicken. By inserting the thermometer into the thickest part of the tender without touching bone, you can get an accurate temperature reading.
Chicken tenders are safe to eat when they reach an internal temperature of 165°F (74°C), as recommended by food safety guidelines. This ensures that harmful bacteria are killed, guaranteeing a safe and delicious meal.
Step-by-Step Guide to Cooking Juicy Chicken Tenders on Stove
Mastering the art of cooking juicy chicken tenders on the stove involves a step-by-step process that includes tenderizing the chicken, coating it with seasoned flour, and pan-frying to crispy perfection.
To start, begin by tenderizing the chicken tenders to ensure they cook evenly and remain succulent throughout the process. Use a meat mallet to gently pound the tenders to an even thickness, being careful not to overdo it.
Next, prepare your coating stations. Set up three shallow dishes – one with beaten eggs, another with a mixture of panko breadcrumbs and your favorite seasonings, and the third with seasoned flour. Coat each tender first in the flour, then dip in the egg wash, and finally coat with the seasoned breadcrumbs for an extra crispy finish.
Prep the Chicken
The first step in preparing juicy chicken tenders is to coat the chicken pieces with a mixture of egg, panko breadcrumbs, and seasoned flour to create a crispy outer layer.
Start by setting up a breading station with three shallow dishes: one for the seasoned flour, the second for the whisked eggs, and the third for the panko breadcrumbs.
- First, dip each chicken piece into the seasoned flour, ensuring it’s evenly coated to add flavor to the tenders.
- Next, transfer the floured chicken to the egg mixture, allowing any excess flour to fall off before coating it thoroughly with the egg.
- Move the chicken into the panko breadcrumbs, pressing gently to ensure a good coating for that satisfying crunch when cooked.
Heat the Skillet
Ensure the skillet is adequately heated with oil, ready to receive the seasoned chicken tenders for the pan-frying process that locks in the juices and flavors.
Heating the skillet with oil is crucial as it sets the stage for a successful cooking venture. When the oil reaches the right temperature, usually shimmering but not smoking, it creates the ideal environment for the chicken tenders to sizzle upon contact, forming a delicious golden crust.
The heat from the oil initiates the Maillard reaction, a chemical process that enhances the savory flavors in the chicken, giving it a rich taste and enticing aroma.
This initial step of proper skillet preparation plays a pivotal role in elevating the overall quality of the dish and ensuring a succulent outcome that will satisfy even the most discerning palates.
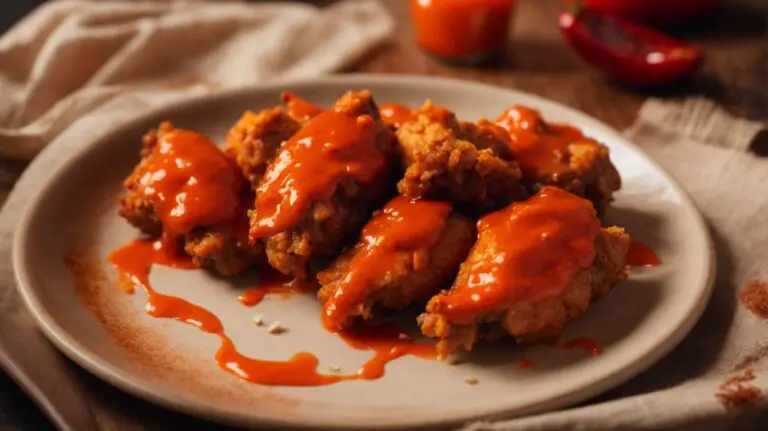
Cook the Chicken Tenders
Cook the chicken tenders in the skillet with butter, ensuring they achieve a golden-brown color on the outside while retaining juiciness and tenderness inside.
Start by seasoning the chicken tenders with salt, pepper, and any other desired spices for flavor enhancement. Heat the skillet over medium-high heat and add a generous amount of butter to create a flavorful base for cooking.
Place the seasoned chicken tenders in the skillet, making sure not to overcrowd the pan to allow for even cooking. Sear each side for about 3-4 minutes until they develop a crispy, golden-brown crust, adjusting the heat if necessary to prevent burning.
Reduce the heat to medium-low and cover the skillet to let the chicken tenderloins cook through completely, ensuring they stay juicy and tender. It’s essential to monitor the cooking time to prevent overcooking, which can result in dry, tough meat.
Check the Temperature
Use a meat thermometer to check the internal temperature of the chicken tenders and ensure they reach the recommended level for safe consumption and optimum flavor.
By utilizing a meat thermometer when cooking chicken tenders, you avoid the risks associated with undercooked poultry, such as salmonella and other foodborne illnesses. The thermometer provides an accurate reading of the internal temperature, typically 165°F (74°C) for chicken, ensuring it is fully cooked. This not only guarantees safety but also preserves the juiciness and tenderness of the meat. Overcooking can result in dry and tough chicken, affecting the overall taste and enjoyment of the dish.
Rest the Chicken Tenders
Allow the cooked chicken tenders to rest for a few minutes before serving, allowing the flavors to meld and the juices to redistribute, resulting in an enhanced eating experience.
This short resting period allows the chicken to finish cooking through residual heat and reach its optimum tenderness. During this time, the flavors of the dish deepen, creating a more harmonious taste profile. Ingredients like lemon juice and capers can be sprinkled over the chicken to add a zesty brightness, while sautéed mushrooms and finely chopped green onions give a savory complexity.
Tips for Perfectly Juicy Chicken Tenders
Ensuring your chicken tenders are juicy involves some key tips, such as using high-quality ingredients, experimenting with different seasonings, and adjusting cooking times for optimal health and flavor.
For the best results, start by selecting fresh, organic chicken tenders. Organic chicken tends to be more flavorful and tender compared to conventionally raised poultry. Marinating the chicken in a mixture of buttermilk and herbs for at least an hour before cooking can enhance both taste and moisture retention.
Consider trying a variety of seasoning blends like Cajun, lemon pepper, or garlic herb to add layers of complexity to your dish.
When cooking, aim to sear the chicken quickly on high heat to lock in juices before finishing them off in the oven to ensure even cooking without drying out the meat.
Serving Suggestions for Juicy Chicken Tenders
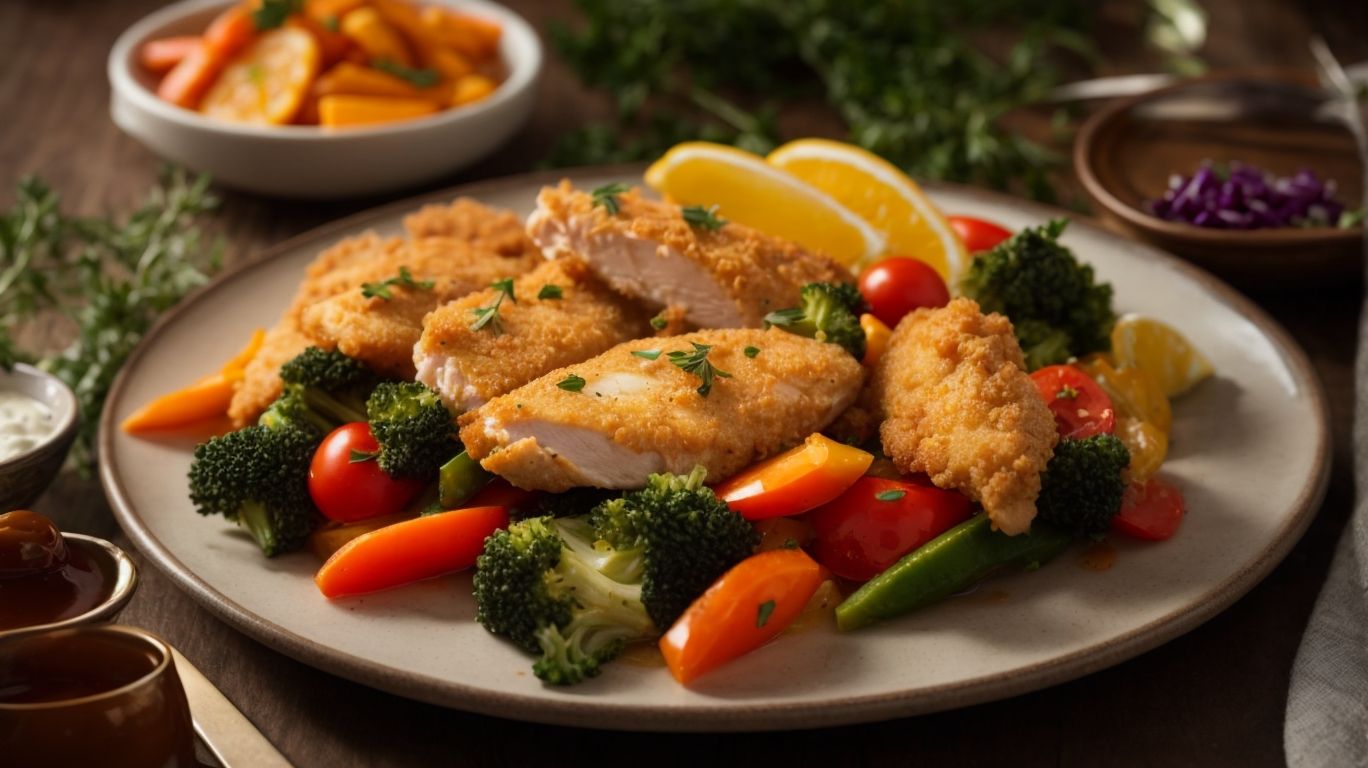
Credits: Poormet.Com – Dylan Allen
Pair your juicy chicken tenders with a variety of delicious side dishes, complementing them with flavorful dipping sauces and presenting them creatively for an appealing dining experience.
In terms of side dishes, consider options like crispy french fries, a refreshing garden salad, or creamy mashed potatoes. These choices offer a balance of textures and flavors alongside the tender chicken. Additionally,
- honey mustard,
- barbecue sauce, and
- ranch dressing are popular dipping sauces that add an extra layer of taste to your meal.
To elevate the presentation, try serving the tenders on a wooden cutting board with a sprinkle of fresh herbs or arrange them in a colorful platter for a visually striking effect.
Side Dishes
Enhance your juicy chicken tenders with a selection of delectable side dishes, balancing nutrition and flavor for a satisfying and enjoyable meal.
If you’re looking for a light and refreshing complement, opt for a quinoa salad tossed with colorful bell peppers, cucumbers, and parsley, drizzled with a zesty lemon vinaigrette. This dish not only provides a good source of plant-based protein and fiber but also adds a delightful crunch and tang to your meal.
Another fantastic option is roasted sweet potatoes sprinkled with a hint of cinnamon and a touch of maple syrup for a sweet and savory mix that’s packed with vitamin A and antioxidants.
Sauces and Dips
Elevate the taste of your juicy chicken tenders with an array of tantalizing dipping sauces and creative flavor variations, adding a touch of personal flair to your dining experience.
In terms of selecting the perfect dipping sauces, the possibilities are endless. Consider starting with classic choices like garlic aioli or smoky barbecue sauce, then venture into more adventurous flavors such as Thai peanut sauce or spicy mango chutney. Experiment with unexpected combinations like a zesty chipotle ranch or a tangy sweet chili mayo. Remember, the key is to balance flavors to complement the succulent chicken. To create these mouthwatering sauces at home, don’t forget to grab essential ingredients like fresh herbs, quality spices, and good-quality mayonnaise or yogurt, which can be easily ordered through affiliate links for added convenience.
Presentation Ideas
Impress your guests with visually appealing presentation ideas for your juicy chicken tenders, incorporating garnishes and creative plating techniques to elevate the dining experience.
One innovative suggestion is to create a layered platter with the chicken tenders arranged in a spiral pattern, accompanied by vibrant, fresh herbs and edible flowers sprinkled across the dish for a pop of color and freshness.
Another idea is to serve the tenderloins on skewers, alternating them with grilled vegetables, creating a visually enticing kabob presentation. To enhance the aesthetic appeal further, consider pairing the tenders with a variety of dipping sauces in small individual cups arranged elegantly around the plate. This mix of colors and textures will not only elevate the presentation but also the overall dining experience for your guests.