How to Cook Oats After Soaking?
Are you curious about the benefits of soaking oats before cooking? In this article, we’ll explore why soaking oats can improve digestibility, increase nutrient absorption, and reduce cooking time.
Learn the different methods for soaking oats, such as overnight soaking or quick soaking, and discover how to cook them on the stovetop or in the microwave.
We’ll also share tips for cooking soaked oats and what to do with any leftovers. Stay tuned to find out more about this nutritious breakfast option!
Key Takeaways:
Why Should You Soak Oats Before Cooking?
Credits: Poormet.Com – Roger Moore
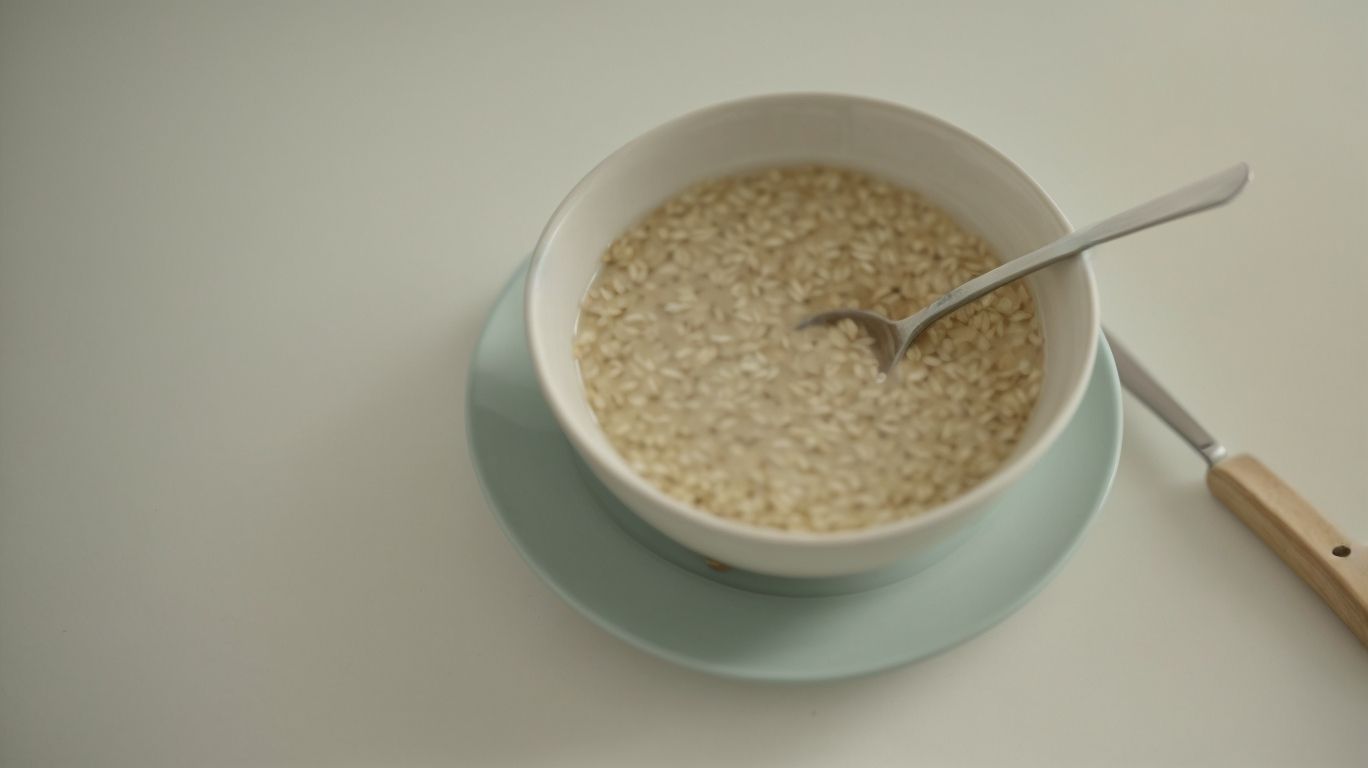
Soaking oats before cooking offers numerous benefits, including increased digestibility, enhanced nutrient absorption, and the reduction of anti-nutrients such as phytic acid.
By soaking oats, you activate enzymes that help break down the starches and proteins, making it easier for your body to digest and absorb the nutrients.
This practice harks back to ancestral methods where soaking grains was common to improve nutrient bioavailability.
Soaking oats can lead to a creamier texture in dishes like overnight oats or oatmeal, enhancing the overall taste and satisfaction of your meal.
Improves Digestibility
The process of soaking oats enhances their digestibility by breaking down complex starches and reducing enzyme inhibitors, making them easier for the body to process and absorb nutrients.
Historically, the practice of soaking grains before consumption dates back centuries, rooted in traditional cooking methods that prioritize optimal nutrition and digestion. Many old-world recipes, passed down through generations, include steps to soak grains like oats to unlock their full nutritional potential. Through the process of natural fermentation, soaking activates enzymes that help to predigest the grains, making them gentler on the digestive system. This method not only enhances nutrient absorption but also promotes better overall gut health.
Increases Nutrient Absorption
Soaking oats before cooking increases the bio-availability of nutrients such as zinc and iron by reducing phytic acid levels, ensuring better absorption of essential minerals for overall health.
Phytic acid, which is found in oats, forms complexes with minerals like zinc and iron, hindering their absorption in the body. By soaking oats, the phytic acid content decreases, making these minerals more available for the body to utilize. This process, known as phytate degradation, not only enhances nutrient absorption but also supports digestive health and overall well-being.
Soaking oats can also improve their digestibility, making them easier on the stomach and promoting better nutrient uptake. The enzymes activated during soaking help break down complex carbohydrates and proteins, making the nutrients in oats more readily accessible to the body for optimal health benefits.
Incorporating soaked oats into your diet can be a simple yet effective way to maximize the nutritional value of this wholesome grain and support your overall health and well-being.
Reduces Cooking Time
Soaking oats not only improves their nutritional profile but also reduces cooking time, making meal preparation more efficient and retaining the traditional flavors of old-world oat recipes.
When oats are soaked, whether it be steel cut, rolled, or quick oats, they absorb liquid and soften, which results in a shorter cooking time as they become more plump and tender.
This simple step can be a game-changer for busy mornings, as it allows you to spend less time monitoring the stove and more time enjoying a hearty bowl of oat porridge or incorporating oats into baking and cooking.
By soaking oats overnight, you can wake up to a no-fuss breakfast that is not only nutritious but also packed with that familiar comforting taste that oatmeal lovers adore.
How to Soak Oats?
To soak oats effectively, you can use an acidic medium such as lemon juice, apple cider vinegar, or buttermilk for optimal results, ensuring a dairy-free and gluten-free option for those with dietary restrictions.
When opting for a dairy-free alternative, lemon juice works wonders by providing a tangy essence that complements the oats perfectly. Simply squeeze fresh lemon juice into the water used for soaking to infuse a zesty flavor into the oats.
For a touch of sweetness paired with acidity, apple cider vinegar is a fantastic choice. Add a splash of apple cider vinegar to your soaking liquid to enhance the nutritional profile of oats with its probiotic benefits.
Buttermilk, although traditionally dairy-based, can be substituted with non-dairy alternatives like almond or coconut milk mixed with a bit of lemon juice for a similar effect. This versatile option caters to gluten-free individuals looking to elevate their oat soaking experience.
Overnight Soaking Method
The overnight soaking method for oats involves combining the grains with liquid and additional ingredients to create a flavorful and creamy base perfect for a nutritious breakfast option, adaptable for dairy-free preferences.
“
When preparing overnight oats, simply mix 1 part whole rolled oats with 2 parts liquid, such as almond milk or coconut water, in a container. To level up the flavor profile, try adding a dash of vanilla extract or a sprinkle of cinnamon. For a touch of sweetness, consider tossing in some sliced bananas or a drizzle of maple syrup. This process not only softens the grains but also makes them easier to digest, resulting in a delightful morning meal without the need for cooking.”
Quick Soaking Method
The quick soaking method for oats offers a rapid and efficient way to prepare soaked grains, ensuring they are easily digestible and suitable for various oat varieties such as steel cut oats, rolled oats, and quick oats.
This quick soaking technique involves submerging the oats in warm water for a short period, typically around 15-30 minutes, allowing them to soften and swell, which aids in reducing cooking time. This method not only enhances the texture and flavor of oats but also helps break down the phytic acid, making the nutrients more accessible for absorption.
How to Cook Soaked Oats?
Credits: Poormet.Com – Larry Robinson
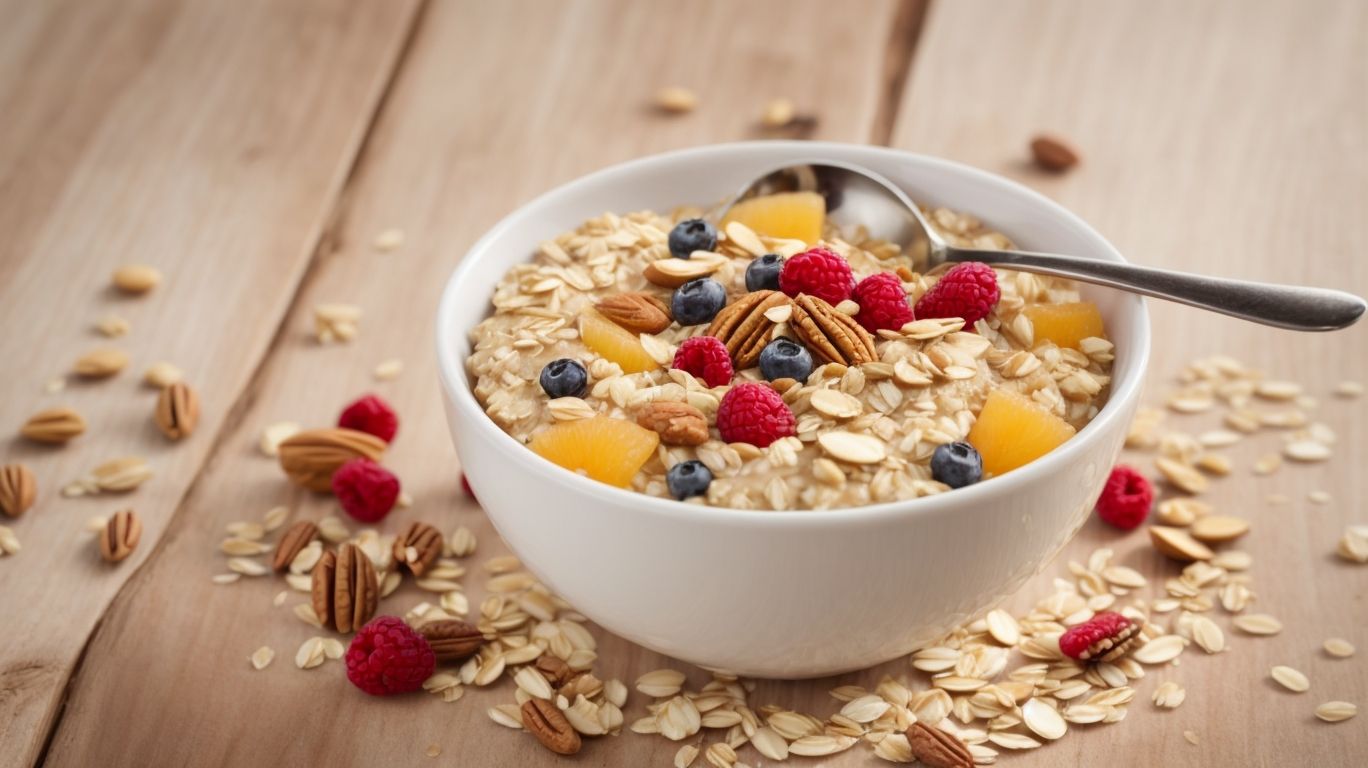
Cooking soaked oats can be done using the stovetop method for a traditional approach or the microwave method for quick preparation, both ensuring the retention of essential nutrients and minerals in the final dish.
When cooking soaked oats on the stovetop, start by bringing a saucepan of water to a boil before adding the soaked oats. Let them simmer gently, stirring occasionally to prevent sticking. This method allows for a more gradual cooking process, letting the oats absorb the liquid and develop a creamy texture.
On the other hand, the microwave method offers quick results, perfect for busy mornings. Simply place the soaked oats in a microwave-safe bowl, add water or milk, and cook in short bursts, stirring in between to ensure even cooking.
Stovetop Method
The stovetop method for cooking soaked oats involves gently simmering the grains with selected ingredients to create a nutritious and digestible oatmeal that retains essential minerals for a wholesome meal.
When cooking soaked oats on the stovetop, it’s crucial to use water or a plant-based milk alternative to ensure the grains soften into a creamy consistency. Adding a pinch of cinnamon not only enhances flavor but also contributes antioxidants, aiding in reducing inflammation. Incorporating chopped nuts or seeds can provide a satisfying crunch and boost healthy fats and proteins in your morning bowl.
A dash of sea salt not only highlights the flavor profile but also helps in mineral absorption, such as magnesium and potassium, crucial for bodily functions. Opting for organic and gluten-free oats can further enhance the digestibility of the meal, making it suitable for individuals with sensitive digestive systems.
Microwave Method
For a faster cooking option, the microwave method allows for quick preparation of soaked oats, ensuring a convenient and nutritious meal solution using various oat types, including quick oats.
Begin by taking a microwave-safe bowl and adding the desired amount of quick oats. Quick oats are ideal for this method as they cook faster due to their smaller size and thinner texture. Next, pour in enough water to cover the oats completely, ensuring they are well soaked. You can also add a pinch of salt or sweeteners like honey or maple syrup for flavor.
Place the bowl in the microwave and cook on high for about 1-2 minutes, depending on your microwave’s power. Monitor it to prevent overflow. Once done, carefully remove the bowl, stir the oats, and let them sit for a minute or two to thicken.
Tips for Cooking Soaked Oats
When cooking soaked oats, it is beneficial to use a larger pot for better consistency, stir frequently to achieve a creamy texture, and add flavorings such as nut butter, maple syrup, or cinnamon for a delicious and nutritious meal.
Choosing the right pot size can prevent overflow and ensure proper cooking of the oats without sticking to the sides. Opting for a larger pot with ample room for the oats to expand allows for more even heat distribution, resulting in a smoother texture.
To achieve that desired creamy consistency, make sure to stir the oats regularly during the cooking process. This constant stirring helps the oats release their natural starches, thickening the mixture and giving it a comforting, silky texture.
Enhancing the flavor of soaked oats is easily achieved by incorporating nut butter, maple syrup, or cinnamon into the cooking process. These ingredients not only add depth and richness to the dish but also offer a range of health benefits and a delightful aroma that can elevate your breakfast experience.
Use a Larger Pot
Using a larger pot when cooking soaked oats allows for better consistency and prevents overflow, ensuring an easier and more controlled meal preparation process with optimal results for a wholesome dish.
When cooking oats that have been soaked, the expansion in size of the oats requires more room for them to expand and cook evenly. By selecting a pot that is adequately large, you create ample space for the oats to absorb the liquid and cook thoroughly. A larger pot helps to regulate the heat distribution more effectively, preventing the oats from sticking to the bottom and burning. This careful attention to the size of your cooking vessel is essential in every culinary endeavor, ensuring that your final dish turns out just the way you intended it to.
Stir Frequently
Frequent stirring while cooking soaked oats helps to develop a creamy texture and even distribution of flavors, ensuring a delectable and nutritious final dish that is easy to digest and enjoy.
When you stir the oats regularly, it allows the liquid to be absorbed more evenly, resulting in a velvety consistency that is irresistible to the palate. Consistent stirring also prevents the oats from sticking to the bottom of the pot and burning, which can ruin the entire dish. By incorporating this simple technique into your oatmeal preparation routine, you not only enhance the overall taste but also create a visually appealing bowl of goodness that is a feast for both the eyes and the taste buds.
Add Flavorings
Enhance the taste of cooked soaked oats by adding flavorful ingredients such as nut butter, maple syrup, cinnamon, berry compote, flaxseed meal, or hemp seeds for a delicious and nutritious meal option.
To further enrich your cooked soaked oats, consider topping them with a spoonful of tangy Greek yogurt or a drizzle of antioxidant-rich honey for added creaminess and sweetness. Sprinkling a handful of crunchy almond slices or crushed walnuts can provide a satisfying textural contrast. A splash of vanilla extract or a pinch of nutmeg can infuse your oats with delightful aromatic notes, complementing the existing flavors. Experimenting with different combinations of these ingredients can turn your simple oats into a gourmet breakfast experience.
What to Do with Leftover Soaked Oats?
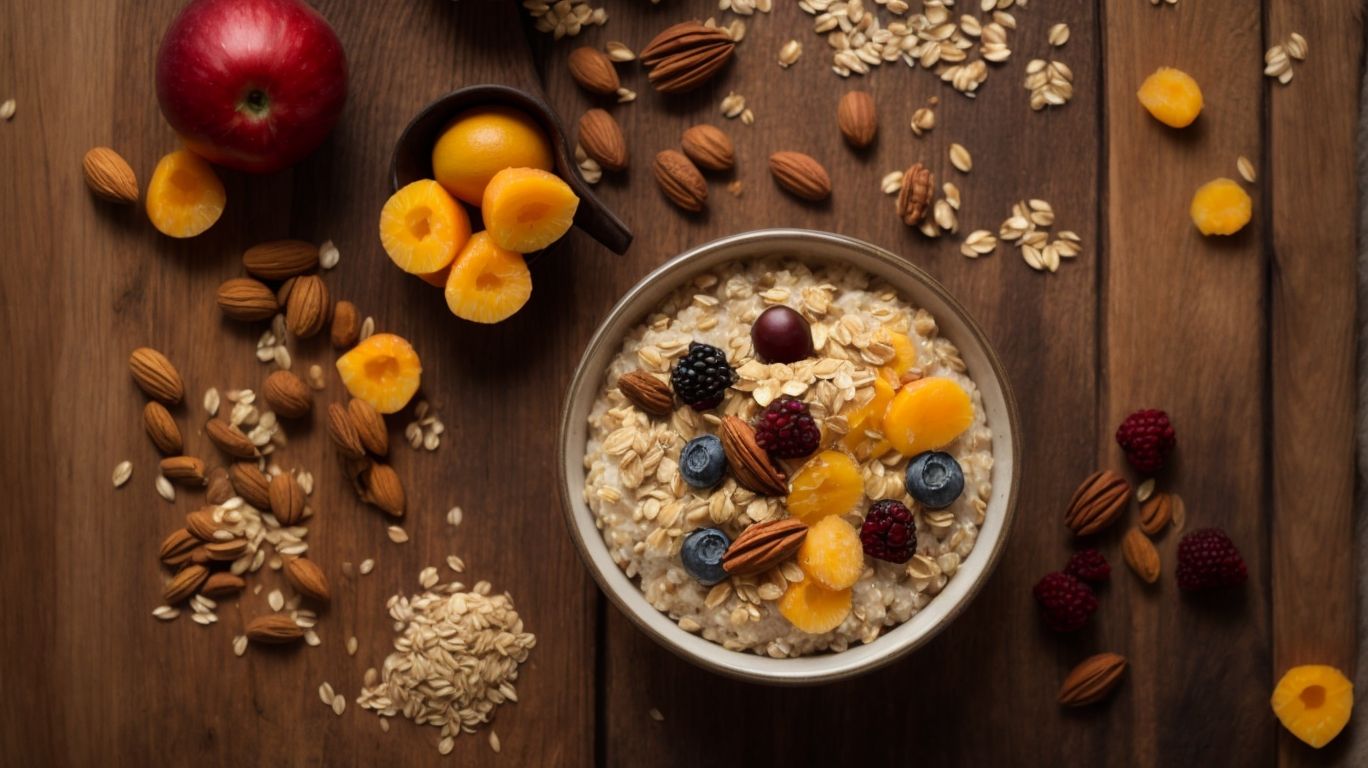
Credits: Poormet.Com – Sean Lopez
Leftover soaked oats can be stored in the fridge for future consumption or frozen for later use, providing a convenient dairy-free and gluten-free option for quick and nutritious meal solutions.
Refrigerating leftover soaked oats is ideal for short-term storage, usually lasting up to 2-3 days. Simply transfer the oats into an airtight container or a mason jar to maintain freshness. For longer-term storage, freezing is the key. Freezing soaked oats allows you to prepare larger batches in advance. Portion them out in freezer-safe bags or containers. When ready to enjoy, let the frozen oats thaw in the fridge overnight or gently warm them on the stove, adding a splash of liquid to achieve the desired consistency.
Store in the Fridge
To preserve leftover soaked oats, storing them in the fridge maintains their freshness and flavor, offering a convenient and ready-to-eat option for dairy-free and gluten-free meal solutions.
Refrigerating soaked oats provides an easy way to have a delicious and nutritious breakfast or snack readily available. This method allows the oats to thicken and develop a more intense flavor, making them a satisfying and healthy choice. By keeping them chilled, you can extend their shelf life while ensuring they remain moist and tasty.
Refrigerated oats can be customized with various toppings and mix-ins, such as fresh fruits, nuts, seeds, or plant-based milk, catering to different dietary preferences. This makes them versatile and adaptable options for those following specific dietary restrictions.
Freeze for Later Use
For long-term preservation, freezing leftover soaked oats allows for future use in meals, maintaining their quality and taste while offering dairy-free and gluten-free options for versatile meal planning.
This method not only saves time by preparing a batch ahead of time but also keeps the oats from going bad too quickly, ensuring there’s always a nutritious meal option on hand. By freezing soaked oats, you can easily incorporate them into smoothies, baked goods, or porridge, adding a creamy texture and nutty flavor to your dishes.
Conclusion
Soaking oats before cooking is a time-honored practice that enhances the health benefits, nutritional value, and flavor profile of oatmeal, making it a nutritious and delicious choice for traditional meal preparation.
When oats are soaked, the process breaks down phytic acid, a compound that can inhibit mineral absorption, thus increasing nutrient availability. This makes the oats easier to digest and allows the body to absorb more of the essential vitamins and minerals present in them.
Soaking oats can lead to a creamier texture in the final dish, making it more satisfying to eat. It also helps in reducing the cooking time required, which is particularly beneficial for those who are on a tight schedule in the morning.
Steel-cut oats, for instance, have a hearty, chewy texture, while rolled oats tend to absorb flavors more readily, offering a different mouthfeel and taste experience. This versatility in oat varieties allows for a range of dishes, from creamy porridges to crunchy granolas, catering to various preferences and dietary needs.
About the Author
Chris Poormet, the owner of Poormet.com, is a renowned culinary blogger and former chef recognized for his expertise in food photography, sharing a wealth of recipes and tips that have earned him accolades such as Culinary Blogger of the Year.
His passion for culinary arts shines through in his visually enticing and meticulously crafted dishes. Chris’s journey began in the bustling kitchens of renowned restaurants, where he honed his skills and developed a keen eye for aesthetics in food presentation.
His blog, Poormet.com, serves as a hub for culinary enthusiasts, offering a blend of traditional recipes with a modern twist and innovative cooking techniques.
Chris’s unique approach to food styling and photography has set him apart in the digital sphere, garnering a loyal following of food lovers eager to recreate his delectable creations.
Frequently Asked Questions
What are the benefits of soaking oats before cooking them?
Soaking oats before cooking can make them easier to digest, improve their nutrient absorption, and reduce their cooking time.
How long should I soak my oats before cooking them?
It is recommended to soak your oats for at least 30 minutes, but you can also soak them overnight for a creamier texture.
Can I cook soaked oats without draining the water?
Yes, you can cook soaked oats without draining the water. The water will become a part of the cooking process and help create a more creamy texture.
What is the best way to cook soaked oats?
The best way to cook soaked oats is to bring them to a boil in the same water they were soaked in, then reduce the heat and let them simmer for a few minutes until they reach your desired consistency.
Can I add flavorings to my soaked oats before cooking?
Yes, you can add flavorings such as cinnamon, honey, or fruit to your soaked oats before cooking to enhance their taste. Just make sure to adjust the cooking time accordingly.
Can I store leftover soaked oats for later use?
Yes, you can store leftover soaked oats in an airtight container in the refrigerator for up to 3 days. Just make sure to add a little bit of water before reheating to prevent them from drying out.

