How to Cook Quinoa After Soaking?
Are you a fan of quinoa but not sure how to properly soak and cook it for the best results?
We will explore the benefits of soaking quinoa before cooking, the step-by-step process of soaking quinoa, and how to cook it after soaking.
From tips on storing soaked quinoa to adding flavorful ingredients, we will cover everything you need to know to make the perfect quinoa dish.
Let’s dive in and elevate your quinoa cooking skills!
Key Takeaways:
What is Quinoa?
Quinoa, a nutrient-dense grain originating from South America, is renowned for its high protein content and unique health benefits.
Quinoa’s origins can be traced back to the Andean region, where it has been cultivated for thousands of years. This pseudocereal is not only a complete protein source, containing all essential amino acids, but it is also gluten-free, making it a popular choice for people with gluten sensitivities.
Quinoa is a good source of fiber, iron, magnesium, and antioxidants. Its seeds contain saponins, natural compounds that may have anti-inflammatory and immune-boosting properties.
Quinoa’s versatility allows it to be used in various dishes, from salads and soups to pilafs and even desserts.
Why Should You Soak Quinoa Before Cooking?
Credits: Poormet.Com – Wayne Harris
Soaking quinoa before cooking is essential to remove its bitter saponins, improve texture, and enhance the overall cooking method.
Removing saponins is crucial as they can give quinoa a slightly soapy or bitter taste if not eliminated through soaking. This process also helps in softening the outer coating of quinoa seeds, resulting in a pleasant, fluffy texture after cooking. When you soak quinoa, it loosens up any dirt or debris that might be present, allowing for a cleaner final product. Opting for thorough rinsing and soaking can make a noticeable difference in the taste of your quinoa-based dishes.
How to Soak Quinoa?
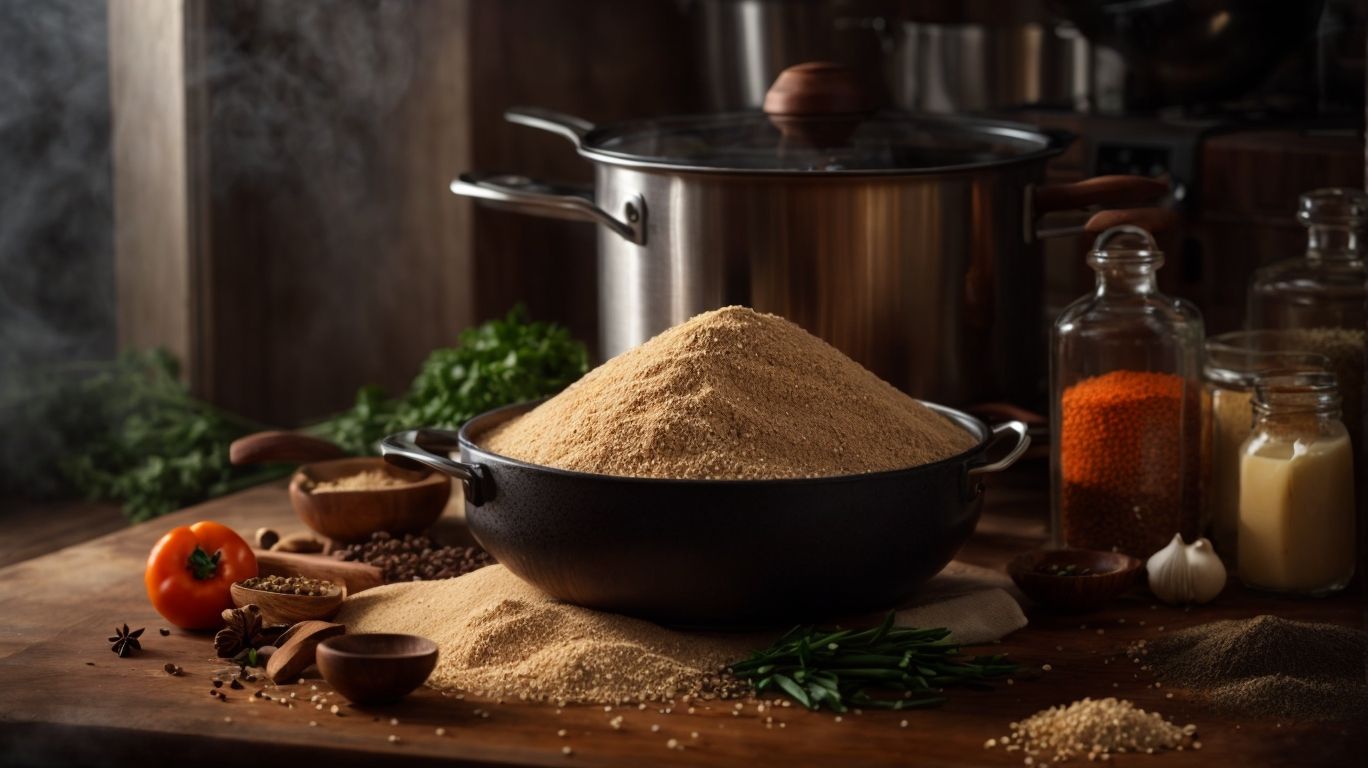
Credits: Poormet.Com – Dennis Hall
To soak quinoa effectively, start by rinsing it thoroughly to remove any residue and then use a method that may involve soaking it with cider vinegar for enhanced results.
After rinsing the quinoa, opt for a large bowl or container and cover the quinoa with water, ensuring it’s submerged entirely. Consider adding a tablespoon of cider vinegar to help break down phytic acid and improve nutrient absorption during soaking. Let it sit for at least 6-8 hours or overnight, allowing the quinoa to absorb the water and vinegar.
Rinse the Quinoa
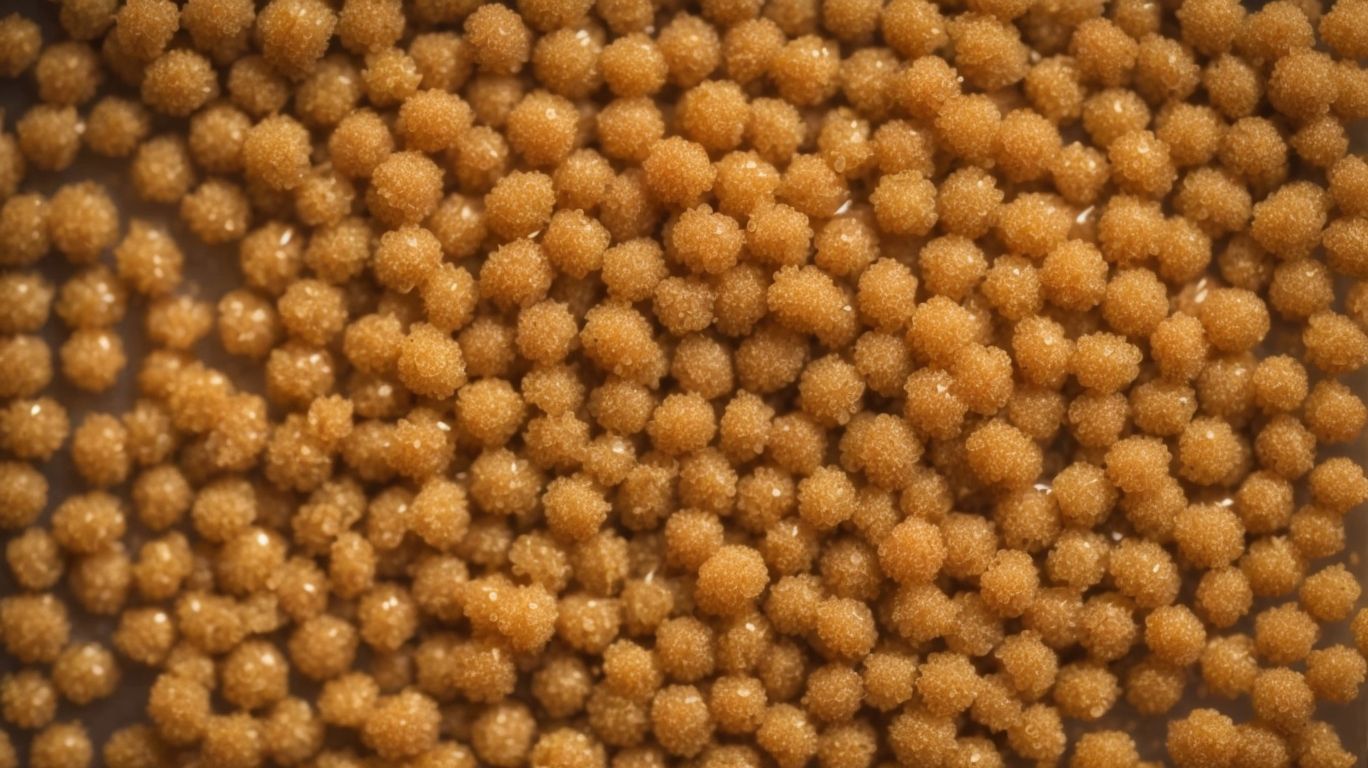
Before soaking quinoa, ensure to rinse it thoroughly using a fine-mesh sieve to remove any impurities or residue.
Rinsing quinoa is a crucial step in preparing this versatile grain. To do this, place the quinoa in the sieve and run cold water over it. Swirl the quinoa around with your hand to ensure all the grains are thoroughly rinsed. The sieve helps to separate the quinoa from any dirt or bitter-tasting saponins. Continue rinsing until the water runs clear, indicating that the quinoa is clean and ready to be cooked.
Measure the Quinoa and Water
When soaking quinoa, it is crucial to measure the right ratio of quinoa to water for optimal soaking results.
Getting the quinoa to water ratio spot on ensures that the quinoa absorbs just the right amount of water, resulting in perfectly cooked and fluffy grains. Too much water can leave you with mushy quinoa, while too little water may cause the grains to be undercooked and crunchy.
By following the recommended ratio, typically 1:2 (one part quinoa to two parts water), you guarantee that the quinoa will absorb the necessary moisture without becoming soggy.
This precision in measurement is not only vital for the texture of the quinoa but also affects its nutritional value and overall taste.
Soak the Quinoa for at Least 2 Hours
Allow the quinoa to soak for a minimum of 2 hours to ensure proper hydration and removal of potentially harmful substances.
Soaking quinoa for at least two hours allows the grains to absorb water gradually, resulting in perfect hydration and improved texture after cooking. This process also aids in removing saponins, a bitter compound on the quinoa’s outer layer that could affect taste and digestibility.
Timing is crucial when it comes to soaking quinoa. Allowing it to sit for too short a period may not achieve the desired hydration level, while over-soaking can lead to mushy quinoa. Therefore, maintaining the recommended soaking duration of 2 hours strikes a balance for optimal results.
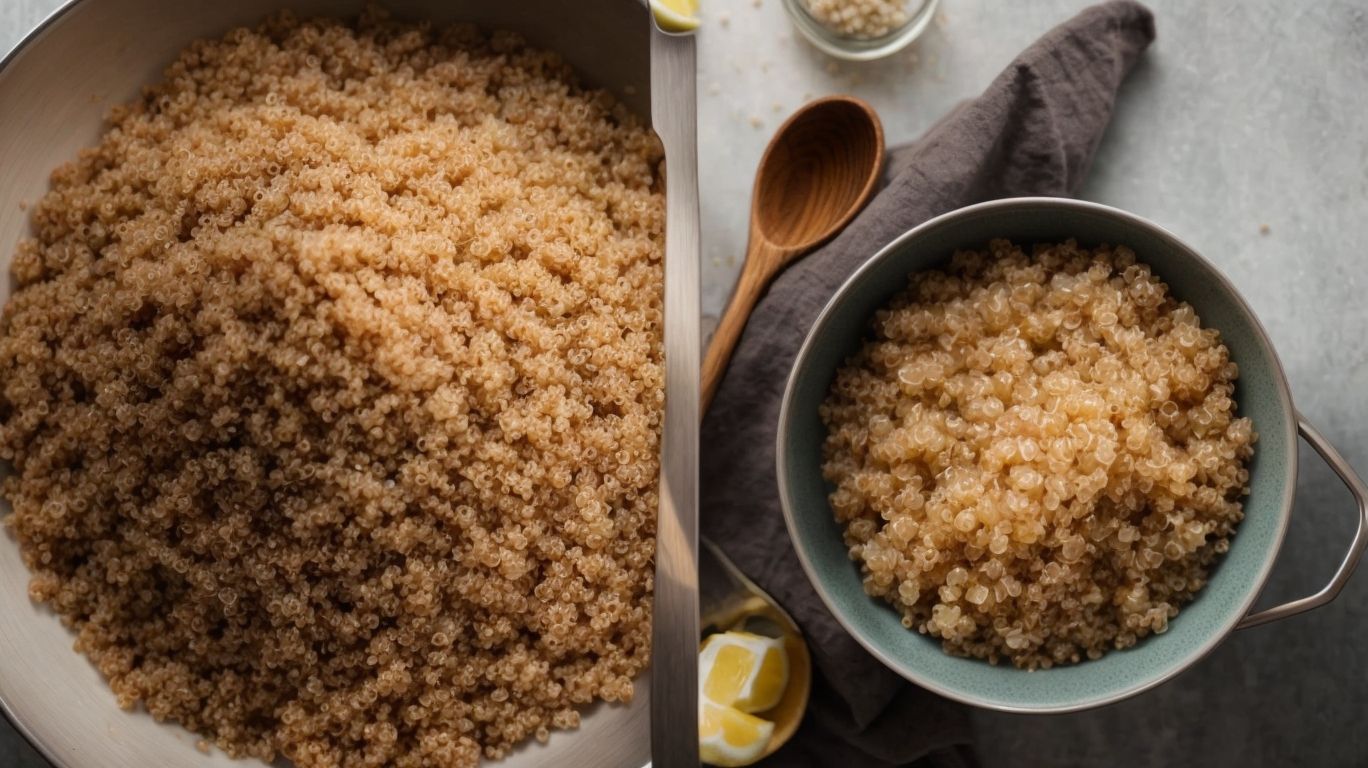
How to Cook Quinoa After Soaking?
After soaking quinoa, cooking it involves adding water, bringing it to a boil, and following a specific method to achieve fluffy and perfectly cooked quinoa.
To cook quinoa post-soaking, begin by draining any excess water from the soaked quinoa. Then, in a saucepan, add 1 ¾ cups of water for every cup of quinoa. Place the pan on medium heat and bring the water to a boil. Once boiling, reduce the heat to low, cover the pan with a lid, and let it simmer for about 15 minutes or until the water is absorbed and the quinoa is fluffy. Avoid lifting the lid during cooking to ensure proper steam retention.
Drain the Soaked Quinoa
Once quinoa has been soaked, ensure to drain it properly to remove excess water and prepare it for the cooking process.
After soaking, use a fine mesh strainer or cheesecloth to drain the quinoa thoroughly. Gently press on the quinoa with a spoon to extract any remaining water.
Allow the quinoa to sit in the strainer for a few minutes to let excess water drip off completely.
You can also spread the quinoa on a clean kitchen towel and pat it dry to speed up the process.
Add Water and Bring to a Boil
Add the right amount of water to the drained quinoa and bring it to a gentle boil to initiate the cooking process.
For perfectly fluffy quinoa, the general rule is to use twice as much water as quinoa. This typically means using 2 cups of water for every 1 cup of quinoa. Always check the packaging instructions for specific ratios.
When bringing the water to a boil, consider using a heavy-bottomed pot to ensure even heat distribution. Cover the pot with a lid to retain moisture during the cooking process.
Once the water starts boiling, reduce the heat to a simmer and let the quinoa cook for about 15 minutes until the grains have absorbed the water and are tender.
Reduce Heat and Simmer for 15 Minutes
After boiling, reduce the heat and allow the quinoa to simmer for approximately 15 minutes to ensure thorough cooking and absorption of water.
During this simmering step, the quinoa continues to absorb any remaining liquid and steam, which helps to achieve a fluffy and perfectly cooked texture. It’s essential to cover the pot with a lid to retain the heat and moisture, creating the ideal environment for the quinoa to cook evenly.
Simmering allows the quinoa to soften gradually without overcooking or becoming mushy. This gentle cooking process also enhances the nutty flavor of the quinoa and ensures that each grain is cooked to perfection.
Let it Rest for 5 Minutes
Once cooked, let the quinoa rest for about 5 minutes before fluffing it with a fork to enhance its texture and overall appeal.
Allowing quinoa to rest post-cooking is crucial as it gives the grains time to settle and absorb any residual moisture, resulting in a perfectly fluffy and light texture. This brief rest period also allows the flavors to meld together harmoniously.
When it’s time to fluff the quinoa with a fork, gently separate the grains to prevent clumping and ensure a well-distributed texture. Fluffing also helps to aerate the quinoa, making it light and airy on the plate.
What are Some Tips for Cooking Quinoa After Soaking?
Credits: Poormet.Com – Tyler Sanchez
Enhance your quinoa cooking experience by incorporating flavorful ingredients, using a 2:1 water to quinoa ratio, and mastering the art of fluffing the quinoa with a fork.
After soaking your quinoa, consider adding aromatics like garlic, onion, or herbs during the cooking process to elevate the overall taste profile.
In terms of water ratios, remember that quinoa absorbs water differently, so adjusting the amount slightly based on personal preference may be necessary.
To achieve the perfect fluffy texture, gently fluff the cooked quinoa with a fork to separate the grains without smashing them. This simple technique helps prevent clumping and ensures a light, airy finish to your quinoa dish.
Use a 2:1 Water to Quinoa Ratio
Maintain a 2:1 water to quinoa ratio when cooking to ensure the perfect balance of moisture and fluffy texture for your quinoa dishes.
Getting the water to quinoa ratio right is crucial as quinoa absorbs water while cooking, and having too much or too little water can drastically affect the end result. The 2:1 ratio allows the quinoa to absorb just enough water to cook through and become light and fluffy. This balance ensures that the quinoa doesn’t end up mushy or dry, but rather perfectly tender with individual grains intact.
By following this simple ratio, you can achieve consistent results every time you cook quinoa, whether you are making salads, pilafs, or even using it as a base for a protein bowl.
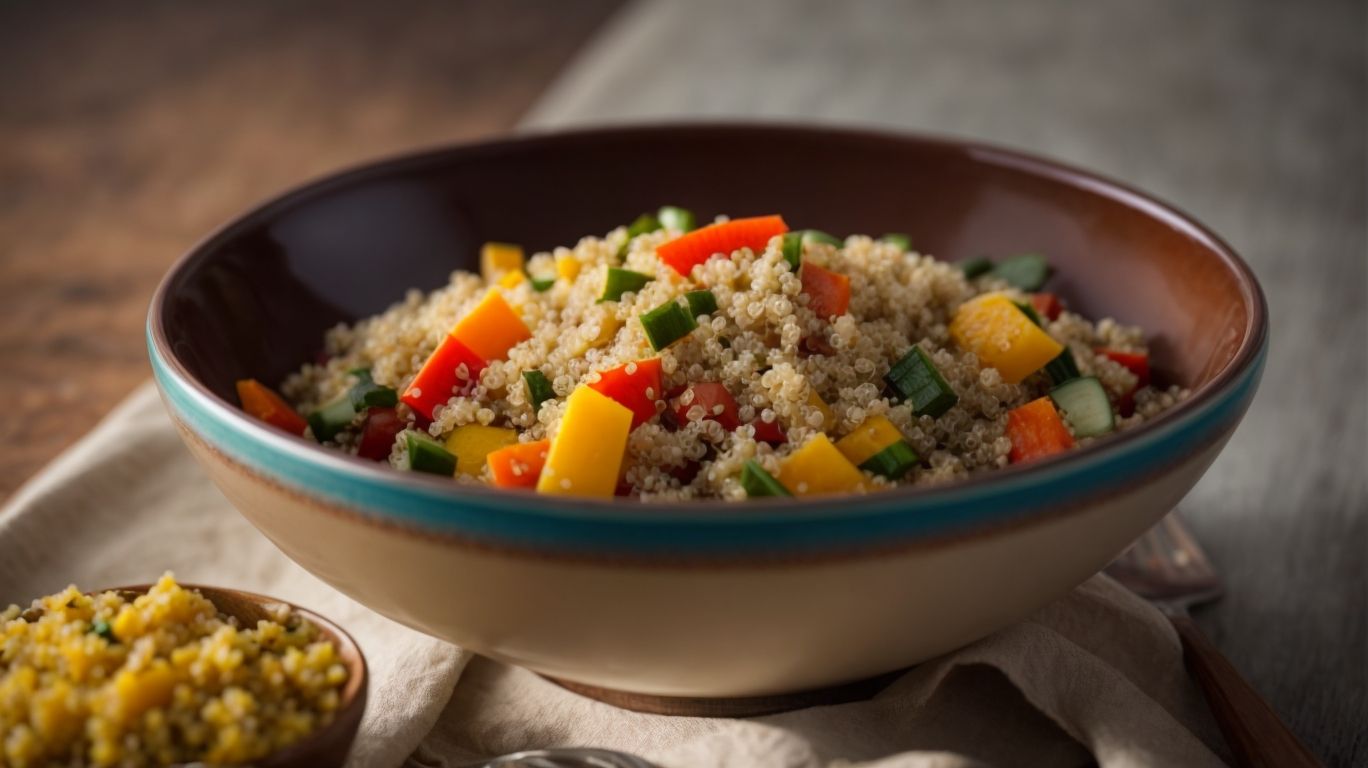
Add Flavorful Ingredients
Elevate your quinoa dishes by incorporating flavorful ingredients such as herbs, spices, and aromatic vegetables to enhance taste and appeal.
Herbs and spices can truly transform a simple quinoa bowl into a gourmet meal, adding layers of complexity and depth to the flavors. Consider using fresh herbs like cilantro, parsley, or mint to bring a pop of freshness to your dish. Garlic and ginger are fantastic options for adding a punch of savory warmth, while cumin and paprika can infuse a smoky depth that complements the nuttiness of quinoa.
For those looking to add a kick of heat, red pepper flakes or a pinch of cayenne pepper can do wonders. On the other hand, if you prefer a more subtle flavor profile, try incorporating a hint of lemon zest or a splash of balsamic vinegar for a touch of acidity.
Use a Fork to Fluff the Quinoa
After cooking, use a fork to gently fluff the quinoa, separating the grains and enhancing its light and fluffy texture for a delightful eating experience.
Fluffing the quinoa with a fork is a simple yet essential step that helps to prevent clumping and ensures each grain is beautifully separate, making for a visually appealing dish. This technique also aerates the quinoa, giving it a lighter mouthfeel and improving the overall texture. By delicately running the tines of the fork through the cooked quinoa, you create a lovely fluffiness that makes it more enjoyable to dig into.
How to Store Soaked Quinoa?
To preserve soaked quinoa for future use, consider refrigerating it for up to 3 days or freezing it for an extended storage period of up to 3 months.
When refrigerating soaked quinoa, place it in an airtight container to prevent moisture loss and absorption of other odors in your fridge. For freezing, portion the quinoa into smaller containers or resealable bags for easy access. Labeling with the date can help you track its freshness. Want to maintain its texture? Consider freezing it in a thin layer first, then transferring it to a bag for longer storage.
Remember, thaw frozen quinoa in the refrigerator overnight for best results. When ready to use, consider incorporating it in salads, soups, or as a base for various dishes. Experiment with herbs, spices, and dressings to enhance its flavor profile.
Refrigerate for Up to 3 Days
For short-term storage, refrigerate soaked quinoa in an airtight container for up to 3 days to preserve freshness and quality.
If you want to enjoy the nutty texture and taste of your soaked quinoa for a bit longer, consider freezing it. Store the quinoa in a freezer-safe bag or airtight container for up to a month. Before cooking, allow it to thaw in the refrigerator. Remember, the key to maintaining the taste and nutritional value lies in handling it with care. And don’t forget, always check for any signs of spoilage before consuming.
Freeze for Up to 3 Months
For extended storage, freeze soaked quinoa in freezer-safe containers or bags for up to 3 months, ensuring proper labeling for easy retrieval.
When selecting containers for freezing, opt for airtight options to prevent freezer burn and maintain freshness. Labeling each container with the date of freezing and quantity can help you keep track of your stored quinoa efficiently. To make retrieval easier, arrange containers in an organized manner, grouping them by type.
Frequently Asked Questions
What is the best way to cook quinoa after soaking?
The best way to cook quinoa after soaking is to rinse the soaked quinoa thoroughly before cooking it. This will remove any bitterness and ensure that the quinoa cooks evenly.
How long should I soak quinoa before cooking it?
It is recommended to soak quinoa for at least 4 hours, or overnight, before cooking it. This allows the quinoa to absorb water and become softer, making it easier to cook.
Can I cook quinoa without soaking it first?
Yes, you can cook quinoa without soaking it first. However, soaking the quinoa can help improve its texture and make it easier to digest. Soaking also reduces the cooking time and can enhance the nutritional value of quinoa.
Why is it important to rinse quinoa after soaking?
Rinsing quinoa after soaking is important because it helps remove any dirt, debris, or residual saponins – a natural coating that can give quinoa a bitter taste. Rinsing also ensures that the quinoa cooks evenly and has a better texture.
What is the ideal water-to-quinoa ratio for cooking soaked quinoa?
The ideal water-to-quinoa ratio for cooking soaked quinoa is 2 cups of water for every 1 cup of soaked quinoa. This will result in perfectly cooked, fluffy quinoa.
Can I use the soaking water to cook quinoa?
It is not recommended to use the soaking water to cook quinoa. This water may contain residual saponins and can result in a bitter taste. It is best to rinse the quinoa thoroughly and use fresh water for cooking.