How to Cook Urad Dal Without Soaking?
Are you looking to elevate your cooking skills and try something new in the kitchen?
Explore the wonders of Urad Dal, a versatile and nutritious ingredient commonly used in Indian cuisine.
Learn about the benefits of cooking Urad Dal without soaking and follow a step-by-step guide on how to prepare this delicious dish.
Discover some expert tips and tricks to make your Urad Dal truly irresistible. Let’s get cooking!
Key Takeaways:
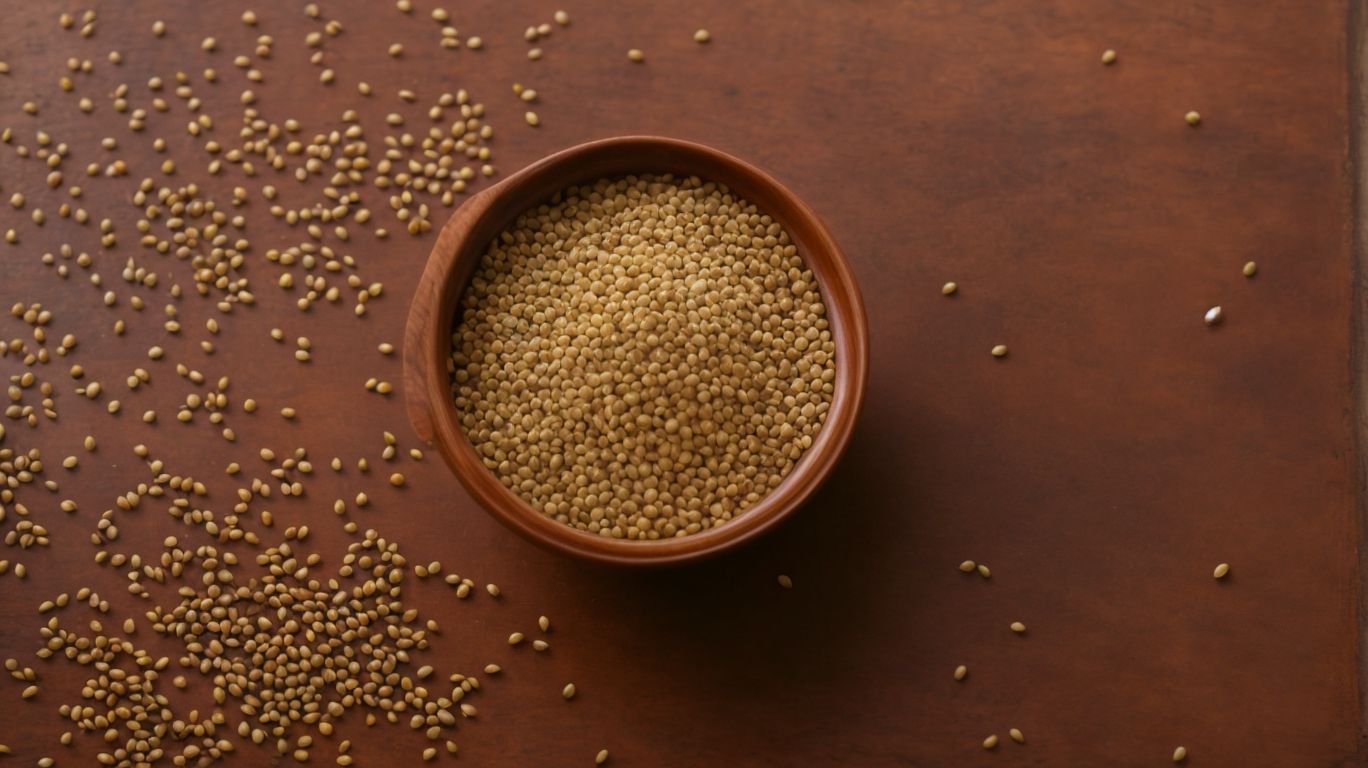
What is Urad Dal?
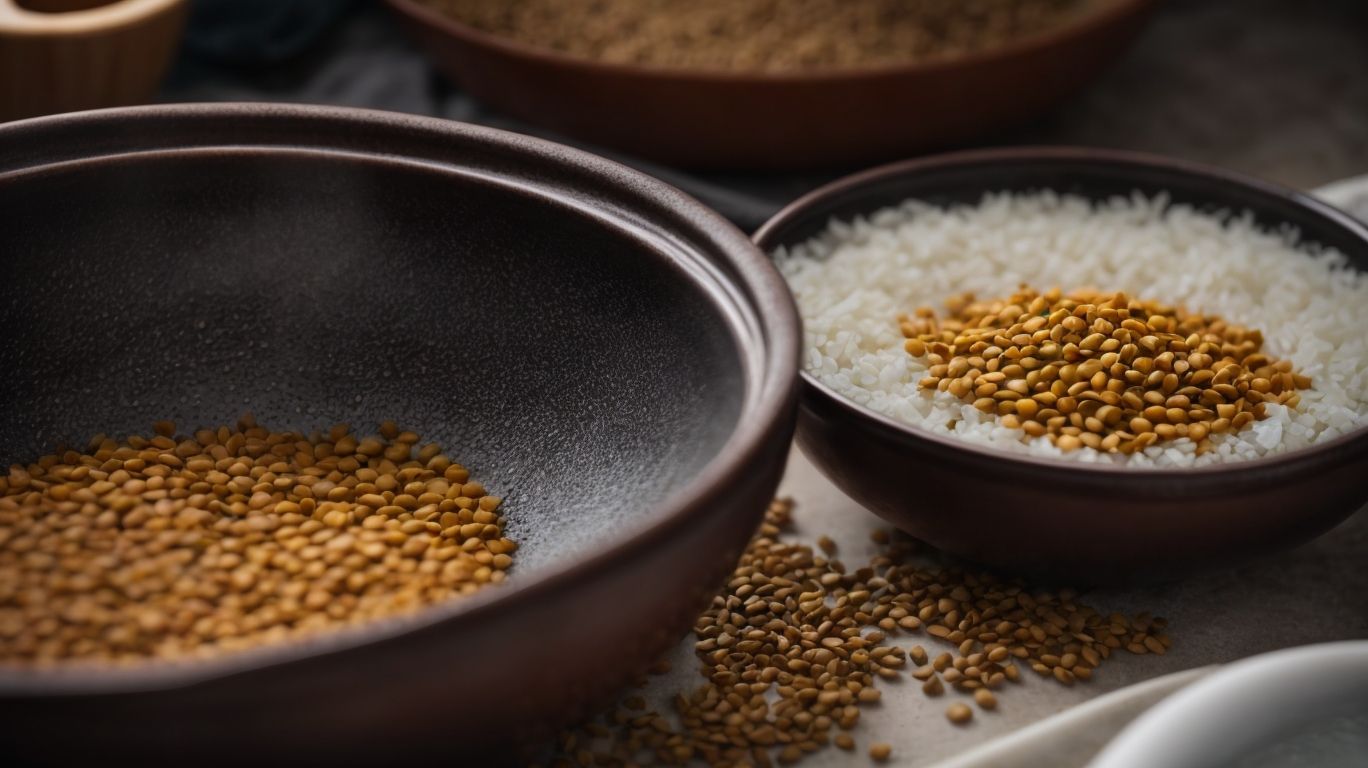
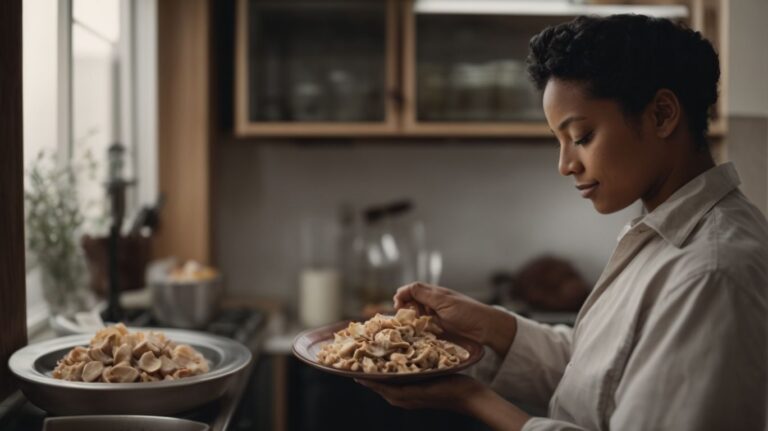
Credits: Poormet.Com – Anthony Adams
Urad Dal, also known as black gram, is a type of lentil that is widely used in North Indian cuisine.
This legume has been a staple in Indian households for centuries, with its origins tracing back to ancient times. Urad Dal is a versatile ingredient that is not only popular for its distinct earthy flavor but also for its numerous health benefits. In Indian cuisine, it is used to make popular dishes like Dal Makhani, Idli, and Medu Vada. Rich in protein, dietary fiber, and minerals like iron and potassium, consuming Urad Dal regularly can aid in improving digestion, boosting energy levels, and maintaining overall health.
Why Should You Cook Urad Dal Without Soaking?
Credits: Poormet.Com – Andrew Garcia
Cooking Urad Dal without soaking offers numerous advantages, especially in retaining its traditional flavors and saving time in meal preparation.
When Urad Dal is cooked without soaking, it tends to maintain a more robust and earthy flavor profile as compared to soaked dal which can sometimes lose some of its natural taste during the soaking process. The texture of unsoaked Urad Dal also tends to be firmer and holds its shape better, making it ideal for certain dishes that require a slightly more substantial consistency.
In terms of efficiency, skipping the soaking step significantly reduces the overall cooking time, which is particularly beneficial for busy individuals or those looking to cut down on meal prep time without compromising on taste.
What are the Benefits of Not Soaking Urad Dal?
Not soaking Urad Dal preserves its natural flavors, reduces cooking time, and maintains the traditional essence of the dish.
By skipping the soaking process, the unique earthy flavor of Urad Dal remains intact, enhancing the overall taste profile of the dish. This preservation of flavor is crucial in traditional recipes where the distinct taste of the lentil plays a significant role. For those who are pressed for time, avoiding soaking allows for quicker meal preparation, making it a time-saving technique in the kitchen.
Sticking to the conventional method of cooking without soaking stays true to the traditional way of preparing Urad Dal-based dishes. For many, this adherence to age-old practices not only ensures authenticity but also adds a sentimental value to the meal, connecting them to their cultural and culinary roots.
How to Cook Urad Dal Without Soaking?
Cooking Urad Dal without soaking is a straightforward process that can be efficiently done using a pressure cooker.
To begin, start by gathering all the necessary ingredients including Urad Dal, water, salt, turmeric powder, cumin seeds, chopped onions, tomatoes, ginger, garlic, and green chilies. Ensure you have a pressure cooker ready for use.
- First, rinse the Urad Dal in cold water until the water runs clear.
- Next, heat some oil in the pressure cooker and add cumin seeds, followed by chopped onions, ginger, garlic, and green chilies.
- Once ingredients are sautéed, add chopped tomatoes and let them cook until soft.
- Then, add the rinsed Urad Dal along with water, salt, and turmeric powder.
- Close the lid of the pressure cooker and allow it to cook until you hear a whistle.
- Once done, let the pressure release naturally before opening the cooker.
- Serve the delicious Urad Dal hot with rice or bread!
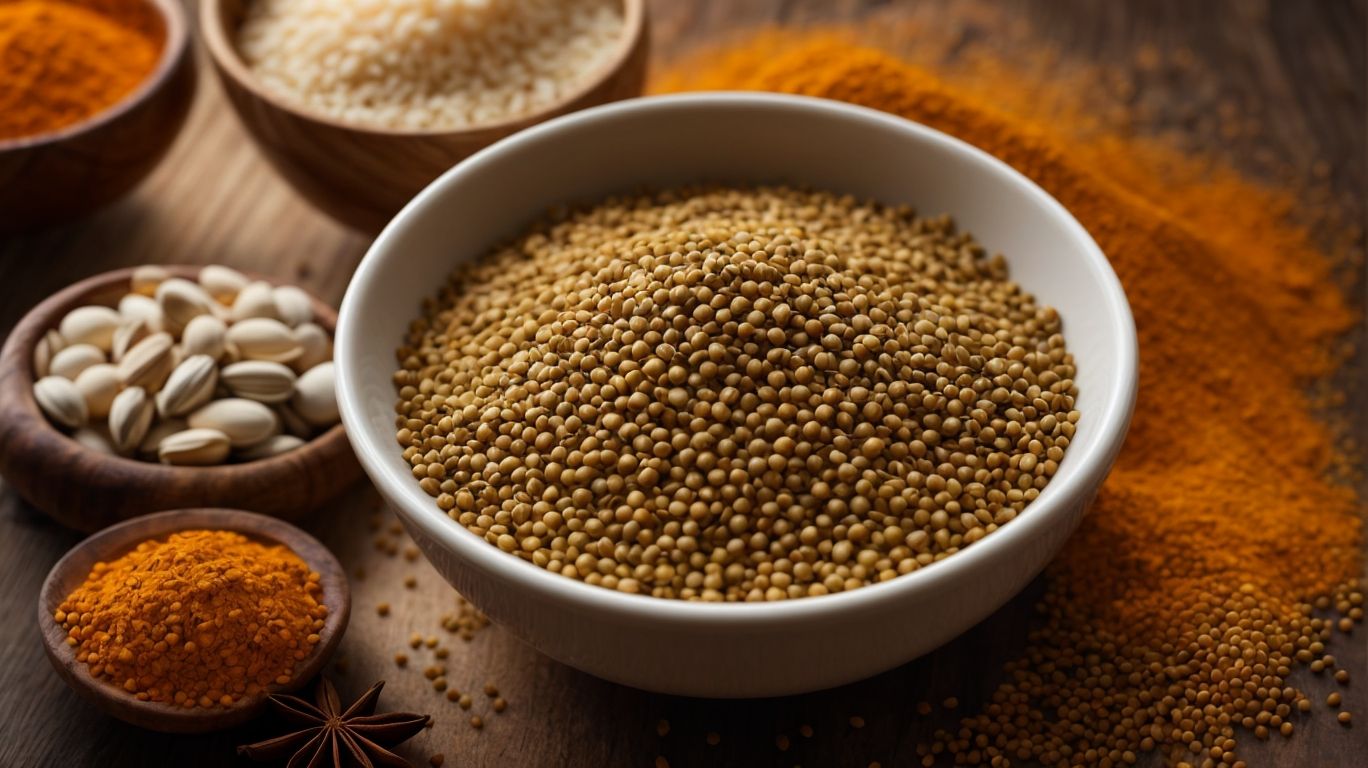
Step 1: Rinse the Urad Dal
The first step in cooking Urad Dal without soaking is to thoroughly rinse the lentils to remove any debris or impurities.
Rinsing Urad Dal before cooking is a crucial step that not only ensures cleanliness but also impacts the final taste and texture of the dish. When you rinse the lentils, you are not only cleansing them from any dirt or dust particles but also washing away excess starch that can cause the dal to become mushy during cooking. This process can help eliminate any unwanted flavors or odors that might linger on the lentils.
Properly rinsing the Urad Dal can also contribute to better digestion as it removes any anti-nutrients present on the lentils, making them easier to digest and improving nutrient absorption in the body. So, taking the time to thoroughly wash the lentils before cooking can make a significant difference in the overall quality of your dish.
Step 2: Prepare the Pressure Cooker
Next, prepare the pressure cooker by adding the necessary amount of water and ensuring the cooker is set up correctly for cooking Urad Dal.
Begin by measuring the water ratio, typically using around 2 cups of water for every cup of Urad Dal.
Once you’ve added the water to the pressure cooker, place the cooker on the stove and secure the lid tightly. Check that the pressure valve is in the correct position to build pressure during cooking. It’s important to follow the instructions provided with your specific pressure cooker model to ensure safe and efficient cooking.
By taking these steps, you’ll set the foundation for perfectly cooked Urad Dal in the pressure cooker.
Step 3: Add the Urad Dal and Water
Add the rinsed Urad Dal and the required amount of water to the pressure cooker, ensuring the dal is submerged adequately for cooking.
To achieve the perfect consistency and texture, it is crucial to maintain the ideal ratio of dal to water. A common rule of thumb is 1:3: for every cup of Urad Dal, add three cups of water. This proportion ensures that the dal cooks evenly and absorbs just the right amount of moisture. Once the dal and water are in the cooker, make sure not to exceed the maximum fill line to prevent overflow while under pressure.
Step 4: Cook the Urad Dal
Cook the Urad Dal in the pressure cooker until it reaches the desired level of tenderness, taking advantage of the time-saving benefits of this cooking method.
When preparing Urad Dal in a pressure cooker, ensure to add the dal with the appropriate amount of water, usually in a 1:2 ratio. Set the pressure cooker on a medium-high flame and allow it to reach full pressure. Once the pressure is reached, lower the flame to maintain a gentle simmer. Let the dal cook for about 10-12 minutes for a creamy texture or 15-20 minutes for a firmer consistency.
Step 5: Let the Pressure Release Naturally
Allow the pressure in the cooker to release naturally before opening it to check the readiness of the Urad Dal, ensuring a safe and controlled cooking process.
Ensuring a natural pressure release is essential when cooking Urad Dal as it helps prevent accidents and ensures that the dish is cooked thoroughly and evenly. If the pressure is released too quickly, the hot steam can cause spattering and potential burns, posing a safety risk. By allowing the pressure to release naturally, you can avoid any sudden bursts of steam that could result in burns.
Natural pressure release allows the Urad Dal to continue cooking gently even after the heat is turned off, helping it reach the perfect texture and flavor. This slow release method helps retain the nutritional value of the dal, making it a healthier option.
Step 6: Check the Consistency of the Dal
Check the consistency of the Urad Dal to ensure it has reached the desired texture and softness before proceeding to the next cooking steps.
When assessing the cooked Urad Dal, one key aspect to focus on is its texture. The dal should be soft and tender but not mushy. To achieve this, gently press a few lentils between your fingers; they should easily break apart without any hard or undercooked centers. Observe the appearance of the dal – it should be well-cooked, plump, and slightly creamy. Overcooked dal may turn into a mush, losing its individual shape and distinct texture.
Step 7: Add Seasonings and Serve
Add your preferred seasonings and spices to the cooked Urad Dal, and serve it hot with rice or Indian bread for a delicious and comforting meal.
Once the Urad Dal is seasoned to perfection, consider adding a garnish of fresh cilantro or a squeeze of lemon juice to enhance the flavors. The fragrance of the dal combined with the aromatic spices is sure to tantalize your taste buds. To elevate the presentation, you can sprinkle some toasted cumin seeds or a drizzle of ghee on top. Pairing this hearty dish with steamed Basmati rice or warm chapati is a classic choice. Serving the Urad Dal in traditional Indian bowls or on a bed of fragrant rice adds an authentic touch to your meal.
What are Some Tips for Cooking Urad Dal Without Soaking?
To achieve the best results when cooking Urad Dal without soaking, follow these essential tips for a flavorful and well-prepared dish.
Ensure you rinse the Urad Dal thoroughly to remove any impurities before cooking. Then, when using a pressure cooker, add water in the proportion of 1:3, dal to water ratio, to avoid excess stickiness. Utilizing a pressure cooker significantly reduces cooking time, typically requiring around 15-20 minutes on medium heat after the first whistle.
Adjust the amount of water based on your preferred consistency, as some recipes may call for a thicker or soupier texture. Incorporating a pinch of asafoetida while tempering can elevate the flavor profile of the Urad Dal. Remember to let the pressure release naturally to allow the flavors to amalgamate for a delicious end result.
Tip 1: Use a Pressure Cooker
Utilize a pressure cooker for cooking Urad Dal without soaking to expedite the cooking process and enhance the flavors of the dish.
When using a pressure cooker for Urad Dal, the high pressure and steam cooking method leads to faster cooking times, perfect for those busy weeknights where time is of the essence. The sealed environment in the pressure cooker locks in the flavors and nutrients, ensuring a more flavorful and nutritious outcome when compared to traditional cooking methods.
The pressure cooker allows for a hassle-free cooking experience, requiring minimal supervision and reducing the chances of the dal boiling over or burning. Its convenience factor makes it a must-have kitchen appliance for those seeking efficiency and delicious results in their cooking endeavors.
Tip 2: Use Fresh Urad Dal
Opt for fresh and high-quality Urad Dal when preparing the dish without soaking, as it can significantly impact the overall taste and texture of the final dish.
Regarding cooking with fresh Urad Dal, you not only enhance the flavors of your dishes but also boost their nutritional value. Freshly sourced Urad Dal retains its natural earthy aroma and imparts a rich, nutty flavor that can elevate your recipes to new heights. Using fresh ingredients like Urad Dal ensures that you get the best possible texture in your dishes, whether you’re making creamy dals, crispy vadas, or fluffy idlis.
Tip 3: Adjust Cooking Time Based on Consistency Preference
Tailor the cooking time of Urad Dal without soaking based on your desired consistency, whether you prefer a softer texture or a firmer bite in the final dish.
For a softer texture, simmer the Urad Dal for a longer duration, allowing it to cook until tender and almost creamy. This extended cooking time results in a smoother consistency with the dal breaking down more.
On the other hand, if you enjoy a firmer bite, reduce the cooking time slightly to retain some degree of firmness in the dal. This method keeps the grains intact, offering a more toothsome texture in your dish.