
How to Bake a Bread Without Yeast?
Are you looking to learn how to bake bread without yeast?
In this article, we will explore the reasons why some people choose to avoid yeast, as well as provide yeast-free alternatives for baking.
From understanding the basic ingredients needed for yeast-free bread to a step-by-step guide on making it, we’ve got you covered.
We will also troubleshoot common issues that may arise and share some tips and tricks for successful yeast-free baking.
Let’s get started!
Key Takeaways:
What Is Yeast and Why Avoid It?
Credits: Poormet.Com – Andrew Mitchell
Understanding yeast and the reasons for avoiding it in bread-making is essential for individuals with specific health concerns or dietary restrictions.
Yeast plays a crucial role in bread-making as it is responsible for the fermentation process that helps dough rise and gives the bread its light and airy texture. Some individuals may have health concerns related to yeast consumption, such as yeast allergies or sensitivities.
For those with dietary restrictions, such as following a yeast-free diet, it is important to explore alternative baking methods that don’t rely on yeast. Baking powder, for example, can be used as a leavening agent instead of yeast, offering a viable solution for individuals looking to avoid yeast in their bread.
Health Concerns
Regarding health concerns related to yeast consumption, opting for real bread made through traditional methods involving kneading and rising can be a beneficial choice.
Real bread made using traditional techniques like kneading and rising holds a significant advantage over commercially processed alternatives. The fermentation process involved in making real bread helps break down the gluten and phytic acid found in grains, making it easier for the body to digest. Traditional bread-making techniques can enhance the flavor and texture of the final product, providing a more wholesome and enjoyable eating experience for individuals seeking to improve their overall well-being.
Dietary Restrictions
For individuals with dietary restrictions that necessitate avoiding yeast, exploring yeast-free bread alternatives that can be baked in a conventional oven offers a practical solution.
One of the primary challenges faced by those adhering to diets that exclude yeast is finding suitable bread options. Traditional bread recipes typically rely on yeast for leavening, which poses a barrier for individuals with such restrictions. With a growing awareness of dietary needs, there is now a variety of yeast-free bread recipes available to cater to this demographic.
Creating a loaf without yeast may seem daunting at first, but with the right ingredients and techniques, it’s entirely achievable in a standard kitchen oven. By substituting yeast with alternatives like baking powder, baking soda, or sourdough starter, individuals can enjoy homemade bread that is both delicious and compliant with their dietary requirements.
Yeast Alternatives for Baking
When considering yeast alternatives for baking, options like baking powder, baking soda, and sourdough starter present intriguing possibilities.
Each of these alternatives offers unique benefits and can be used in various baking recipes. Baking powder, a combination of baking soda, cream of tartar, and a dry acid, is great for recipes that require immediate rise, like cakes and cookies. On the other hand, baking soda needs an acid to react with and is perfect for quick breads and cookies that already contain acidic ingredients like buttermilk or yogurt.
Sourdough starter, a natural fermentation of flour and water, not only acts as a leavening agent but also imparts a distinct flavor and texture to bread and other baked goods. Its complex flavor profile makes it popular among artisanal bakers seeking unique breads with a tangy taste.
Baking Powder
Utilizing baking powder as a yeast substitute in bread recipes requires precise measurements of ingredients like bread flour and following detailed instructions for optimal results.
When using baking powder in place of yeast, it’s important to note that the leavening action is immediate, so there’s no need for a long rise time. This means that your bread will come together much quicker, perfect for those times when you crave freshly baked bread in a hurry.
Remember to sift the baking powder with the dry ingredients to ensure even distribution throughout the dough. It’s also advisable to mix the baking powder with an acidic ingredient like yogurt or buttermilk to activate its leavening properties effectively.
Baking Soda
Exploring the realm of baking soda for recipes like Irish Soda Bread that require ingredients such as buttermilk opens up possibilities for flavorful creations that store well.
When you use baking soda in your recipes, especially in conjunction with acidic ingredients like buttermilk, you can achieve a delightful balance of flavors while ensuring your baked goods have the right texture and crumb.
- The inclusion of baking soda in treats like Irish Soda Bread not only enhances the taste but also contributes to their impressive shelf life, allowing you to enjoy them fresh over an extended period without compromising on quality.
By utilizing the strength of baking soda, your culinary creations can maintain their flavor profiles and texture, making them perfect for storage and snacking whenever the craving strikes.
Sourdough Starter
Embarking on a sourdough starter journey allows for the creation of traditional bread recipes, with resources like recipe videos offering guidance on using a loaf pan for optimal results.
Creating a sourdough starter is a fulfilling process that involves a few simple ingredients: water, flour, and time. Mixing these basic elements together initiates the fermentation process that gives sourdough bread its distinctive tangy flavor and chewy texture. Through the help of recipe videos, beginners can easily grasp the steps involved in making a sourdough starter from scratch, ensuring a successful baking venture. Once the starter is active and bubbly, incorporating it into a loaf pan for proofing and baking results in beautifully risen, crusty loaves that capture the essence of artisanal bread-making.
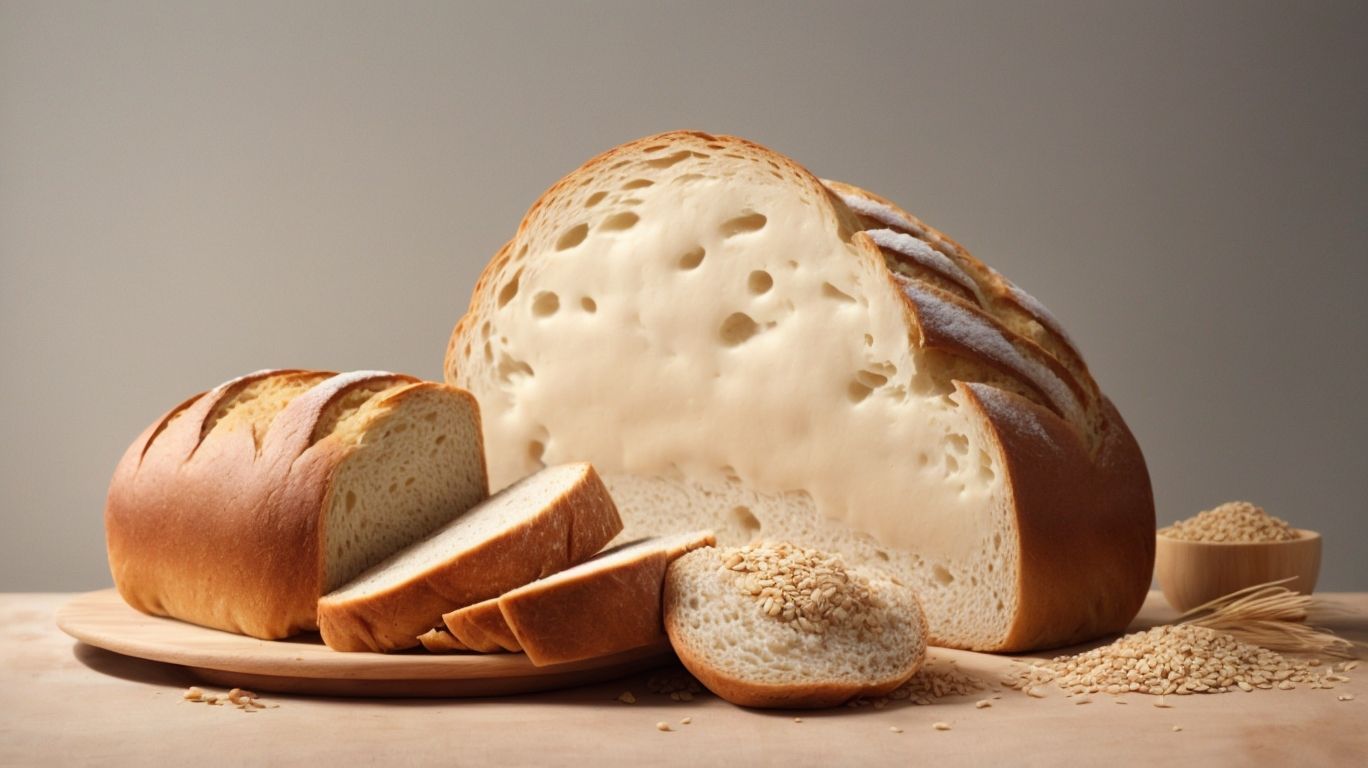
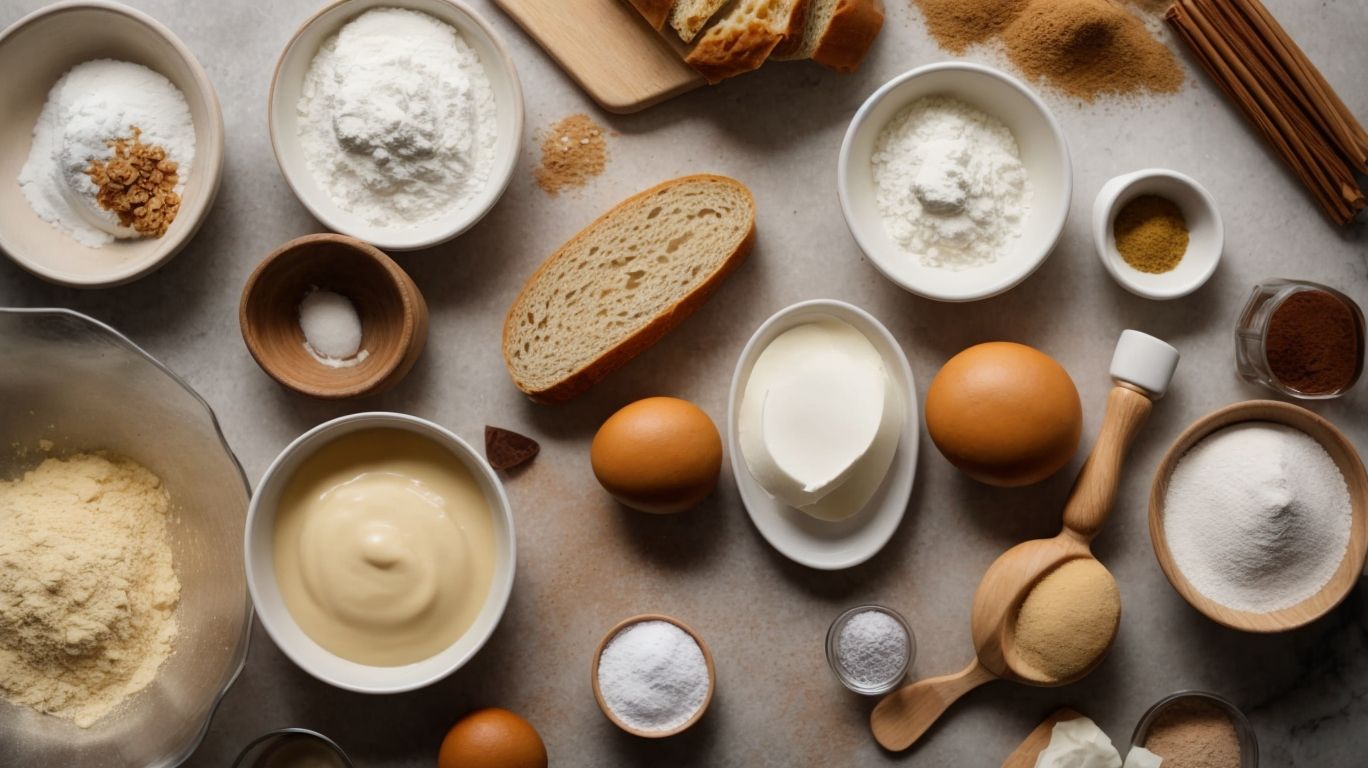
Basic Ingredients for Yeast-Free Bread
Credits: Poormet.Com – Zachary Carter
Yeast-free bread recipes necessitate a careful selection of basic ingredients, including flour, liquid, fat, sweetener, and salt, to achieve the desired taste and texture.
When creating yeast-free bread, the quality and type of flour used significantly impact the final outcome. Opt for whole grain varieties for added nutrients and a heartier texture.
As for the sweetener, options like honey, agave nectar, or maple syrup can add a touch of sweetness without the need for yeast.
Don’t overlook the role of salt in enhancing the overall flavor profile of your bread. Experimenting with different fats, such as butter, oil, or even avocado, can also provide unique flavors and textures.
Flour
Selecting the right type of flour, such as bread flour, and employing tools like a bowl and wooden spoon are foundational steps in preparing yeast-free bread dough.
Regarding choosing the appropriate type of flour for your yeast-free bread recipe, opting for bread flour can make a significant difference. Bread flour is known for its high protein content, which gives the dough structure and helps create a desirable texture in the final product.
Using a bowl allows for easy mixing of the ingredients, and a wooden spoon is gentle enough to avoid overworking the dough. By combining these elements, you set the stage for a successful bread-making venture, ensuring that your dough is well-blended and ready for the next steps in the baking process.”
Liquid
Incorporating liquids like milk or buttermilk, possibly from Day 2 recipes, into yeast-free bread formulations contributes to the overall moisture and flavor profile of the final product.
These liquids not only provide the necessary hydration for the dough but also contain fats and sugars that add richness and depth to the bread. The proteins present in milk products like buttermilk can contribute to the structure and texture of the bread, giving it a soft and tender crumb.
The acidity in buttermilk helps activate the baking soda, making the bread rise properly and have a nice, even crumb structure. The sweetness of milk or buttermilk can also complement the savory or slightly sweet notes of the yeast-free bread, balancing the overall flavor profile.
Fat
Incorporating fats like oil or butter pudding can impact the texture and freezing capabilities of yeast-free bread, offering options for customization and longer-term storage.
When adding oil to yeast-free bread recipes, it tends to create a moist and tender crumb, resulting in a softer texture compared to lean bread. On the other hand, butter pudding imparts a rich and buttery flavor, enhancing the overall taste of the bread. The presence of these fats contributes to increased longevity when it comes to freezing bread, maintaining freshness and preventing it from becoming stale quickly.
Utilizing fats like oil or butter pudding can provide a platform for experimenting with various add-ins, such as herbs, nuts, or seeds, allowing for personalized creations. This flexibility in customization opens up endless opportunities to tailor yeast-free bread to individual preferences, making it a versatile and enjoyable baking project for home cooks.
Sweetener
Balancing the sweetness level through ingredients like sugar or honey plays a crucial role in achieving the desired crusty texture in yeast-free bread variations.
When using sweeteners such as sugar or honey, it not only adds a delightful taste but also aids in the fermentation process, contributing to the texture and structure of the bread. The sugar helps to feed the yeast, enabling it to produce carbon dioxide for leavening, while honey brings its unique flavor profile and moisture-retaining properties to the mix.
This delicate balance of sweetness influences not just the taste but the overall consistency of the bread crust. The caramelization of sugar during baking leads to that coveted golden-brown crust, while the natural sugars in honey help in forming a crisp exterior that contrasts beautifully with the soft interior crumb.
Salt
Incorporating salt in appropriate amounts contributes to the chewiness, satisfaction, and density of yeast-free bread, enhancing the overall taste and mouthfeel.
“
Regarding the texture of yeast-free bread, salt plays a crucial role in creating that sought-after chewiness. It adds a depth of flavor that leaves you feeling satisfied after each bite. The precise amount of salt is key to achieving the perfect balance between dense and airy crumb. Too much salt can overpower the other flavors, while too little can result in a lackluster loaf.
Salt not only enhances the taste but also influences the mouthfeel, making the bread more enjoyable to savor.
Step-by-Step Guide to Making Yeast-Free Bread
Following a structured process involving steps such as kneading, proofing, and baking ensures successful creation of yeast-free bread, with a loaf pan being a valuable tool in this journey.
Regarding kneading the dough, it’s crucial to achieve the right consistency for a soft and pliable texture.
Proper proofing allows the dough to rise sufficiently, enhancing the flavor and texture of the bread.
Selecting the right loaf pan size is essential to ensure your bread bakes evenly and retains its shape beautifully during the process.
Remember to preheat the oven and place the pan strategically to guarantee a perfect outcome.
Embrace this journey of crafting yeast-free bread with patience and precision for delightful results.
Mixing the Dough
The initial phase of bread-making involves carefully mixing the dough to achieve the desired chewy texture and stretchability that characterize yeast-free bread varieties.
Begin by combining the flour and salt in a large mixing bowl, creating a well in the center. Gradually pour in warm water while stirring with a wooden spoon or spatula until a shaggy dough forms.
Knead the dough on a lightly floured surface for about 10-15 minutes, or until it becomes smooth and elastic. This process helps develop the gluten in the flour, giving the bread its chewy texture and stretchability.
Continue to knead, fold, and stretch the dough until it passes the windowpane test – where you can stretch a small portion of dough thin enough to see light through it without tearing.
Kneading and Shaping
The act of kneading and shaping the bread dough not only contributes to the deliciousness of the final product but also influences the texture and suitability for sandwich bread creations.
When you knead the dough, you are essentially developing the gluten strands, which give the bread its structure and chewy texture. Proper kneading ensures that the dough rises evenly and results in a light, airy loaf.
Shaping the dough into loaves or rolls determines the final look of your bread and how it bakes. For sandwich bread, shaping plays a crucial role in achieving a uniform size and shape, making it easier to slice for sandwiches.
Proofing
The proofing stage, where the dough undergoes rising, is a crucial aspect that impacts the final texture and compatibility with dishes like soups and stews.
During the proofing stage, the yeast in the dough feeds on sugars, creating carbon dioxide gas that causes the dough to rise. This process allows for gluten development, giving the bread its structure and texture.
- Proper proofing results in a light and airy loaf with a good crumb structure, ideal for soaking up the flavors of soups and stews.
- Under-proofed dough may lead to a dense and heavy bread, while over-proofing can result in a collapsed loaf in the oven.
Baking
The final baking step not only transforms the bread dough into a delectable treat like French Toast but also determines its storage capabilities, including options like butter pudding.
When bread dough undergoes the baking process, it is subjected to a series of chemical reactions that enhance its flavor and texture, making it an ideal base for delightful dishes such as French Toast. The heat in the oven causes the dough to rise, develop a golden crust, and create that irresistible aroma that fills the kitchen. Proper baking ensures that the bread is fully cooked, reducing the risk of spoilage and extending its shelf life. In the case of French Toast, the baking stage is crucial in achieving that perfect blend of crispy edges and soft, custardy center.
Troubleshooting Common Issues
Addressing common issues such as dense bread, flat bread, and crumbly bread in yeast-free recipes requires understanding potential causes and implementing corrective measures for improved outcomes.
For instance, if you often end up with dense bread in your yeast-free baking endeavors, it could be due to using too much flour or not allowing the dough to rise adequately. To combat this, try adjusting the flour quantity slightly or giving the dough more time to properly ferment and expand. On the other hand, flat bread may result from not enough leavening agent or expired ingredients. Ensuring that your baking powder or baking soda is fresh and potent can make a significant difference in the rise of your bread.
Dense Bread
Dealing with dense bread issues involves adjusting factors like texture to achieve the desired chewiness, stretchability, and overall satisfying experience in yeast-free baking.
One way to enhance chewiness in dense bread is by using a higher protein flour, such as bread flour, which develops more gluten during kneading. This increased gluten formation leads to a more elastic dough that results in a chewier texture. Adding ingredients like honey or malt powder can help retain moisture, contributing to a softer crumb.
For improved stretchability, incorporating fats like butter, oil, or even yogurt into the dough can help create a more pliable and supple texture. These fats lubricate the gluten strands, allowing the bread to stretch without tearing, thus enhancing its overall elasticity.
To ensure a satisfying experience, experimentation with different hydration levels can make a significant difference. Adjusting the amount of liquid in the recipe can impact the final texture of the bread, with a higher hydration resulting in a softer crumb and more enjoyable eating experience.
Flat Bread
Combatting flat bread concerns might involve tweaking recipes to optimize oven settings and enhance flavors using ingredients like buttermilk for an enjoyable and delicious outcome.
One way to address flat bread issues is by adjusting the ratio of wet to dry ingredients in the recipe. Too much moisture can lead to a dough that lacks structure, resulting in flat and dense bread. Experimenting with the amount of buttermilk used could help achieve the right balance.
Paying attention to oven temperature and preheating the oven sufficiently can make a significant difference. A hot oven creates steam quickly, aiding in proper rise and crust development, leading to a more appealing texture.
Crumbly Bread
Overcoming crumbly bread challenges may involve considerations such as cooling techniques, utilizing ingredients from Day 2 recipes, and enhancing chewiness for a more cohesive and enjoyable eating experience.
One effective method to combat crumbly bread tendencies is to allow freshly baked loaves to cool gradually on a wire rack, which helps to regulate the moisture distribution and firm up the structure.
Incorporating ingredients like honey or milk into the dough mixture from Day 2 recipes can add richness and moisture, aiding in developing a more pliable texture.
To further improve the chewiness of the bread, kneading the dough for an extended period or adding vital wheat gluten can create a denser crumb and a delightful resistance when biting into it.
Tips and Tricks for Yeast-Free Baking
Enhancing your yeast-free baking skills involves incorporating flavorful elements, traditional techniques, and leveraging recipe videos for guidance and inspiration.
Regarding boosting the taste of your yeast-free creations, consider experimenting with a variety of herbs and spices to add depth and complexity to your dishes. Embracing classic baking methods can yield exceptional results; try techniques like creaming butter and sugar together for a lighter texture in your baked goods. Watching recipe videos can also offer valuable insights, from mastering the perfect dough consistency to decorating techniques that can elevate the presentation of your bakes.