
How to Bake Glass With Acrylic Paint?
Looking to add a personal touch to your glass objects?
This article will guide you through the process of baking glass with acrylic paint. We cover selecting the right materials, painting, and sealing your creations. Whether you’re a seasoned crafter or just starting out, this step-by-step guide will help you create stunning designs on glass.
Grab your supplies and let’s start this creative journey together!
Key Takeaways:
What Materials Do You Need?
To embark on your glass painting project, ensure you have the necessary materials at hand to unleash your creativity.
Quality glassware is crucial for achieving the desired finish in your project, so be sure to choose smooth, transparent glass surfaces without any defects. Regarding acrylic paints, opt for high-quality, non-toxic options that provide vibrant colors and excellent adhesion to glass. Proper project planning is essential; consider sketching out your design beforehand and gathering all necessary tools like brushes, stencils, and painting palettes.
Creating a project timeline can help you stay organized and motivated throughout the glass painting process. Remember to work in a well-ventilated area, protect your work surface, and allow sufficient drying time between layers to prevent smudging or blending of colors. With the right materials and a creative vision, your glass painting project is sure to be a masterpiece!
Glass Objects
Glass objects offer a unique canvas for your artistic expressions, providing a smooth surface ready for transformation into stunning artworks.
The choice of glassware when painting is crucial as it greatly affects the outcome of your project. Different glass textures, such as clear, frosted, or colored glass, can add dimension and uniqueness to your art. Consider the purpose of your painting – whether it’s decorative, functional, or display art – when selecting the right glass surface.
Quality glassware ensures that your artwork stands the test of time and maintains its brilliance. By understanding the impact of glass quality and texture in your painting projects, you can elevate your creations to new heights.
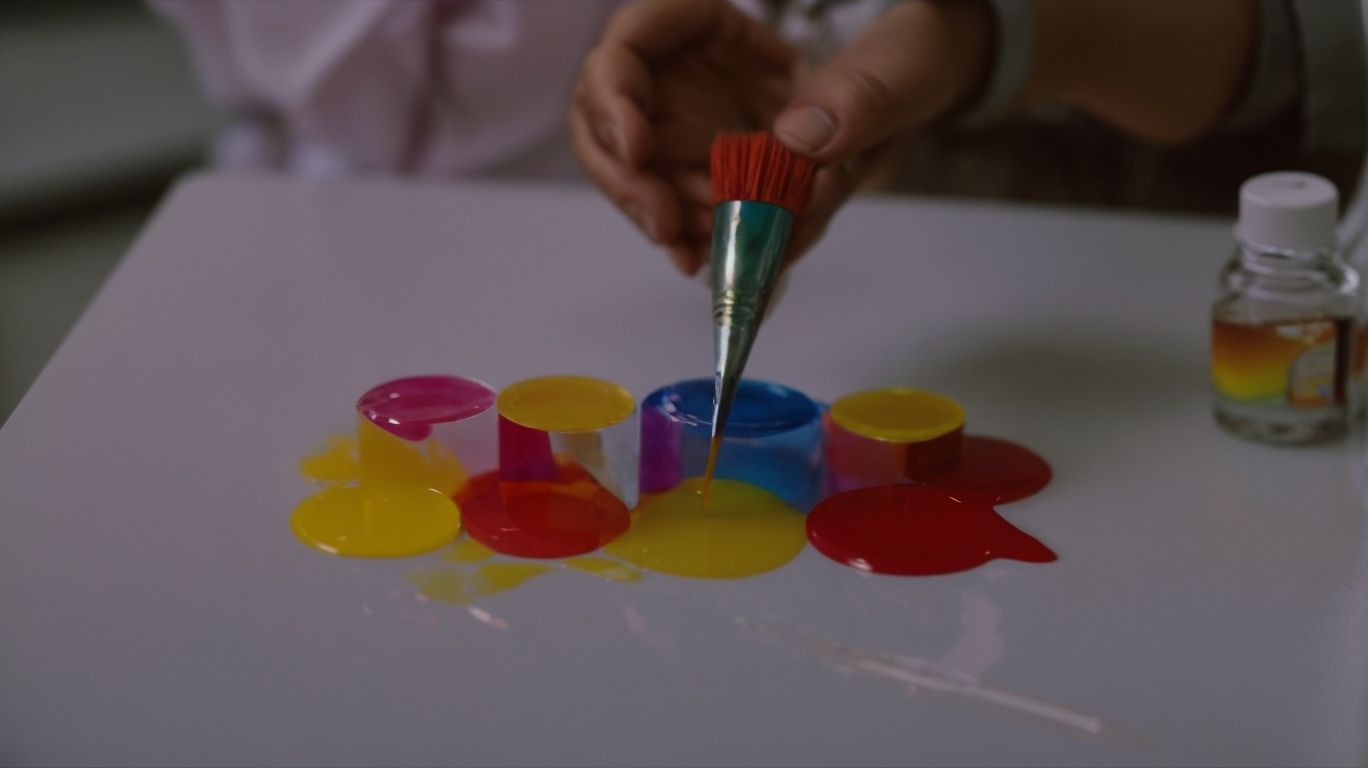
Acrylic Paint
Acrylic paint serves as the vibrant medium that brings color and life to your glass creations, offering a versatile and durable painting method.
When embarking on glass painting projects, it is crucial to select high-quality acrylic paints that adhere well to glass surfaces, ensuring long-lasting and vivid results. Opting for paints specifically formulated for glass ensures better adhesion and resistance to chipping or fading over time. Experimenting with different colors and shades can enhance the visual appeal of your creations, allowing you to unleash your creativity.
The painting process involves careful application techniques, such as brush strokes, stenciling, or even airbrushing for intricate designs. Each method offers a distinct effect on the finished piece, so selecting the right technique based on your desired outcome is essential for achieving professional-looking results.
Paint Brushes
Paint brushes are critical tools in your glass painting toolkit, enabling precise strokes and intricate details on various surfaces.
Regarding glass painting projects, the type and quality of paint brushes you use can make a significant difference. Different brush shapes and sizes allow for a wide range of techniques, from broad sweeping strokes to delicate lines. The bristle material can also affect the texture of the paint application, creating smooth gradients or textured effects. Selecting the right brush for the task at hand can enhance the precision and artistic flair of your designs, ultimately elevating the overall quality of your glass painting endeavors.
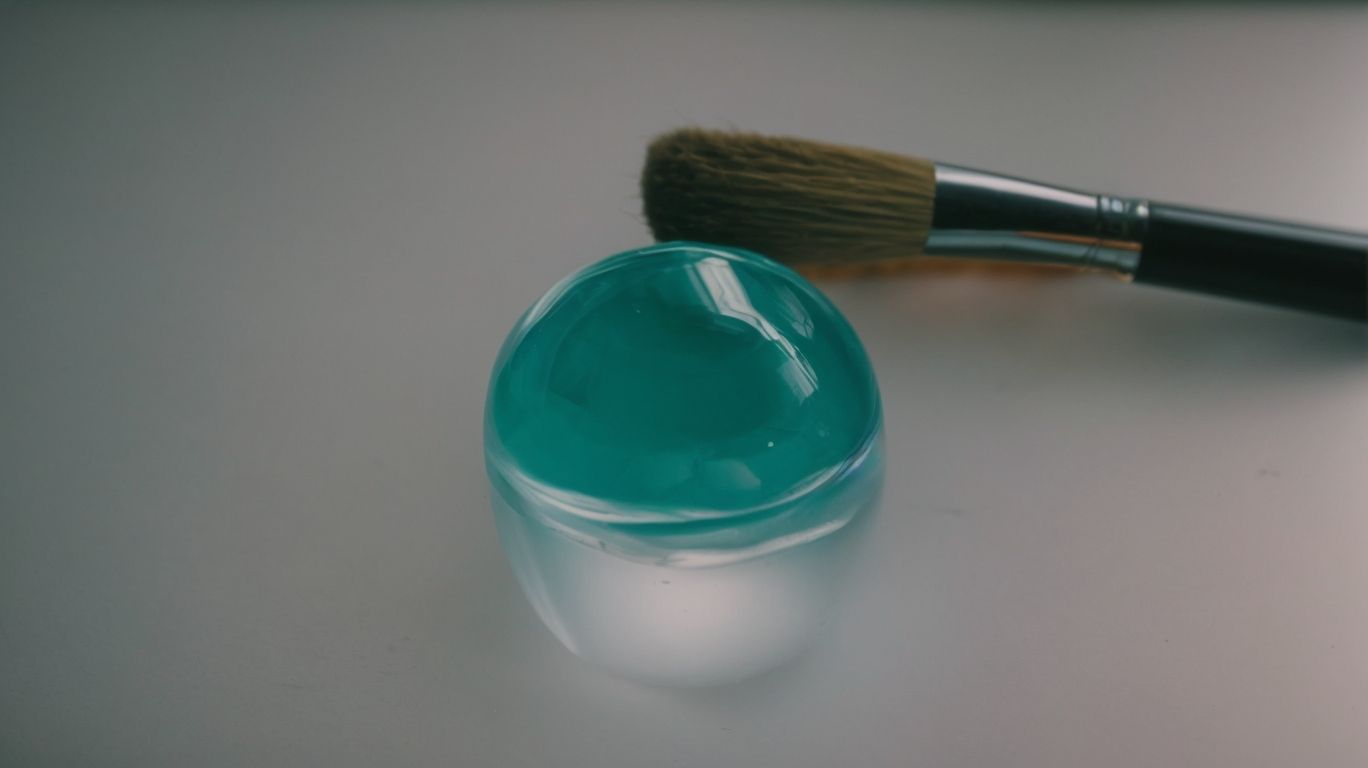
Sealant Spray
Sealant spray acts as the protective shield for your painted glass masterpieces, ensuring longevity and preserving the beauty of your artwork.
When working on painted glass projects, applying a high-quality sealant spray is crucial to safeguard the delicate surface from external elements, such as dust, moisture, and scratches. Sealant spray not only adds a glossy finish to your artwork but also enhances its durability, making it suitable for display in various settings. It forms a barrier that helps prevent fading of colors and maintains the vibrancy of the design for years to come.
Proper application of sealant spray involves ensuring a clean and dry surface before gently spraying an even coat over the painted area, allowing it to dry thoroughly between multiple layers. It’s essential to follow the manufacturer’s instructions for optimal results and proper curing of the sealant.
Additionally, regular maintenance of the sealed glass project is essential to preserve its appearance. Avoid using harsh chemicals or abrasives when cleaning, opting for a soft cloth and mild soap instead to prevent damage to the sealant layer. By incorporating a sealant spray into your painting routine and following care instructions diligently, you can ensure the longevity of your painted glass creations and enjoy their beauty for years to come.
Preparing the Glass Objects
Credits: Poormet.Com – Stephen Sanchez
Properly preparing your glass objects before painting is essential to achieve professional-looking results and ensure paint adhesion.
To begin, start by thoroughly cleaning the glassware with a mild dish soap and warm water to remove any dust, dirt, or residues. Rinse the items well to ensure no soap residue remains. Next, use a lint-free cloth to dry the glassware completely. Then, lightly sand the surface with fine-grit sandpaper to create a slightly rough texture, helping the primer adhere better. After sanding, wipe the glassware with a damp cloth to remove any sanding dust. Apply a glass primer specifically designed for adhesion to glass surfaces, following the manufacturer’s instructions carefully.
Cleaning the Glass
Thoroughly cleaning the glass surface is a crucial initial step in the glass painting process to remove any impurities and ensure a pristine canvas for your artwork.
Before you begin the painting process, it is essential to understand that a clean glass surface is the foundation for a successful masterpiece. Not only does cleaning remove dirt, dust, and oils, but it also creates a smooth surface that allows the paint to adhere properly.
Proper glass cleaning techniques involve using a gentle cleanser or a mixture of vinegar and water to avoid streaks or residue. After cleaning, ensure the surface is completely dry before starting to paint to avoid any unwanted reactions with the paint.
Remember, the cleaner the glass, the better the end result of your painting project.
Choosing the Right Glass Objects
Selecting the appropriate glass objects is crucial to the success of your painting project, ensuring compatibility with your design vision and painting techniques.
When choosing glassware for painting, consider the shape and size of the object as it can greatly influence the overall aesthetic of your artwork. Smooth surfaces may provide easier application of paint, while textured surfaces can add depth and dimension to your painting. Transparent glass can create stunning light effects, whereas opaque glass may offer a different artistic appeal.
The alignment of your design with the shape of the glassware is essential to creating a harmonious composition. Take into account how the curves, angles, and surface area of the glass object interact with your painting motif. This consideration can elevate your artwork and make it visually captivating.
Choosing the Right Acrylic Paint
Credits: Poormet.Com – Mason Flores
The selection of the right acrylic paint is pivotal in achieving vibrant colors and durable finishes on your glass artwork.
When choosing acrylic paints for glass painting, it is crucial to consider factors like opacity, consistency, and adherence to the surface.
- Opacity determines how well the paint covers the glass
- Consistency affects the ease of application; thicker paints offer better control but may require more layers
- Checking the paint’s adherence to glass ensures long-lasting results
Exploring a wide range of color options allows you to unleash your creativity, from translucent hues to metallic shades, enabling you to bring your artistic vision to life.
Types of Acrylic Paint
Explore the variety of acrylic paint types available for glass painting, each offering unique qualities and effects on different surfaces.
Regarding glass projects, it is crucial to choose the right type of acrylic paint to achieve the desired results. For instance, you may opt for transparent acrylics for a stained glass effect or opaque acrylics for vibrant colors that stand out. Some acrylic paints are specially formulated for glass surfaces, ensuring better adhesion and durability.
- Matte finishes
- High-gloss finishes
- Textured finishes
are just a few of the options available, allowing artists to experiment with various effects and styles. Whether you are a beginner or a seasoned artist, the diverse range of acrylic paint types for glass projects offers endless creative possibilities.”
Best Brands for Glass Baking
Regarding baking painted glass objects, trusted brands like FolkArt Enamels, Plaid, and Martha Stewart offer reliable products for lasting results.
These renowned brands have an extensive range of high-quality glass baking paints that cater to various artistic needs. FolkArt Enamels is known for its vibrant color options and durable finishes, making it a favorite among DIY enthusiasts and professional artists alike.
On the other hand, Plaid provides a versatile selection of glass baking paints, suitable for both beginners and experienced painters. Their easy-to-use formulations and exceptional adhesion properties ensure that your painted glass creations retain their beauty for years to come.
How to Paint on Glass?
Credits: Poormet.Com – Jacob Baker
Mastering the art of painting on glass involves understanding the right techniques and methods to achieve stunning and long-lasting results.
Regarding painting on glass, it’s crucial to choose the right type of paint that is specifically designed for glass surfaces. Acrylic enamel paints or glass paints are popular choices due to their durability and vibrant colors. Before starting the painting process, ensure the glass surface is clean and free of any dust or grease. Applying the paint requires a steady hand and controlled strokes to avoid smudges and ensure even coverage.
Experiment with different blending techniques to create unique effects on glass. Techniques like dry brushing, dabbing, or stippling can add texture and dimension to your artwork. Remember to layer colors carefully to achieve desired shades and tones.
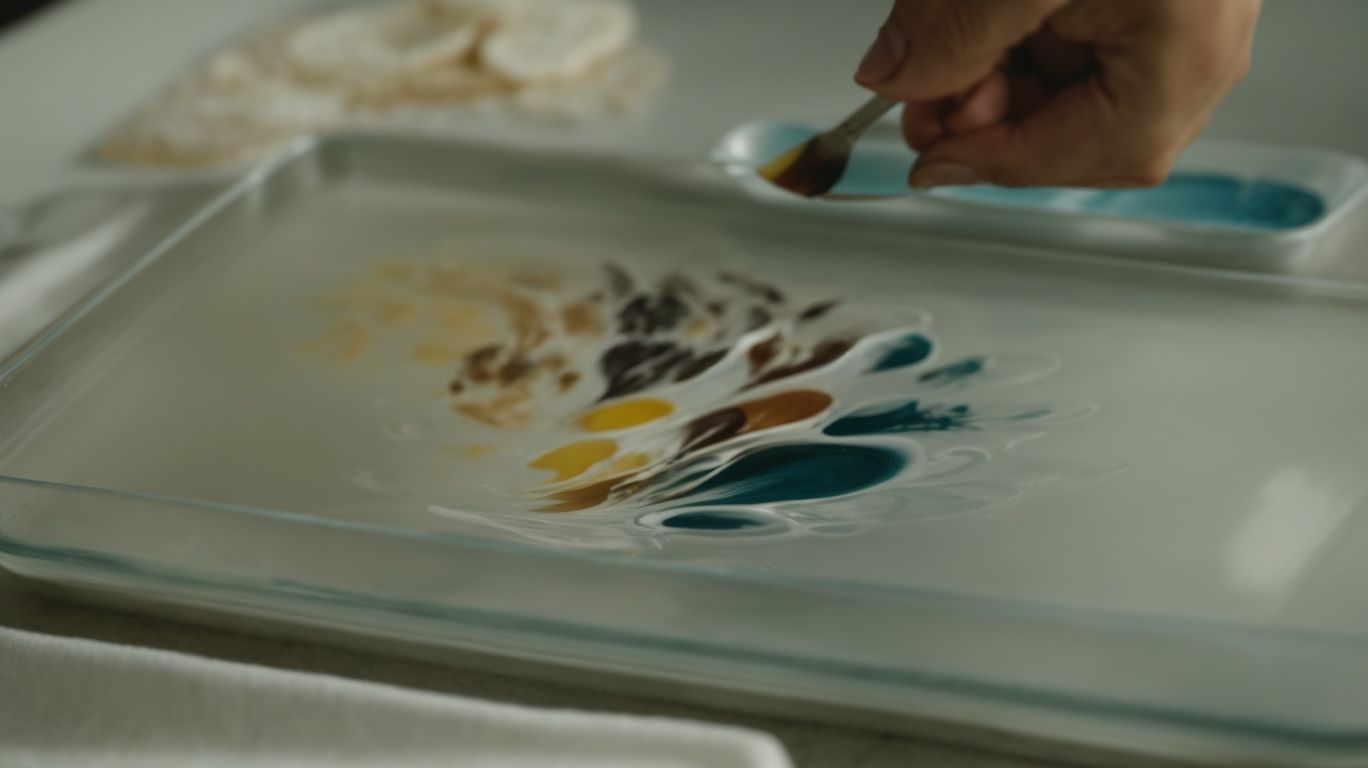
Preparing the Paint
Preparing your paint correctly is key to achieving smooth and vibrant results on different glass surfaces, ensuring your artwork stands out.
One crucial aspect of paint preparation for glass painting is color mixing. Properly blending colors not only allows for a wider range of hues and shades but also ensures consistency throughout your artwork. Before starting your project, take the time to experiment with different color combinations to achieve the desired effect on your chosen glass surface.
Applying the Paint
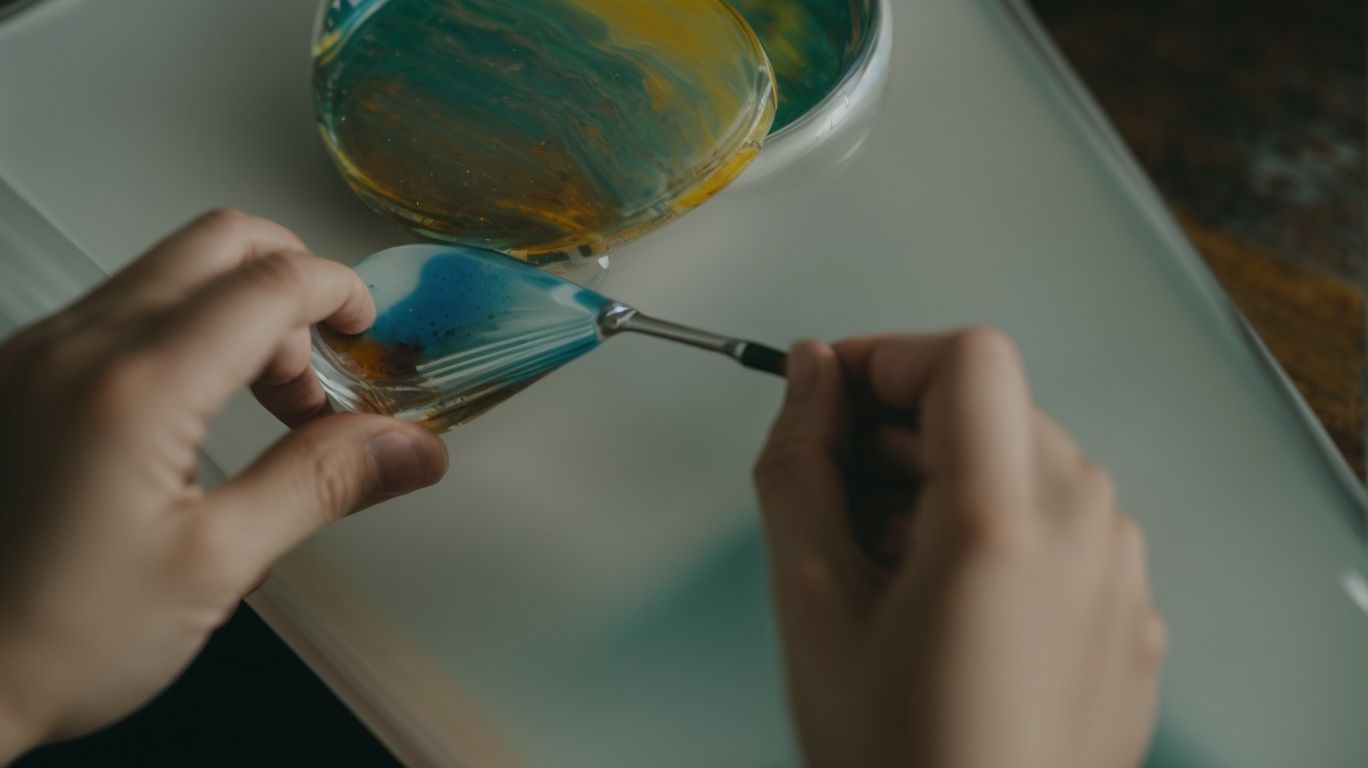
The application of paint on glass requires precision and technique to bring your artistic vision to life, with each stroke adding depth and character to your creation.
When applying paint on glass, using a soft and fine brush can help achieve delicate details. It’s essential to start with a clean glass surface to ensure the paint adheres properly. Experiment with different layering methods such as transparent washes or opaque colors to achieve unique effects.
Remember, when using the dry brush technique, apply minimal paint on the brush for a more textured and grainy finish. To avoid streaks, use long, smooth brush strokes and let each layer dry completely before adding another.
Tips for Creating Designs
Crafting intricate and captivating designs on glass involves thoughtful planning, attention to detail, and a creative approach to transforming surfaces into works of art.
When starting a glass painting project, it’s crucial to first outline your design plan. Consider the shape and size of the glass canvas and how your design will flow across it.
- Sketching your ideas on paper can help visualize the final piece.
- Experiment with different patterns, colors, and shapes to create a harmonious composition.
For pattern creation, use stencil templates for precision or freehand for a more organic feel. Let your imagination run wild as you explore various motifs and techniques in your artwork. Seeking inspiration from nature, geometric shapes, or cultural symbols can elevate your design from ordinary to extraordinary.
Baking the Glass Objects
Credits: Poormet.Com – Alexander Lopez
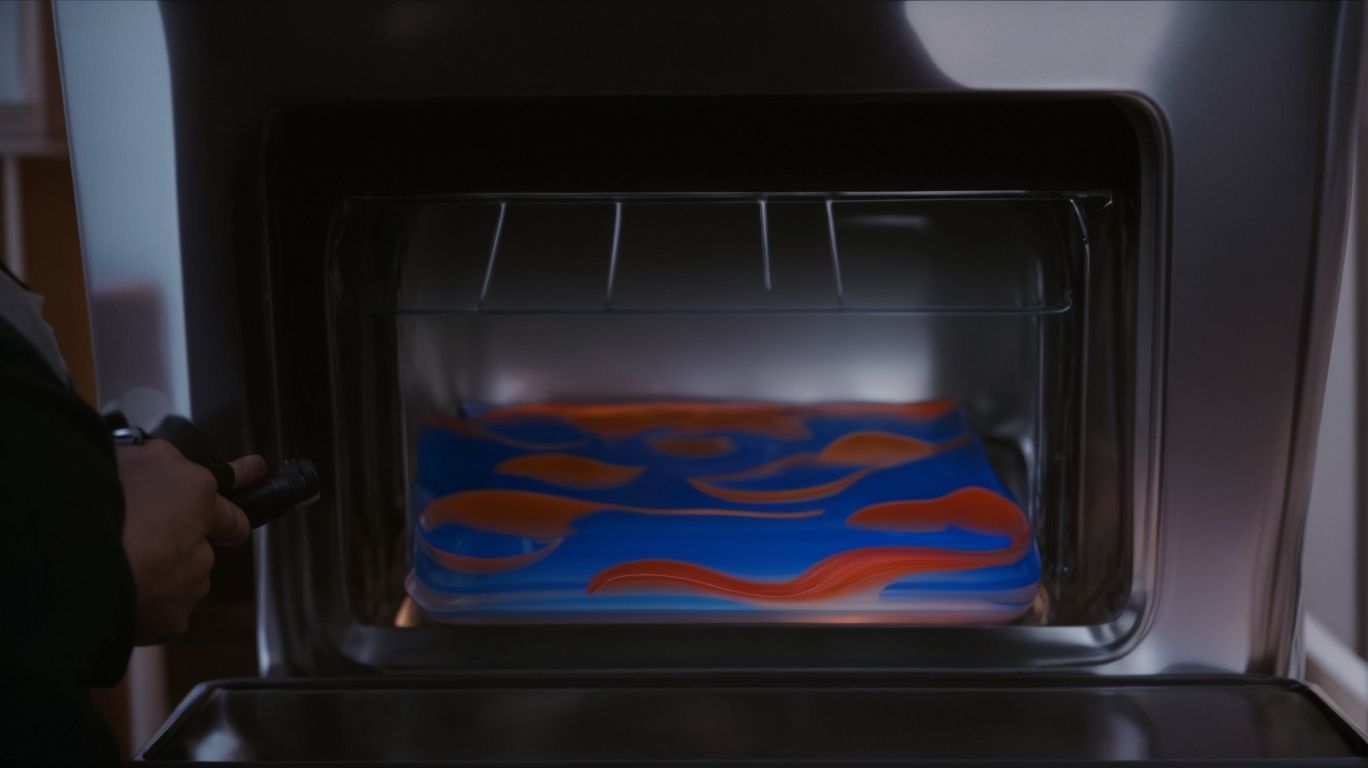
Baking your painted glass objects is a crucial step to ensure the durability and permanence of your artworks, securing vibrant colors and lasting finishes.
Regarding the baking process, setting the oven temperature correctly is paramount. Preheat your oven to 300°F (150°C) for best results, ensuring a gradual rise in temperature to prevent stress on the glass. Place your painted glass pieces on a lined baking tray, making sure there is ample space between each item to allow for even heating. Typically, a baking duration of around 30-40 minutes is sufficient, but refer to the paint manufacturer’s instructions for specific guidance.
Proper baking not only seals in the colors and finishes, but also strengthens the bond between the paint and glass surface, enhancing the longevity of your creations. Avoid abrupt temperature changes to prevent cracks or peeling, and always place the glass on a cool surface post-baking to cool down gradually. These careful steps during the baking process contribute significantly to the quality and durability of your painted glass projects.
Temperature and Time
Achieving the ideal temperature and baking duration is essential for curing the paint on glass objects properly, ensuring a durable and lasting finish.
Regarding glass painting projects, temperature control plays a crucial role in the curing process. By baking the painted glass object at the recommended temperature, you allow the paint to properly adhere to the surface, leading to improved durability and resistance to wear and tear over time. This meticulous process not only enhances the visual appeal of your artwork but also ensures that the colors remain vibrant and long-lasting.
The correct baking time is equally significant in achieving optimal results. An inadequate baking duration may result in paint flaking or poor adhesion, compromising the overall quality of your project. On the other hand, overbaking can lead to discoloration or even cracking of the paint, affecting the aesthetic appeal of your artwork.
Cooling and Curing
Allowing your painted glass objects to cool and cure post-baking is essential for enhancing the durability and longevity of your artwork, ensuring a professional finish.
Once the glass objects have been baked in the oven, it is crucial to let them cool gradually to prevent any thermal shock that could lead to cracks or breakage.
The curing process, which follows cooling, further strengthens the bond between the paint and the glass surface, ensuring a robust adhesion that withstands wear and tear.
This meticulous approach not only improves the project’s durability but also enhances the overall appearance by providing a smooth and glossy surface finish that is both visually appealing and easy to maintain.
Sealing the Paint
Credits: Poormet.Com – George Rivera
Applying a sealant to your painted glass creations is a critical final step to protect the artwork, preserve colors, and ensure long-term durability.
Sealing a painted glass project not only enhances its aesthetic appeal but also safeguards it from scratches, UV rays, and moisture damage. There are various sealant options available for different types of glass projects, such as spray sealants, brush-on sealants, or epoxy resin. When choosing a sealant, consider the transparency, drying time, and compatibility with your painted surface.
To apply the sealant, ensure that the glass surface is clean and dry. Depending on the project size, use a smooth brush or spray applicator to evenly coat the painted area with the sealant. Let the sealant cure completely according to the manufacturer’s instructions.
- After sealing the project, avoid exposing it to extreme temperatures or harsh chemicals to maintain its longevity.
- Regularly clean sealed glass projects with a soft, damp cloth to prevent dust buildup and maintain the vibrancy of the colors.
Importance of Sealing
Sealing the paint on your glass objects is crucial for safeguarding the artwork against wear, tear, and environmental factors, ensuring lasting beauty and protection.
When you apply a sealant on painted glass, you create a barrier that shields the colors from fading due to sun exposure or humidity, extending the lifespan of your project. It also acts as a protective layer against scratches, dust, and moisture, keeping your artwork pristine and vibrant for years to come. Proper care for sealed glass involves gentle cleaning with a soft cloth and mild cleaning agents to maintain the sealant’s effectiveness and preserve the artwork’s brilliance. By taking these steps, you can significantly enhance the longevity and durability of your painted glass creations.
Choosing the Right Sealant
Selecting the appropriate sealant for your glass artwork is essential to maintain colors, protect surfaces, and enhance the overall aesthetic appeal of your creations.
When deciding on a sealant for your painted glass project, you have a variety of options to choose from. Some popular choices include acrylic sealants, silicone sealants, and polyurethane sealants. Each type has its own features and benefits, so it’s important to consider the specific needs of your project before making a decision.
Once you’ve selected the right sealant, the application process is crucial for achieving optimal results. Make sure to clean the glass surface thoroughly before applying the sealant, and follow the manufacturer’s instructions carefully. Proper application will ensure that the sealant bonds effectively and provides the necessary protection for your artwork.
After sealing your painted glass, it’s essential to take proper care to maintain its beauty and longevity. Avoid using harsh cleaners or abrasive tools that could damage the sealant or the paint. Instead, gently clean the surface with a mild soap and water solution and handle the glass with care to prevent scratches or chips. By choosing the right sealant, following proper application techniques, and practicing regular maintenance, you can enjoy your painted glass project for years to come.
Applying the Sealant
The final step in your glass painting journey involves applying the sealant to secure your artwork, providing a protective layer that enhances colors and ensures long-term beauty.
Regarding sealants for painted glass projects, there are several options to consider. It’s crucial to choose a high-quality sealant specifically designed for glass surfaces to achieve optimal results. Before applying the sealant, ensure that your painted glass piece is completely dry and free of any dust or debris.
Sealing techniques vary based on the type of sealant you select, including spray-on sealants, brush-on sealants, or even UV-cured sealants.
Once the sealant is applied, it forms a durable barrier that protects the paint from scratches, fading, and moisture damage. Proper care guidelines are essential to maintain the beauty of your painted glass project over time. Avoid using harsh chemical cleaners or abrasive materials when cleaning the sealed surface. Instead, gently wipe the glass with a soft, damp cloth to remove dust or dirt.
Regular maintenance is key to preserving the vibrancy of your artwork. Inspect the sealant periodically for any signs of wear or peeling, and reapply the sealant as needed to ensure ongoing protection. By following these care guidelines and staying proactive with maintenance, your painted glass project can remain a stunning focal point in your space for years to come.
Frequently Asked Questions
Can I bake glass with acrylic paint?
Yes, you can bake glass with acrylic paint. It is a great way to create permanent designs on glassware or customize your own mugs, vases, and more.
What supplies do I need to bake glass with acrylic paint?
To bake glass with acrylic paint, you will need:
– Glass objects
– Acrylic paint
– Paintbrushes
– Oven
– Baking sheet
– Oven-safe tray or rack
What is the best acrylic paint for baking on glass?
The best acrylic paint for baking on glass is a non-toxic, water-based acrylic paint. Make sure to read the label and choose a paint that is safe for use on glass and can withstand high temperatures.
How do I prepare the glass before painting?
Before painting, make sure the glass is clean and free of any residue. You can use rubbing alcohol or glass cleaner to ensure a clean surface. Let it dry completely before painting.
What temperature and how long should I bake glass with acrylic paint?
The temperature and time for baking glass with acrylic paint may vary depending on the type of paint and your oven. Generally, the recommended temperature is 350-375°F and the baking time is 20-30 minutes.
Can I wash the painted glass after baking?
Yes, you can wash the painted glass after baking. Acrylic paint becomes permanent and water-resistant after baking, so you can hand wash the glass with mild soap and water. Avoid using abrasive cleaners or scrubbing too hard.