
How to Bake a Bread?
Are you ready to elevate your baking skills and create delicious, homemade bread from scratch?
In this comprehensive guide, we’ll cover everything you need to know about baking bread – from the different types of bread and essential ingredients, to the step-by-step process of preparing, kneading, proofing, shaping, and baking the perfect loaf.
Whether you’re a seasoned baker or a beginner in the kitchen, these tips and techniques will help you achieve bakery-quality results every time. Let’s get started!
Key Takeaways:
–
What is Bread?
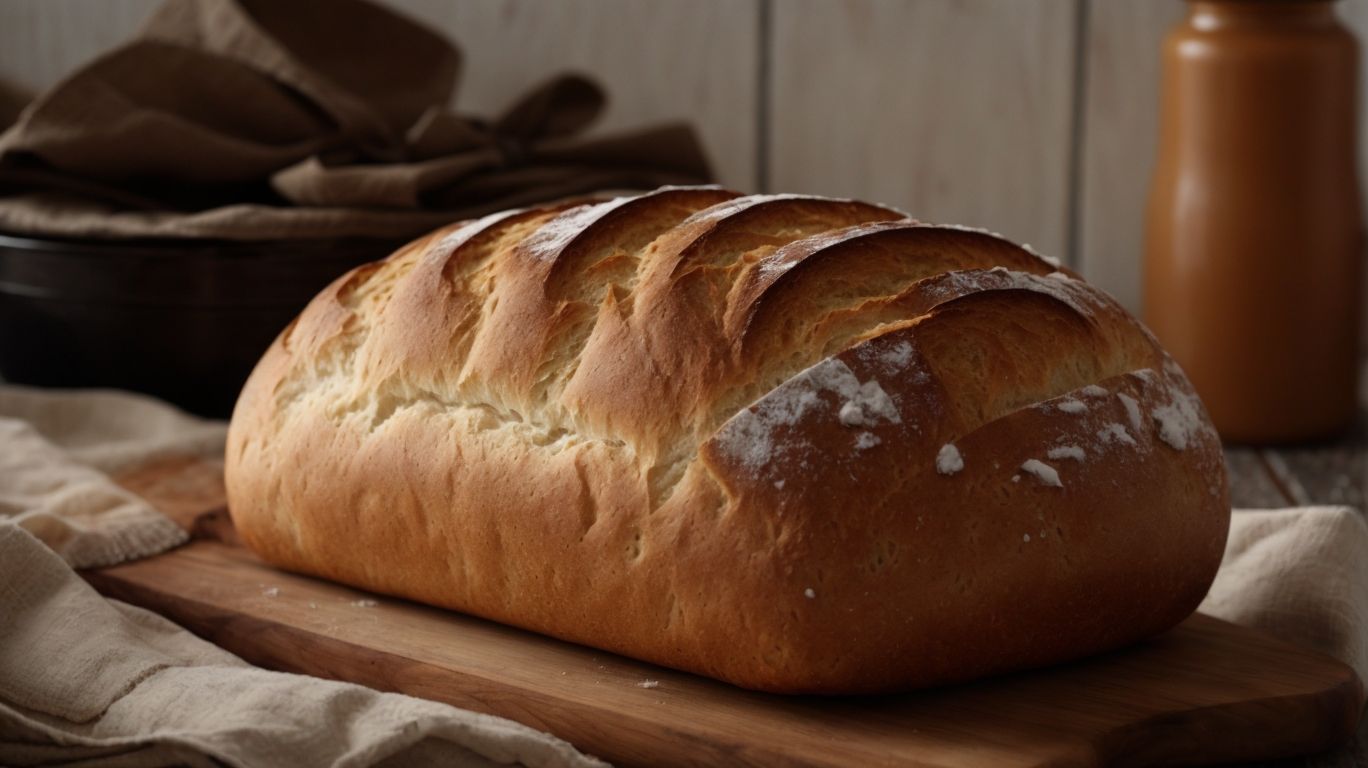
Bread is a staple food made from a mixture of flour, water, yeast, and other ingredients, baked to create a delicious loaf with a crusty exterior.
Homemade bread has gained popularity for its freshness and nutrition benefits. Artisan bread, known for its craftsmanship and unique flavors, is typically made using traditional methods and high-quality ingredients like organic bread flour. The addition of yeast to the dough triggers fermentation, leading to the development of air pockets that give bread its light texture. The type of flour used, whether it’s whole wheat, rye, or gluten-free, greatly influences the final product’s taste and consistency.
Types of Bread
There are numerous types of bread available, ranging from homemade bread varieties to artisanal bread creations, each offering unique flavors and textures.
Regarding homemade bread, the possibilities are endless. You can whip up classic loaves like sourdough, whole wheat, or focaccia, each with their distinct taste and aromas. On the other hand, artisan bread tends to be more elaborate, with options such as ciabatta, brioche, or baguette, known for their crusty exteriors and soft insides.
The flavors infused in these bread types range from savory herbs and cheeses to sweet notes like cinnamon and raisins, catering to diverse palates. Additionally, loaf shapes vary from the traditional round boules to elongated batards, adding visual appeal to the overall bread experience.
Ingredients for Baking Bread
The key ingredients for baking bread include yeast, flour, water, salt, and other essential components like sugar and oil, with each recipe using a specific combination for the perfect homemade bread.
Bread flour is typically used in bread recipes as it has a higher protein content, providing the necessary structure for the bread to rise properly. The type of flour can also affect the texture and flavor of the final product; whole wheat flour creates a denser bread, while all-purpose flour yields a lighter loaf. Good water quality is crucial as it should be lukewarm to activate the yeast but not too hot to kill it. The role of yeast is pivotal, as it helps the dough rise and develop that sought-after airy texture in your homemade bread recipe.
How to Prepare for Baking Bread?
Preparing for baking bread involves gathering ingredients and supplies, ensuring the dough is at the right temperature, and choosing the appropriate equipment like a bread pan or machine.
To start, select high-quality flour which is the foundational component of any bread recipe. Make sure to use fresh yeast for optimal rise. Consider the flour-to-water ratio carefully as it impacts the texture of the final product. Let the bread dough come to room temperature before shaping it to ensure even rise and improved flavor development. Equally crucial is having a clean, well-greased bread pan to encourage proper shaping during proofing and ensure easy release post-baking.
Gathering Ingredients and Supplies
Gathering the necessary ingredients and supplies for bread-making is crucial, ensuring you have the right flour, water, and additional components to create a flavorful loaf with a perfect crust.
When selecting flour, opt for high-quality options like bread flour or whole wheat flour for a rich taste and ideal texture. The purity of the water used is also vital, as it can affect the fermentation process and overall flavor profile. Mixing in various ingredients such as seeds, herbs, or dried fruits can add complexity and depth to the final product, enhancing not only the taste but also the visual appeal of your loaf. Taking care to balance these elements will result in a crust that’s crisp and golden, encasing a soft, fragrant interior.
Preparing the Yeast
Preparing the yeast involves activating it with warm water and sugar according to the recipe, ensuring it is ready to be incorporated into the flour mixture for homemade bread.
The activation process of yeast is crucial in bread-making as it kickstarts the fermentation process, leading to a light and airy loaf. The ideal temperature for the water is around 110-115°F, which is warm to the touch but not hot. Adding the right amount of sugar helps feed the yeast, aiding in its activation. Once mixed, let the yeast mixture sit for about 5-10 minutes until it becomes frothy and starts to bubble, indicating that it is ready to be added to the flour.
Preparing the Dough
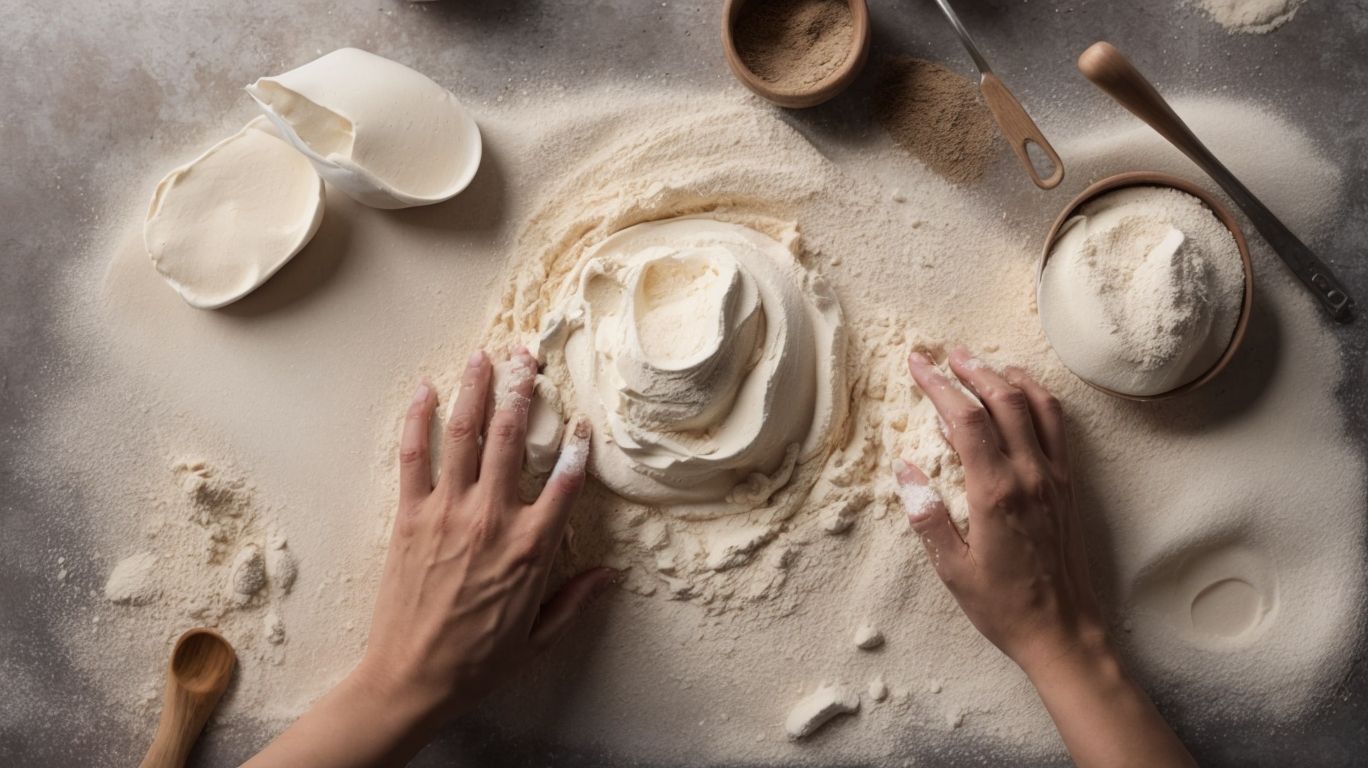
Preparing the dough involves combining flour, water, salt, and oil, followed by kneading to develop gluten and create a smooth texture essential for successful bread making.
To begin the process of making bread dough, start by mixing the flour with water in a large bowl. The salt adds flavor while the oil provides moisture and richness to the dough. Kneading is a crucial step that helps to distribute the ingredients evenly and develop the gluten structure.
- Use a fold and press motion
- Rotate and push the dough
- Repeat until the dough is elastic and springs back when touched
Achieving the perfect dough consistency is key for a well-risen and flavorful loaf of bread.
How to Knead the Dough?
Credits: Poormet.Com – Patrick Davis
Kneading the dough is a critical step in bread-making, involving various techniques to develop gluten, enhance flavors, and ensure proper ingredient distribution.
One effective technique is the ‘slap and fold’ method, where you gently slap the dough on the work surface and fold it over itself repeatedly to trap air and develop elasticity.
Another popular method is the ‘stretch and fold’ approach, where you stretch the dough to create layers, contributing to a lighter texture in the final product.
Regarding incorporating flavors, consider adding herbs and spices directly into the dough during the kneading process, ensuring even distribution throughout the bread.
Techniques for Kneading
There are several techniques for kneading dough, including folding, stretching, and pressing motions that help develop gluten and create the desired texture for your recipe.
Regarding working with dough, folding is a method where you bring the edges of the dough towards the center, trapping air inside and creating layers for a flakier texture.
Stretching, on the other hand, involves pulling the dough apart gently to align gluten strands for elasticity.
Lastly, pressing motions help distribute ingredients evenly while sealing any air pockets, resulting in a uniform crumb structure in your baked goods. By mastering these kneading techniques, you can enhance the quality of your dough and achieve consistent results in your baking endeavors.
Tips for Successful Kneading
To achieve successful kneading, it’s essential to maintain consistency in motion, adjust flour-water ratios as needed, and focus on incorporating flavors evenly throughout the dough.
Consistency in motion is crucial as it ensures proper gluten development for the bread dough. Aim for a smooth, rhythmic action, pushing and folding the dough. It’s also important to monitor the dough’s texture; it should be slightly tacky but not overly sticky. Regarding flour-water ratios, remember that these can vary based on factors like humidity and flour type.
When incorporating flavors, flavor distribution is key. Add ingredients gradually, layering them for even dispersion. Ensure spices, fruits, or nuts are evenly mixed to enhance the overall taste. Experiment with different combinations to create unique and delicious bread varieties.
How to Proof the Dough?
Credits: Poormet.Com – Mason Jones
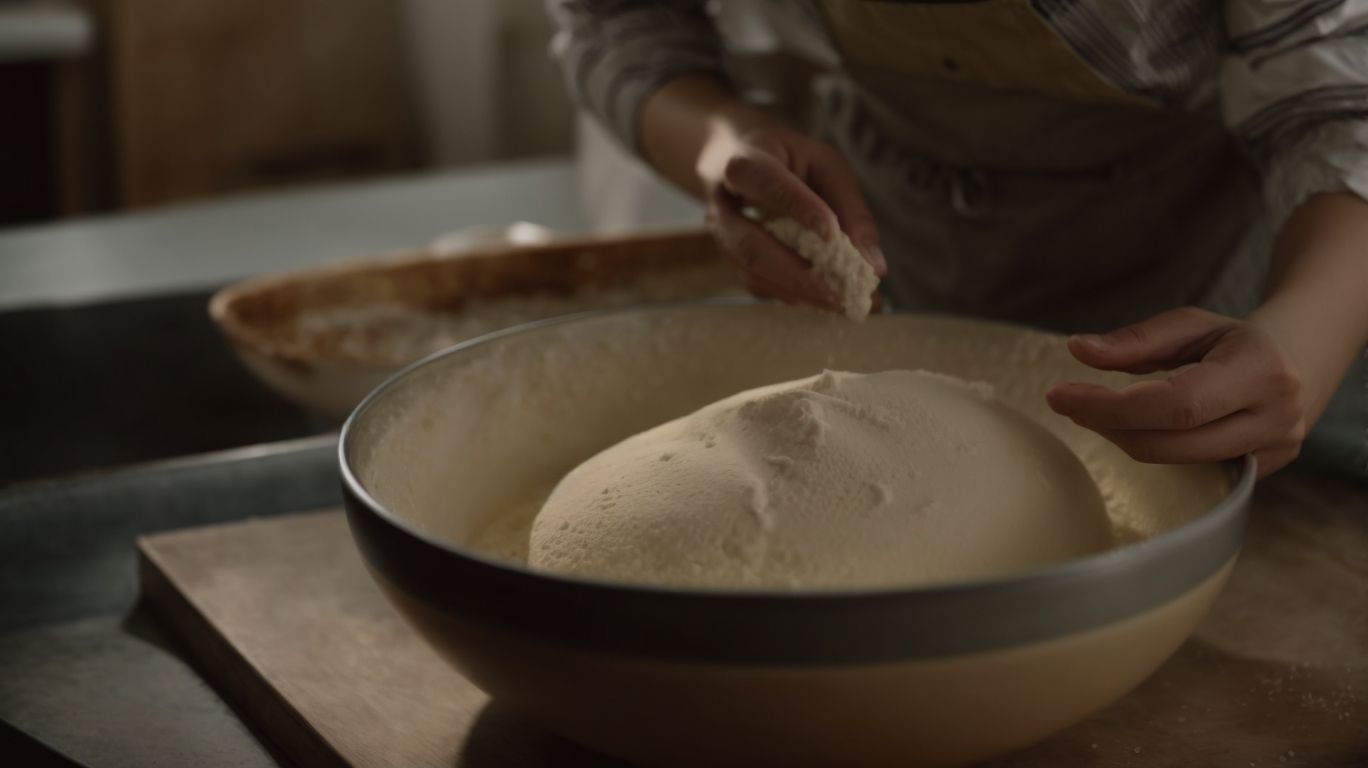
Proofing the dough is the process of allowing it to rise, using various techniques to create light, airy bread suitable for baking the perfect loaf based on your recipe.
Properly proofed dough is essential in bread making as it allows the yeast to ferment and create carbon dioxide gas, which gives the bread its characteristic rise and airy texture. It also develops the flavor profile of the bread, resulting in a more complex and satisfying taste.
There are several techniques to achieve optimal proofing, including the bulk fermentation method where the dough rises as a single mass, or the more intricate process of shaping the dough into individual loaves for a final proof before baking. Each technique influences the final texture and structure of the bread.
What is Proofing?
Proofing is the essential step of allowing the dough to ferment and rise at a controlled room temperature, aiding in gluten development and flavor enhancement for the bread.
During proofing, the yeast in the dough feeds on sugars, producing carbon dioxide gas that gets trapped in the gluten network, creating those airy holes and a light, fluffy texture in the baked bread. This fermentation process not only helps in gluten development, giving the bread structure and strength, but also imparts complexity and depth to the flavor profile.
Room temperature plays a crucial role in proofing, as it provides the ideal conditions for the yeast to thrive and the enzymes to break down starches into sugars, contributing to both flavor and color of the final bread product. Controlling the proofing time and temperature is essential to allow the dough to rise adequately without over-fermenting, ensuring a well-balanced texture and taste.
Techniques for Proofing Dough
Various techniques for proofing dough include adjusting room temperature, monitoring fermentation times, and following specific recipe guidelines for achieving optimal rise and flavor development.
Controlling the room temperature is crucial during the proofing process, as it directly impacts the fermentation of the dough. Yeast, a key player in bread making, reacts differently to varying temperatures. Optimal temperature control ensures that the dough rises uniformly and achieves the desired texture.
Monitoring fermentation times involves keeping track of the dough’s growth and checking for bubbles that indicate proper yeast activity. Following the recipe instructions meticulously guides the baker in each step, leading to a well-structured loaf with enhanced flavors.
How to Shape and Bake the Bread?
Shaping and baking bread involves forming the dough into desired shapes, preheating the oven, and achieving the perfect crust through precise temperature and timing control.
Once the dough has been shaped into loaves, rolls, or other forms, it is crucial to allow it to rest for the final rise before baking. This final fermentation period develops flavor and texture in the bread. In the meantime, preheat the oven to the appropriate temperature, ensuring it reaches the ideal heat for that specific type of bread.
Baking the bread at the correct temperature and duration not only gives it a beautiful golden crust but also ensures that the interior is cooked to perfection. The crust develops as a result of the Maillard reaction, creating that delightful crunch and flavor.
Shaping the Dough
Shaping the dough is an art that involves forming it into loaves, rolls, or specialty shapes according to your homemade bread recipe, ensuring uniformity in size and texture.
When shaping bread dough, it’s important to consider the type of loaf you want to create. A traditional loaf shape is achieved by gently patting the dough into a rectangle, then rolling it tightly from one end to the other. For rolls, divide the dough into equal portions and shape each into a smooth ball. To explore specialty shapes, such as braided or twisted bread, gently stretch and twist the dough strands before letting them rise. Consistency in size will ensure even baking, so using a dough scale or eyeballing and dividing it evenly are key techniques.
Preparing for Baking
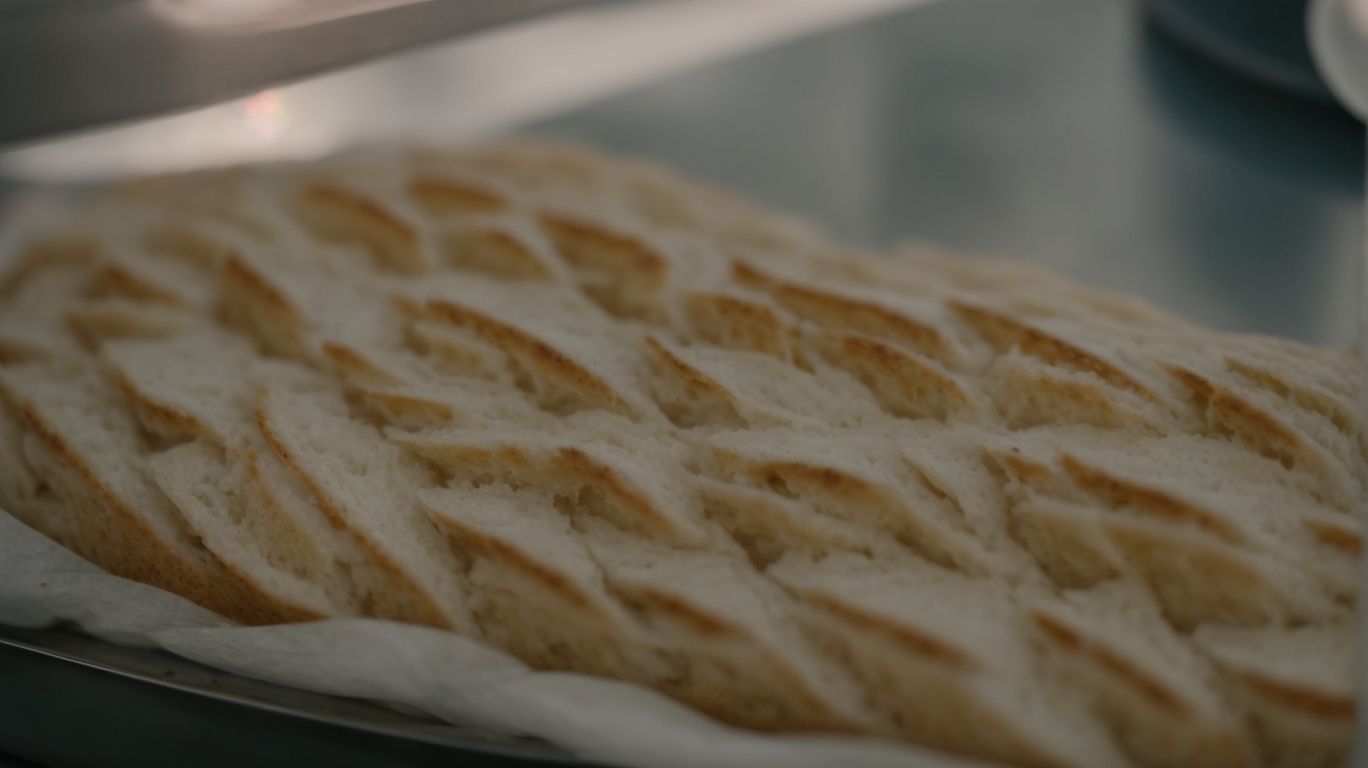
Before baking, it’s essential to preheat the oven, score the bread for controlled expansion, and infuse flavors to enhance the aromatic quality of your homemade bread.
To preheat the oven properly, set the temperature according to the recipe requirements and allow enough time for it to reach the desired heat.
Regarding scoring the bread, use a sharp knife or a razor blade to make shallow cuts on the dough’s surface. This not only controls the bread’s expansion during baking but also adds an attractive pattern to the crust.
For flavor infusion, you can incorporate various ingredients like herbs, spices, garlic, cheese, or even seeds into the dough before baking. This will give your bread a unique and delicious taste that complements its flavors.
Baking the Bread
Baking the bread involves placing the shaped dough in the oven, ensuring proper temperature control for a golden crust and a deliciously baked loaf that tantalizes the senses.
Regarding oven placement, it’s crucial to put the loaf on the center rack for even heat distribution, allowing the bread to rise uniformly. Setting the temperature right is a balancing act – too high, and you risk burning the crust before the interior cooks through; too low, and you might end up with a dense, undercooked loaf. The ideal temperature typically ranges between 375°F to 450°F, depending on the recipe.
Watching the crust coloration is like observing a work of art in progress. A well-baked loaf boasts a beautifully golden-brown crust that crackles ever so gently when you slice it. This color signifies not just visual appeal but also that perfect blend of flavors and textures created during baking.
How to Tell When Bread is Done?
Credits: Poormet.Com – Noah Williams
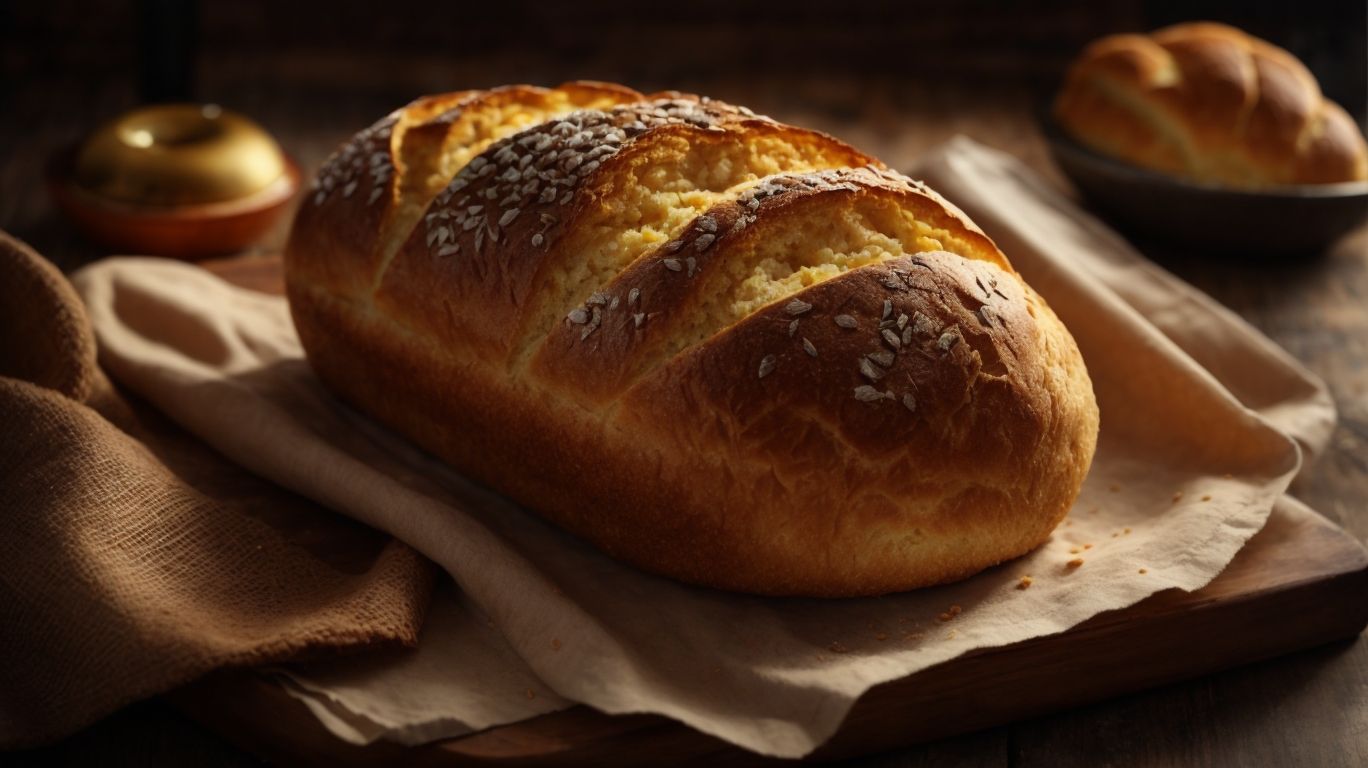
Determining when bread is done involves visual cues like a golden brown crust, a hollow sound when tapped on the bottom, and an internal temperature of the loaf indicating completion in the oven.
Checking the crust is often the first clue – when it’s a deep shade of golden brown, it usually means the bread has baked through. A lightly golden hue could indicate the bread needs a bit more time.
For sound tests, tapping the bottom of the loaf should produce a hollow sound, signifying that moisture has evaporated during baking. To be doubly sure, use a thermometer to check the internal temperature – a reading of around 190°F for most bread types indicates it’s fully baked.
Tips for Perfectly Baked Bread
Credits: Poormet.Com – Kevin Gonzalez
Achieving perfectly baked bread requires attention to detail in the baking process, embracing artisan techniques, and focusing on creating a crusty exterior that enhances the overall appeal of the loaf.
To achieve a crusty finish, consider using the right type of flour, such as bread flour or a combination of bread and whole wheat flour, which helps develop a strong gluten structure necessary for a crispy crust.
Ensuring proper hydration of the dough by using the correct water-to-flour ratio is crucial for crust formation.
When shaping the loaf, a tight surface tension promotes oven spring and contributes to a crusty exterior.
Baking the bread in a preheated Dutch oven or steam-injected oven can help create a humid environment, aiding in crust development.
Frequently Asked Questions
What ingredients do I need to bake a bread?
To bake a bread, you will need flour, water, yeast, salt, and sugar. Optional ingredients include milk, butter, eggs, and other flavorings.
How do I know if my bread is properly proofed?
A properly proofed bread should be visibly risen and doubled in size. You can also perform the “poke test” by gently pressing your finger into the dough – if the indentation slowly springs back, it is ready to bake.
Can I substitute all-purpose flour for bread flour?
Yes, you can substitute all-purpose flour for bread flour in a pinch, but the texture and rise of your bread may be slightly different. Bread flour has a higher protein content, which helps create a chewier and taller loaf.
What should I do if my bread is over-proofed?
If your bread has over-proofed, it may have a collapsed or flat appearance. You can try to reshape the dough and let it proof again, but it may not rise as much as expected. In the future, keep an eye on the proofing time and make sure not to let it go too long.
Can I freeze bread dough?
Yes, you can freeze bread dough. Simply shape the dough into a ball and wrap it tightly with plastic wrap before placing it in the freezer. When you’re ready to bake, let it thaw in the fridge overnight before bringing it to room temperature and baking as usual.
Why is it important to let bread cool before slicing?
It is important to let bread cool before slicing because the internal structure of the loaf is still setting and cutting into it too soon can result in a dense and gummy texture. Allowing the bread to cool also helps prevent the crust from becoming soggy.