
How to Bake Bread With Sourdough?
Ready to elevate your baking skills and impress your friends and family with homemade sourdough bread?
We cover everything you need to know about sourdough starter, from how to make and maintain it to the essential ingredients for baking the perfect loaf.
Walk through the step-by-step process of making sourdough bread, sharing tips and tricks to ensure your bread turns out crispy on the outside and perfectly textured on the inside.
Learn how to store and preserve your sourdough bread, and become a sourdough baking pro in no time!
Key Takeaways:
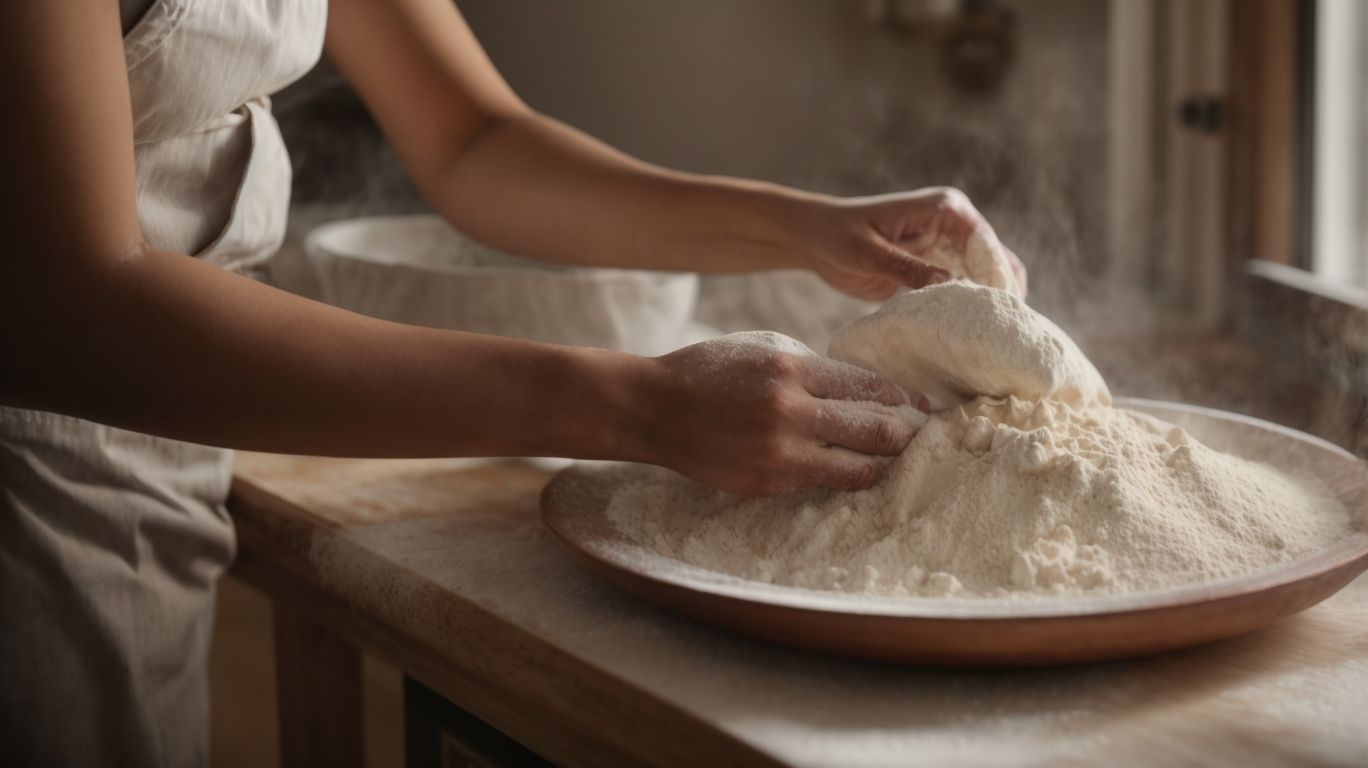
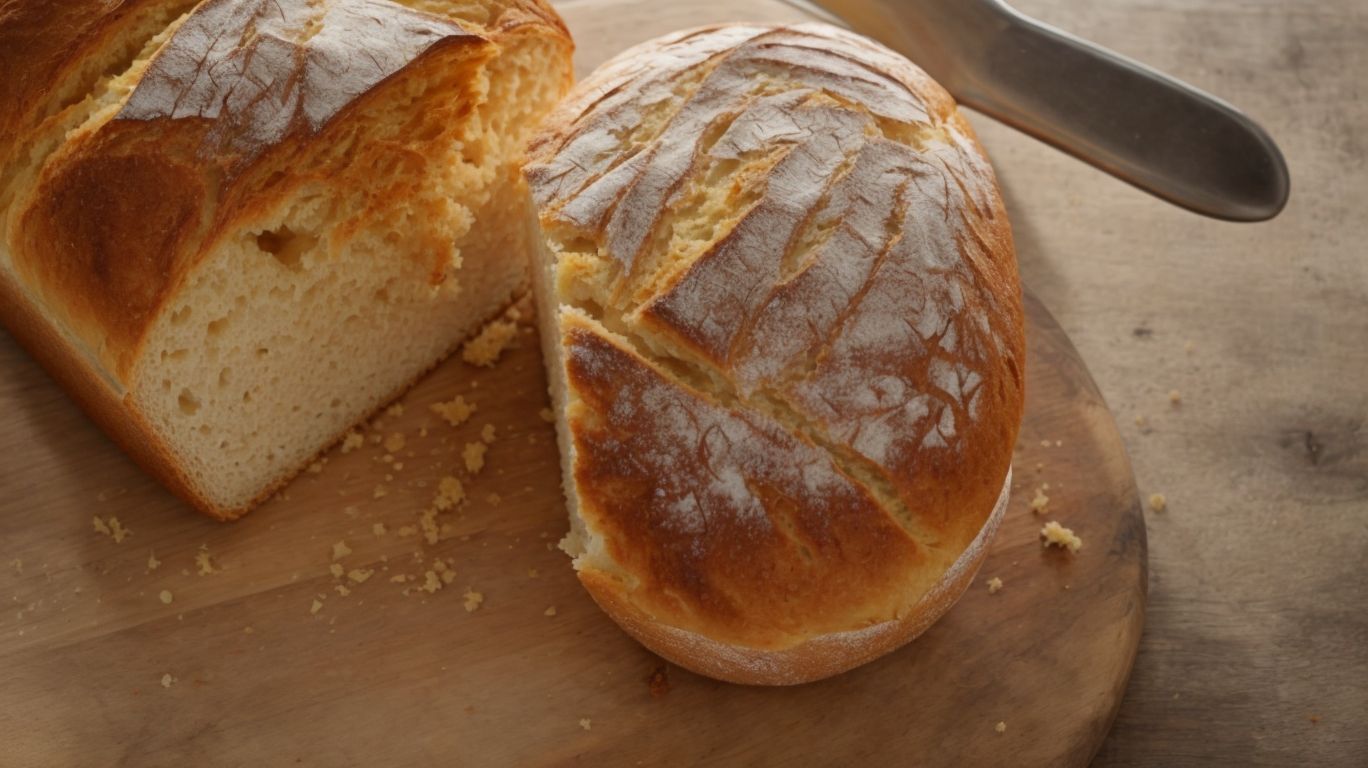
What is Sourdough Starter?
Credits: Poormet.Com – Brandon Hernandez
A sourdough starter is a fermented mixture of flour and water used to leaven sourdough bread. It is a crucial element in the bread-making process.
When flour and water are combined and allowed to ferment over time, wild yeast and lactobacilli bacteria naturally present in the environment begin to populate the mixture. These microorganisms are responsible for the fermentation process, which imparts the signature tangy flavor and distinct texture to sourdough bread. This symbiotic relationship between yeast and bacteria creates a unique environment that enhances the nutritional value of the bread, making it easier to digest and absorb nutrients.
Sourdough starters can vary in composition depending on factors such as the type of flour used, the region it is made in, and even the method of starter maintenance. Some bakers prefer whole wheat flour starters for a deeper flavor profile, while others opt for rye or all-purpose flour starters for different textures and characteristics.
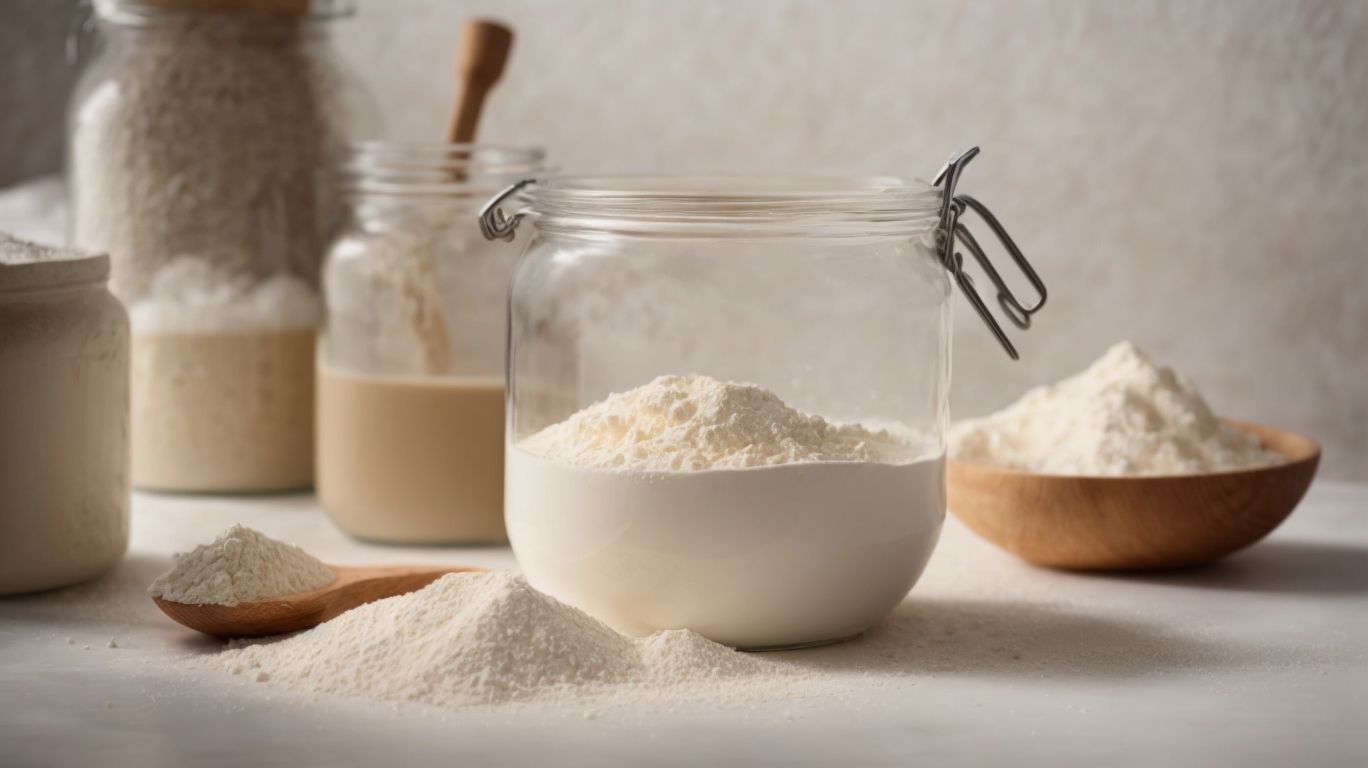
How to Make Your Own Sourdough Starter?
Creating your own sourdough starter involves mixing flour and water and allowing natural yeasts to ferment the mixture over time.
Once you have combined the flour and water in a clean container, cover it loosely with a kitchen towel or plastic wrap, ensuring that air can still circulate. This initial phase allows the wild yeasts naturally present in the environment to start the fermentation process.
Patience is crucial at this stage as the starter needs time to develop complexity and flavor. Over the next few days, you’ll notice small bubbles forming on the surface, indicating that the natural yeast is becoming active.
- Remember to feed the starter regularly by discarding half of the mixture and replenishing it with equal parts flour and water.
- It’s essential to maintain a consistent temperature, ideally around 70°F, to aid the fermentation process.
How to Maintain Your Sourdough Starter?
Maintaining a sourdough starter involves regular feeding with flour and water to keep the yeast cultures alive and active.
For most starters, a feeding schedule of once every 12 to 24 hours is recommended. To feed your starter, simply discard a portion of the existing starter and then add equal parts flour and water. This process replenishes the nutrients for the yeast and bacteria in the starter.
- Discarding excess starter is crucial to prevent it from becoming too large. It’s advisable to discard at least half of the starter before each feeding.
- If your starter becomes too thick or thin, you can adjust the consistency by adding more flour or water accordingly.
- When not in use, store your starter in the refrigerator to slow down its fermentation process. Remember to take it out and feed it regularly to keep it healthy.
Common troubleshooting issues include a sluggish starter, which may indicate that it needs more frequent feedings, or a starter that seems overly active, in which case reducing the feeding frequency can help. By following these practices, you can ensure a healthy and vibrant sourdough starter that will produce delicious bread.
What Ingredients Do You Need to Bake Sourdough Bread?
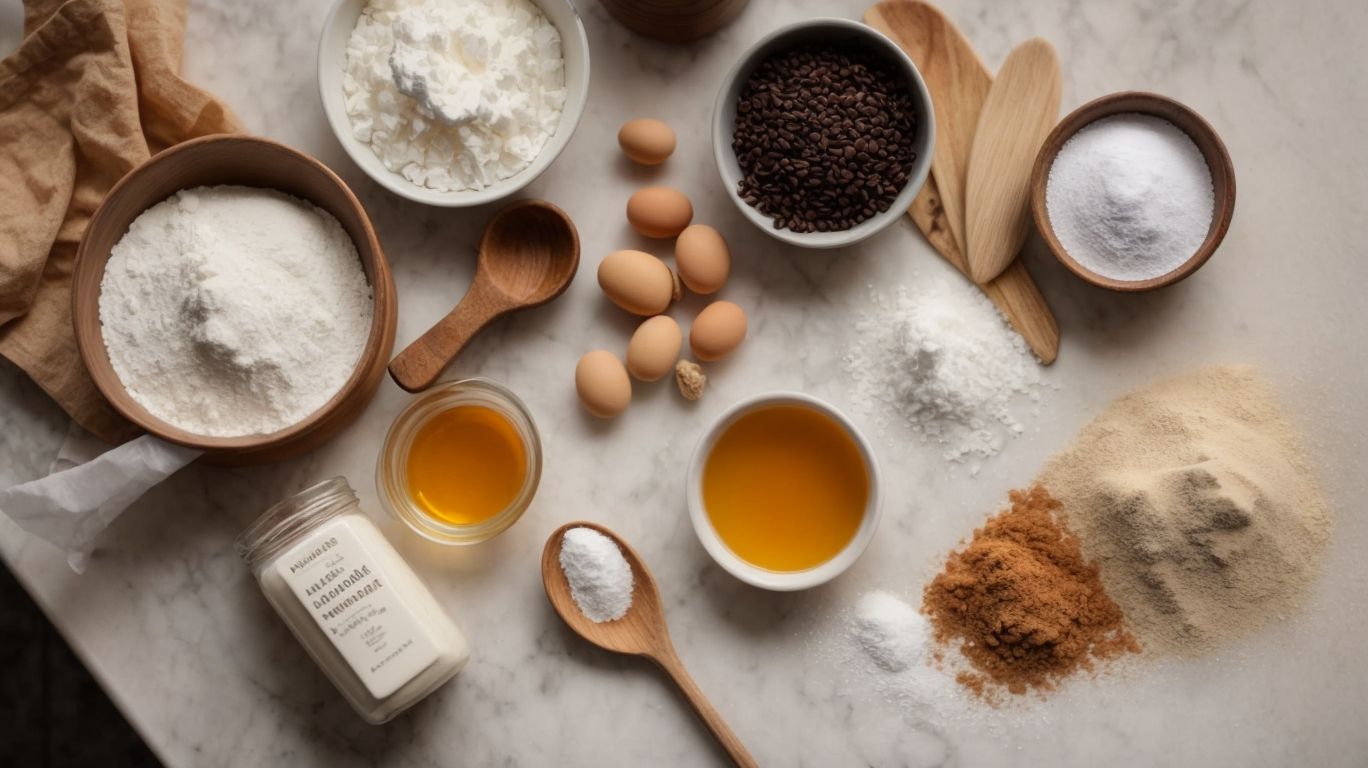
Credits: Poormet.Com – Dylan Adams
To bake sourdough bread, you need ingredients such as bread flour, water, sourdough starter, and salt.
In terms of flour types for sourdough bread,
- Bread flour provides the ideal protein content necessary for structure and a chewy texture.
- A mix of whole wheat flour can add depth of flavor and more nutrients to the bread.
Hydration levels play a crucial role; a good guideline is to aim for around 75-80% hydration relative to the weight of the flour.
Different starters can affect the taste and rise of the bread – whether it’s a rye starter for a tangier flavor or a traditional wheat starter for a milder taste. A sprinkle of sea salt not only enhances the flavor but also helps regulate the fermentation process.
How to Make Sourdough Bread?
Making sourdough bread involves a series of steps, including mixing the dough, allowing for bulk fermentation, shaping, proofing, and finally baking the bread.
One crucial step in making sourdough bread is the initial mixing of flour, water, and the sourdough starter to form the dough. This process, known as ‘autolyse,’ allows the flour to fully hydrate and develop gluten naturally without the addition of salt, which enhances the bread’s texture and flavor.
During the bulk fermentation stage, the dough undergoes a slow rise, allowing the wild yeast in the starter to ferment and develop complex flavors. It’s essential to monitor the dough’s temperature and adjust it if needed to ensure the optimal environment for fermentation.
Shaping the dough is a delicate process that helps create the bread’s final structure and appearance. Proper shaping techniques involve gentle handling to retain the air bubbles formed during fermentation, which contribute to the bread’s texture.
Proofing the shaped loaves is crucial to allow them to rise one last time before baking. This step helps develop a light and airy crumb structure while enhancing the bread’s flavor profile.
Baking the sourdough bread at the right temperature and humidity levels is key to achieving a crispy crust and a well-developed crumb. Using a Dutch oven or baking stone can help mimic the environment of a professional bread oven and yield excellent results.
Step 1: Mixing the Dough
The first step in making sourdough bread is mixing the dough, combining flour, water, sourdough starter, and leaven to form a cohesive mixture.
When mixing sourdough bread dough, it is crucial to maintain the correct ratios of ingredients. Typically, a common ratio is 1:2:0.7 for flour, water, and sourdough starter, respectively. Ensuring the dough’s hydration level is around 75% is essential for optimal fermentation and gluten development.
Before adding leaven, it’s vital to activate it at the right stage. A well-activated leaven will lead to better rise and texture in your bread. Stir the ingredients gently until they come together, being mindful not to overmix as this can hinder gluten formation.
Step 2: Bulk Fermentation
Bulk fermentation is a crucial stage in sourdough bread-making where the dough undergoes a long rest period to develop flavor and structure.
During this phase, the dough is left to ferment after mixing, allowing the wild yeast and lactobacilli to work their magic. The duration of bulk fermentation typically ranges from 4 to 24 hours, depending on factors such as ambient temperature and desired flavor profile. Maintaining an ideal temperature of around 75°F (24°C) is essential for the optimal fermentation to take place.
You can monitor the progress of fermentation by observing the dough’s volume increase, texture changes, and the development of air bubbles. Properly fermented dough will exhibit a lighter and more airy texture, as well as a tangy aroma.
Step 3: Shaping the Dough
Shaping the dough is a skillful process in sourdough bread-making that involves creating tension on the surface for proper rise and structure.
Pre-shaping the dough is the initial step, where the dough is gently shaped into a round or oval shape. This process helps to build some initial tension before the final shaping. In terms of final shaping, the dough is carefully shaped into its desired form, such as a boule or batard, to create the perfect loaf. Using a lame or sharp blade to score the dough’s surface allows steam to escape during baking, promoting an excellent oven spring and beautiful patterns on the crust. A well-shaped dough with adequate tension ensures a better crumb structure and a visually appealing final product.
Step 4: Final Proofing
Final proofing is the last stage before baking, allowing the shaped dough to rise and develop flavor while passing the windowpane test for readiness.
During this crucial phase, the dough is left to rest for a specific duration, typically ranging from 1 to 2 hours, depending on the recipe and ambient temperature. Ideal proofing temperatures usually fall between 75-85°F (24-29°C) to facilitate the fermentation process and achieve an optimal rise. It’s essential to place the dough in a warm, draft-free spot to encourage proper expansion while being mindful of not over-proofing.
Observing the dough for key indicators like doubled volume, a smooth, puffy surface, and a slight jiggle when gently shaken can signal the dough’s readiness for the oven. The windowpane test remains a pivotal method for determining if the gluten has developed adequately, ensuring a light and airy crumb in the final baked bread.
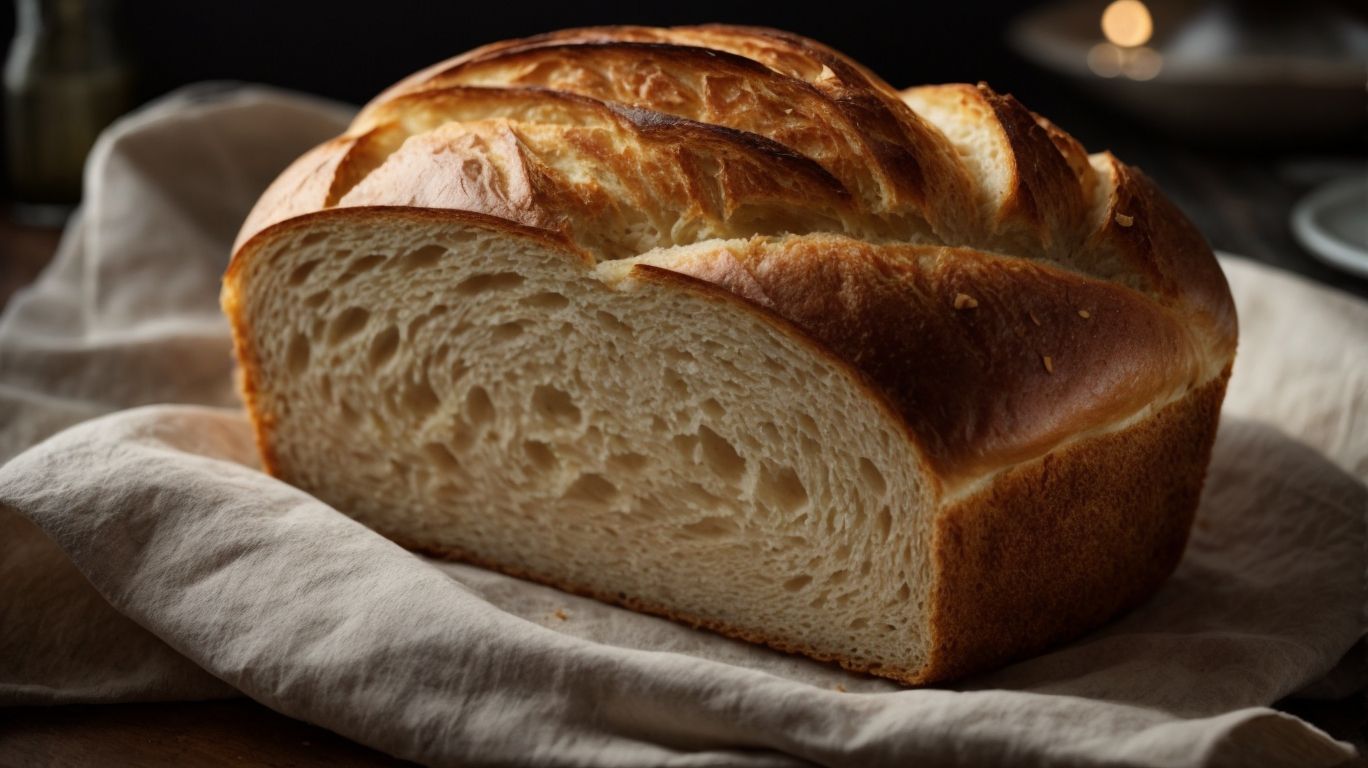
Step 5: Baking the Bread
Baking the sourdough bread involves preheating the oven, scoring the dough, and using a Dutch Oven for steam and crust development.
Once the dough is perfectly scored and ready to be placed in the oven, it’s essential to ensure the oven temperature is correctly set for baking sourdough bread. Typically, sourdough bread is baked at a high temperature initially to create that coveted crispy crust. A common practice is to start at around 450°F (230°C) for the first 20 minutes, then reduce the temperature to around 400°F (200°C) for the remaining bake time to allow the loaf to fully cook through without burning the exterior.
During the initial stages of baking, utilizing steam is crucial to achieve that artisan-style crust that is chewy yet crispy. The steam helps the bread expand and rise properly while also aiding in caramelization of sugars on the crust. The Dutch Oven plays a significant role in this. By preheating the Dutch Oven and then placing the scored dough inside, it creates a steamy environment that mimics professional bread ovens. This method traps the steam released from the bread itself, allowing for excellent crust development.
Tips and Tricks for Baking the Perfect Sourdough Bread
Credits: Poormet.Com – Gerald Sanchez
Achieving the perfect sourdough bread involves tips and tricks such as maintaining hydration levels, using stretch and fold techniques, and creating a crispy crust.
One crucial factor in enhancing the crispy crust of your sourdough bread is paying close attention to fermentation. Optimal fermentation not only affects flavor but also contributes significantly to the crust crispiness. Controlling the proofing time and temperature plays a vital role in achieving that desired texture.
The way you handle the dough during shaping is paramount. Gentle handling and proper shaping techniques help maintain the air pockets within the dough, resulting in a lighter, more open crumb structure.
How to Know When Your Sourdough Bread is Ready to Bake?
Determining the readiness of sourdough bread involves assessing dough rise, poke tests, and visual cues for fermentation activity.
Another important indicator of sourdough bread readiness is the appearance of the dough. A well-matured dough will have a slightly domed shape and a smooth surface, indicating that it has adequately risen and processed. The aroma of the dough is critical – a pleasant, slightly tangy smell signifies that the fermentation process has developed well.
When testing the dough’s elasticity, gently stretch a small piece between your fingers. If it forms a thin translucent membrane without tearing easily, it is a sign of good gluten development, essential for a light and airy texture in the finished bread.
How to Create a Crispy Crust?
Creating a crispy crust on sourdough bread involves baking at high temperatures, steam generation, and proper dough hydration.
One of the key techniques to achieve a crispy crust on sourdough bread is through steam injection. This process involves introducing steam into the oven during the initial stages of baking. The moisture from the steam helps create a humid environment, allowing the dough to expand quickly and promoting crust development. Steam injection is particularly crucial in the first few minutes of baking to ensure the crust sets properly before hardening.
How to Achieve the Perfect Texture?
Achieving the perfect texture in sourdough bread involves managing water content, gluten development, and fermentation times.
One crucial factor influencing the texture of sourdough bread is the hydration level of the dough. The amount of water used impacts the final consistency and structure of the bread.
Gluten formation also plays a key role in creating the desired texture. Gluten is a protein that gives bread its elasticity and strength, contributing to a chewy and airy crumb.
The duration of fermentation affects the texture as well. Longer fermentation leads to more complex flavors and a lighter, open crumb structure.
How to Store and Preserve Your Sourdough Bread?
Properly storing and preserving sourdough bread involves wrapping in linen or paper to maintain crust crispiness and prevent moisture loss.
After wrapping the bread, store it at room temperature for up to 2-3 days. If you need to keep it fresh for a longer period, consider freezing individual slices or the entire loaf. To retain its freshness when freezing, wrap the bread in a double layer of plastic wrap or aluminum foil before placing it in a freezer-safe bag. Utilizing sourdough discard is a great way to reduce waste and enhance flavor in various recipes, like pancakes, waffles, or even pizza crust.
Conclusion
Credits: Poormet.Com – Brian Nguyen
Mastering the art of sourdough bread-making requires practice, patience, and attention to detail, but the results are rewarding in flavor and satisfaction.
One crucial aspect in creating a successful sourdough bread is the technique used throughout the process. From creating and maintaining a starter to kneading and shaping the dough, each step influences the final outcome. The quality of ingredients, like organic flour and filtered water, also plays a significant role in the flavor and texture of the bread.
Experimentation is key to finding the perfect balance of tanginess and crustiness that suits your taste buds. Homemade sourdough bread not only offers a delightful taste but also eliminates preservatives and additives present in commercial loaves.
For aspiring sourdough bakers, remember to keep your starter healthy by feeding it regularly and maintaining its consistency. Adjust hydration levels and fermentation times based on your preferences, and don’t be afraid to try new recipes or techniques to hone your skills.
Frequently Asked Questions
1. What is the process for making a sourdough starter?
To make a sourdough starter, you will need flour, water, and a container. Mix equal parts flour and water in the container, and then let it sit for 24 hours. The next day, discard half of the starter and add equal parts flour and water again. Repeat this process daily until the starter is bubbly and has a tangy smell, which usually takes about a week.
2. Can I use all-purpose flour for baking sourdough bread?
While all-purpose flour can be used for baking sourdough bread, using a combination of all-purpose and whole wheat flour will give the bread a better texture and flavor. Whole wheat flour contains more natural yeast and nutrients that help the bread rise and develop a tangy flavor.
3. How long does it take to bake sourdough bread?
The total time for baking sourdough bread can vary, but it typically takes around 4-5 hours. This includes the time for preparing the dough, proofing, and baking. However, the time can vary depending on the temperature and humidity in your kitchen, as well as the strength of your sourdough starter.
4. Can I use a bread machine to make sourdough bread?
Yes, you can use a bread machine to make sourdough bread. However, the process will be slightly different as bread machines do not allow for the same level of control over the proofing and fermentation process. It is recommended to use a bread machine with a sourdough setting or to adapt a regular bread recipe to include a sourdough starter.
5. How do I know when my sourdough bread is ready to be baked?
The best way to determine if your sourdough bread is ready to be baked is by performing the “poke test.” This involves gently poking the dough with your finger. If the indentation remains, it means the dough is ready to be baked. If the dough springs back, it needs more time to proof.
6. Can I freeze sourdough bread dough?
Yes, you can freeze sourdough bread dough. After shaping the dough into a ball, place it in a freezer-safe bag and store it in the freezer for up to 3 months. When ready to bake, let the dough thaw in the refrigerator overnight and then proceed with the baking process as usual.