
How to Bake No Bake Cookies?
Craving something sweet but don’t want to turn on the oven? No Bake Cookies are the perfect solution!
In this article, we will explore what exactly these cookies are, why they are a great choice for a quick and easy treat, and the essential ingredients you need to make them.
We will also provide you with a step-by-step guide on how to whip up a batch of these delicious cookies, along with some tips and tricks for perfecting them.
Stay tuned for all the information you need to become a No Bake Cookies expert!
Key Takeaways:
What Are No Bake Cookies?
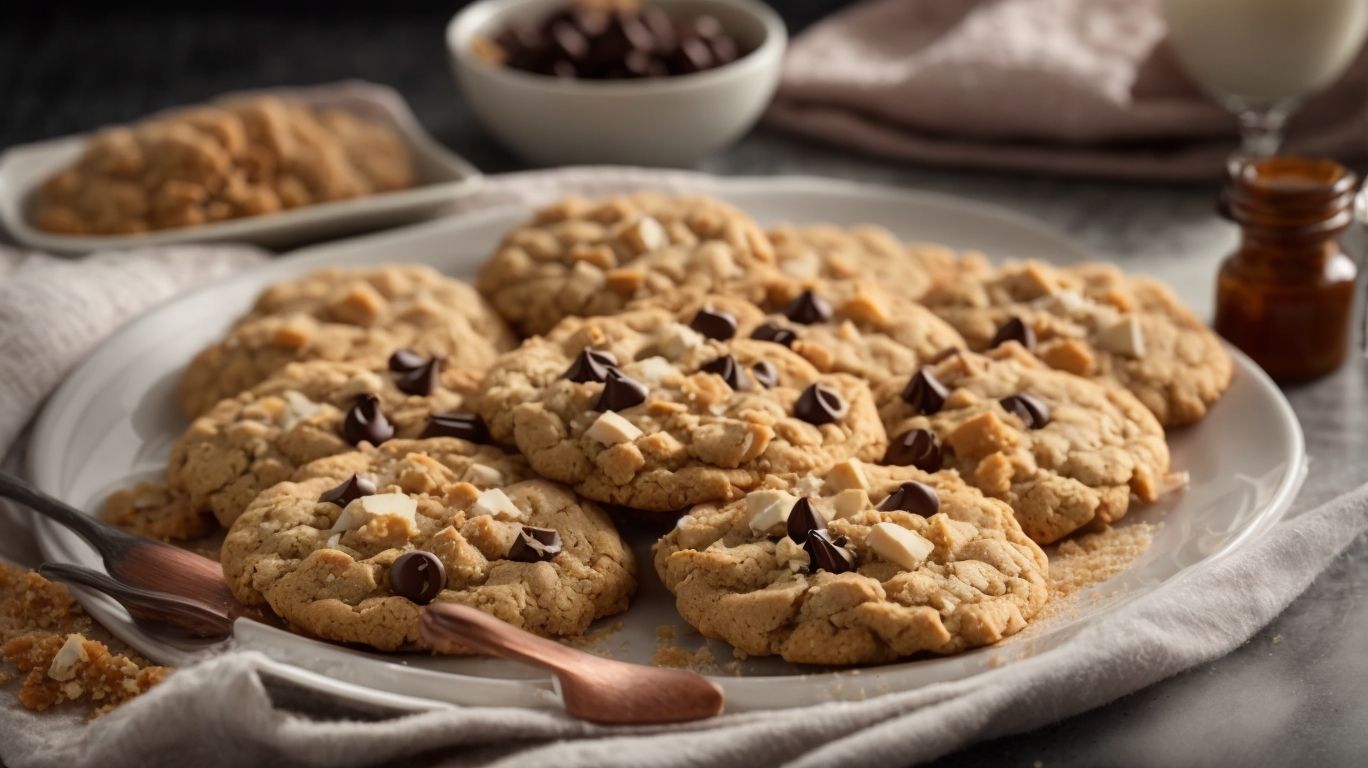
No bake cookies are sweet treats that require no oven baking, making them a convenient and quick dessert option.
These cookies get their name from the fact that they set and harden without the need for an oven, as the mixture is typically heated on a stovetop. The key to a successful no bake cookie recipe lies in the ingredients like oatmeal, butter, sugar, and cocoa, which are combined and then allowed to cool and solidify. No bake cookies come in various flavors and types, from classic chocolate to peanut butter and even fruity variations, offering a versatile and customizable dessert choice for those who crave something sweet but don’t have the time or desire to bake.
Why Choose No Bake Cookies?
Choosing no bake cookies offers a convenient solution for those seeking quick and easy dessert options without the need for baking.
The beauty of no bake cookies lies in their simplicity and minimal preparation time. With just a handful of ingredients, including quick oats and cocoa powder, you can whip up a batch in no time.
Not having to deal with the hassle of preheating ovens or monitoring baking times allows for a stress-free baking experience. This makes them an ideal choice for those busy days when you crave something sweet but don’t have the luxury of spending hours in the kitchen.
The versatility of no bake cookies opens up endless possibilities for flavor combinations. Whether you prefer classic chocolate or want to experiment with different add-ins like nuts or dried fruits, these cookies can cater to a variety of taste preferences.
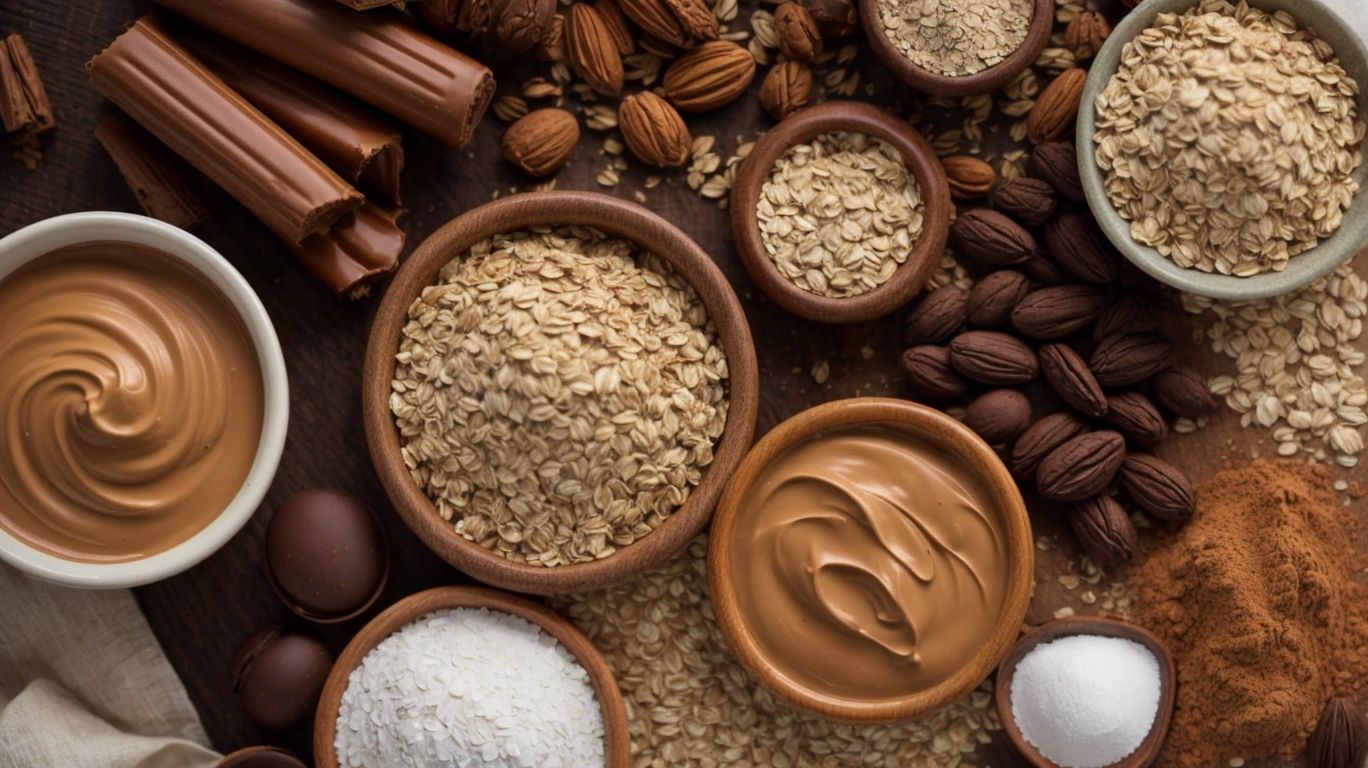
Ingredients for No Bake Cookies
Credits: Poormet.Com – John Thompson
The ingredients for no bake cookies include a combination of unsalted butter, granulated sugar, milk, cocoa powder, vanilla extract, and other key components to create delicious and easy-to-make treats.
These delightful cookies can be customized to suit varying tastes by adding nut butter for rich flavors and protein or incorporating dried fruit for a sweet and chewy texture. To further enhance the depth of flavor, additional elements such as shredded coconut, chopped nuts, or even a sprinkle of sea salt can be integrated into the mix. The use of quick-cooking oats provides a satisfying chewiness that complements the creamy texture of the butter, while cocoa powder adds a luscious chocolaty essence to each bite.
What Are The Essential Ingredients?
The essential ingredients for no bake cookies include unsalted butter, granulated sugar, cocoa powder, vanilla extract, kosher salt, and quick oats, which form the base for these delightful treats.
Vanilla extract adds a warm and floral aroma, enhancing the overall sweetness of the cookies. It plays a crucial role in balancing the richness of the cocoa and butter, providing a depth of flavor that lingers on the taste buds.
On the other hand, quick oats contribute to the chewy texture of the cookies while also imparting a nutty undertone that complements the chocolatey notes. These oats absorb the liquid ingredients, binding everything together and giving the cookies their signature consistency.
What Are The Optional Ingredients?
Plus the essential ingredients, optional components like chunky butter, dried fruit, sea salt, and various nut butter varieties can be added to enhance the flavor and texture of no bake cookies.
For a touch of sweetness and chewiness, consider incorporating chopped dried apricots, cranberries, or figs into your no bake cookie mixture. The combination of the crunch from sea salt and the slight tang from these dried fruits can create a delightful contrast in every bite.
If you’re a fan of contrasting flavors, adding a drizzle of honey or maple syrup over the top of your no bake cookies can provide a unique twist. These natural sweeteners complement the sea salt while bringing out the richness of the other ingredients.
Step by Step Guide to Making No Bake Cookies

Credits: Poormet.Com – Mason Jones
Creating delicious no bake cookies involves a simple step-by-step process that combines key ingredients to produce delightful treats without the need for baking.
One of the key aspects of making no bake cookies is the initial preparation of melting butter in a saucepan over low heat. This step forms the base of the cookie mixture and sets the foundation for the flavor profile.
Next, adding oats and cocoa powder to the melted butter infuses the cookies with a rich texture and chocolatey taste. For those looking to enhance the sweetness,
- adding honey or maple syrup can bring a natural sweetness to the mix.
- For a nutty flavor, incorporating chopped nuts like almonds or walnuts can add a delightful crunch to every bite.
Once all the ingredients are mixed thoroughly, forming the cookie dough into small individual portions and chilling them in the fridge to set is the final crucial step before enjoying these delectable no bake treats.
Step 1: Gather All Ingredients
The first step in making no bake cookies is to gather all the required ingredients, including unsalted butter, quick oats, cocoa powder, and other selected components.
Organizing your ingredients prior to starting the recipe is key to a smooth cooking process. It ensures that you have everything at hand without interruptions. For the perfect texture and flavor, the use of unsalted butter is essential, providing richness without the added saltiness. Quick oats, another crucial element, give these cookies a satisfying chewiness. From the cocoa powder for that deep chocolatey taste to the additional ingredients that personalize your batch, each component plays a vital role in creating these delightful treats.
Step 2: Prepare Baking Sheet
Next, prepare a baking sheet lined with parchment paper or a silicone mat to ensure easy removal of the formed no bake cookies once they have set.
By setting up the baking sheet with either parchment paper or a silicone mat, you create a non-stick surface that will prevent the cookies from sticking and facilitate easy removal later on. The parchment paper provides a disposable and convenient option, while the reusable silicone mat offers an eco-friendly alternative. Both options offer excellent heat distribution, ensuring that the no bake cookies set evenly. The parchment paper or silicone mat will make the cleanup process a breeze, allowing you to enjoy your delicious treats without the hassle of sticky residue on the baking sheet.
Step 3: Combine Ingredients
Combine the selected ingredients such as butter, oats, cocoa powder, and sweeteners in a mixing bowl or saucepan, ensuring thorough blending and consistency for the cookie mixture.
Once all the components are gathered in the receptacle, mixing becomes a pivotal process. To achieve that perfect amalgamation, use a spatula or wooden spoon to blend the ingredients evenly. Be gentle yet firm while stirring, ensuring that no lumps or dry pockets remain in the mixture. The blending process not only distributes the flavors evenly but also affects the final consistency. In this step, pay attention to achieving a smooth, workable dough-like mixture that holds together well.
Step 4: Shape and Chill the Cookies
Shape the prepared cookie mixture into individual portions using cookie scoop or by hand, then chill the formed cookies in the refrigerator to set and firm up before serving.
Using a cookie scoop ensures uniformity in size, which aids in even baking and a professional presentation. If you opt for shaping by hand, aim for consistent sizes to promote even cooking. Once shaped, placing the cookies in the refrigerator is crucial for allowing the fats to solidify, resulting in a chewy or crispy texture, depending on your preference. The cooling process not only firms up the dough but also intensifies the flavors as the ingredients meld together. Allow ample chilling time as per the recipe to achieve the best results.
Tips and Tricks for Perfect No Bake Cookies
To ensure perfect results with your no bake cookies, follow these tips and tricks for storage, freezing, pantry staple options, and ingredient substitutions.
In terms of storing your no bake cookies, opt for an airtight container to keep them fresh longer. Placing them in the refrigerator can help maintain their shape and texture. For longer-term storage, consider freezing the cookies in a freezer-safe bag or container. Freezing your cookies is a great way to enjoy them later without compromising the taste or texture.
If you run out of certain pantry staples like oats or nuts, feel free to get creative with alternatives such as shredded coconut, crushed cereal, or even rice cereal for added crunch. Substitution is key when adapting recipes to fit your preferences or dietary restrictions.
How to Store No Bake Cookies?
Store your prepared no bake cookies in an airtight container at room temperature or in the refrigerator to maintain freshness and preserve their texture.
When storing no bake cookies, it’s crucial to shield them from exposure to air, moisture, and other external elements that could compromise their taste and longevity. For optimal results, place the cookies in a sealed container that prevents air from seeping in. If opting for refrigeration, ensure the container is airtight to prevent any odors from permeating the cookies. Remember, maintaining the cookies at the right temperature and in suitable storage conditions will help retain their moistness and original flavors for an extended period.
How to Add Variations to the Recipe?
Experiment with various flavor combinations and ingredient additions like chunky butter, dried fruits, sea salt, or different nut butter options to create unique and personalized versions of no bake cookies.
For those looking to add a touch of indulgence to their treats, try incorporating decadent dark chocolate chunks or a sprinkle of flaky coconut on top.
To lift the flavor profile even further, consider mixing in a dash of aromatic vanilla extract or a hint of zesty citrus zest for a refreshing twist.
For a nutty crunch, crushed peanuts or shredded almonds can provide a satisfying texture that complements the cookie’s soft base.
Frequently Asked Questions About No Bake Cookies
Get answers to common queries regarding no bake cookies, including information on using various nut butter options, alternative sweeteners, and the shelf life of these delectable treats.
No bake cookies are a versatile treat that can be easily customized to suit different tastes and dietary preferences. In terms of nut butter options, you can experiment with peanut butter, almond butter, cashew butter, or even sunflower seed butter for a unique flavor profile. For those looking to cut down on sugar, stevia, maple syrup, honey, or agave nectar can be great substitutes for traditional sweeteners. Remember that the shelf life of no bake cookies varies depending on the ingredients used and how they are stored; typically, they can last up to two weeks when kept in an airtight container in the refrigerator.
Can I Use Other Types of Nut Butter?
Yes, you can experiment with alternative nut butter options such as almond butter, cashew butter, or other natural nut spreads to add distinctive flavors and textures to your no bake cookies.
Almond butter, with its rich and slightly sweet taste, can bring a smooth and decadent quality to your cookies. On the other hand, cashew butter offers a subtle, buttery flavor that adds a unique creaminess.
Using these nut spreads instead of traditional peanut butter can provide a more diverse flavor profile and cater to individuals with nut allergies. Don’t shy away from mixing different nut butters in one recipe to create a symphony of tastes that will elevate your cookies to a whole new level of deliciousness.
Can I Use Different Types of Sweeteners?
Absolutely, you have the flexibility to substitute white sugar with alternatives like honey, maple syrup, or agave nectar for a different sweetness profile in your no bake cookies.
These natural sweeteners not only provide a unique flavor but also offer additional health benefits over refined sugar.
For those looking for a floral undertone, honey is a great option, while maple syrup adds a rich, caramel-like taste.
On the other hand, agave nectar brings a mild sweetness perfect for those who prefer a milder flavor profile in their desserts.
Experimenting with these alternatives can truly elevate the taste of your no bake cookies, making them a delicious and healthier treat for any occasion.
How Long Do No Bake Cookies Last?
Properly stored in an airtight container, no bake cookies can last for up to one week at room temperature and even longer when refrigerated, thanks to the inclusion of pantry staple ingredients that enhance their shelf life.
These pantry staple ingredients, such as oats, peanut butter, cocoa powder, and coconut, not only provide flavor and texture but also contribute to the cookies’ longevity. Their low moisture content and natural preservatives help prevent spoilage and maintain freshness.
When kept in a cool, dry place away from direct sunlight, no-bake cookies made with pantry staples can stay delicious for several days beyond the one-week mark. If you opt to store them in the refrigerator, you can extend their shelf life by an additional week or more.
Frequently Asked Questions
How to Bake No Bake Cookies?
What are no bake cookies?
No bake cookies are a type of cookie that does not require any baking in the oven. They are made with simple ingredients like oats, cocoa powder, butter, and sugar, and are usually chilled in the refrigerator until firm.
How to Bake No Bake Cookies?
What makes no bake cookies different from regular cookies?
The main difference is that no bake cookies do not require any baking time in the oven. They are usually made on the stovetop or in the microwave, and are ready to eat in a shorter amount of time.
How to Bake No Bake Cookies?
What ingredients do I need to bake no bake cookies?
The basic ingredients for no bake cookies include oats, cocoa powder, sugar, butter, and milk. Some recipes may also call for additional ingredients like peanut butter, nuts, or dried fruit.
How to Bake No Bake Cookies?
Can I substitute any ingredients in a no bake cookie recipe?
Yes, you can substitute some ingredients in a no bake cookie recipe. For example, you can use almond milk instead of regular milk, or honey instead of sugar. However, keep in mind that these substitutions may alter the taste and texture of the cookies.
How to Bake No Bake Cookies?
How long do I need to chill no bake cookies?
It depends on the recipe, but most no bake cookies will need to chill in the refrigerator for at least 30 minutes to an hour. This will allow them to firm up and hold their shape.
How to Bake No Bake Cookies?
Can I freeze no bake cookies?
Yes, you can freeze no bake cookies for later consumption. Simply place the cookies in an airtight container and freeze for up to 3 months. When ready to eat, thaw the cookies in the refrigerator before serving.