
How to Bake Chicken After Searing?
Are you looking to elevate your chicken dishes to restaurant-quality perfection? Searing is the key!
In this article, we will delve into the art of searing chicken, exploring its importance and different methods. From frying pan searing to oven searing, we will guide you through the process of properly searing chicken to achieve that delicious crispy crust.
Stay tuned for tips on selecting the best cuts of chicken, baking after searing, and tricks for perfectly baked chicken. Let’s get cooking!
Key Takeaways:
What is Searing?
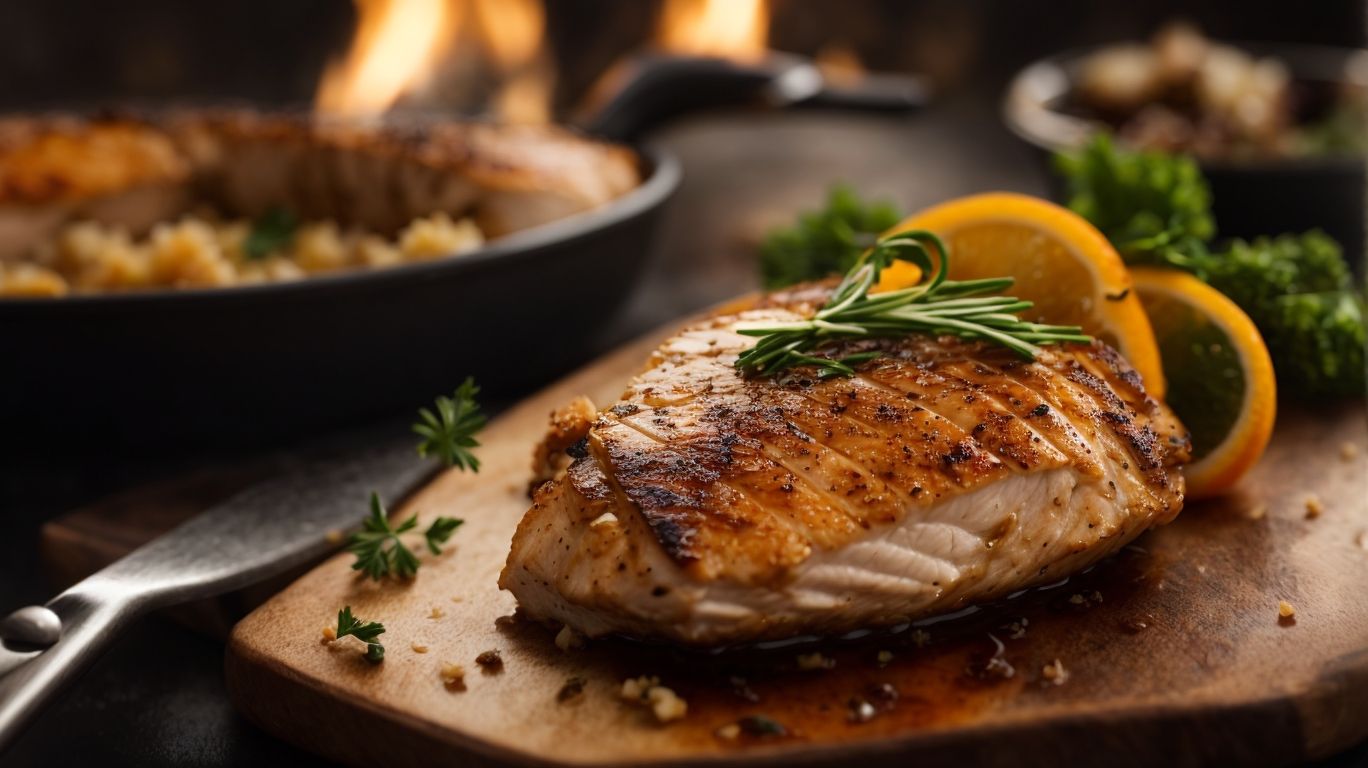
Credits: Poormet.Com – Brandon White
Searing is a cooking technique that involves quickly browning the surface of meat, such as chicken breasts, in a hot pan to create flavorful compounds through the Maillard reaction.
This method not only enhances the taste of the meat but also plays a significant role in creating an appealing texture. By searing the chicken breasts, you are essentially locking in the juices and developing a flavorful crust that adds depth to the overall dish. The Maillard reaction, which occurs when proteins and sugars in the meat brown, leads to the formation of new aromatic compounds that enhance the dish’s taste profile.
Why is Searing Important?
Searing is crucial when preparing chicken breasts as it enhances flavors, creates appealing browning, and contributes to the overall taste and texture of the dish.
When you sear chicken breasts, you are essentially locking in the juices and boosting the savory taste profile of the meat. The Maillard reaction, triggered by searing, not only adds a delightful golden crust to the chicken but also intensifies the umami notes, making each bite more flavorful.
Searing plays a vital role in improving the dish’s texture. By forming that caramelized outer layer, the chicken gets a nice crispy texture while retaining its succulent tenderness inside. This textural interplay elevates the overall dining experience.
The browning effects brought about by searing are not just superficial; they contribute significantly to the depth and complexity of the dish’s flavor profile. The aromatic compounds released during the searing process infuse the meat with rich, mouthwatering flavors that are sure to please the palate.
What are the Different Ways to Sear Chicken?
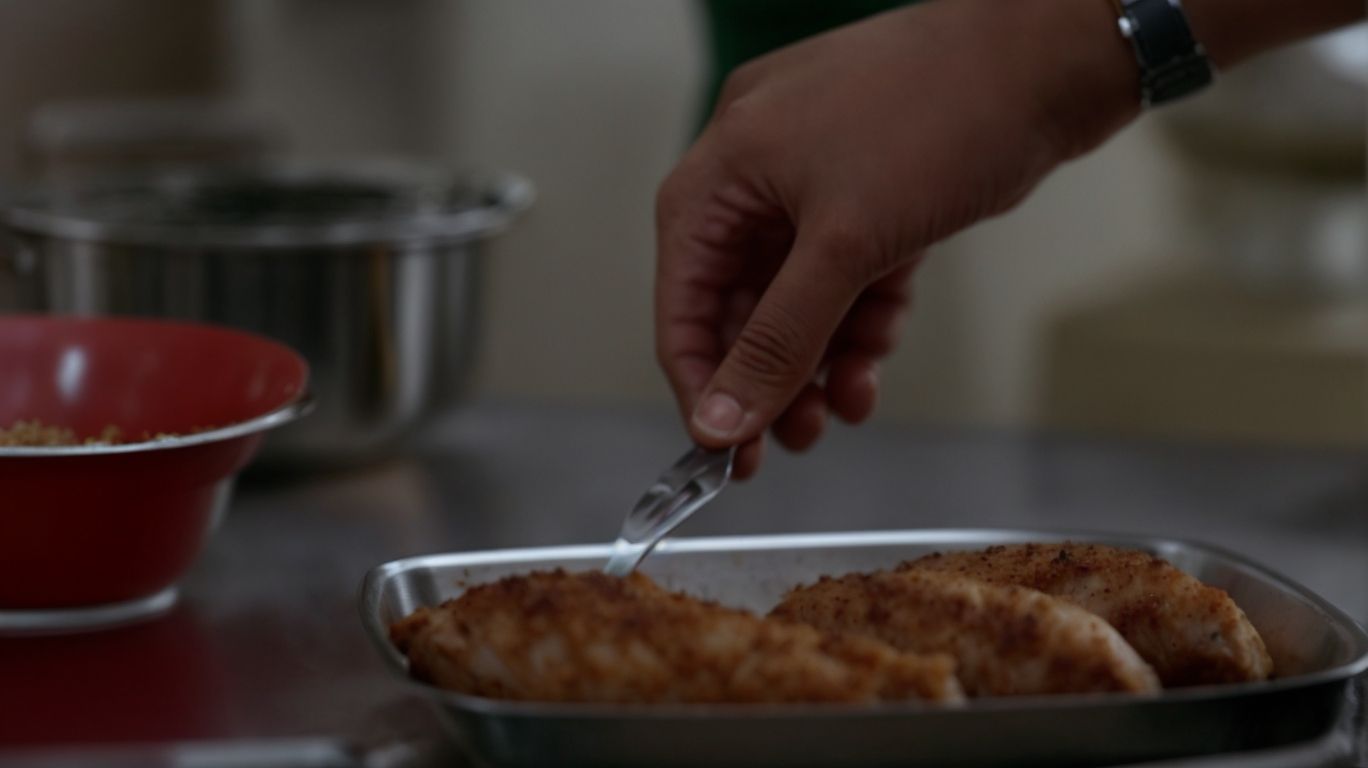
Credits: Poormet.Com – Ethan Rodriguez
There are various methods to sear chicken, including frying pan searing, grill searing, and oven searing, each offering unique techniques and outcomes for cooking chicken breasts.
Frying pan searing involves cooking chicken breasts directly in a hot pan with a bit of oil or butter, creating a delicious golden crust on the outside while keeping the meat tender and juicy inside. This method is quick and great for achieving that classic seared texture.
Grill searing, on the other hand, imparts a unique smoky flavor to the chicken, enhancing its overall taste. The charred grill marks add an appealing visual aspect and an extra dimension of flavor. It’s perfect for those who love that quintessential grilled taste.
Oven searing encompasses a slower cooking process at a lower temperature, allowing the chicken to cook more evenly throughout. This method locks in moisture, resulting in exceptionally juicy chicken with a slightly caramelized exterior for a delightful contrast in textures.
Frying Pan Searing
Frying pan searing is a popular method for cooking chicken breasts on the stovetop, providing a quick and efficient way to achieve deliciously seared and juicy results.
When preparing to fry pan sear chicken breasts, start by selecting a heavy-bottomed frying pan to ensure even heat distribution. Place the pan over medium-high heat and allow it to preheat for a few minutes until it is thoroughly hot. Season the chicken breasts with your preferred spices or marinade, enhancing their flavors.
Carefully place the seasoned chicken breasts into the hot pan, ensuring they are not overcrowded to promote proper browning. Let the chicken sear undisturbed for a few minutes on each side until a golden-brown crust forms.
Remember, the key to perfect pan-seared chicken breasts is to resist the urge to move the chicken around too much. Let it develop that delicious crust before flipping. Consider using a meat thermometer to ensure the internal temperature reaches a safe 165°F (74°C).
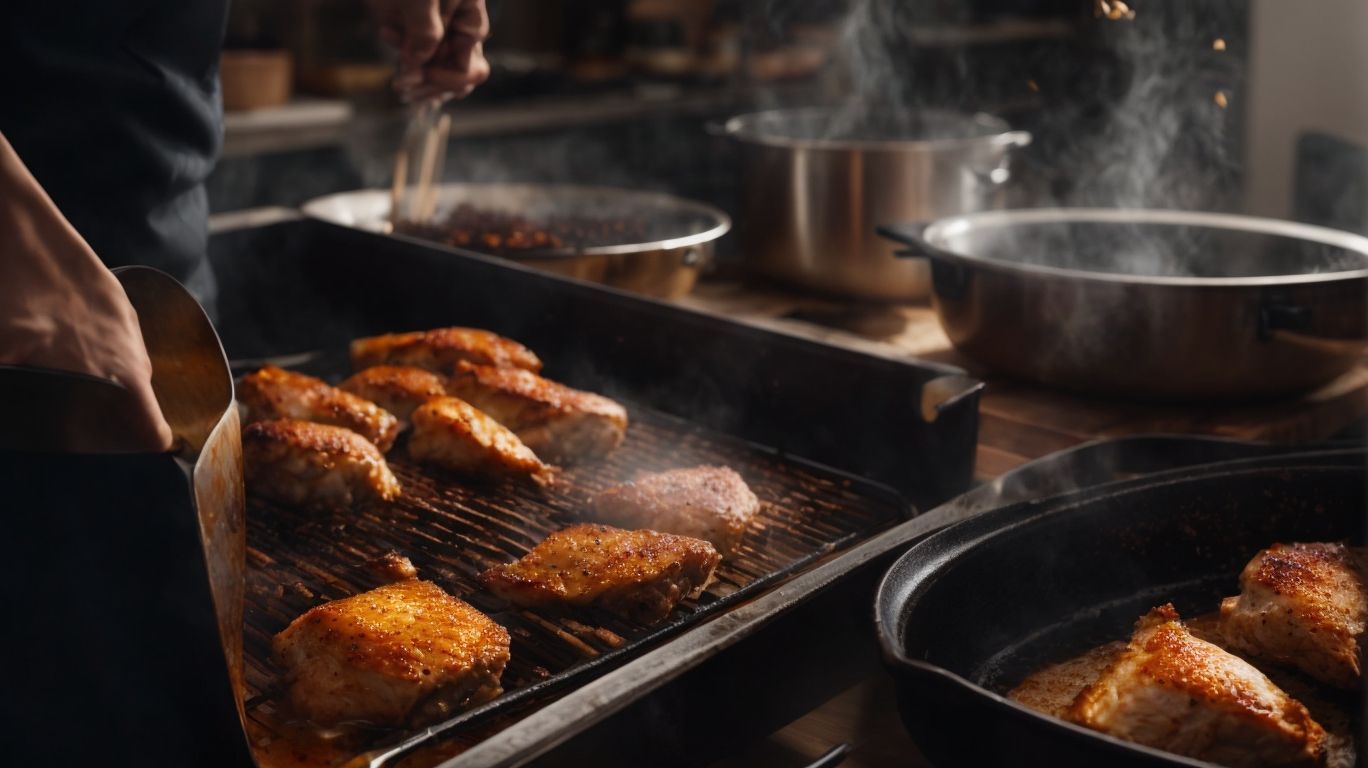
Grill Searing
Grill searing offers a unique way to cook chicken breasts, infusing them with smoky flavors and distinctive grill marks while ensuring even cooking and delicious seasoning.
When preparing chicken breasts on the grill, there are a few essential techniques to keep in mind. Preheat the grill to a high temperature to achieve that perfect sear. Season the chicken liberally with your favorite spices, such as paprika, garlic powder, and herbs like thyme or rosemary. Place the seasoned chicken breasts on the grill, ensuring they are evenly spaced for consistent cooking. To create those coveted grill marks, resist the temptation to move the chicken around excessively; let them sear undisturbed for a few minutes on each side.
Oven Searing
Oven searing chicken breasts is a convenient method that allows for precise temperature control and even cooking, resulting in tender and juicy meat with well-developed flavors and seasoning.
When oven searing, ensure to preheat the oven to a high temperature of around 450°F to guarantee a good sear on the outside of the chicken breasts. Seasoning the chicken generously before searing contributes significantly to the overall taste profile. Place the seasoned chicken breasts on a preheated oven-safe skillet or baking dish. This method not only helps in achieving a beautiful sear but also reduces the risk of overcooking the chicken.
How to Properly Sear Chicken?
Properly searing chicken involves preparing the meat, heating the pan to the right temperature, and searing the chicken in a well-seasoned pan to enhance flavors and achieve optimal browning.
Before beginning the searing process, make sure to pat the chicken breasts dry with paper towels to remove excess moisture as it can hinder the browning effect. Season the chicken generously with a blend of your favorite spices like salt, pepper, garlic powder, or paprika for added depth of flavor.
Choose a high smoke point oil such as canola, grapeseed, or vegetable oil for searing. Heat the oil in the pan over medium-high heat until it shimmers but is not smoking excessively.
Gently place the seasoned chicken breasts in the hot pan, ensuring they are not overcrowded to allow for even cooking.
Preparing the Chicken
Before searing the chicken breasts, ensure they are properly seasoned with salt, pepper, and any desired seasonings to enhance the flavors during the cooking process.
Start by patting the chicken breasts dry with paper towels to ensure that the seasonings will stick well. Season both sides of the chicken breasts generously with salt and pepper, ensuring even coverage. For additional flavor, consider using herbs like rosemary or thyme, or spices like paprika or garlic powder.
Allow the seasoned chicken breasts to sit at room temperature for about 15-20 minutes before searing. This helps the flavors to penetrate the meat and ensures even cooking. Proper seasoning not only enhances the taste of the chicken but also contributes to a more flavorful final dish.
Heating the Pan
Heating the pan adequately before searing chicken is essential to ensure a proper sear, using a combination of oil and garlic to infuse additional flavors into the meat.
When heating the pan, it’s crucial to let it reach the right temperature so that the searing process can begin effectively. This initial heat prepares the surface for browning the chicken, creating a flavorful crust.
Oil plays a vital role in searing as it helps conduct the heat evenly across the meat, promoting that desired caramelization. Meanwhile, adding garlic not only imparts a delicious aroma but also complements the chicken’s savory notes. Proper temperature management is key to balancing the searing process, ensuring the chicken cooks through while maintaining juiciness and tenderness.
Searing the Chicken
When searing chicken breasts, use a meat mallet to ensure even thickness for consistent cooking and apply a generous amount of seasoning to enhance the flavors before achieving a perfect sear.
Using a meat mallet not only helps tenderize the chicken but also ensures that it cooks evenly, preventing dry spots and achieving optimal juiciness. Seasoning is a critical step in enhancing the natural flavor of the chicken, so don’t be afraid to be generous with your choice of herbs and spices. The perfect sear on the chicken breasts creates a flavorful crust that locks in moisture, adding a delicious texture to each bite.
What are the Best Cuts of Chicken for Searing?
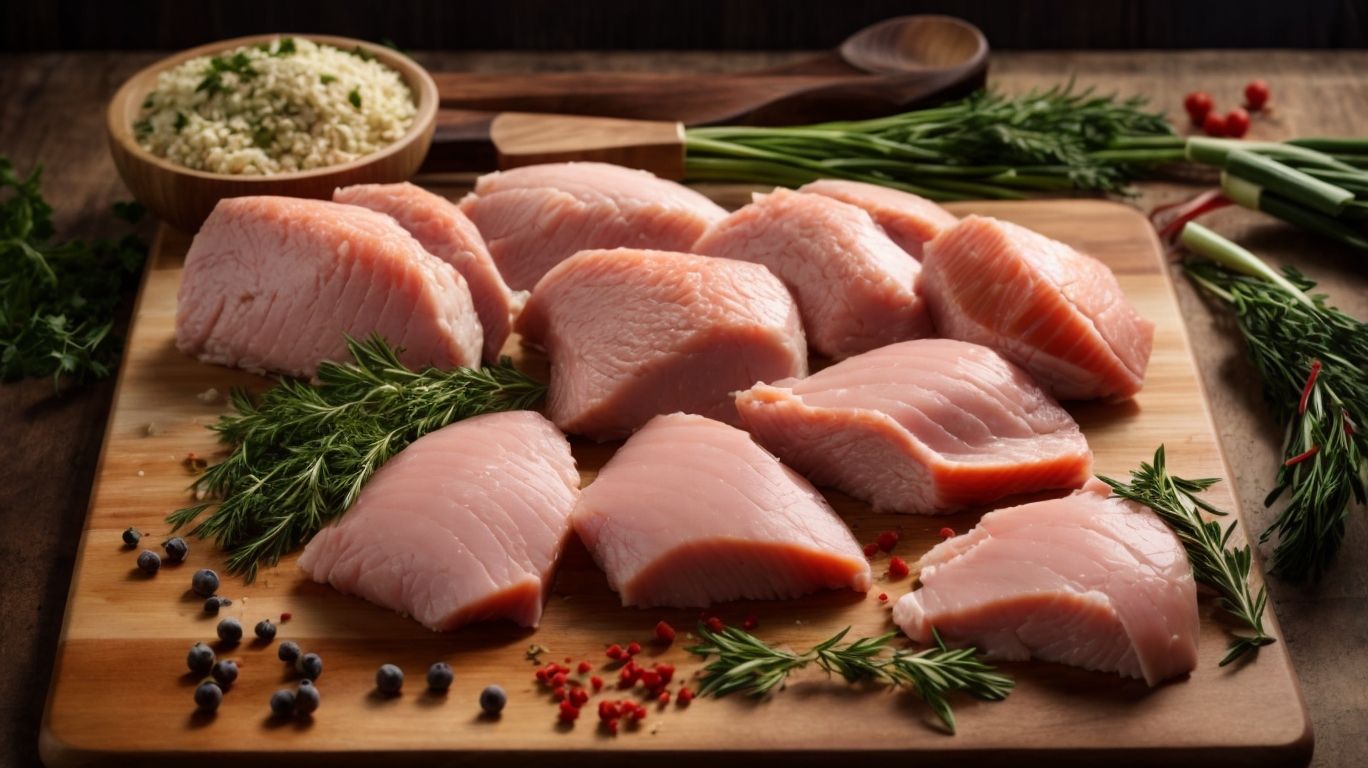
Credits: Poormet.Com – Anthony Anderson
Chicken breasts, particularly bone-in and skin-on cuts, are among the best choices for searing as they retain moisture, develop rich flavors, and offer a succulent texture when cooked.
When opting for bone-in, skin-on chicken breasts, searing starts by achieving that perfect golden-brown crust while sealing in those juices. The bones help in regulating the heat distribution during cooking, preventing overcooking of the meat near the bones, ensuring an evenly cooked result. The skin acts as a barrier, locking in the natural juices and enhancing the overall flavor profile. These cuts tend to be juicier and more tender compared to boneless, skinless variations. Bone-in, skin-on chicken breasts truly elevate the searing experience to create a delectable dish that your taste buds will thank you for.
How to Bake Chicken After Searing?
After searing the chicken breasts, baking them in the oven at the appropriate temperature for the required time ensures thorough cooking, tender texture, and flavorful results.
Once the chicken breasts have been perfectly seared to lock in the juices and create a delicious crust, it’s time to transfer them to the oven – the next crucial step in the cooking process. Preheat the oven to 375°F to ensure even cooking and optimal results. The baking time may vary depending on the thickness of the chicken breasts, but a general guideline is around 20-25 minutes. This gentle heat allows the chicken to cook through evenly and retain its juicy tenderness.
Preparing the Chicken for Baking
Before baking the seared chicken breasts, coat them with a flavorful seasoning mix such as All Purpose Seasoning to enhance the taste profile and create a delicious outer crust during baking.
When preparing the chicken, ensure that the seasoning blend is generously applied to both sides for even flavor distribution. A good tip is to gently pat the All Purpose Seasoning onto the surface of the chicken to help it adhere and infuse the meat with aromatic flavors.
Coating the chicken breasts with the All Purpose Seasoning not only adds a burst of taste but also helps lock in moisture, keeping the meat juicy and tender throughout the baking process. The seasoning blend forms a savory crust on the exterior, providing a delightful contrast in texture to the succulent chicken within.
Baking the Chicken
When baking seared chicken breasts, ensure they reach the recommended internal temperature using an oven-safe thermometer to guarantee safe and thoroughly cooked meat with optimal juiciness.
Before placing the seared chicken breasts in the oven, it’s crucial to preheat the oven to the required temperature to ensure a consistent cooking environment. Once the chicken is in the oven, resist the temptation to constantly open the oven door, as this can lead to fluctuations in temperature and disrupt the cooking process. Monitoring the internal temperature with an oven-safe thermometer throughout the baking time is essential for precision and accuracy.
Tips and Tricks for Perfectly Baked Chicken After Searing
To ensure perfectly baked chicken after searing, consider factors like resting time, seasoning adjustments, and using an instant-read thermometer for precise results that yield tender and juicy meat.
One crucial aspect to pay attention to is the resting time once the chicken is out of the oven; this helps in retaining its natural juices and ensures a moist outcome.
Experimenting with different seasoning blends can elevate the flavor profile of the dish, offering a delightful culinary experience. It’s also essential to monitor the internal temperature of the chicken using an instant-read thermometer to ensure it has reached the ideal doneness without overcooking.
Conclusion
Mastering the art of searing chicken breasts before baking opens up a world of culinary possibilities, allowing you to create tender, juicy, and flavorful dishes that are sure to impress any palate.
When you sear chicken breasts, the high heat quickly browns the outside of the meat, creating a beautifully caramelized crust that seals in the juices, resulting in a moist and succulent interior.
The process of searing also imparts a depth of flavor that enhances the overall taste of the dish, making each bite a true culinary delight.
Searing is a crucial step in elevating the texture and taste of chicken breasts, ensuring a restaurant-quality outcome even when cooking in the comfort of your own kitchen.
Frequently Asked Questions
How do you properly bake chicken after searing?
To properly bake chicken after searing, preheat your oven to the desired temperature and place the seared chicken in a baking dish. Bake for the recommended amount of time, turning once halfway through, until the chicken is cooked through.
What temperature should the oven be set to when baking chicken after searing?
The oven should be set to a temperature of 375-400 degrees Fahrenheit when baking chicken after searing. This ensures that the chicken cooks evenly and has a crispy outer layer.
How long should you bake chicken after searing?
The baking time for chicken after searing depends on the size and type of chicken, but generally ranges from 20-30 minutes. It is important to use a meat thermometer to ensure the chicken has reached an internal temperature of 165 degrees Fahrenheit before serving.
Can you use any type of chicken for baking after searing?
Yes, you can use any type of chicken for baking after searing. Whether it is chicken breasts, thighs, or a whole chicken, the key is to properly sear the chicken before placing it in the oven for baking.
What are some tips for achieving a crispy outer layer when baking chicken after searing?
To achieve a crispy outer layer when baking chicken after searing, make sure to dry the chicken thoroughly before searing it in a hot pan. You can also brush the chicken with melted butter or oil before placing it in the oven for baking.
Is it necessary to let the chicken rest after baking?
Yes, it is important to let the chicken rest for 5-10 minutes after baking before slicing or serving. This allows the juices to redistribute and results in a juicier and more flavorful chicken.