
How to Bake Sourdough With a Dutch Oven?
Are you a fan of sourdough bread but want to take your baking skills to the next level?
We will explore everything you need to know about baking sourdough with a Dutch oven. From understanding the difference between sourdough and regular bread to discovering the benefits of using a Dutch oven, we will guide you through the steps to creating the perfect loaf.
Stay tuned for troubleshooting tips and expert advice on achieving the perfect sourdough bread every time.
Key Takeaways:
What is Sourdough Bread?
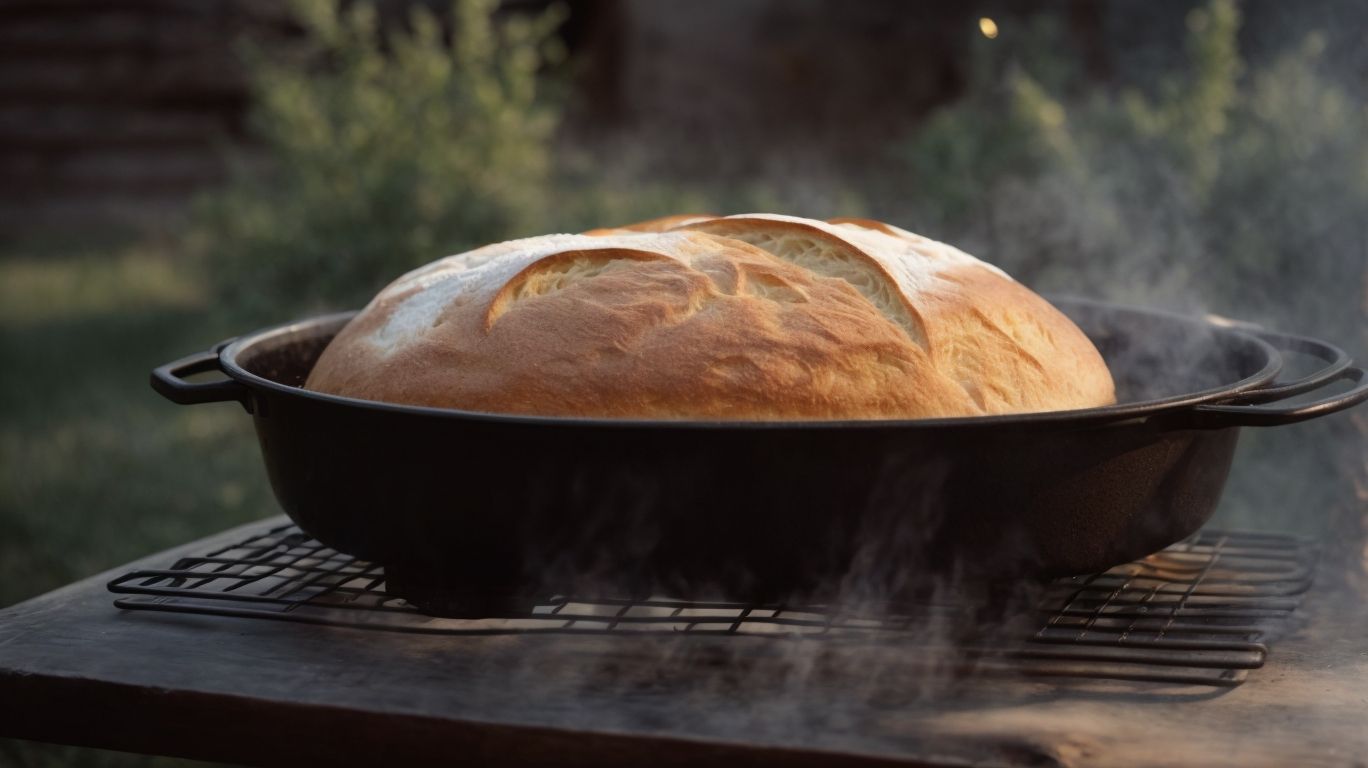
Credits: Poormet.Com – Mason Anderson
Sourdough bread is a type of bread made using natural yeast and bacteria cultures, resulting in a distinctive tangy flavor and chewy texture.
The origins of sourdough bread can be traced back to ancient Egypt, where the fermentation process was discovered accidentally. This unique bread-making technique, involving a live culture of wild yeast and lactobacilli, sets it apart from regular bread.
The fermentation of the dough gives sourdough its signature taste and texture. Unlike other bread recipes that rely on commercial yeast, sourdough requires a starter culture that needs time to develop its complex flavors.
How is Sourdough Different from Regular Bread?
Sourdough differs from regular bread due to its fermentation process using wild yeast and lactobacilli bacteria, resulting in a more complex flavor profile and improved digestibility.
One of the main distinctions between sourdough and regular bread lies in their taste and texture. The crust of artisan sourdough tends to be thicker and crispier, whereas regular bread often has a softer crust. When you tear into a loaf of sourdough, you may notice larger air pockets, giving it a more holey and chewy texture, unlike the denser crumb of traditional bread. The fermentation process of sourdough creates a unique tangy flavor that regular bread lacks.
Why Use a Dutch Oven for Baking Sourdough?
Using a Dutch oven for baking sourdough offers excellent heat retention and steam production, creating the ideal environment for a crispy crust and optimal loaf volume.
This method allows for the preheated Dutch oven to mimic a professional steam injection oven, crucial for achieving that coveted golden crust color. The sealed pot traps the moisture from the dough, preventing it from evaporating too quickly and ensuring a moist interior and well-developed structure. The intense heat distribution in the Dutch oven results in a consistently baked loaf with a perfect rise and an irresistible aroma that fills your kitchen.
What Are the Benefits of Using a Dutch Oven?
The benefits of using a Dutch oven for baking sourdough include even heat distribution, moisture retention, and enhanced crust formation, resulting in bakery-quality loaves at home.
One of the standout advantages of utilizing a Dutch oven when creating artisan sourdough is the exceptional temperature control it offers. This robust kitchen tool ensures that the bread is cooked consistently from all sides, preventing any hot spots that could lead to uneven baking or burnt crusts. The enclosed environment of the Dutch oven traps steam released from the dough during baking, translating into superior moisture retention within the loaf.
As a result, the bread crust that forms when using a Dutch oven is second to none. The restrictive nature of the vessel allows for optimal crust development, giving the exterior of the loaf that desired crispy, golden-brown finish. The controlled moisture levels inside the Dutch oven play a pivotal role in achieving the perfect balance between a crackling crust and a soft, airy crumb. This dynamic combination of heat and moisture ultimately leads to a remarkable texture in the finished sourdough, enhancing the overall baking experience for any culinary enthusiast.
What Are the Different Types of Dutch Ovens?
There are various types of Dutch ovens available, including enameled cast iron, bare cast iron, and ceramic, each offering unique features and benefits for baking sourdough.
When selecting the right Dutch oven for your sourdough baking endeavors, it’s essential to consider factors such as size, shape, and heat retention capabilities. Enameled cast iron Dutch ovens are known for their ease of cleaning and colorful appearance, while bare cast iron options are durable and excellent at retaining heat. Ceramic Dutch ovens are favored for their elegant look and even heat distribution.
For sourdough baking success, make sure to preheat your Dutch oven at the correct temperature and create the ideal steamy environment by adding ice cubes or water to facilitate crust development. Experiment with various Dutch ovens to find your favorite for baking the perfect sourdough loaf.
Steps to Baking Sourdough with a Dutch Oven
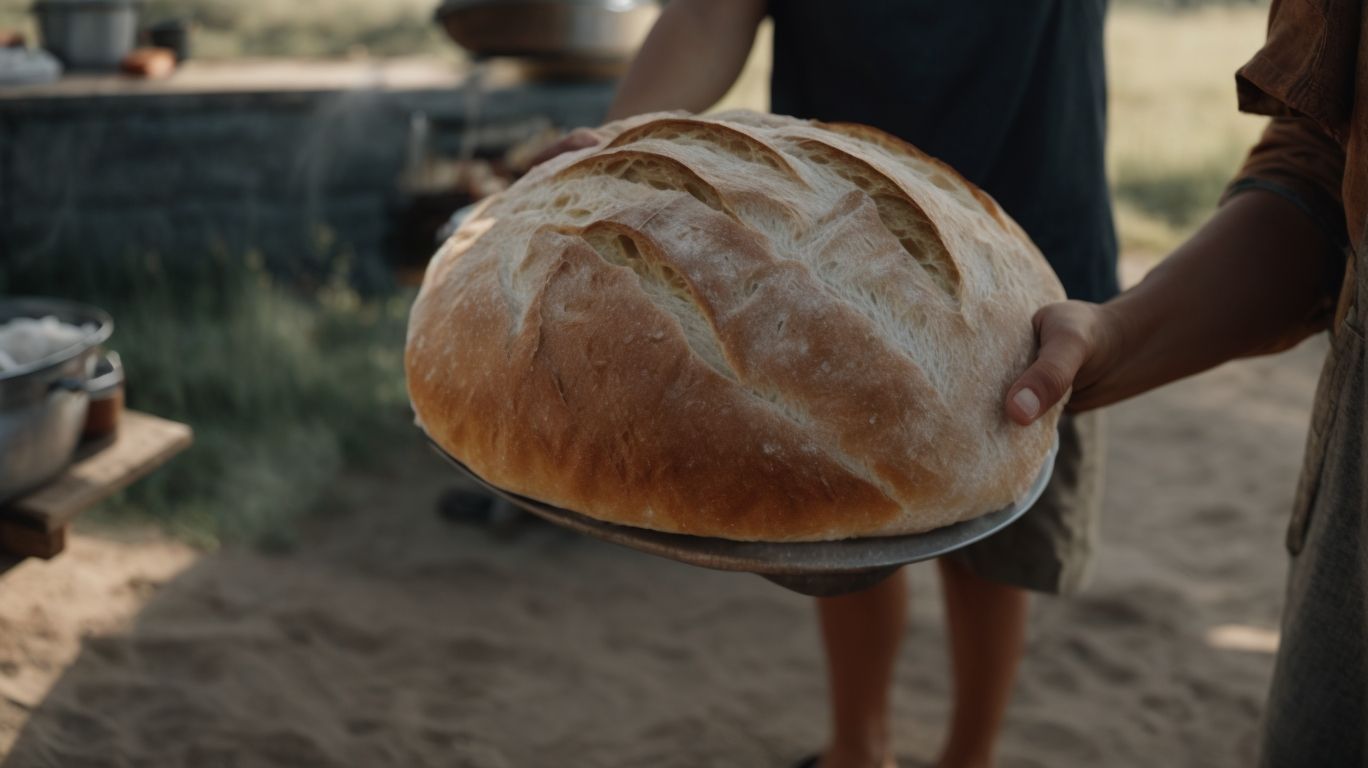
Credits: Poormet.Com – Elijah Green
Baking sourdough with a Dutch oven involves creating and maintaining a sourdough starter, preparing the dough, proofing the dough, preheating the Dutch oven, and finally baking the sourdough to perfection.
Once your sourdough starter is active, it’s time to mix the dough ingredients including flour, water, and salt. A crucial step in sourdough baking is the stretch and fold technique, where you gently stretch the dough and fold it over itself to develop gluten. This process aids in achieving a light and airy texture in the final loaf.
After the initial mixing, the dough goes through bulk fermentation, allowing the wild yeast in the starter to work its magic and develop flavor. During this stage, the dough should increase in volume by about 30-50%, indicating that fermentation is progressing as desired.
Creating and Maintaining a Sourdough Starter
Creating and maintaining a sourdough starter is a crucial first step in baking sourdough with a Dutch oven, as it provides the natural leavening agent for the bread.
When starting your sourdough journey, it’s essential to use a mix of equal parts flour and water to kickstart the fermentation process. The consistency of your starter is key; aim for a thick pancake batter-like texture for best results.
Establishing a feeding schedule is fundamental to keep your starter healthy and active. Feed your starter daily by discarding half and replenishing it with fresh flour and water. Consistency is key; maintain a 1:1 ratio to promote a robust microbial environment.
If you notice a strong vinegar-like smell or a pinkish hue, it might indicate that your starter needs more frequent feedings or a higher flour to water ratio. Troubleshooting issues promptly can help you maintain a thriving starter for delicious sourdough creations.
Preparing the Dough
Preparing the sourdough dough involves mixing flour, water, salt, and the sourdough starter to achieve the desired consistency and gluten development for a successful bake in the Dutch oven.
When combining the ingredients, maintaining the right ratios is crucial; typically, a common ratio is 3 parts flour to 2 parts water for proper hydration. The kneading process is a vital step to develop the gluten structure, creating that desired chewiness and structure in the final loaf. It’s recommended to knead the dough vigorously for around 10-15 minutes until it reaches a smooth, elastic texture. A bread baker’s tip is to pay attention to the dough’s temperature during this process; too much heat can affect the fermentation process negatively.
Proofing the Dough
Proofing the sourdough dough allows it to ferment and rise, developing flavors and creating air pockets for a light and fluffy texture in the final loaf baked in the Dutch oven.
During the bulk fermentation stage, the dough should ideally double in size, indicating that the yeast is actively fermenting, typically taking 4-12 hours depending on factors like temperature and altitude. For high altitude locations, it’s important to adjust proofing times as lower air pressure affects dough expansion. When using bread flour, which has higher protein content, the dough may need longer proofing periods to achieve proper gluten development.
Preheating the Dutch Oven
Preheating the Dutch oven is essential to create the optimal baking environment, ensuring a crispy crust and excellent oven spring for the sourdough loaf.
The recommended method for preheating a Dutch oven involves placing it empty in a cold oven and setting the temperature to around 450°F (232°C) for at least 30 minutes to ensure it reaches the desired heat level.
This preheating process allows the Dutch oven to absorb and retain heat properly, which is crucial for achieving a beautifully browned crust on the bread.
Baking the Sourdough
Baking the sourdough in a preheated Dutch oven helps trap steam, promoting crust formation and ensuring an optimal rise and color for the loaf.
To achieve a shiny crust, you can adjust the temperature during the baking process. Starting at a high temperature, such as 450°F (230°C), for the first part of baking helps with oven spring, and then reducing it to around 400°F (200°C) can aid in crisping up the crust. Placing a tray of water or ice cubes in the oven just before baking creates steam that enhances crust development and color. Always keep an eye on the internal temperature of the loaf, aiming for around 205-210°F (96-99°C) for the perfect texture and doneness.
Troubleshooting Common Issues
Troubleshooting common issues in sourdough bread baking, such as flat loaves, dense loaves, and burnt crust, can help refine your baking technique and achieve the perfect loaf in a Dutch oven.
One of the key factors in achieving a fluffy and well-risen sourdough loaf is the concept of ‘oven spring’, which refers to the final rise during the initial stages of baking. To improve oven spring, make sure to preheat your Dutch oven adequately before placing the proofed dough inside. Scoring the top of the dough before baking helps control the expansion during baking, resulting in a better volume and structure of the loaf.
Flat Loaves
Flat loaves in sourdough baking can result from inadequate proofing or weak gluten development, requiring adjustments in fermentation times and dough handling techniques to achieve better rise and volume in the Dutch oven.
One common reason for flat loaves is a lack of oven spring, which happens when the dough doesn’t expand sufficiently in the oven. This can be caused by underdeveloped gluten structure or improper shaping techniques.
To improve oven spring and get those desired crusty loaves, consider using a stronger starter with robust fermentation activity. Allowing for a longer proofing period can enhance the dough’s elasticity and strength, leading to better volume during baking.
Dense Loaves
Dense loaves in sourdough baking may result from overproofing, improper shaping, or low hydration levels, necessitating adjustments in fermentation times, shaping techniques, and ingredient ratios for lighter, airy loaves in the Dutch oven.
Overproofing, a common culprit behind dense bread, occurs when the dough ferments for too long, leading to weakened gluten structure and reduced oven spring. To combat this, consider using a shorter proofing period to maintain the dough’s strength and structure.
Proper shaping techniques play a crucial role in creating well-aerated loaves. Be sure to pre-shape and shape the dough gently yet decisively, forming tight surface tension for optimal rise. Increasing hydration levels in your artisan sourdough bread recipe can enhance its overall texture, resulting in a lighter, more delicate crumb. Experiment with varying water amounts to achieve the desired balance between moisture and structure.
Burnt Crust
A burnt crust on sourdough loaves can occur due to high oven temperatures, prolonged baking times, or excessive crust moisture, necessitating adjustments in temperature control, steam release, and crust protection methods to achieve a golden, crispy crust in the Dutch oven.
One of the key factors impacting crust quality is the initial oven temperature, where a too-high temperature can cause the crust to burn before the inside has fully baked. You can experiment with lowering the oven temperature slightly and extending the baking time to achieve a more evenly cooked loaf with a shiny crust.
To control the moisture in the crust, managing the steam during the baking process is crucial. Using a Dutch oven or creating a steam injection system can help enhance crust formation while retaining moisture within the dough.
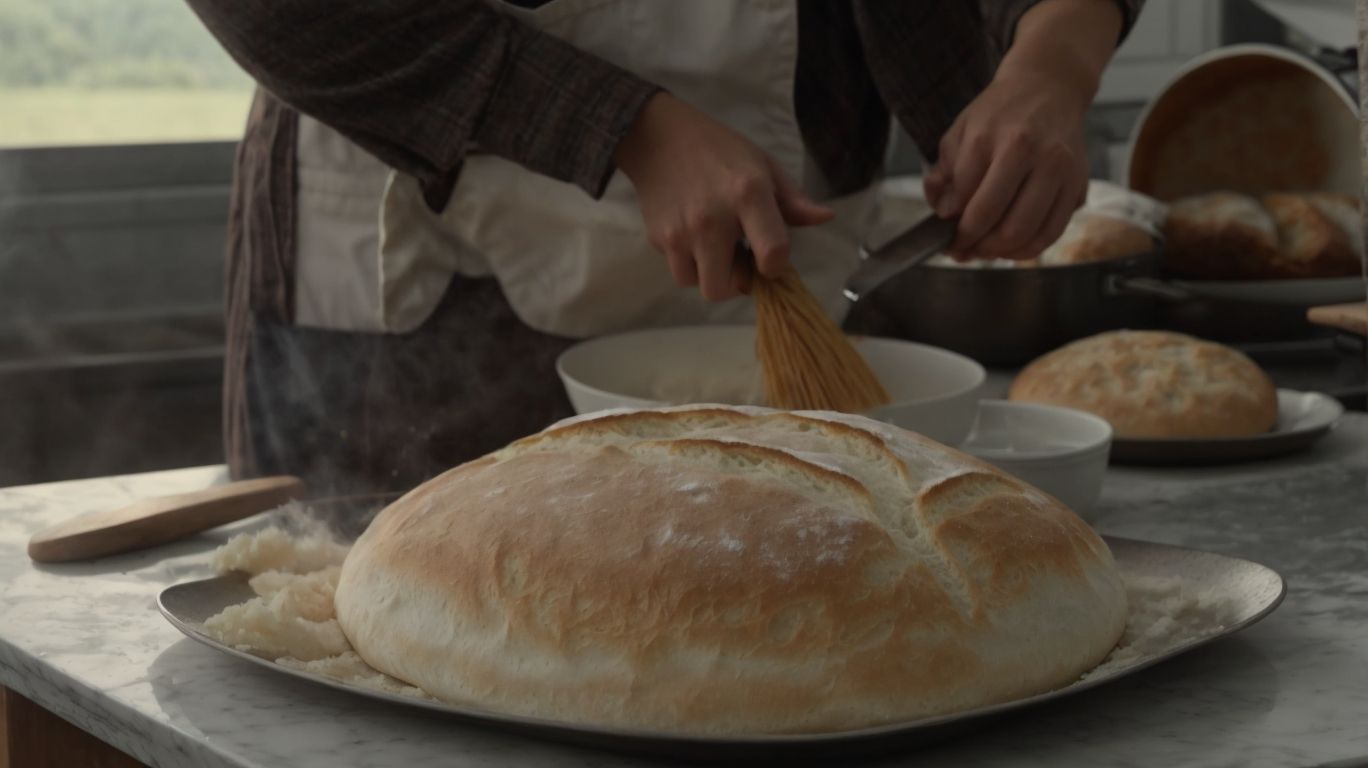
Tips for Perfect Sourdough Bread
Achieving the perfect sourdough bread involves tips such as maintaining a lively sourdough starter, using the right flour to water ratio, and mastering the Dutch oven baking technique for professional-quality loaves.
To ensure a crusty exterior that encases a soft, flavorful crumb, feed your starter regularly with equal parts flour and water, preferably at room temperature. The quality of the flour you choose is paramount; opt for high-protein bread flour for the best gluten development and structure.
Regarding baking, preheat your Dutch Oven before sliding in the prepared dough to trap steam and allow for optimal rise. This method helps to create the ideal environment for moisture escaping, giving your bread that sought-after artisanal appeal.
Conclusion
Sourdough bread baked in a Dutch oven offers a delightful combination of crispy crust, fluffy interior, and complex flavors, making it a favorite among home bakers and professional chefs alike.
When using a Dutch oven for baking, the enclosed environment traps steam released from the dough, resulting in the coveted crispy crust and soft, airy crumb that artisan sourdough is known for. Artisan sourdough bread recipes often call for preheating the Dutch oven to create that perfect baking environment, enhancing the natural fermentation process.
The heat retention and distribution properties of Dutch ovens ensure even baking and consistent texture throughout the loaf, elevating the overall baking experience for enthusiasts of homemade bread.
Frequently Asked Questions
What is the benefit of baking sourdough with a Dutch oven?
Using a Dutch oven to bake sourdough creates a steamy environment that helps the bread rise and develop a crispy crust.
Do I need a special type of Dutch oven for baking sourdough?
No, any Dutch oven with a lid will work. Just make sure it is oven-safe and can withstand high temperatures.
Can I use a Dutch oven to proof my sourdough before baking?
Yes, the Dutch oven can act as a proofing container. Just make sure to lightly oil the inside of the Dutch oven before adding the dough.
How do I properly preheat my Dutch oven for baking sourdough?
It is important to preheat the Dutch oven in the oven for at least 30 minutes before baking. This will allow it to reach the desired temperature and create the perfect baking environment for the sourdough.
Can I bake sourdough in a Dutch oven without parchment paper?
Yes, you can bake sourdough directly in a preheated and oiled Dutch oven. Just make sure to carefully remove the bread after baking to avoid sticking.
How do I prevent my sourdough from sticking to the Dutch oven?
To prevent sticking, make sure to lightly oil the inside of the Dutch oven before adding the dough. You can also use parchment paper to line the Dutch oven for easy removal.