
How to Bake in a Can?
Have you ever heard of baking in a can?
It may sound unconventional, but it’s a fun and creative way to whip up delicious treats.
In this article, we’ll explore what baking in a can is all about, why you should give it a try, and what you’ll need to get started.
From ingredients to tools and equipment, we’ll cover everything you need to know to successfully bake in a can.
So, grab your apron and let’s get baking!
Key Takeaways:
What Is Baking in a Can?
Baking in a can is a unique method of preparing baked goods inside metal cans, offering an alternative approach to traditional baking.
What makes this technique so intriguing is the unconventional nature of utilizing everyday items in a new way. By repurposing cans as baking vessels, you not only add a creative touch to your baking process but also present your dishes in a unique and charming manner.
The versatility of baking in a can extends to various recipes, including bread, cakes, and even individual pot pies. This method allows for individual portions, making it ideal for serving at gatherings or parties where personalized servings can add a special touch to the occasion.
Why Bake in a Can?
Baking in a can offers distinct advantages such as uniform baking, unique shapes for cakes, and creative presentation options that can elevate your baking experience.
When you bake in a regular cake pan, the heat might not distribute evenly, resulting in a cake that is overcooked on the outside and undercooked in the center. By baking in cans, the metal evenly distributes heat, ensuring a perfectly baked cake every time. The cylindrical shape of the cans allows you to create cakes in fun shapes like hearts, stars, or even mini-tiered cakes, making your creations stand out. The exciting part is the possibility to decorate and serve your cakes directly in the can, offering a unique and whimsical presentation that adds a touch of novelty to your baking endeavors.
What You’ll Need for Baking in a Can

Credits: Poormet.Com – Walter Garcia
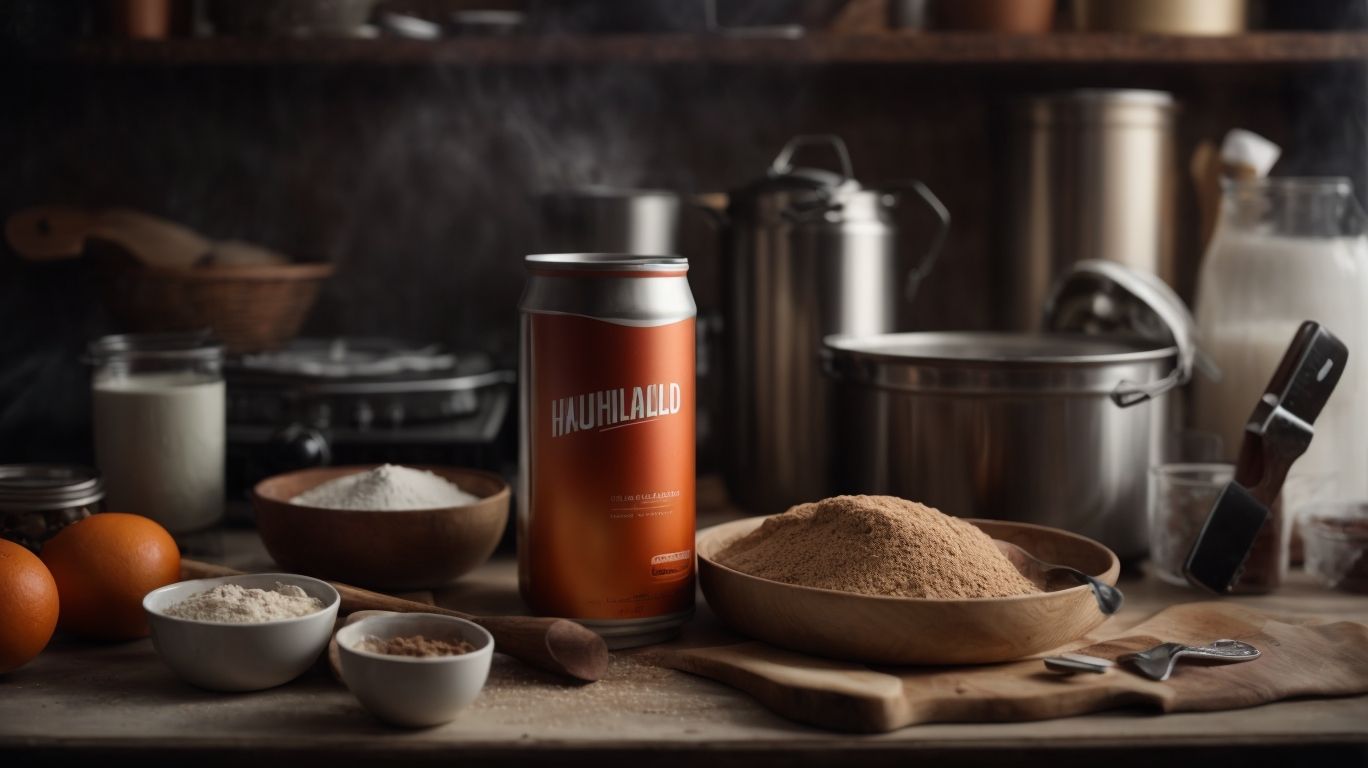
To embark on baking in a can, you’ll need a selection of ingredients like all-purpose flour, baking powder, vanilla extract, eggs, milk, butter, and sugar, along with essential tools for mixing and baking.
Ingredients
The key ingredients for baking in a can include all-purpose flour, baking powder, vanilla extract, eggs, milk, butter, and sugar, which form the foundation for delicious and moist baked goods.
Each of these ingredients plays a vital role in the chemistry of baking.
- All-purpose flour provides the structure and foundation for baked goods.
- Baking powder is the leavening agent that helps the dough rise and become light and fluffy.
- Vanilla extract adds a depth of flavor and aroma to the treats.
- Eggs act as a binder, providing moisture and structure.
- Milk adds richness and tenderness, while butter contributes to both flavor and texture.
- Finally, sugar sweetens and caramelizes, creating that desirable golden crust on baked goodies.
Tools and Equipment
Along with the basic ingredients, essential tools and equipment for baking in a can include mixing bowls, measuring cups, wire cooling racks, parchment paper, and paper towels to ensure a smooth baking process.
Having the right tools and equipment is crucial for a successful baking venture, especially when working with unconventional methods like baking in a can. Mixing bowls are essential for combining the ingredients and creating a uniform batter. Measuring cups help in accurately portioning out the ingredients to maintain the recipe’s balance.
Wire cooling racks play a vital role in allowing air circulation around the baked goods, preventing sogginess. Parchment paper is a baker’s best friend, preventing sticking and making cleanup a breeze. Keeping paper towels nearby for quick spills and clean-ups ensures a tidy and efficient workspace.
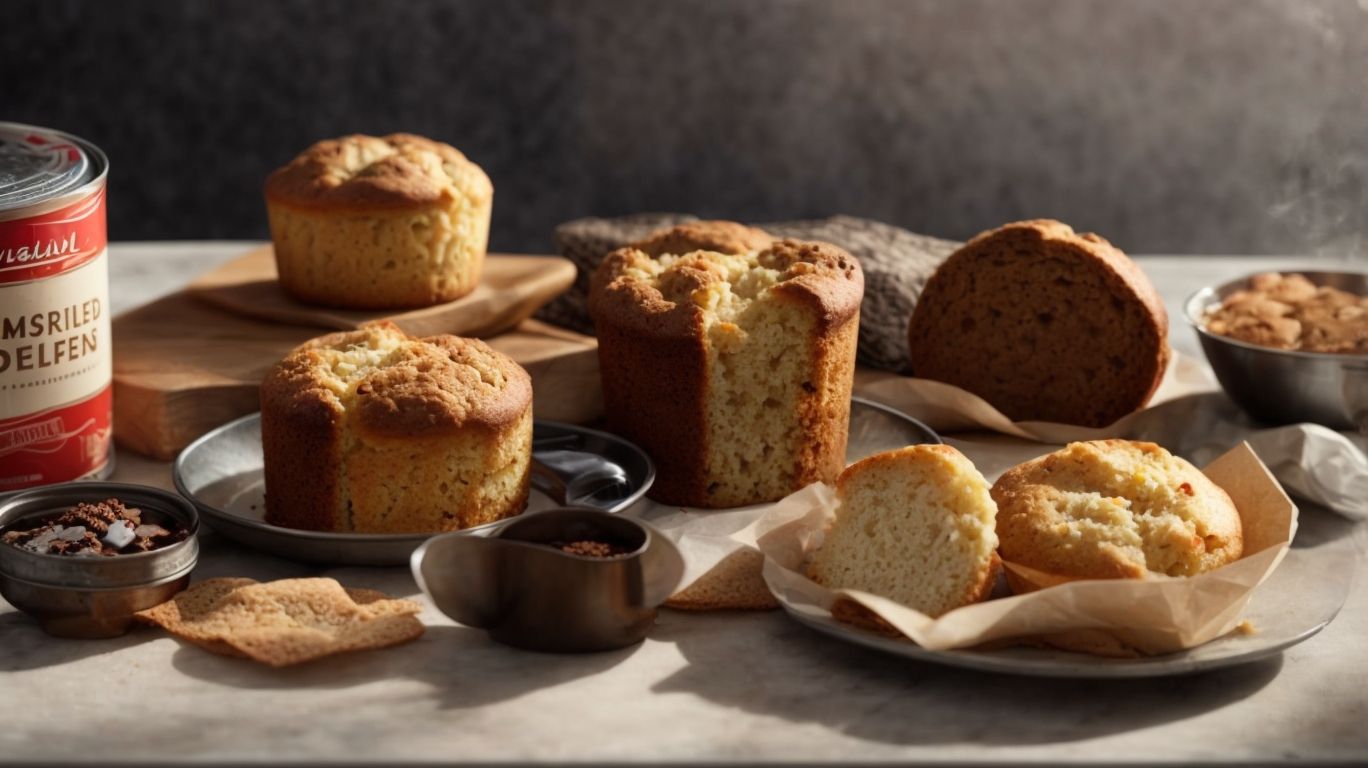
Step-by-Step Guide to Baking in a Can
Mastering the art of baking in a can involves a series of meticulous steps, from preparing the can to mixing the batter, filling it with the right proportions, and baking to perfection, resulting in delectable treats that will impress your guests.
Step 1: Preparing the Can
The initial step in baking in a can involves preparing the metal can by greasing it with butter, lining it with parchment paper, and securing the edges with clear packing tape to prevent leaks or sticking.
When selecting a can for baking, opt for one that is clean without any residual food odors or stains to avoid contaminating your baked goods.
It’s crucial to choose the right size and type of can depending on the recipe. For example, smaller cans are ideal for individual portion cakes or bread, while larger cans work well for bigger cakes or loaves.
If you don’t have clear packing tape on hand to secure the parchment paper, you can use kitchen twine or aluminum foil to tie around the can’s top edge securely.
Step 2: Mixing the Batter
Mixing the batter for baking in a can requires combining all-purpose flour, eggs, milk, butter, sugar, and vanilla extract in a mixing bowl until a smooth and homogenous consistency is achieved.
Proper measurements are crucial in this step to ensure the right balance of flavors and textures in your final baked goods. Start by carefully measuring each ingredient using measuring cups and spoons for accuracy.
Once all the ingredients are in the mixing bowl, use a hand mixer or stand mixer to blend them together thoroughly. Be mindful of not overmixing as it can affect the texture of your batter.
If you want to add more flavors to your batter, consider incorporating ingredients like cocoa powder, cinnamon, or lemon zest for a unique twist. Stir in these additional ingredients gently to avoid altering the batter’s consistency.
Step 3: Filling the Can
Filling the prepared can with the batter involves layering it evenly to ensure uniform baking and consistent texture throughout the baked goods.
For cakes, it’s essential to pour the batter into the can slowly, starting from the center and working your way towards the edges. This method helps prevent air pockets and ensures an even rise.
When making muffins
- Fill each cup of the can approximately two-thirds full to allow for proper expansion during baking, resulting in light and fluffy muffins.
When preparing bread in a can, gently spoon the dough into the pan, making sure to distribute it evenly for a well-shaped loaf.
Consistency in layering is key
To achieving the desired outcome, so take your time and pay attention to the details.
Step 4: Baking the Cake
Baking the cake in a can requires placing the filled can in a preheated oven and monitoring the baking process closely to achieve the desired level of doneness and golden brown crust.
Before baking, it’s crucial to preheat your oven to the recommended temperature, typically around 350°F (180°C) for most cake recipes. This ensures that the cake cooks evenly and rises properly during baking.
Next, determine the baking time based on the size of your can and the type of cake batter used. A general guideline is to bake the cake for 25-35 minutes, but check for doneness by inserting a toothpick into the center. If it comes out clean, the cake is ready.
To prevent common baking issues, such as uneven browning, rotate the can halfway through the baking process. If you notice the top browning too quickly, tent the can with aluminum foil to prevent burning while the center finishes baking.
Tips and Tricks for Successful Baking in a Can
Credits: Poormet.Com – Kyle Johnson
Enhance your baking skills with valuable tips and tricks for successful baking in a can, including using different types of cans, experimenting with flavors and variations, and mastering the art of decorating and serving your delectable creations.
Using Different Types of Cans
Experimenting with various sizes and shapes of cans can yield exciting results in your baking endeavors, allowing for customization and creativity in your baked creations.
For instance, using a small, cylindrical can may result in quicker and more even baking due to its compact size, while a larger, rectangular can could lead to a more moist and dense texture in your baked goods. The shape of the can also plays a significant role; a round can may provide better heat circulation, resulting in a more uniformly baked product, whereas a square can might produce more defined edges and corners.
By experimenting with cans of different sizes and shapes, you can achieve a wide range of outcomes in terms of baking times, textures, and appearances. So, next time you’re in the kitchen, consider swapping out your traditional baking pans for cans and unleash your creativity!
Adding Flavors and Variations
Customizing your baked goods with diverse flavors and ingredient variations can unleash a world of culinary possibilities, allowing you to tailor your creations to suit different preferences and occasions.
Experimenting with flavor profiles can elevate your baking endeavors to new heights. To add a unique twist, consider infusing your recipes with unexpected ingredients like lavender, cardamom, or citrus zest. These additions can bring a delightful complexity to your treats. Ensuring the right balance of flavors is crucial; you can achieve this by tasting as you go and adjusting seasonings accordingly. Playing with sweetness levels can help customize your recipes to suit varying palates, from those who prefer a hint of sweetness to those with a sweet tooth. Don’t shy away from creating contrasts in flavors – pairing dark chocolate with a hint of sea salt or adding a tangy fruit puree to a rich cake batter can surprise and delight your taste buds.
Decorating and Serving the Cake
Elevate the presentation of your baked creations by mastering the art of decorating with frosting, glazes, and creative embellishments, transforming your cakes into visually stunning and delectable masterpieces.
Using pastry bags and a variety of piping tips, you can create intricate designs on your cakes and pastries. Experiment with different nozzles to achieve various patterns such as rosettes, stars, or even intricate lace-like decorations.
To add a touch of elegance, consider garnishing your baked goods with fresh fruits, edible flowers, chocolate shavings, or sprinkles. These decorative elements not only enhance the visual appeal but also provide contrasting textures and flavors, making each bite a delightful experience.
In terms of serving, think beyond traditional plates.
- Transform a simple dish into a refined dessert presentation by layering slices of cake with whipped cream and fresh berries in a glass trifle bowl.
- Create a dessert charcuterie board by arranging an assortment of mini pastries, cookies, and chocolates on a wooden platter with small bowls of dipping sauces or spreads.
- For a festive touch, serve individual cupcakes on a tiered stand, each decorated with a unique frosting design and topped with a mini party flag or edible glitter.
Conclusion
Baking in a can offers a delightful and innovative approach to creating delicious treats, allowing for endless creativity, flavor exploration, and presentation possibilities that can inspire and delight both bakers and food enthusiasts alike.
One of the unique advantages of baking in a can is the compact and portable nature of the end product, making it great for on-the-go snacks or convenient individual servings.
This method opens up a whole world of creative opportunities, as bakers can experiment with various sizes of cans, different ingredients, and innovative layering techniques to craft visually stunning and mouthwatering desserts.
Whether you’re a seasoned baker or just starting out, baking in a can offers a fun and interactive way to showcase your culinary skills while delivering scrumptious homemade treats to your family and friends.
Final Thoughts on Baking in a Can
As you delve into the world of baking in a can, remember that the journey is as rewarding as the destination, with each creation representing a labor of love, creativity, and culinary expression that can bring joy and satisfaction to both the baker and those lucky enough to enjoy the delightful results.
Exploring the versatility of recipes suitable for can baking opens up a realm of possibilities, from decadent cakes and perfectly risen bread to savory casseroles and individual pies. The process of carefully layering ingredients within the confines of a tin container encourages precision and craft, honing your baking skills with each adventure. With a dash of patience and a sprinkle of creativity, even the simplest ingredients can transform into mouthwatering masterpieces, delighting your taste buds and igniting a passion for culinary creation.