
How to Bake Jam Tarts?
Are you looking to satisfy your sweet tooth with a delicious treat? Look no further than jam tarts!
Discover what jam tarts are, why they are a must-bake dessert, and the ingredients you will need to whip up this delightful pastry.
Learn the step-by-step process of baking jam tarts, along with some handy tips to ensure your tarts turn out perfectly every time.
Get ready to indulge in a mouthwatering dessert that will surely become a favorite in your household!
Key Takeaways:
What are Jam Tarts?
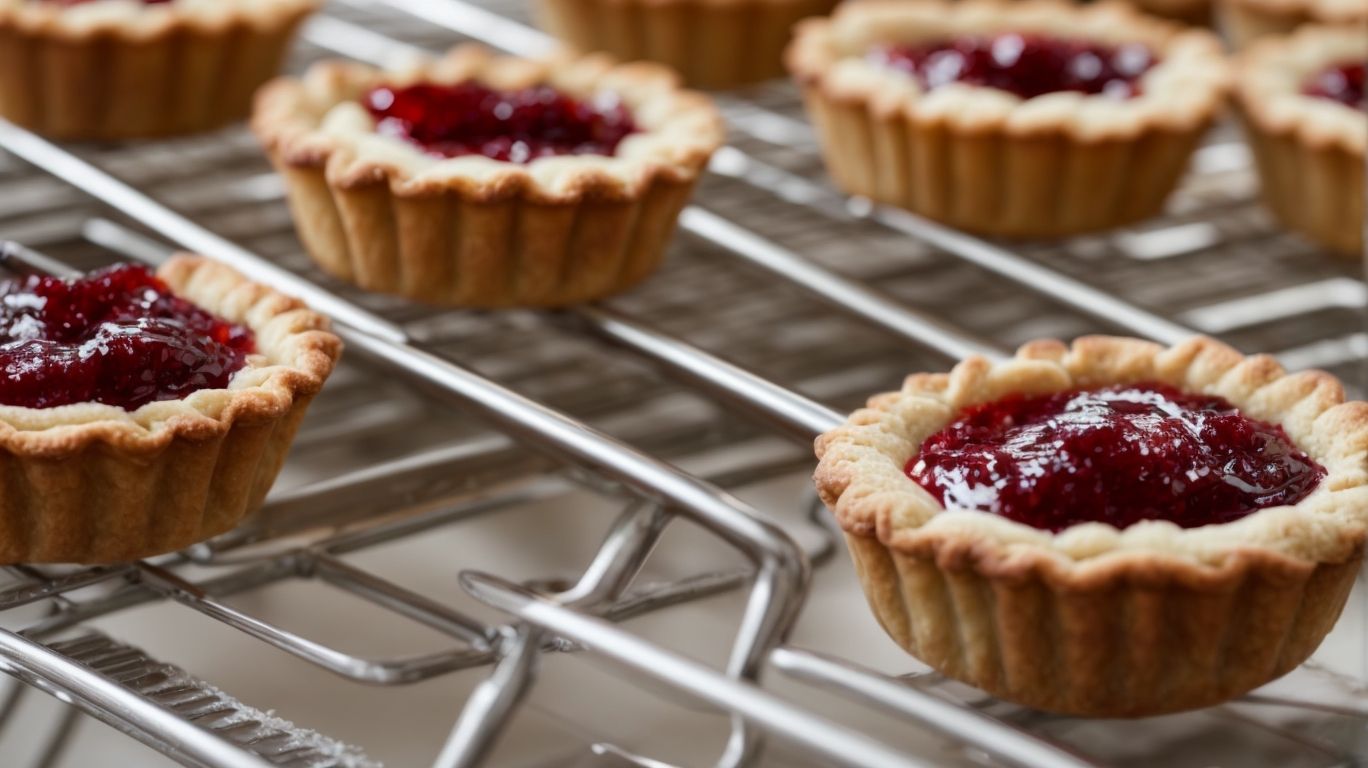
Jam tarts are delicious pastries made with a buttery shortcrust pastry dough filled with sweet jam.
Shortcrust pastry is a traditional choice for the base of jam tarts due to its crumbly texture and ability to hold the sweet filling without getting soggy. The versatility of jam tart fillings is impressive, with popular options ranging from classic strawberry and raspberry jams to more exotic flavors like apricot or blackberry, allowing for a variety of taste preferences to be satisfied. The baking process for jam tarts is relatively simple, requiring the assembly of the pastry cases in tart molds, followed by a generous spoonful of jam before baking to golden perfection in the oven.
Why Bake Jam Tarts?
Baking jam tarts offers a delightful treat that combines the fruity sweetness of strawberry jam or tangy flavor of lemon curd with a buttery pastry crust.
The decision to bake jam tarts is often motivated by the simplicity and versatility of the recipe. Strawberry jam and lemon curd fillings not only add a burst of flavor but also evoke a sense of nostalgia and comfort. Creating these pastries from scratch provides a sense of accomplishment and joy, especially when seeing the finished product cooling on the kitchen counter. The aroma of freshly baked goods wafting through the house can instantly lift spirits and create a warm, welcoming atmosphere.
Ingredients for Jam Tarts
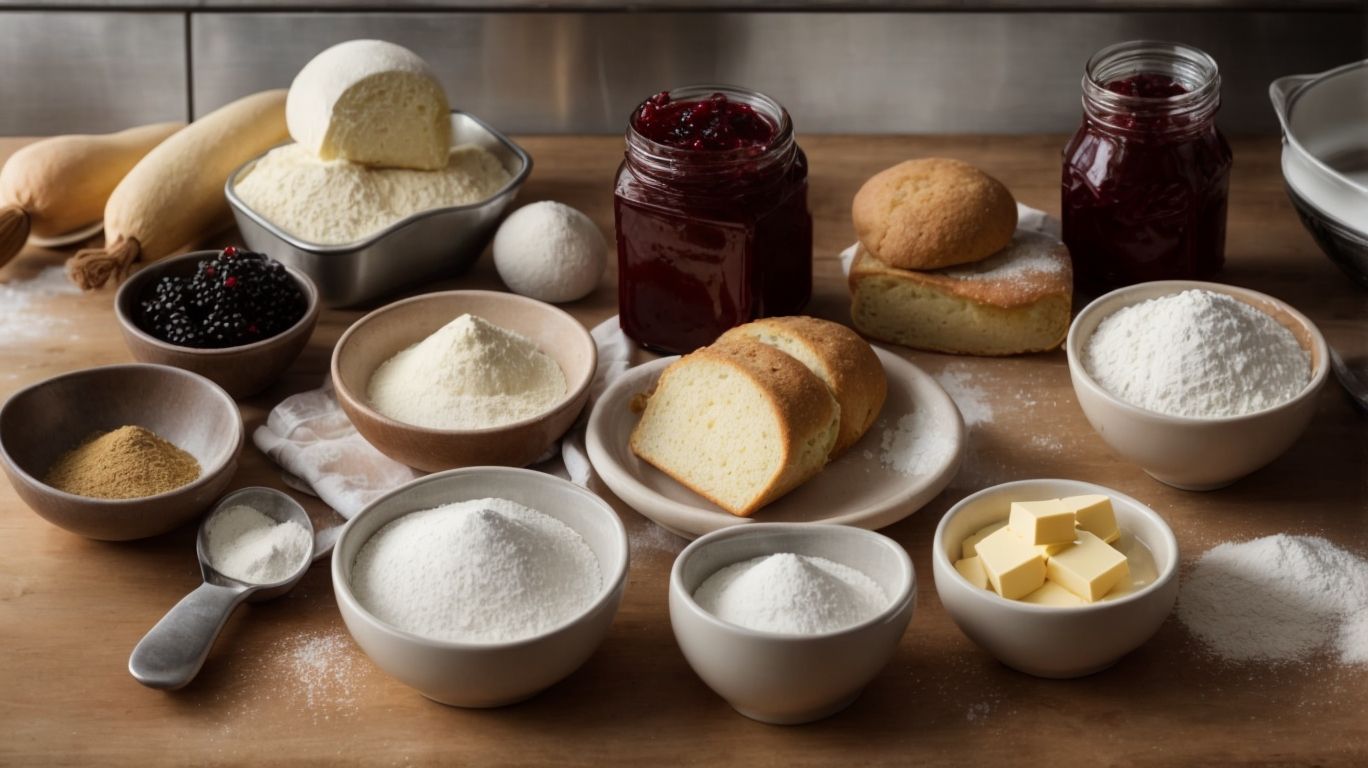
Credits: Poormet.Com – Logan Flores
To make delicious jam tarts, you will need high-quality ingredients such as flour, butter, salt, eggs, vanilla seeds, flavorful jam, and a rich pastry crust.
What You’ll Need for the Pastry
For the pastry base of jam tarts, you’ll need a buttery shortcrust pastry dough made from a mix of flour, butter, and a pinch of salt, wrapped in cling film for chilling.
To prepare the shortcrust pastry, start by mixing the flour, diced cold butter, and salt in a large bowl until the mixture resembles breadcrumbs. Chilling the dough is crucial to allow the gluten to relax, resulting in a tender, flaky texture. This step also firms up the butter, ensuring a crisp crust when baked. Once the dough has rested, roll it out on a lightly floured surface and cut out circles to fit into your tart molds. For best results, refrigerate the filled molds again before baking to maintain the pastry’s structure.
What You’ll Need for the Filling
The filling for jam tarts can vary from classic strawberry jam to zesty lemon curd, enriched with fragrant vanilla seeds for an added depth of flavor.
In terms of choosing the perfect filling for your jam tarts, the possibilities are endless. You can opt for the timeless sweetness of apricot preserves or the tartness of blackberry jam. For a tropical twist, consider using pineapple jam or mango chutney. Experimenting with various flavors can elevate the taste profile of your tartlets and allow for a delightful burst of flavors with every bite.
Steps to Bake Jam Tarts
Credits: Poormet.Com – Wayne Martin
Follow these steps to bake delicious jam tarts that are sure to impress: from preparing the pastry crust to filling and baking them in the oven in a tart pan.
Step 1: Make the Pastry Dough
Begin by making a velvety shortcrust pastry dough using a mix of flour, butter, and a touch of salt for the perfect base of your jam tarts.
When creating shortcrust pastry, it’s crucial to start with cold butter and to handle the dough as little as possible to maintain a delicate texture. The method involves rubbing the chilled butter into the flour until you achieve a breadcrumb-like consistency. Then, add a splash of icy water and gently bring the mixture together to form a smooth dough.
For that sought-after flaky crust, remember not to overwork the dough, as this can lead to toughness. A good shortcrust pastry should have a crumbly yet coherent structure, allowing it to hold the jam filling without becoming soggy during baking.
Step 2: Roll Out the Pastry
Roll out the prepared shortcrust pastry dough on a floured surface to the desired thickness for your jam tarts, ensuring even coverage for a consistent bake.
When rolling out the pastry, the thickness is crucial as it can affect the texture and structure of your tarts. Aim for around 1/8 to 1/4 inch thickness for the perfect balance of a crisp base and a buttery crumb. Uniformity in thickness is also key to ensure even baking. To achieve this, gently rotate the dough between rolls and check with a ruler or pastry guide for consistency.
When handling the dough, be mindful of temperature. If it becomes too warm, it may stick to the surface, making it challenging to transfer to the tart molds. You can prevent this by periodically chilling the dough in the refrigerator or working quickly in a cool environment. Another tip is to roll the dough from the center outwards, maintaining an even pressure to prevent uneven thickness.
Step 3: Cut Out the Pastry Rounds
Use a pastry cutter to create uniform rounds from the rolled out pastry dough, ensuring precision in size and shape for assembling your jam tarts.
When selecting the right cutter size, opt for one that matches the size of your tart molds or personal preference for the final tart dimensions. A sharp cutter helps to achieve clean edges on the pastry rounds, contributing to a professional finish.
Maintaining a consistent pressure while cutting ensures that all rounds are of equal thickness, promoting even baking. Place the cutter firmly on the dough and press down in a swift motion to achieve neat circles.
It’s essential to work swiftly to prevent the pastry dough from warming up too much, which could make it difficult to handle and shape.
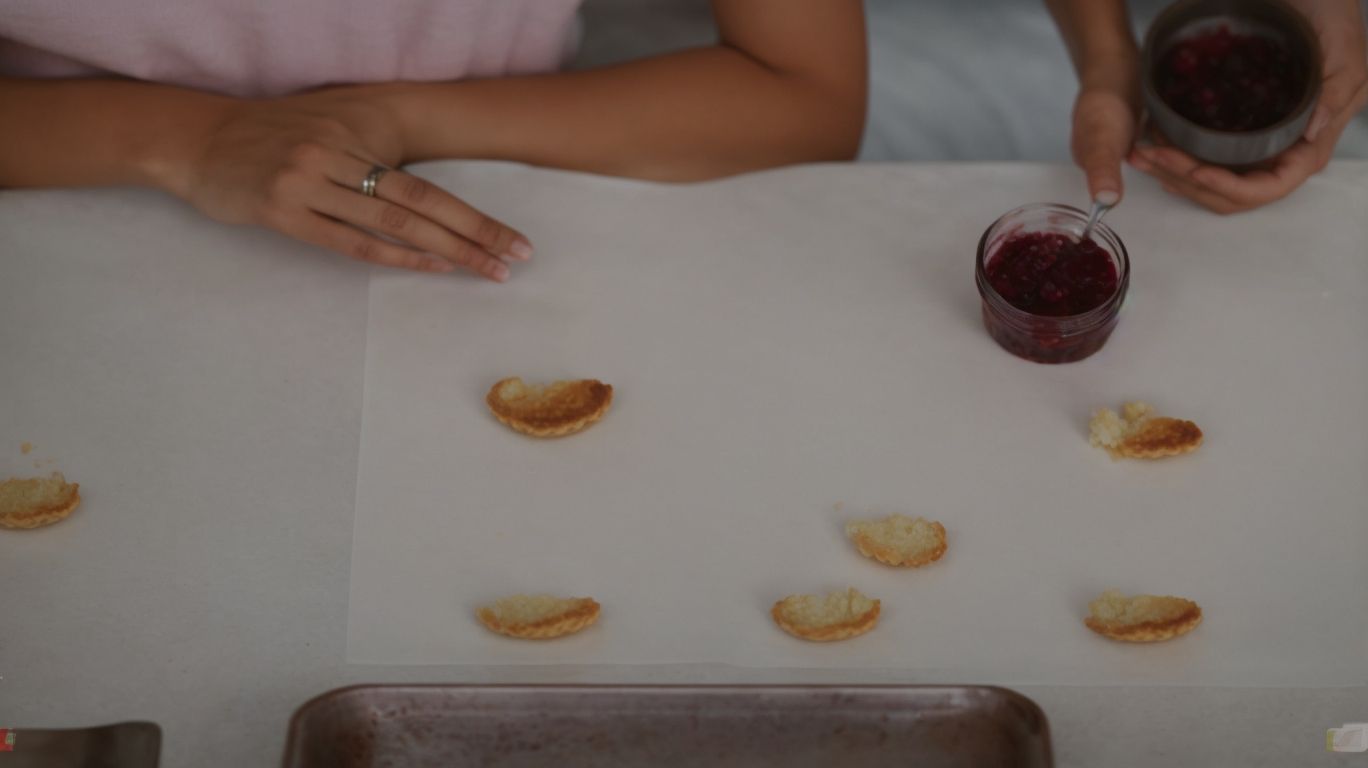
Step 4: Fill the Pastry Rounds with Jam
Spoon your preferred jam filling onto the pastry rounds, ensuring even distribution of flavors to create delectable jam tarts that burst with fruity goodness.
To achieve a well-filled tart, consider using a rounded tablespoon of jam for each pastry round and gently spreading it out to the edges, leaving a small gap to prevent spillage during baking. Experiment with different jam flavors like strawberry, raspberry, or apricot to create delightful combinations. For a more intensified taste, mix two different jams together before spooning onto the pastries. Remember to seal the edges securely to encase the jam, preventing leakage while baking.
Step 5: Crimp the Edges of the Tarts
Crimp the edges of the jam tarts using a fork to create a decorative finish, sealing in the delicious filling and adding a touch of visual appeal to your pastries.
To crimp the edges of jam tarts, start by gently folding the edges of the pastry over the filling, creating a border around the tart. Next, take a fork and press it gently on the folded edge. The tines of the fork will create a pattern along the edge, giving your tarts a professional look. Remember to press firmly enough to seal the edges together but not too hard to tear the pastry. This technique not only ensures a secure seal but also makes your tarts look aesthetically pleasing.
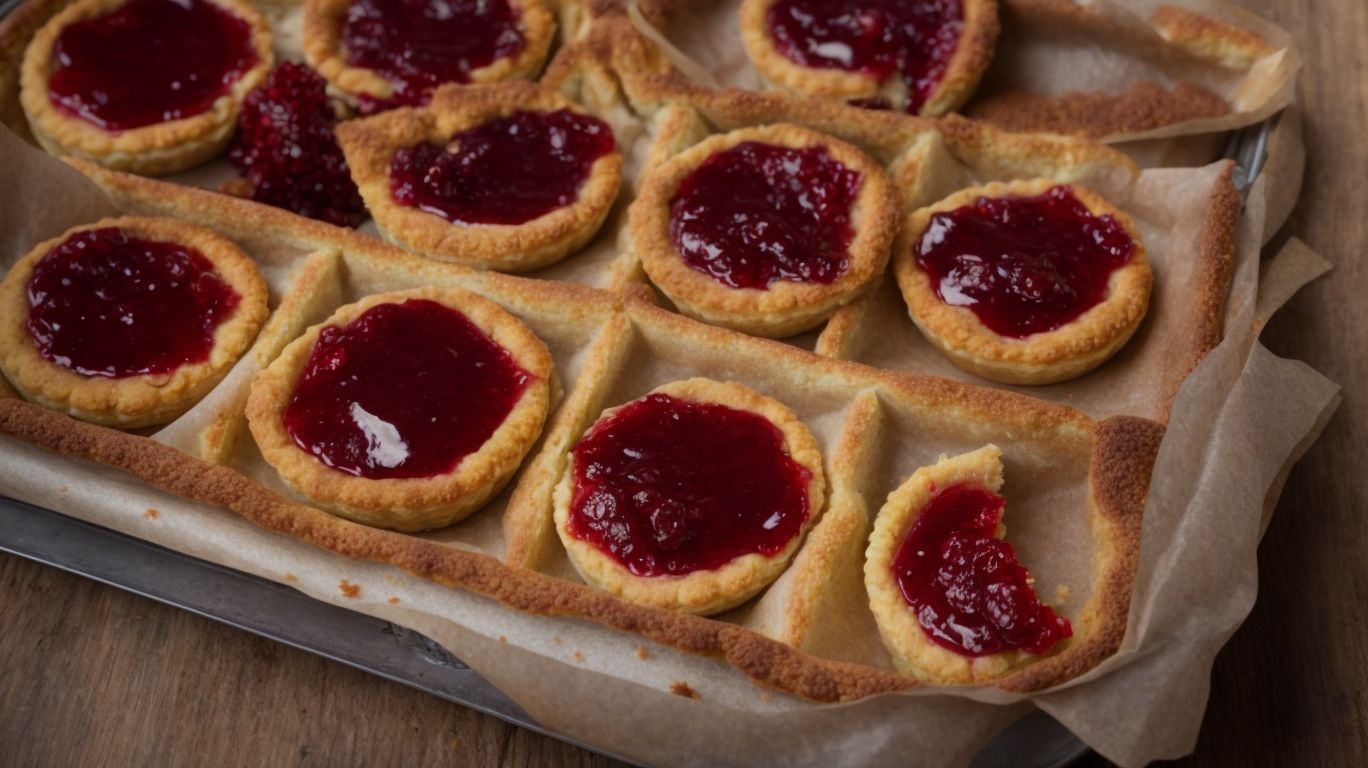
Step 6: Bake the Tarts
Place the filled jam tarts in a preheated oven and bake them until they turn a golden brown, filling your kitchen with a delightful aroma that signals their perfect doneness.
Remember, achieving the ideal golden brown color is crucial for both taste and texture. During baking, the heat will caramelize the sugars in the jam, enhancing its flavor. Keep a close eye on the tarts as they bake; you want them to develop a uniform, attractive color. To ensure even baking, consider rotating the baking tray halfway through the baking time.
Pay attention to the pastry’s edges. They should be slightly crisp and golden, indicating proper baking. A handy tip is to gently lift one tart with a spatula to check the bottom – it should be firm and lightly browned.
Tips for Perfect Jam Tarts
Credits: Poormet.Com – Harold Johnson
Achieve flawless jam tarts with these expert tips: prevent pastry shrinkage, achieve a golden brown crust, and learn how to store and serve your delectable creations.
How to Prevent the Pastry from Shrinking?
To prevent pastry shrinkage in jam tarts, ensure the dough is properly chilled, consider blind baking the crust before adding the filling, and maintain consistent oven temperature throughout baking.
Chilling the dough is crucial as it helps relax the gluten, reducing the chances of shrinkage. Blind baking the crust, a technique where the pastry is partially or fully baked before adding the filling, creates a barrier that minimizes the absorption of liquid from the jam, preventing a soggy bottom and reducing shrinkage.
- It is essential to ensure the oven is preheated to the correct temperature before placing the tarts inside.
- Keeping a constant temperature during baking ensures even cooking and helps the pastry maintain its shape.
How to Get a Golden Brown Crust?
Achieve a perfect golden brown crust on your jam tarts by applying an egg wash before baking and adding a sprinkle of sugar for a lustrous finish that enhances both appearance and taste.
In the world of baking, the color of a crust is often an indication of flavor and texture. To elevate your jam tarts to a professional level, consider the baking time you allot – this critical factor directly affects the color of the crust. Ensuring an optimal baking time will result in a rich golden hue that will tempt even the pickiest of dessert connoisseurs.
Don’t underestimate the power of sugar sprinkling. This simple step not only adds a delightful crunch but also contributes to the attractive caramelization process that gives your tarts that irresistible golden brown color.
How to Store and Serve Jam Tarts?
Store your freshly baked jam tarts in an airtight container to maintain freshness, and serve them at room temperature to preserve their flavors and textures for delightful enjoyment.
By storing your jam tarts in an airtight container, you prevent outside odors or moisture from compromising their quality, ensuring they taste just as scrumptious as when they first came out of the oven.
When serving, allowing the tarts to reach room temperature allows the flavors to bloom and the pastry to achieve the perfect texture. This simple approach enhances the overall experience, making each bite a delight for your taste buds and a feast for the senses.
Frequently Asked Questions
1. How to Bake Jam Tarts?
Start by preheating your oven to 375°F (190°C) and preparing your tart dough. Roll out the dough and cut it into circles using a cookie cutter. Place the circles into a greased muffin tin, add a spoonful of your preferred jam, and bake for 15-20 minutes.
2. What type of jam works best for Jam Tarts?
Any type of jam can be used for Jam Tarts, but it’s best to use a thick and sticky jam that won’t run out of the tart while baking. Popular options include raspberry, strawberry, and apricot jam.
3. Can I make my own tart dough for Jam Tarts?
Yes, you can make your own tart dough for Jam Tarts using a simple recipe of flour, butter, sugar, and salt. However, store-bought tart dough can also be used for convenience.
4. How long do Jam Tarts last?
Jam Tarts can last for up to 5 days when stored in an airtight container at room temperature. They can also be frozen for up to 3 months and reheated in the oven before serving.
5. Can I use frozen fruit instead of jam for Jam Tarts?
Yes, you can use frozen fruit as a substitute for jam in Jam Tarts. Simply thaw the fruit, crush it, and mix it with a little bit of sugar before adding it to the tart dough.
6. How can I make my Jam Tarts more visually appealing?
You can make your Jam Tarts more visually appealing by using a variety of different colored jams, adding a sprinkle of powdered sugar on top, or using a lattice crust for the tart dough. You can also try different shaped tart molds for a unique look.