How to Bake Yema Cake?
If you’re a fan of decadent desserts, then you’re in for a treat with this article on Yema Cake.
From its origin to the ingredients needed, we’ll cover everything you need to know about this delicious Filipino dessert.
Learn how to bake Yema Cake step by step, along with some expert tips for perfecting your creation.
Plus, we’ll share some creative decoration ideas to make your Yema Cake truly stunning.
Get ready to satisfy your sweet tooth with this mouthwatering recipe!
Key Takeaways:
What is Yema Cake?
Credits: Poormet.Com – Jesse Scott
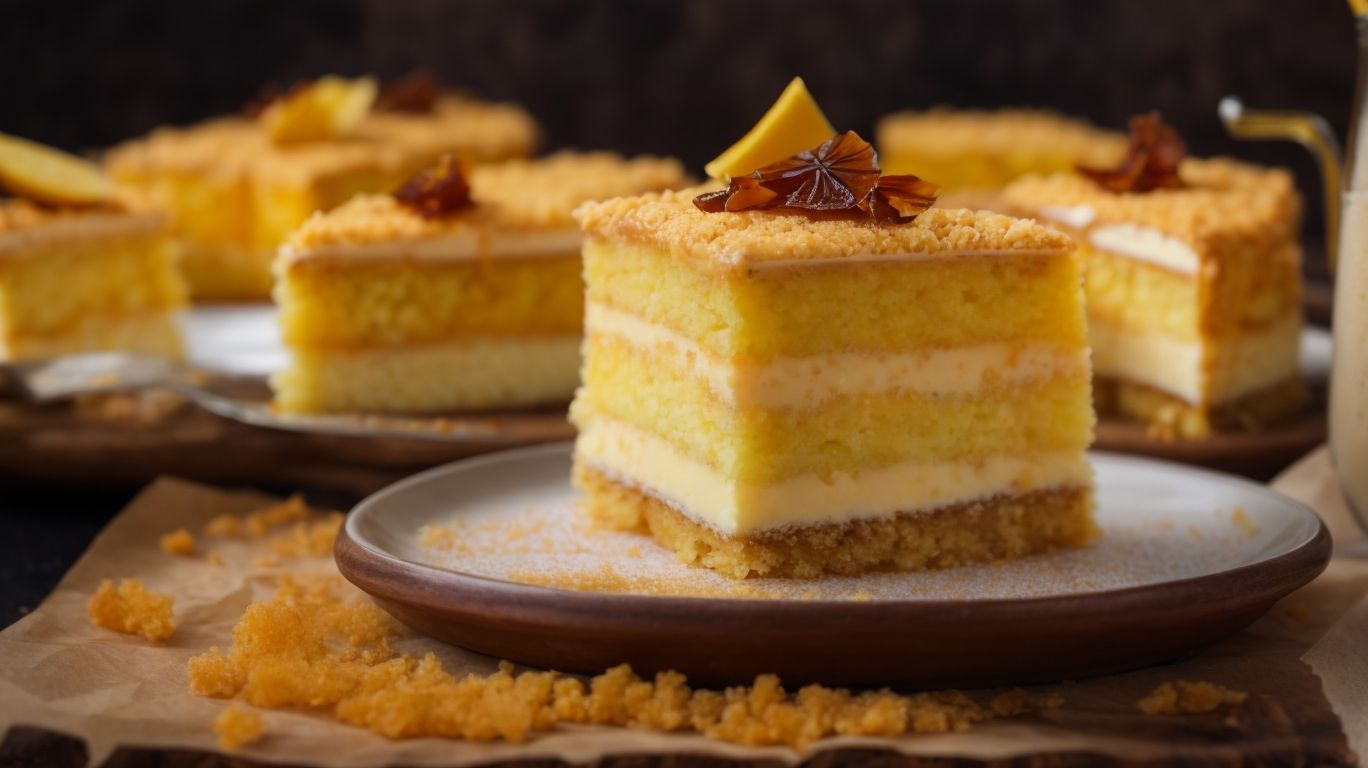
Yema Cake is a delightful Filipino dessert known for its rich and creamy flavors, making it a classic indulgence in Filipino cuisine.
Traditionally, Yema Cake comprises a soft and moist sponge cake layered with a luscious mixture of sweetened condensed milk and egg yolks. The highlight of this dessert lies in the decadent yema frosting that covers the entire cake, providing a perfect balance of sweetness and creaminess. The process of making Yema Cake involves a series of steps that include baking the cake and preparing the yema filling before delicately assembling the layers. Once completed, the cake is chilled, allowing the flavors to meld and create a truly luxurious dessert experience.
What is the Origin of Yema Cake?
The Origin of Yema Cake can be traced back to traditional Filipino confectionery, where the combination of caramelized sugar, condensed milk, and classic candy-making techniques contributed to its creation.
This decadent dessert has its roots deeply embedded in the rich history of Filipino culinary traditions, reflecting the influence of Spanish and American colonial periods on indigenous flavors and techniques. Condensed milk became a staple ingredient in Filipino sweets due to its versatility and ability to enhance both flavor and texture. The art of caramelizing sugar was honed through generations, with families passing down traditional methods and secret recipes for creating luscious, sweet treats. Yema Cake represents a harmonious blend of cultural influences, showcasing the Filipino penchant for blending sweet and rich flavors in delectable creations.
What are the Ingredients for Yema Cake?
Credits: Poormet.Com – Gregory White
The Ingredients for Yema Cake include a blend of essential components such as egg yolks, condensed milk, butter, vanilla extract, baking powder, sugar, and a pinch of salt for balance and flavor enhancement.
Vanilla extract is used to give a rich aromatic depth to the cake, elevating its overall taste profile. Baking powder serves as the leavening agent, ensuring the cake rises properly.
Sugar adds sweetness while also contributing to the moist texture of the cake. A pinch of salt may seem surprising, but it helps to balance the sweetness and enhance the other flavors in the cake. Each ingredient plays a crucial role in creating a delicious and well-rounded Yema Cake.
What are the Measurements for Yema Cake?
The Measurements for Yema Cake play a crucial role in achieving that perfect balance of flavors and textures, ensuring a fluffy and stable cake that is easy to bake.
When preparing the batter for the Yema Cake, accuracy in measuring each ingredient is key. Begin by combining 1 ½ cups of cake flour, 1 cup of sugar, and 1 tablespoon of baking powder. Mix these dry ingredients thoroughly to guarantee a smooth and uniform distribution in the batter.
Next, add ½ cup of vegetable oil, ¾ cup of water, and 5 egg yolks. Whisk everything together until well blended. Remember, precise measurements will ensure a consistent, fluffy texture and a stable rise during baking.
What are the Substitutions for Yema Cake Ingredients?
Substituting Ingredients in Yema Cake can offer a creative twist to the traditional recipe, allowing for variations that cater to personal preferences and dietary requirements.
For those looking to tweak the flavors of this delectable treat, alternatives like coconut milk or almond milk can be used instead of regular milk to add a unique touch. If you’re trying to reduce sugar content, opting for honey or maple syrup in place of granulated sugar can still provide sweetness without compromising taste. Regarding achieving the perfect texture, cornstarch or arrowroot powder can be substituted for flour for a gluten-free option.
How to Bake Yema Cake?
Credits: Poormet.Com – Justin Thomas
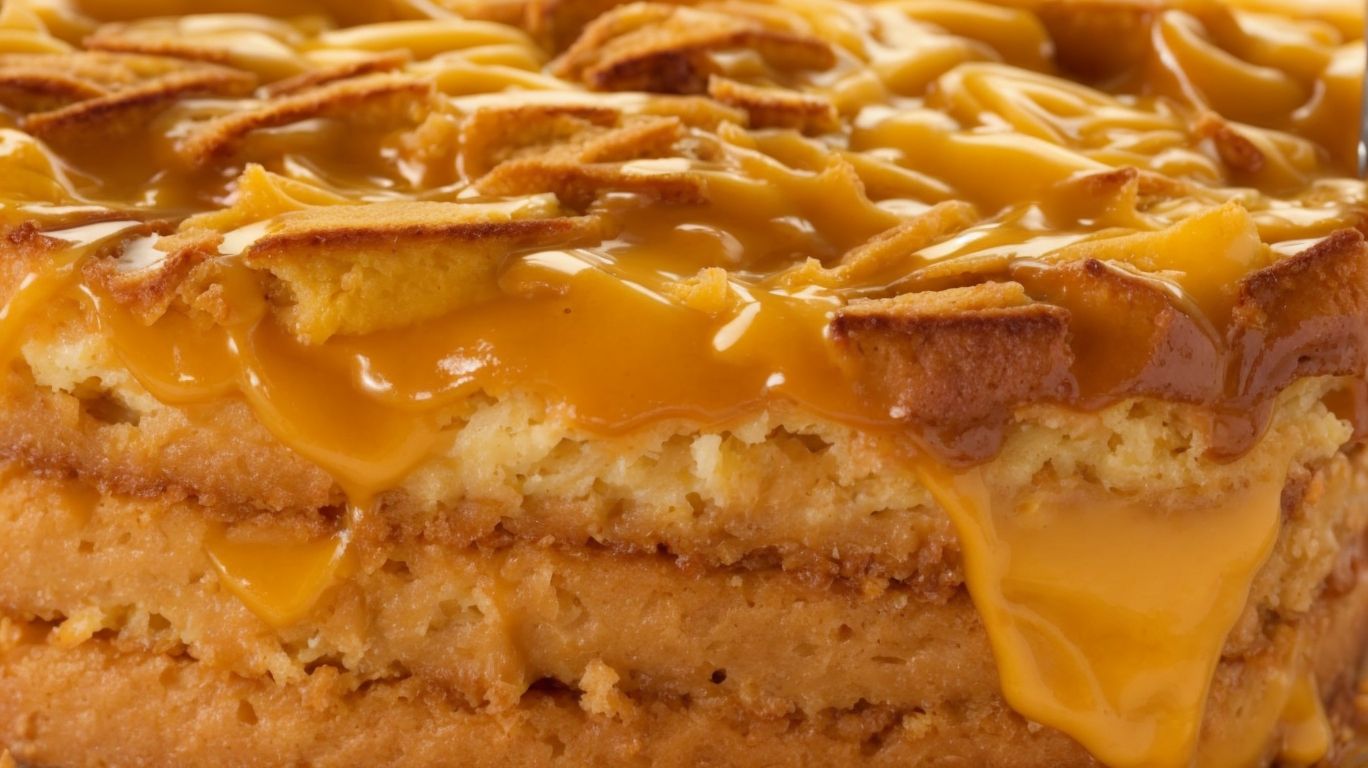
Baking Yema Cake involves a series of steps that include mixing the batter, whisking it to the right consistency, baking it to perfection, allowing it to cool, and preparing the pans with the appropriate heat settings.
Regarding the initial mixing of the batter, it’s essential to ensure that all the ingredients are well combined, creating a smooth and uniform texture. The recipe for Yema Cake typically includes ingredients like flour, sugar, eggs, milk, and butter, all carefully measured for the perfect balance of flavors.
Once the batter is prepared, the real magic begins with the whisking process. Whisking not only helps to incorporate air into the mixture but also plays a crucial role in developing the cake’s structure. You want to whisk until the batter reaches a smooth and slightly thick consistency.
When it’s time to bake, preheat your oven to the specified temperature and carefully pour the batter into the prepared pans. The baking process is where your precision truly matters. Keep a close eye on the cake as it bakes to ensure it reaches that golden-brown hue and a perfectly moist interior.
Step 1: Making the Cake Base
The first step in baking Yema Cake involves creating a light and airy cake base, commonly made with a delicate sponge cake infused with a hint of almond slivers for added texture and flavor.
To start off this delectable journey, you’ll need to skillfully prepare the meringue—a crucial component of the sponge cake. Separate the egg whites from the yolks and ensure that no speck of yolk contaminates the whites. Take your time and beat the egg whites until stiff peaks form, creating a voluminous and velvety texture that will give the cake its signature lightness.
Once the meringue is ready, gently fold in the precisely measured almond slivers, being careful not to deflate the airy mixture. The almonds not only add a delightful crunch but also infuse the cake with a subtle nutty essence.
Step 2: Preparing the Yema Filling
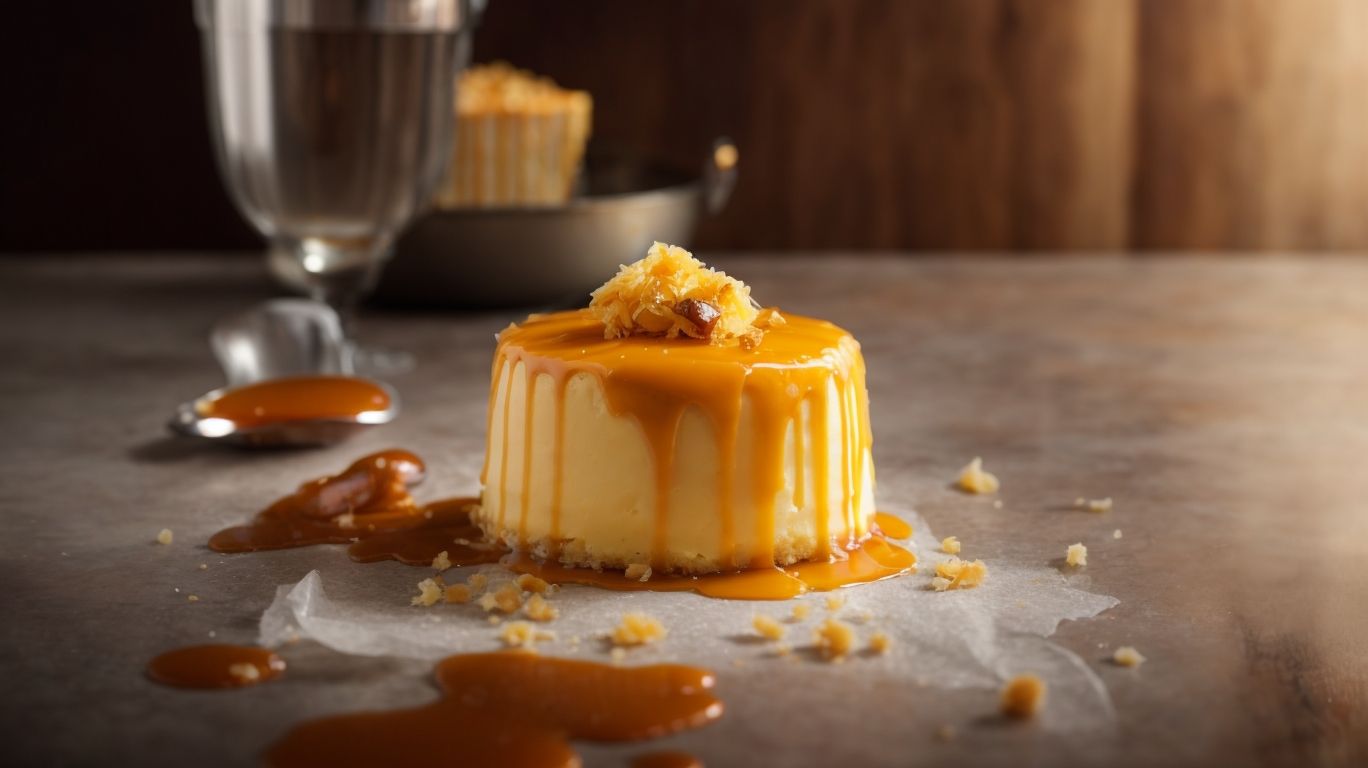
In the second step of baking Yema Cake, the luscious Yema Filling is prepared by combining condensed milk, sugar, butter, and a touch of caramel syrup for that signature sweet and creamy taste.
To create the Yema Filling, start by melting the butter in a saucepan over low heat. Once the butter is melted, add the condensed milk and sugar, stirring constantly until well combined. The addition of caramel syrup not only enhances the sweetness but also adds a rich depth of flavor to the filling. Allow the mixture to simmer gently until it thickens to a creamy consistency, stirring occasionally to prevent burning.
Step 3: Assembling the Yema Cake
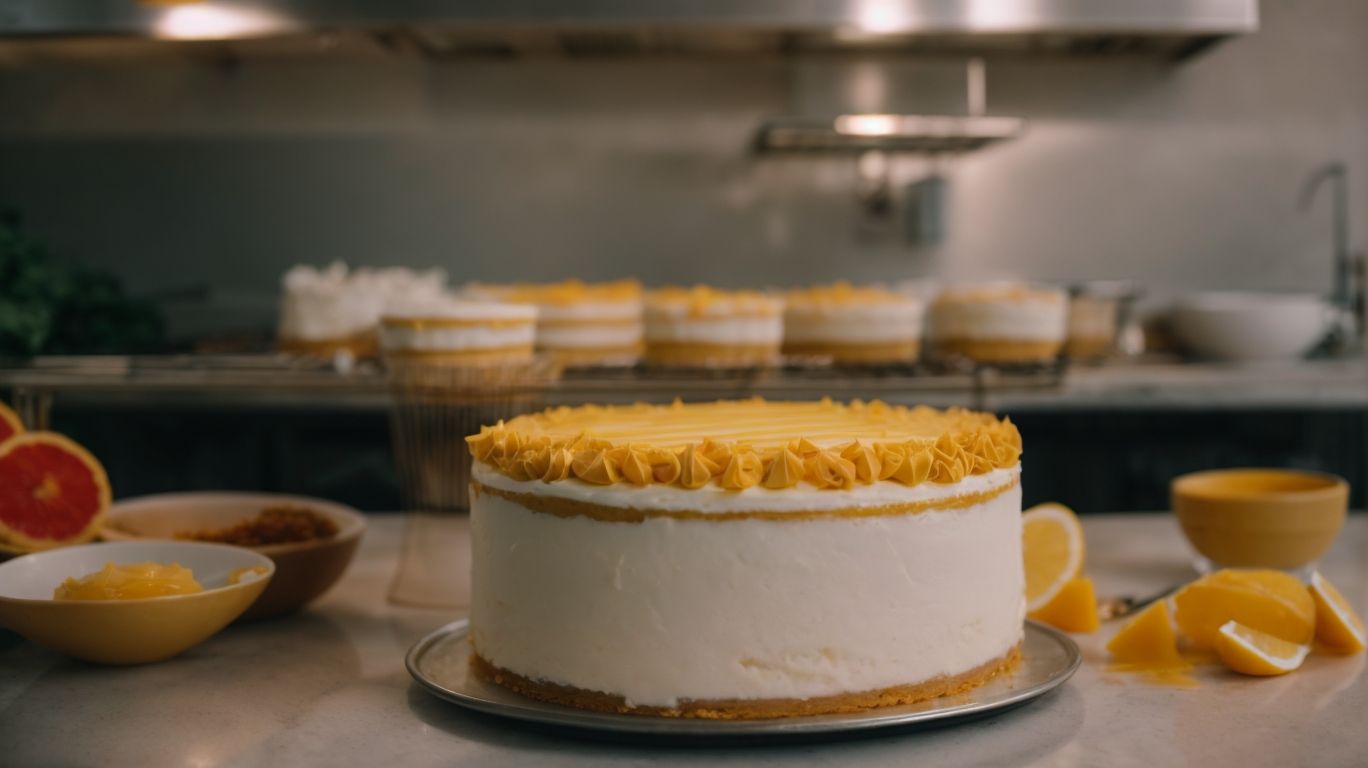
The final step in baking Yema Cake involves assembling the layers of cake with the delectable Yema Filling in between, ensuring proper refrigeration for storage and a smooth finish with buttercream frosting.
Layering the yema cake is a crucial part of the process to achieve a delightful balance of flavors and textures. Begin by placing one cake layer on a serving plate and spreading a generous amount of Yema Filling evenly across the top. Carefully stack the next cake layer on top, pressing gently to secure the layers together. Repeat this process until all layers and filling are used, creating a visually appealing layered cake.
Once the layers are assembled, cover the entire cake with plastic wrap or place it in an airtight container before refrigerating. Chilling the cake helps to firm up the filling and set the layers for a neater slice later on. Allow the cake to chill for several hours or overnight for best results.
After refrigeration, it’s time to add the final decorative touch with buttercream frosting. Prepare a batch of buttercream, and using a spatula or piping bag, apply a generous layer of frosting to the outside of the cake. You can choose to smooth the frosting for a sleek finish or create decorative swirls and patterns for a more intricate design. Let the cake set in the refrigerator for a short while to firm up the frosting before serving.
What are the Tips for Baking Yema Cake?
To ensure a successful Yema Cake baking experience, it’s essential to follow key tips such as maintaining stability in the batter, mastering decorative techniques for piping, and achieving a flawless finish in decoration.
One crucial aspect of batter stability when baking Yema Cake is to properly incorporate your wet and dry ingredients, ensuring a uniform and smooth texture. This will help prevent any lumps or uneven consistency in your batter, resulting in a perfectly baked cake.
Regarding decorative techniques, honing your piping skills is essential. Practice different piping tips and techniques to create beautiful designs on your cake, adding an extra touch of elegance. Pay attention to detail when finishing the decoration; a steady hand and precision are key to achieving a visually stunning Yema Cake.
Tip 1: Use Fresh Ingredients
One essential tip for baking Yema Cake is to prioritize the use of fresh ingredients, ensuring the quality of components like egg yolks, butter, and vanilla extract for optimal flavor and texture.
Regarding Yema Cake, the freshness of these key ingredients cannot be stressed enough. The egg yolks contribute to the rich, velvety texture, while the high-quality butter ensures a moist and tender crumb. As for the vanilla extract, its fragrant essence enhances the overall taste profile of the cake, adding a delightful aroma to every bite.
Therefore, whether you are a novice or an experienced baker, never compromise on the freshness and quality of these essential elements. Your Yema Cake will truly shine when made with the finest ingredients, resulting in a delectable treat that will leave everyone craving for more.
Tip 2: Use a Good Quality Cake Pan
Selecting a high-quality cake pan is a crucial tip for baking Yema Cake successfully, as it ensures even heat distribution, a thick batter consistency, and a uniform baking result.
A good cake pan plays a vital role in the baking process of Yema Cake by distributing heat evenly throughout the batter. This even heat distribution helps in achieving a perfectly baked cake with no hot spots or undercooked sections.
- When you use a high-quality cake pan, it helps in maintaining the desired thickness of the batter. A thick batter is essential for Yema Cake as it holds the rich flavors and ensures a moist texture.
- Opting for the right cake pan can also lead to optimal baking outcomes, such as a golden-brown crust and a soft interior, creating a delightful contrast that’s characteristic of a well-made Yema Cake.
Tip 3: Let the Cake Cool Before Adding the Yema Filling
A critical tip for baking Yema Cake is to allow the cake base to cool completely before adding the luscious Yema Filling, ensuring a seamless integration of flavors and textures.
This cooling process is essential as it allows the base to set properly, preventing any potential melting of the filling and maintaining the distinct layers of the cake. Cooling also plays a crucial role in flavor melding, where the gradual decrease in temperature enhances the richness of the Yema filling. This cooling step not only contributes to the structural integrity of the cake but also ensures that the flavors infuse harmoniously, producing a delectable end result.
How to Decorate Yema Cake?
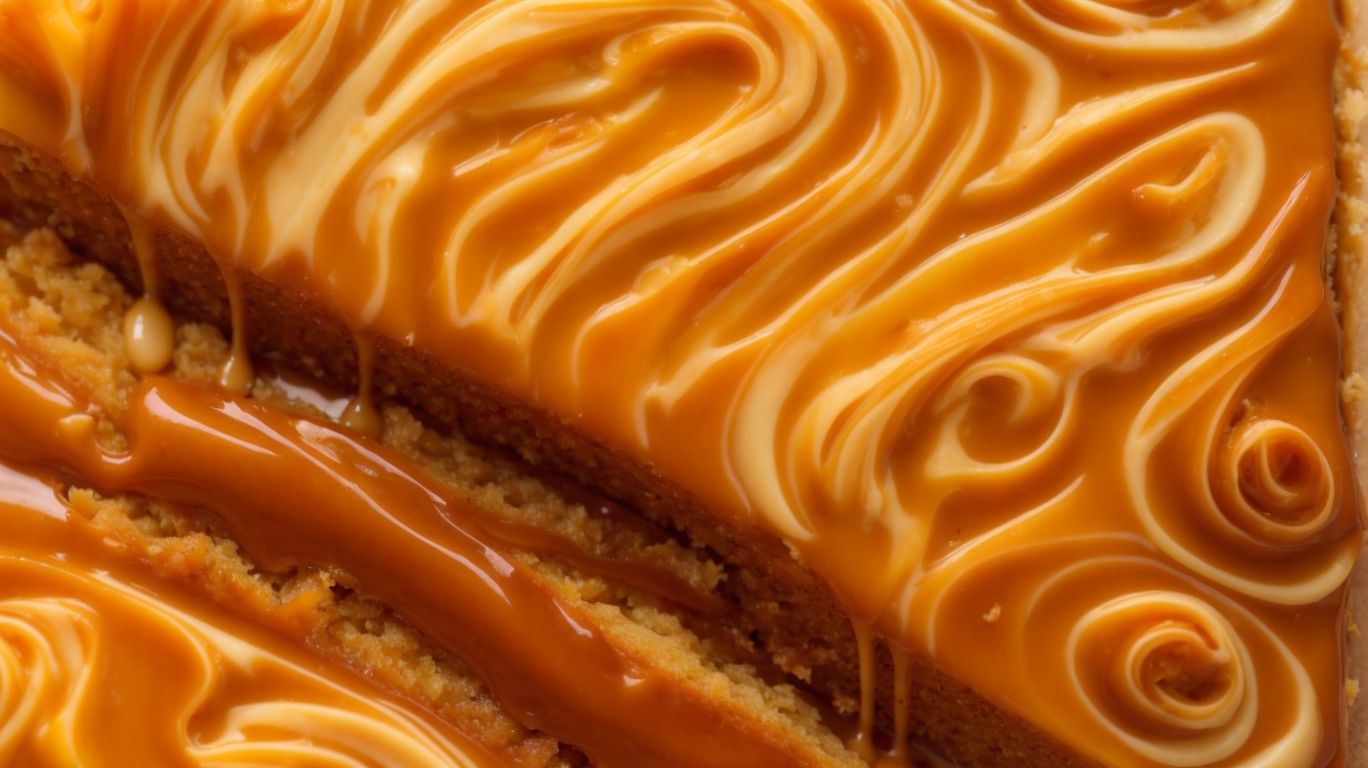
Credits: Poormet.Com – Adam Brown
Decorating Yema Cake offers a creative outlet for adding personal touches, with options ranging from intricate frosting designs to simple yet elegant decorations like grated cheese for a unique twist.
One popular way to elevate the presentation of a Yema Cake is by mastering the art of frosting techniques. Whether you choose to use a piping bag to create intricate patterns or opt for a smooth, glossy finish, the frosting plays a crucial role in enhancing the overall look and taste of the layer cake.
Another fantastic decoration option that adds both flavor and visual appeal is a generous sprinkling of grated cheese on top. The contrast of the slightly salty cheese against the sweet and creamy Yema Cake creates a delightful balance that surprises and delights the taste buds.
Decoration Idea 1: Chocolate Shavings
One delightful decoration idea for Yema Cake involves using chocolate shavings to add a touch of sweetness and creaminess to the overall presentation, elevating the visual appeal of the dessert.
Chocolate shavings not only bring a luxurious finish to the cake but also provide a contrast in texture that complements the softness of the Yema filling.
To achieve elegant shavings, start by selecting high-quality chocolate bars with a good cocoa content for a rich flavor profile. Using a sharp knife or a vegetable peeler, carefully shave the chocolate from the edge of the bar, creating thin and delicate curls. These shavings can then be creatively sprinkled over the top of the cake to create a stunning and delectable look.
Decoration Idea 2: Caramelized Sugar
Utilizing caramelized sugar as a decorative element for Yema Cake adds a classic touch of sweetness reminiscent of traditional candy-making techniques, enhancing the dessert’s visual and flavor appeal.
When creating caramelized sugar accents for your Yema Cake decoration, you can enjoy the delightful process of watching sugar transform into a golden, glossy liquid that solidifies into delicate shards of sweetness. Caramelized sugar can be shaped into intricate designs, such as swirls, loops, or shards, to adorn the top of your cake, elevating its presentation to a whole new level. Whether you opt for a simple sprinkle of caramelized sugar crystals or more elaborate shapes, these carefully crafted accents are sure to impress your guests and elevate the aesthetic of your dessert.
Decoration Idea 3: Fresh Fruits
Incorporating fresh fruits as a decorative element for Yema Cake introduces a fruity and refreshing twist to the dessert, balancing its indulgent sweetness with vibrant and natural flavors.
Adding fresh fruits like strawberries, kiwis, or mangoes not only amps up the visual appeal of the Yema Cake but also provides a contrasting burst of freshness against the dense and sweet cake layers.
You can get creative with the fruit placement, arranging them in a colorful pattern on top of the cake or strategically placing slices around the serving platter for an elegant touch.
Consider mixing in some berries or diced fruits into the yema filling itself for added texture and a delightful surprise with every bite.
Frequently Asked Questions
How to Bake Yema Cake?
Baking a delicious Yema Cake is easier than you think! With this simple recipe and step-by-step instructions, you’ll be enjoying a moist and delectable cake in no time.
What ingredients do I need to bake Yema Cake?
You’ll need all-purpose flour, baking powder, salt, sugar, butter, eggs, evaporated milk, condensed milk, and vanilla extract to make the perfect Yema Cake. Don’t forget the Yema Frosting, which requires egg yolks, sugar, and condensed milk.
Can I substitute any of the ingredients in the Yema Cake recipe?
Yes, you can substitute the all-purpose flour with cake flour for a lighter texture. You can also use different types of milk, such as coconut milk or almond milk, for a unique twist on the classic recipe.
How important is it to use room temperature ingredients?
It is crucial to use room temperature ingredients, especially the eggs and butter, to achieve the perfect texture and consistency in your Yema Cake. Room temperature ingredients blend better, resulting in a smoother batter.
How long does it take to bake Yema Cake?
Yema Cake typically takes about 45 minutes to an hour to bake in the oven. However, the baking time may vary depending on your oven and altitude. To ensure the cake is fully cooked, insert a toothpick into the center, and if it comes out clean, the cake is done.
Can I make Yema Cake ahead of time?
Yema Cake is best served fresh, but you can make it ahead of time and store it in the refrigerator for up to 3 days. Just make sure to wrap it tightly with plastic wrap to avoid drying out. You can also freeze the cake for up to 3 months. Thaw it in the refrigerator before serving.

