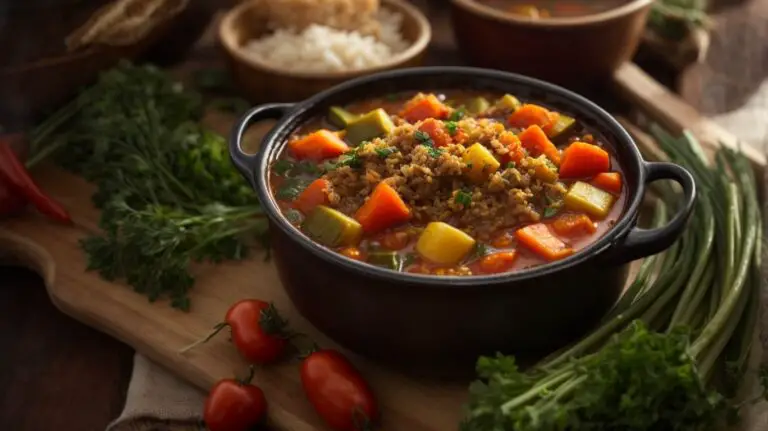
How to Cook Ribs on the Grill?
Are you a fan of juicy, flavorful ribs fresh off the grill? Look no further!
We explore the different types of ribs, from baby back to St. Louis style, and learn how to prepare them for grilling.
Discover the best grilling techniques for perfectly cooked ribs and find out how to tell when they are done.
Plus, we’ll share some expert tips for grilling the perfect rack of ribs every time. Get ready to impress your guests with mouthwatering ribs that will have them coming back for more!
Key Takeaways:
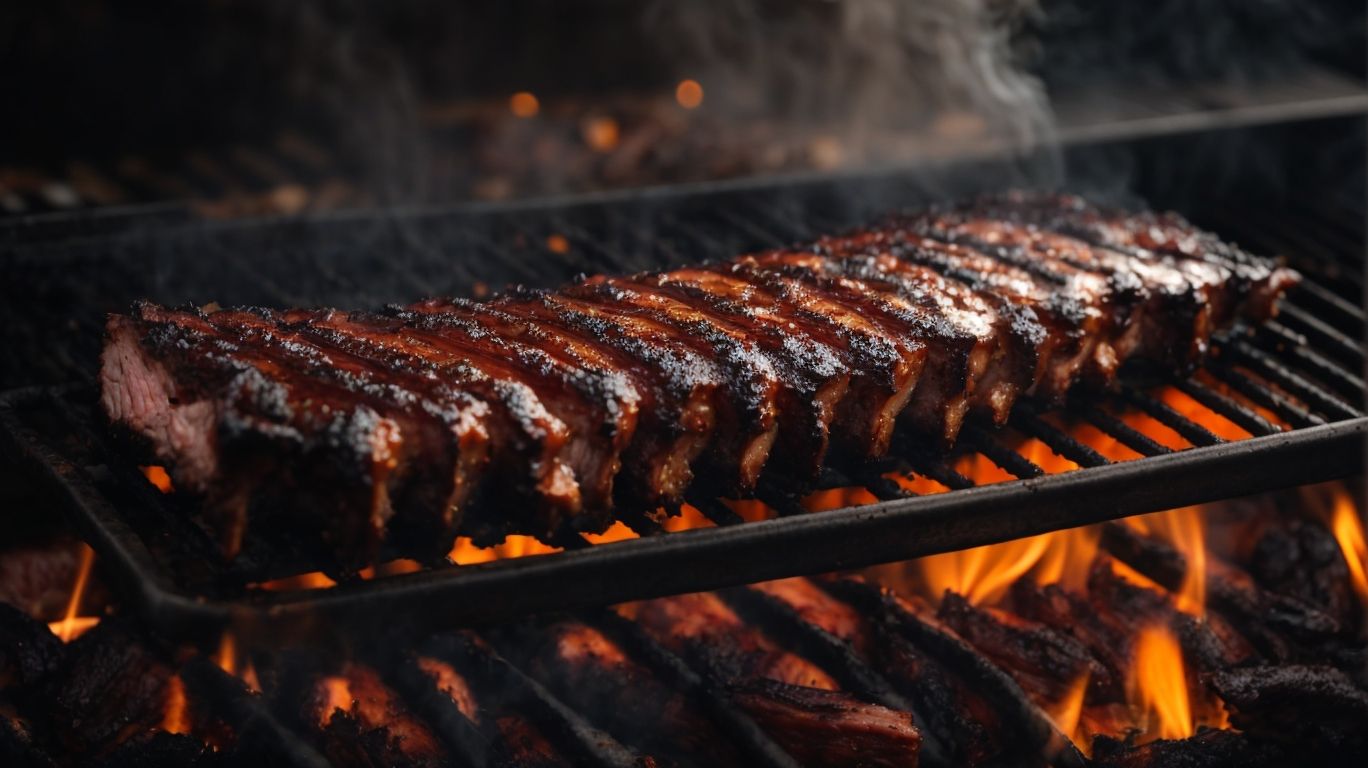
What Are the Different Types of Ribs?
Credits: Poormet.Com – Christian Rivera
Understanding the different types of ribs is essential for mastering the art of grilling. From succulent baby back ribs to meaty spare ribs and the flavorful St. Louis style ribs, each variety offers a unique taste experience.
Baby back ribs, also known as back ribs or loin ribs, are tender and lean with a slightly sweeter flavor compared to other rib types. They are shorter and more curved than spare ribs, making them perfect for grilling.
- Spare ribs are larger and meatier than baby back ribs and are taken from the side or belly of the pig. They have a higher fat content, resulting in a rich and flavorful taste when cooked low and slow.
- St. Louis style ribs are spare ribs that have been trimmed to a rectangular shape, making them more uniform for cooking. They are popular for their meaty texture and versatility in various recipes.
Baby Back Ribs
Baby back ribs, also known as loin ribs, are a popular choice for grilling enthusiasts due to their tender meat and quick cooking time on the grill.
These ribs are derived from the top of the pig’s rib cage near the spine, making them incredibly meaty and succulent. Their high meat-to-bone ratio ensures a satisfying dining experience, perfect for those who enjoy hearty, flavorful meals.
In terms of cooking, baby back ribs require less time on the grill compared to other cuts, typically needing around 1.5 to 2 hours of indirect heat to reach that ideal tender texture. To enhance their natural flavors, it is essential to apply a flavorful dry rub before grilling, allowing the ribs to marinate and develop a delicious crust.
Spare Ribs
Spare ribs, often called side ribs, are a favorite for smoking enthusiasts seeking a rich, smoky flavor and a melt-in-your-mouth texture with a perfect balance of spices.
These ribs are renowned for their tenderness and juiciness, making them a popular choice for barbecue aficionados. The ideal smoking conditions for spare ribs involve a low and slow cooking method, allowing the meat to absorb the smoky flavor while retaining its moisture.
- Creating the perfect spice combination is crucial for enhancing the flavor profile of spare ribs. Common spices include paprika, garlic powder, onion powder, cumin, and brown sugar, which add depth and complexity to the meat.
- When preparing a homemade rub, ensure that the spices are evenly distributed to coat the ribs thoroughly, enhancing the taste with each bite.
St. Louis Style Ribs
St. Louis style ribs, characterized by their rectangular shape and trimmed tips, are a barbecue lover’s delight, offering a caramelized exterior and succulent meat that is perfect for grilling.
These ribs are cut from the belly side of the rib cage after the sternum is removed, resulting in a mouthwatering balance of meat and fat. The St. Louis style ribs truly shine when coated with a sticky-sweet glaze and cooked low and slow to achieve that signature tenderness.
In terms of grilling, these ribs are a favorite due to their even shape that promotes uniform cooking. The addition of a tangy barbecue sauce further enhances the flavors, creating a delectable contrast to the rich, smoky meat.
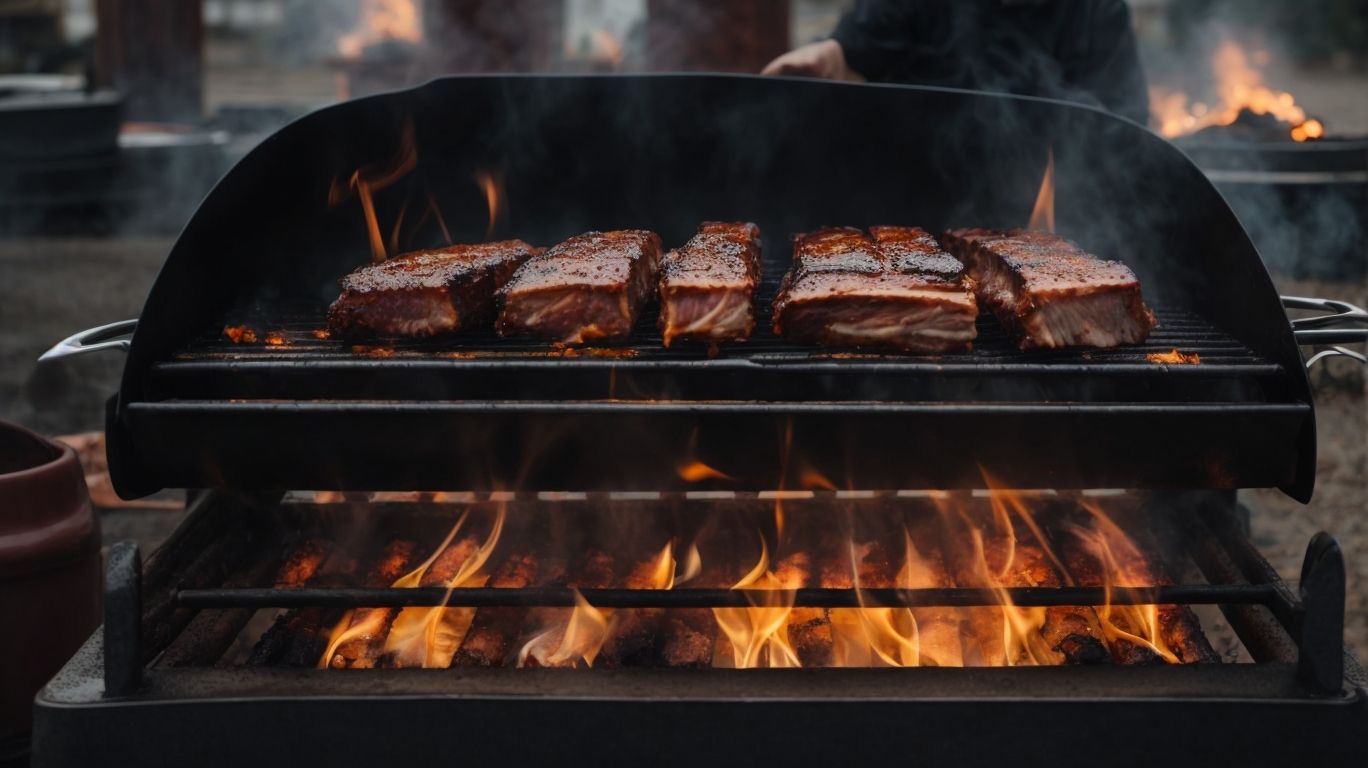
Preparing the Ribs for Grilling
Credits: Poormet.Com – Jose Walker
Properly preparing the ribs for grilling sets the foundation for a delicious and tender outcome. From adjusting the grill temperature to using foil for even cooking and applying the perfect seasoning blend, these steps are crucial for grilling success.
Ensuring your grill is preheated to the recommended temperature is the first step in mastering rib preparation. This allows the meat to cook evenly and helps avoid over or under-cooking. By wrapping the ribs in foil during the initial phase of grilling, you create a steamy environment that aids in tenderizing the meat while retaining moisture.
Applying a seasoning mix that complements the natural flavors of the ribs can take your dish to the next level. Whether it’s a dry rub or a marinade, the right blend enhances the taste profile and creates that irresistible crust on the outside.
Removing the Membrane
Removing the membrane from the ribs is a crucial step in preparing them for grilling, as it allows for better seasoning penetration and enhances the overall texture of the meat.
When you leave the membrane on, it can create a barrier, preventing flavors from fully infusing into the meat. To remove it, gently slide a butter knife or your fingers under the membrane at one end of the rack. Once you have a good grip, slowly peel it off in one piece.
This process might seem intimidating at first, but with practice, you’ll find it easier and more efficient. The benefits go beyond just flavor; removing the membrane also helps the ribs cook more evenly, resulting in tender, juicy meat that falls off the bone effortlessly.
Seasoning the Ribs
Seasoning the ribs is a critical step that imparts flavor and enhances the taste profile of the meat. Whether using a dry rub or a marinade, the right seasoning can elevate the grilling experience.
In terms of rib seasoning, the choice between a dry rub and a marinade can significantly impact the final taste. Dry rubs, made with a mix of spices, herbs, and sometimes sugar, create a flavorful crust on the ribs during cooking. On the other hand, marinades, typically a mixture of oil, acid, and seasonings, tenderize the meat and infuse it with intense flavors.
Experimenting with different spice combinations such as paprika, garlic powder, cumin, and brown sugar can yield unique flavor profiles. To ensure the flavors penetrate effectively, consider letting the seasoned ribs sit for a few hours or even overnight before grilling.
Marinating the Ribs
Marinating the ribs can infuse them with rich flavors and help tenderize the meat for a more succulent texture when grilled. Choosing the right marinade and allowing sufficient marinating time are key factors for delicious ribs.
When marinating ribs, it’s crucial to select flavors that complement the natural richness of the meat. Garlic, citrus, soy sauce, and smoked paprika are popular options for creating a depth of taste. These ingredients not only add complexity but also aid in tenderizing the meat. To maximize flavor infusion, consider massaging the marinade into the ribs and refrigerating them for several hours, or even overnight. This allows the flavors to penetrate the meat thoroughly, resulting in a more intense and well-rounded taste.
The Best Grilling Techniques for Ribs
Mastering the best grilling techniques for ribs is essential to achieve that perfect balance of tenderness and flavor.
Direct heat grilling involves cooking the ribs directly over the heat source, creating delicious charred edges and a flavorful crust. On the other hand, indirect heat grilling allows for slow cooking at lower temperatures, resulting in incredibly tender meat that falls off the bone. A combination approach, using both direct and indirect heat, can offer the benefits of caramelization and tenderness, giving you the best of both worlds. Each technique influences the final outcome, affecting the texture, juiciness, and overall taste of the ribs.
Direct Heat Method
The direct heat method is ideal for quickly searing the exterior of ribs, locking in juices, and achieving caramelization for a flavorful crust. This method is perfect for those seeking a faster cooking time.
When using the direct heat method for grilling ribs, it’s essential to preheat your grill to a high temperature to ensure a quick sear. Season the ribs generously with your favorite dry rub or marinade before placing them directly over the heat source.
One key tip for successful searing is to leave the ribs undisturbed on the grill for a few minutes per side to develop a nice crust. Avoid constant flipping, as this can prevent proper caramelization.
The advantage of quick cooking with direct heat is that it helps retain the natural flavors of the meat while still achieving that desirable charred exterior.
Indirect Heat Method
Utilizing the indirect heat method for grilling ribs allows for slow cooking that enhances tenderness and flavor development, resulting in mouthwatering ribs with a perfectly cooked texture.
One of the primary benefits of indirect heat grilling is that it helps in preventing the ribs from drying out, as the heat source is not directly under the meat. This method creates a gentle and even cooking environment, ensuring that the ribs remain juicy and tender throughout the process. The slow cooking process allows the flavors to infuse deeply into the meat, resulting in a more flavorful end product.
Consistency in maintaining the heat levels is crucial when using the indirect heat method. This ensures that the ribs are cooked at the desired temperature, promoting even cooking and preventing any potential flare-ups. By monitoring the heat levels and making adjustments as needed, you can achieve perfectly cooked ribs that are tender and succulent.
Combination Method
The combination method of grilling ribs combines the benefits of both direct and indirect heat, allowing for a balance of searing to lock in flavors and slow cooking to achieve tender, juicy meat with a perfect crust.
By starting the ribs over direct heat, you create those sought-after grill marks and a beautiful outer caramelization. This initial searing step not only adds flavor but also helps create a visually appealing presentation. Then, by transferring the ribs to the indirect heat zone, you ensure even cooking throughout, preventing the meat from burning while also allowing the flavors to develop and infuse. This combination method results in ribs that are both succulent and packed with smoky goodness.
How to Tell When Ribs are Done?
Determining when ribs are perfectly done is a crucial skill for any grill master.
Each method offers a unique way to ensure your ribs reach the ideal level of doneness. The bend test involves lifting the ribs with tongs and observing how they flex to determine their readiness. For the toothpick test, gently slide a toothpick between the ribs to check for tenderness, aiming for a slight resistance. Thermometers provide precise measurements, with the ideal temperature for ribs typically ranging between 190-203°F, making it a reliable method for perfection.
The Bend Test
The bend test involves assessing the flexibility of ribs to determine their doneness. Ribs that bend easily without breaking indicate tenderness and readiness for serving.
To perform the bend test, simply grab a rib rack with a pair of tongs and gently lift one end. The ribs should naturally bend under their weight and form a visible curve without snapping.
When interpreting the results, look for a slight resistance in the bend, which indicates a perfect balance between tenderness and juiciness. If the ribs bend too easily, they might be overcooked, while if they resist bending, they may need more time to cook.
Ensure the ribs are cooked to the desired tenderness by practicing the bend test throughout the cooking process and tailoring the cooking time to achieve the optimal level of doneness.
The Toothpick Test
The toothpick test is a reliable method for assessing the tenderness of ribs. A toothpick that slides easily through the meat indicates that the ribs are cooked to perfection and ready to be enjoyed.
To perform the toothpick test, simply insert a toothpick into the thickest part of the rib meat. If it goes in and out with hardly any resistance, you know the ribs are tender and moist. If the toothpick feels some resistance or gets stuck, the ribs may need further cooking to achieve the desired tenderness. This test can be a game-changer for ensuring your ribs reach that perfect balance between soft and succulent.
The Temperature Test
Using the temperature test to monitor the internal temperature of ribs is a foolproof way to ensure they are cooked through.
Achieving the recommended temperature guarantees that your ribs are safe to eat and perfectly done. The ideal internal temperature for pork ribs is around 190-205°F. To accurately measure this, use a reliable meat thermometer inserted into the thickest part of the meat without touching the bone. When the ribs reach this temperature, you’ll know they are tender and juicy, with the meat pulling away from the bones just enough. Mastering the art of temperature testing enables you to enjoy delicious ribs without the risk of undercooked meat.
Tips for Grilling Perfect Ribs
Mastering the art of grilling perfect ribs requires attention to detail and precision. From using a meat thermometer for accurate cooking times to avoiding overcooking and allowing the ribs to rest before serving, these tips ensure a delightful dining experience.
Using a high-quality meat thermometer is crucial for grilling ribs to perfection. Insert the thermometer into the thickest part of the meat without touching bone to get an accurate temperature reading. This helps you cook the ribs to the ideal doneness, ensuring they are juicy and flavorful.
To prevent overcooking, it’s essential to monitor the grill temperature consistently. Maintain a moderate heat level and avoid opening the grill lid frequently to retain heat. This will prevent the ribs from drying out and becoming tough.
After grilling, allow the ribs to rest for a few minutes before serving. This resting period allows the juices to redistribute throughout the meat, resulting in tender and succulent ribs. Remember, patience is key in achieving that perfect rib-eating experience.
Use a Meat Thermometer
Utilizing a meat thermometer is a foolproof way to ensure your ribs are cooked to the perfect temperature. By maintaining accuracy in cooking times, you can avoid undercooking or overcooking, resulting in delicious ribs every time.
When grilling ribs, the meat thermometer serves as your culinary compass, guiding you towards the ideal doneness without any guesswork. The thermometer’s role is crucial in guaranteeing that the meat reaches the safe internal temperature, thus minimizing the risk of foodborne illnesses.
Whether you prefer your ribs fall-off-the-bone tender or with a slight chew, meat thermometers provide the precision needed to achieve the perfect texture. With different types available, such as instant-read or leave-in thermometers, you can select one that best suits your grilling style and preference.
Don’t Overcook the Ribs
Avoiding overcooking the ribs is essential to maintain their juiciness and tenderness. Overcooked ribs can become dry and tough, diminishing the overall dining experience.
When ribs are overcooked, the collagen in the meat breaks down excessively, resulting in a chewy and stringy texture that is far from ideal. The flavor profile of the ribs can also be compromised, as prolonged exposure to high heat can lead to a burnt or charred taste.
To ensure your ribs are perfectly cooked, it’s crucial to monitor the grilling process closely. Use a meat thermometer to check the internal temperature, aiming for around 190-203°F for optimal tenderness without overcooking. Consider using indirect heat or a lower temperature setting to slow down the cooking process and allow the flavors to develop fully.
Let the Ribs Rest Before Serving
Allowing the ribs to rest before serving is a crucial step that allows the juices to redistribute, enhancing the flavor and texture of the meat. Resting also ensures that the ribs are at their peak deliciousness when served.
During the resting period, the residual heat continues to gently cook the meat from the inside out, making it more tender and succulent. This process allows the flavors to meld together, resulting in a more harmonious taste profile. Resting the ribs helps retain moisture, preventing them from becoming dry and tough.
Another benefit of letting the ribs rest is that it allows for easier slicing and serving. Rested ribs maintain their structural integrity, making them less prone to falling apart on the plate, ensuring a visually appealing presentation and a more enjoyable dining experience.
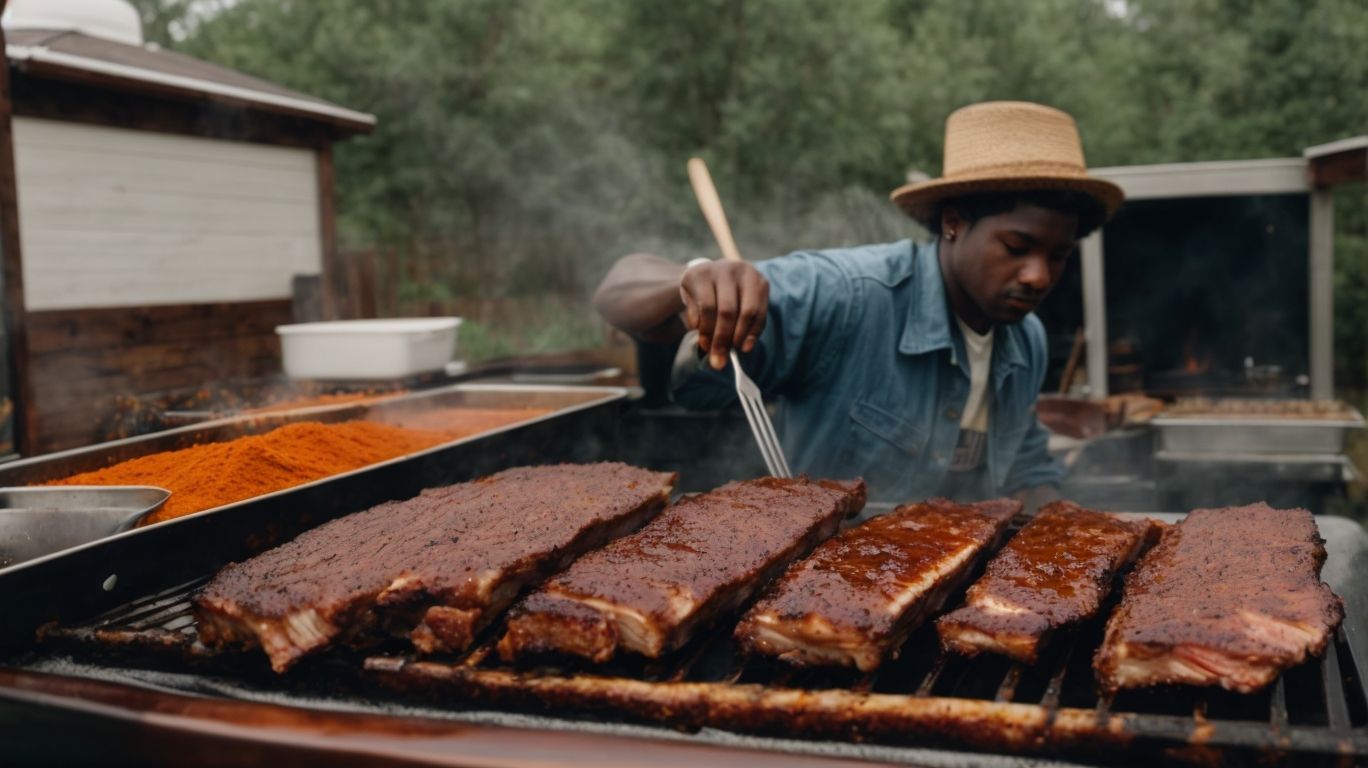
Serving and Enjoying Your Grilled Ribs
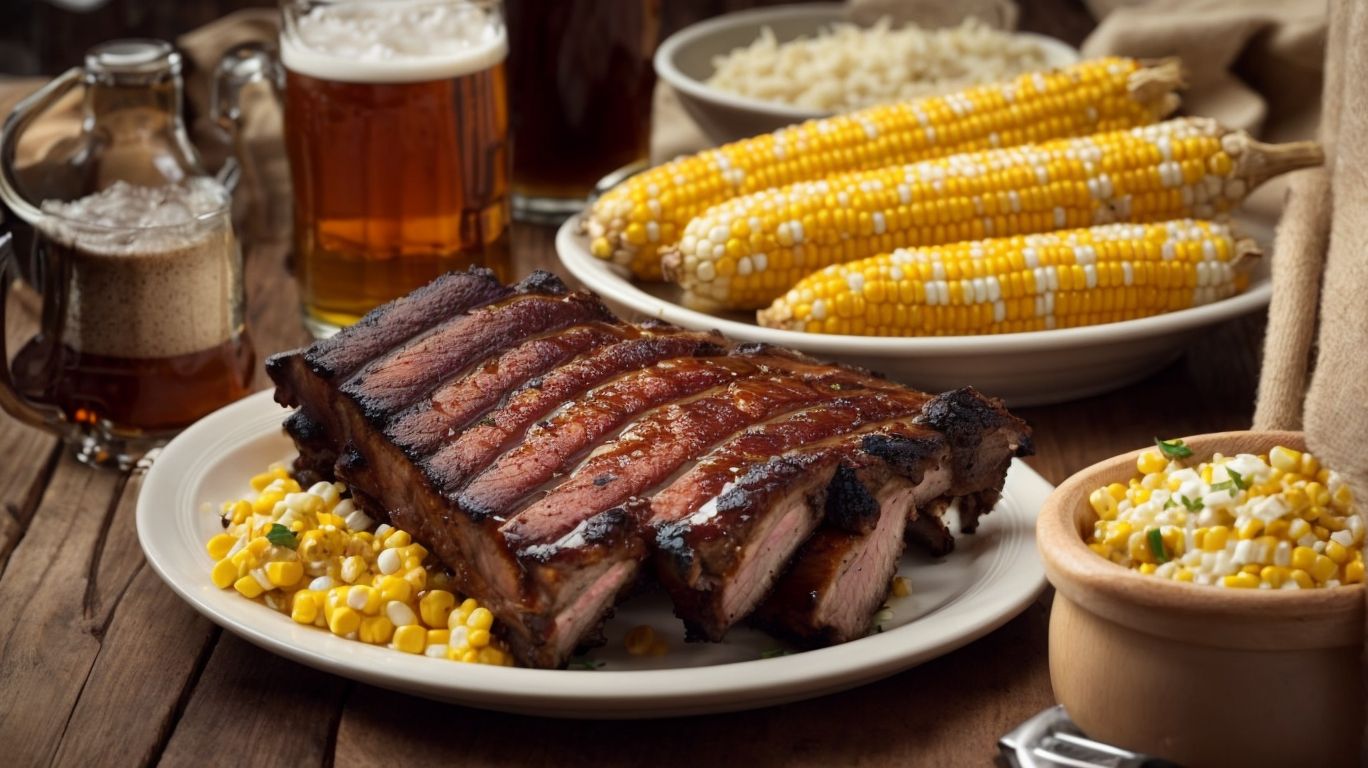
Credits: Poormet.Com – Alexander Allen
Serving and enjoying your grilled ribs is the culmination of a flavorful journey. Whether accompanied by tangy coleslaw, drizzled with barbecue sauce, or savored on a summer day, grilled ribs are a crowd-pleasing dish that brings joy to any gathering.
There is something undeniably special about sinking your teeth into tender, smoky ribs that have been expertly grilled to perfection. The succulent meat, falling off the bone, combined with the rich flavor of barbecue sauce creates a harmonious blend of sweet and savory that tantalizes the taste buds. Pairing the ribs with a side of creamy coleslaw enhances the experience, providing a cool and refreshing contrast to the warm, hearty ribs. This combination of textures and flavors is ideal for a leisurely summer meal, enjoyed outdoors among good company.
Frequently Asked Questions
How to Cook Ribs on the Grill?
To cook ribs on the grill, start by seasoning the ribs with your preferred rub or marinade. Then, preheat your grill to medium heat and place the ribs on the grill. Cook for about 20 minutes on each side, or until they reach an internal temperature of 160°F. Finally, let the ribs rest for a few minutes before serving.
What type of ribs are best for grilling?
The best ribs for grilling are baby back ribs or spare ribs. These cuts are tender and have enough fat to keep the meat moist during grilling. Avoid using lean cuts of ribs, as they can dry out quickly on the grill.
Do I need to wrap the ribs while grilling?
Wrapping ribs in foil is a common technique used to keep them moist and help them cook evenly. However, it is not necessary. If you prefer a crispy exterior on your ribs, you can skip the foil wrapping and just baste the ribs with a sauce or marinade while grilling.
How long does it take to cook ribs on the grill?
The cooking time for ribs on the grill varies depending on the temperature, thickness of the ribs, and type of ribs. In general, it can take anywhere from 1-2 hours to grill ribs. It’s best to use a meat thermometer to ensure they are fully cooked before serving.
Can I grill ribs without a grill?
Yes, you can still enjoy delicious ribs even if you don’t have a grill. You can bake them in the oven at 350°F for about 2 hours or cook them in a slow cooker on low for 6-8 hours. You can also use a stovetop grill pan to cook ribs indoors.
What are some tips for achieving perfectly grilled ribs?
To achieve perfectly grilled ribs, make sure to preheat your grill properly and maintain a consistent temperature. Use indirect heat to avoid charring the ribs and baste them with a sauce or marinade to add flavor and moisture. Also, don’t forget to let the ribs rest before serving to allow the juices to redistribute.